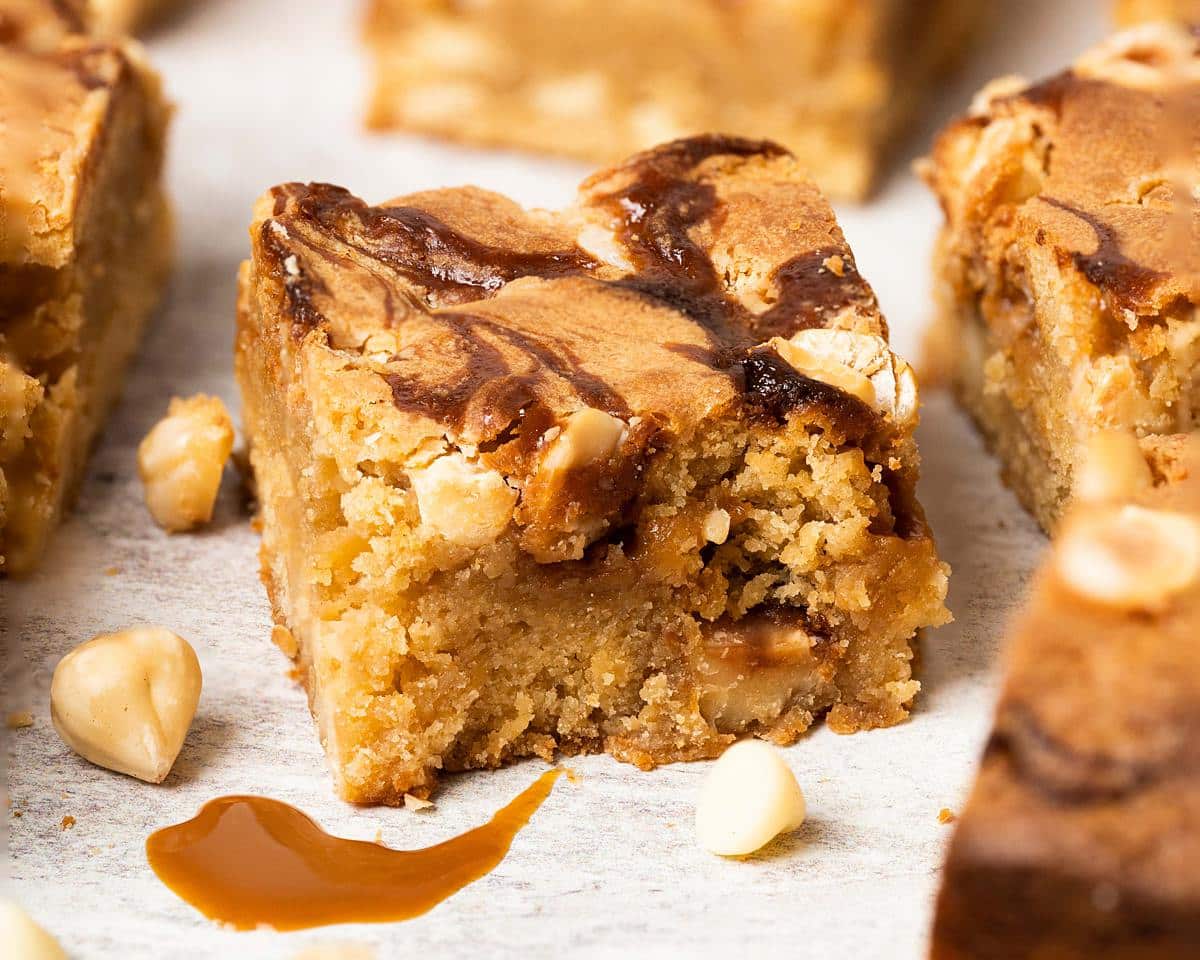
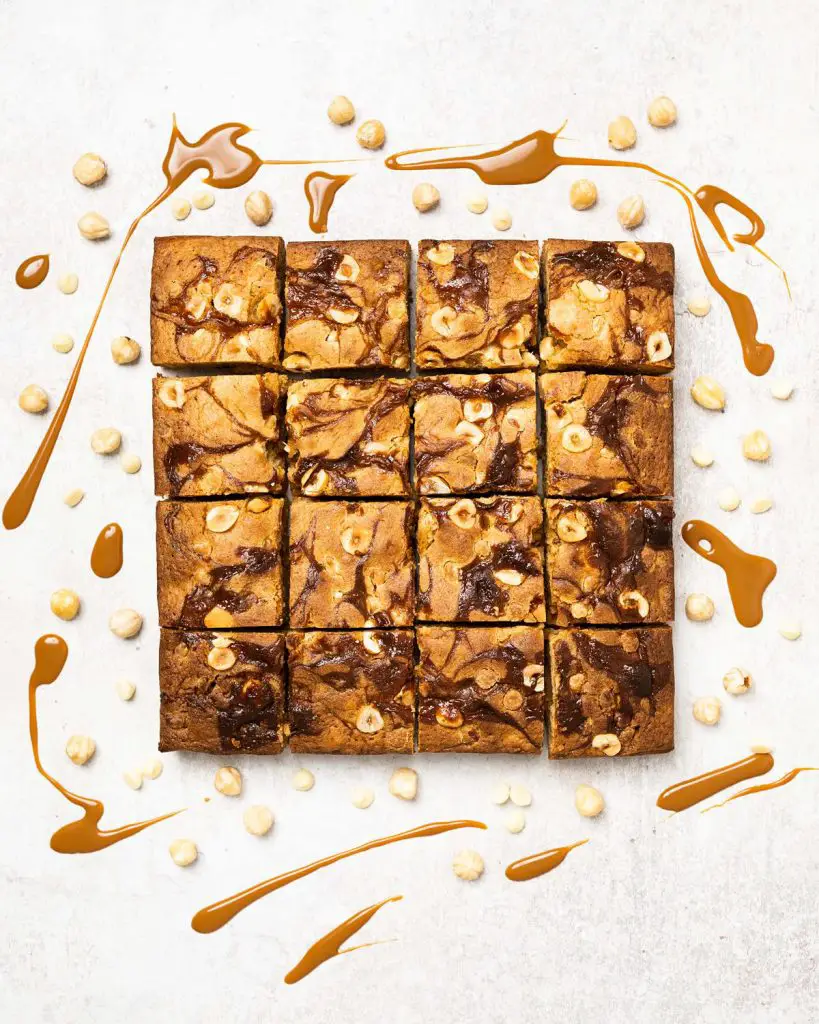
Calling all salted caramel fans, this one’s for you! These delicious white chocolate blondies, made with salted caramel, white chocolate chips and hazelnuts for crunch. Topped with more white chocolate chips, hazelnuts and a salted caramel swirl for a truly beautiful bake everyone is sure to love!
Brownies vs blondies
What is the difference between a blondie and a brownie? Quite simply, a basic brownie recipe is made with cocoa, and often melted dark chocolate too. A blondie by contrast contains no cocoa powder or melted dark chocolate, instead relying on vanilla and brown sugar for flavour. I like to also use melted white chocolate when making blondies, because… well, why not!!
These salted caramel blondies are:
- Simple to make. These caramel blondies use readily available ingredients, most of which you probably already have at home. So you can make these anytime the craving hits!
- One bowl method. No need for multiple bowls, and all the mess that comes with it. My caramel blondie recipe comes together in one bowl, making for easy baking and even easier clean up after!
- Optional add ins. I like to add some halved hazelnuts into this bake, just for a little extra flavour and texture. However, if you are not a fan of hazelnuts, you could easily swap out for a different nut, or just not put them in! The same applies to the chocolate chips too.
- Super quick baking. These easy blondies bake up from start to finish in under an hour! All you need to do after is wait for them to cool before cutting into squares and devouring!
What ingredients do I need to make these fudgy blondies?
- Butter: I prefer using unsalted butter so I can control how much salt is in my bakes.
- Caramel: the star of the show! I use tinned caramel in this recipe, but you could easily use homemade caramel too.
- Brown/caster sugar: I use a mix of caster and light brown sugars in these blondies. The brown sugar gives my blondies a yummy flavour, whilst keeping them moist and irresistibly chewy. If you need to substitute any definitely keep the brown in and swap the white instead.
- White chocolate: this adds to the flavour and sweetness of the blondies, making them so addictively delicious.
- Eggs: for structure for the best blondie recipe ever!
- Vanilla: essential for beautiful flavour.
- Flour: I use plain (all purpose) flour here. Self raising flour contains raising agents, so cannot be substituted in this bake without compromising on the texture.
- Salt: enhances the flavours in the bake, but you will not taste it, fear not!
- White chocolate chips: for extra pops of chocolate with each bite. This blondie dessert is an indulgence after all!
- Hazelnuts: an optional extra add in. I love the flavour these nuts bring to the bake, not to mention the little extra crunch in texture too!
- Flaky sea salt. I like adding a really generous pinch to my caramel for the salted flavour. I find this works better for a salty punch than regular table salt in this gooey blondie recipe.
What tools do I need to make salted caramel blondies?
- Baking tin*: I used an 8” square pan for these blondies. One with a loose bottom makes it much easier to lift the blondies out of the tin after baking.
- Parchment paper: for lining the baking tin. This stops the blondie sticking to the pan, making it loads easier to remove from the tin after baking too.
- Digital kitchen scales*: I provide all my measurements in cups, however I would encourage all bakers to weigh out ingredients when baking. A set of digital kitchen scales is so useful and totally an essential baking tool for me.
- Measuring spoons*: a set of measuring spoons is essential for any baker. This is because these are more accurate than using everyday teaspoons and tablespoons, which can vary greatly in size.
- Sieve*: to remove lumps from the dry ingredients, ensuring everything all mixes together evenly when making any blondies and brownies.
- Mixing bowl*: any bowl you can mix the ingredients up in is good! I use a microwave safe bowl as I melt my initial ingredients in the mixing bowl using a microwave.
- Spatula*: for scraping down the bowls during mixing to ensure all ingredients are well combined.
How to make salted caramel blondies
This caramel blondies recipe is so simple, requiring just one bowl, and mixes together in super quick time. All you really need is a little patience to put it all together. Baking and cooling waiting time is the hardest part before you can dig in!
Step 1: Line the tin with parchment paper. Preheat the oven to 180C/350F while you make the blondies.
Step 2: Mix the flaky sea salt with the caramel and stir to combine. Add as much or as little salt as you like to make it as salted a caramel to suit your preferences.
Step 3: In a large mixing bowl, combine the butter, 75g (¼ cup) caramel, sugars and white chocolate. Melt them together in the microwave in 10-20 second bursts, stirring in between, until completely melted. Once everything has melted, keep mixing the ingredients until they come together into a smooth fudgy mixture. Leave this mixture to cool a little, about five minutes
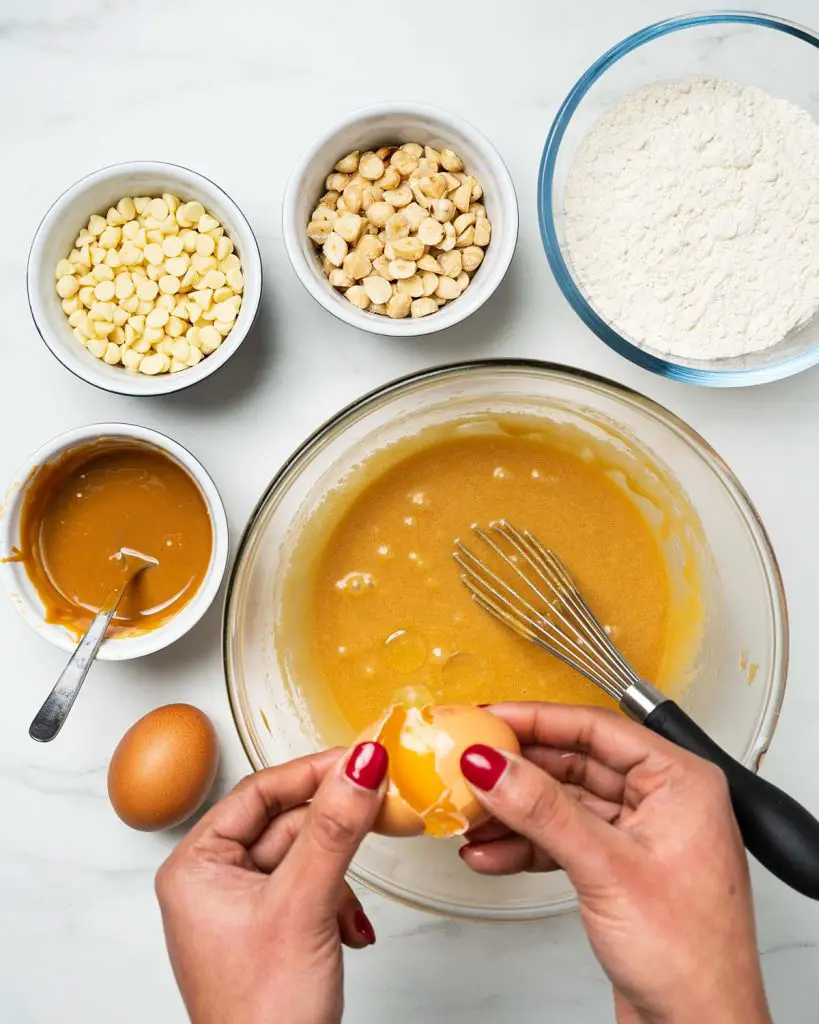
Step 4: Add the eggs and vanilla into the bowl one at a time. Mix well to combine in between additions. The mixture will be thick and glossy.
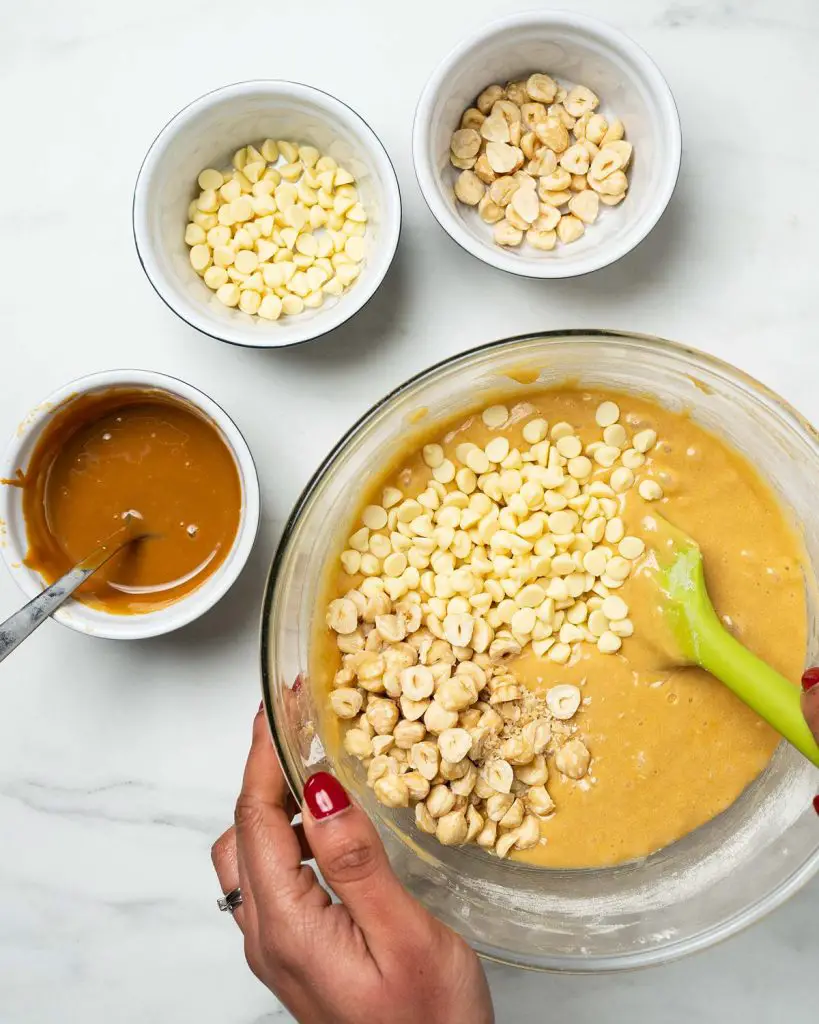
Step 5: Sift in the flour and salt, then fold in gently to completely combine. Add in the most of the white chocolate chips and hazelnuts, reserving some of both for the top of the blondie. Fold together to mix in thoroughly.
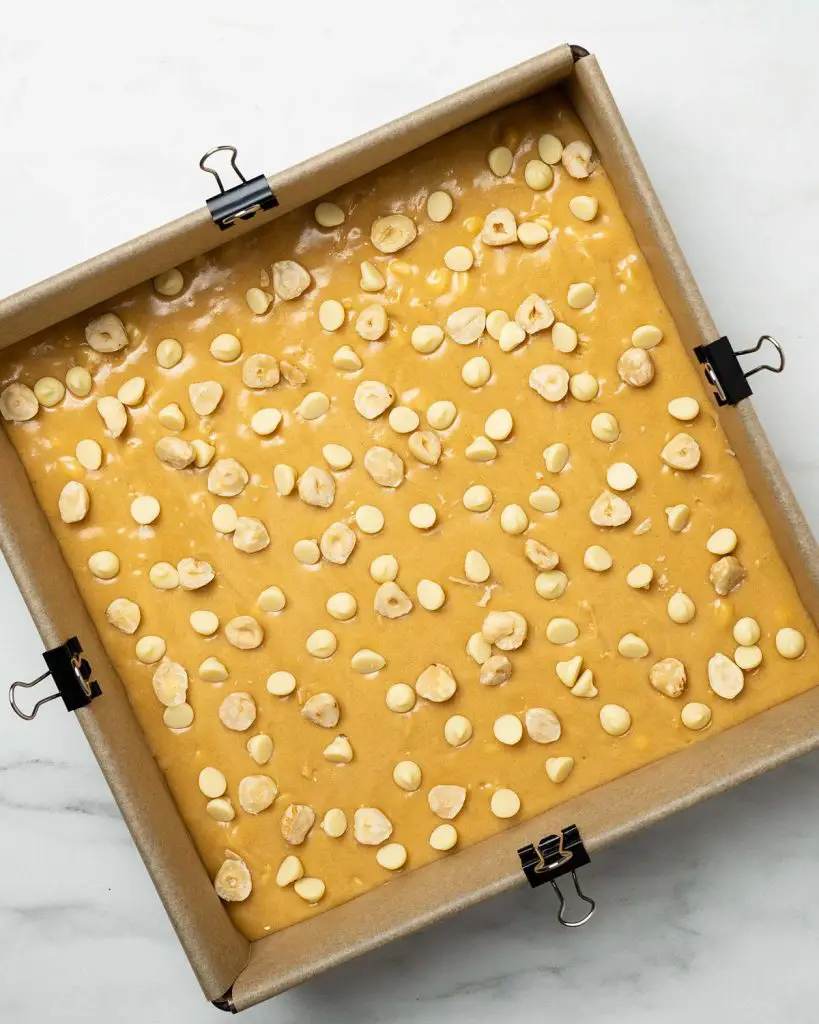
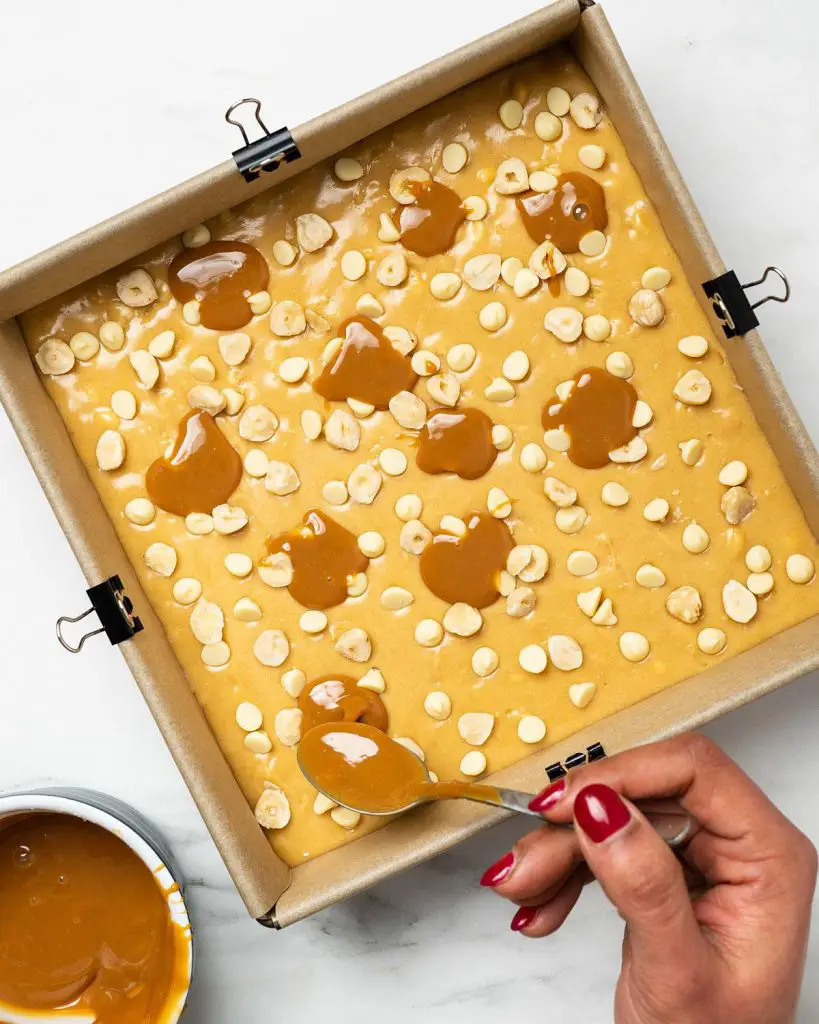
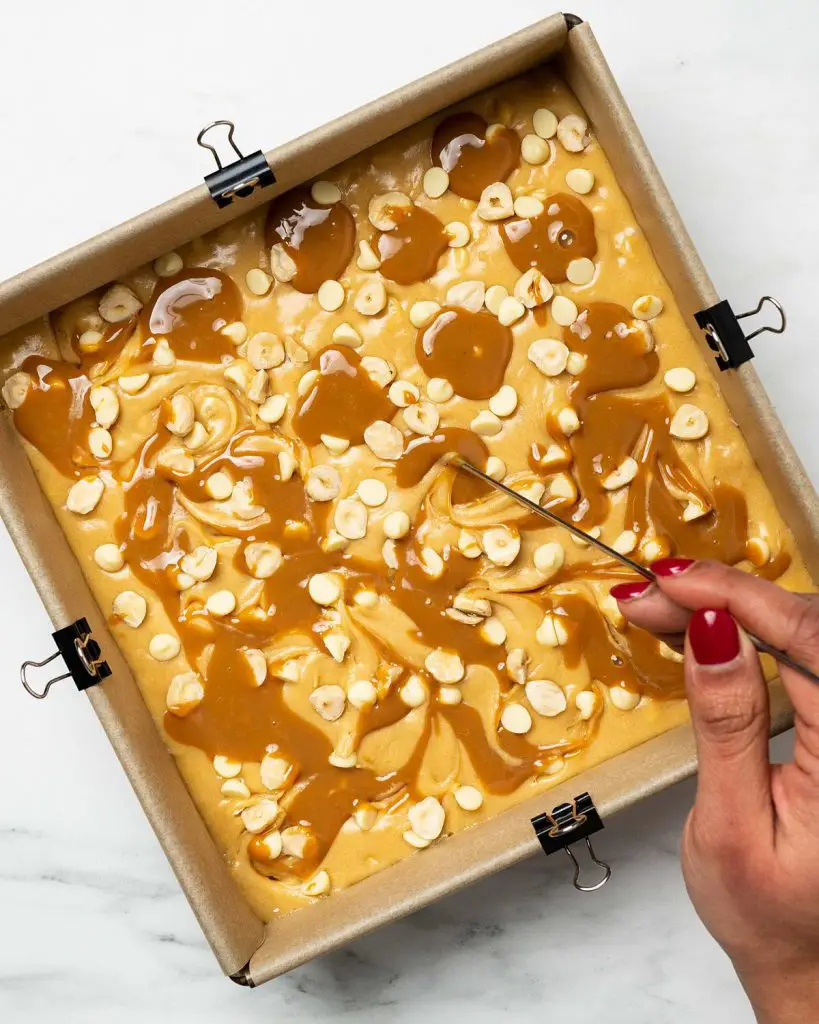
Step 6: Tip the blondie mixture into the prepared tin and spread out to level. Scatter the white chocolate chips and hazelnuts set aside earlier over the top. Place blobs of the remaining caramel all over the top of the blondie, then swirl into the mixture using a skewer or a knife.
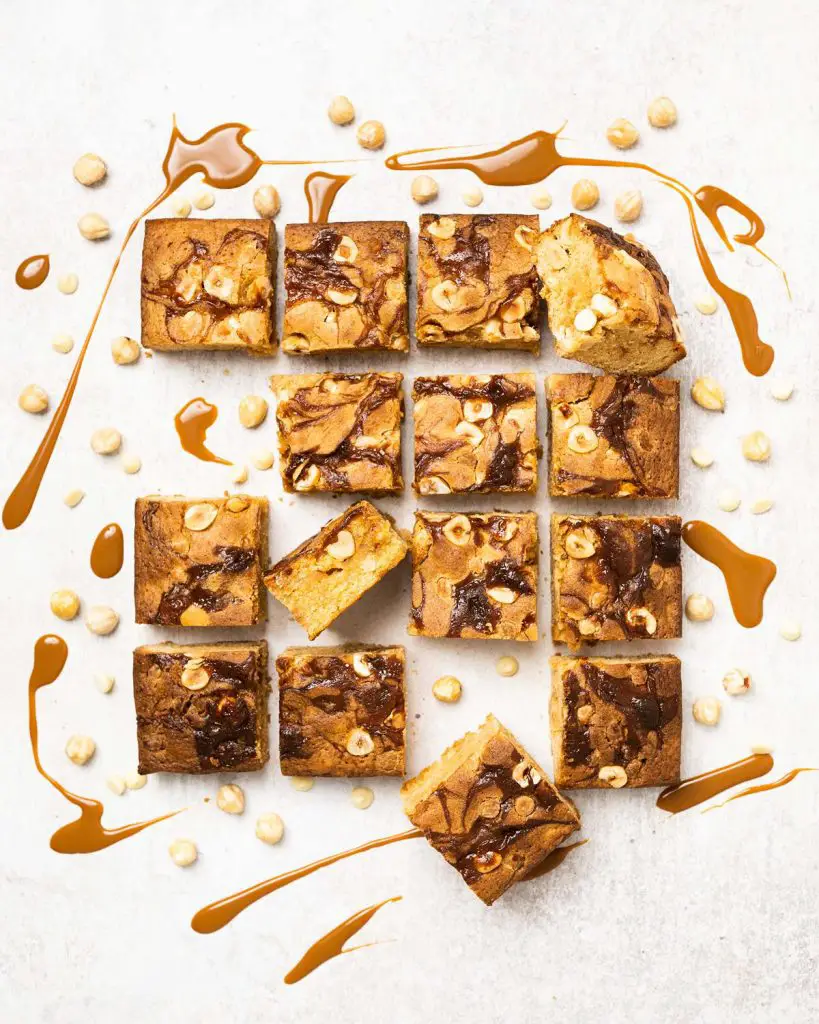
Step 7: Bake the blondie in the preheated oven for 25-35 minutes. I bake mine for about 30 minutes. The blondies will be golden along the edge and have no jiggle when you shake the tin. The edges will start to shrink away from the sides of the tin once it is baked. Remove the tin from the oven and leave to cool completely before slicing into squares. Enjoy!
How do I line my tin?
There are several ways to line the tin for this caramel blondies recipe. The simplest way is to cut two strips of parchment paper slightly smaller than the width of the tin and place them in a cross shape within the tin, so you have an overhang over all four sides. Make sure to fold along the bottom and side edges to make it easier to fill the tin without the paper creasing up between the blondie once baked.
How do I know when my salted caramel blondies are done?
The blondies are done when they start to pull away slightly from the sides of the tin. You will also notice the edge of the blondie is golden. The final test is to shake the tin: once it has baked sufficiently, the middle will no longer wobble when you shake it.
Please remember not to overbake the blondies or they will be hard and dry, not fudgy and chewy in texture. Just check it carefully using the guidance shared above and your blondies will always be beautiful!
Why are my blondies still raw in the middle?
The chances are the blondies were underbaked, and so are still gooey or raw in the middle. I would always recommend a minimum baking time of 25 minutes, closer to 30 minutes is ideal. But it also depends on factors such as how hot your oven measures and how well it conducts heat. Check the blondies are done using the tips detailed in the recipe.
Why did my blondies sink in the middle?
It could be that a lot of unwanted air was incorporated into the blondie mixture before baking. This can result in blondies growing too much when baking, then collapsing when removed from the oven, sinking in the middle. The solution here is to ensure everything is combined gently beyond the melting stage, especially when adding eggs into the mixture. You want less air in blondies generally, unlike in a cake, so you achieve that highly sought after fudgy, chewy texture.
How long do these salted caramel blondies last and how do I store them?
These blondies need to be stored in an airtight container and will keep for about 4-5 days. That is, of course, if they are not gobbled up sooner!
Can you freeze blondies?
Absolutely! This blondie recipe easy will freeze well for up to three months, though they are always better enjoyed freshly baked.
How to freeze blondies
I use large freezer safe containers to freeze my blondies in. Once baked and completely cool, cut the blondie into squares and wrap each individual blondie piece tightly in cling film. Place the wrapped blondies into a sealable freezer safe container and freeze until the craving hits!
How to thaw blondies
When you want to eat the frozen blondies again, just remove as many as required from the freezer. Unwrap and place the blondie pieces on a cooling rack to thaw completely before devouring!
Additional tips for making the best ever blondie recipe
- When you melt the butter, caramel, sugars and chocolate together, the mixture will initially look like it does not mix. The butter will look separated and the rest will look a curdled mess. Trust the process!! Just keep mixing until it all blends together and becomes one smooth mixture.
- Once the initial melting and mixing has happened, try not to beat any air into the blondie mixture. Rather, fold ingredients in more gently. Beating the mixture will add air to it and make it less likely to be fudgy and chewy and delicious!
- Swap out the white chocolate chips for milk or dark if you wish. Equally, you can also swap the hazelnuts out for any other nut you prefer, or even leave them out completely. The nuts do add a lovely texture to the blondies though, which is why I love them included.
- Leave the blondies to cool completely before you cut into them. I know it is so tempting to cut in as soon as you can. Remember that the warm blondies will continue to bake even out of the oven. Additionally, cutting blondies when they are still warm will result in them breaking apart as they are cut. So no lovely neat squares!
- Cut the cool blondies using a sharp knife for the best results. I like to wipe the knife down between each cut for the cleanest slices too.
Troubleshooting
If you have any questions about this salted caramel blondies recipe, please comment below and I will do my best to help. And do remember: if you enjoy this recipe for salted caramel blondies, please leave a rating and review below. You could even post a picture on Instagram and tag me when you share it with the world. You already know I would love to see!
Even more blondie recipes for you to enjoy!
Blondie fans, I have your back! I have more beautiful blondie recipes on my blog for you to enjoy! Check them out:
Biscoff blondies: wonderfully chunky and chewy, these Biscoff blondies are cram packed with delicious cookie butter biscuits and spread as well as sweet white chocolate. To finish, they are then drizzled with both melted white chocolate AND Biscoff spread for a purely indulgent and utterly heavenly bake!
Raspberry white chocolate blondies: these blondies are chewy and utterly delicious, with the stunning flavours of sweet white chocolate and tart fresh raspberries perfectly complementing each other. If you’re looking for a bake guaranteed to be adored by everyone who tries it, look no further: this is the one!
Cherry Bakewell blondies: beautiful soft squidgy and chewy blondies made with yummy ground almonds and then swirled with a decadent rich cherry compote. Blondie AND Bakewell together = heaven!
Thanks for joining me today friends! Hope you enjoy these blondies as much as I do and happy baking! x
Recommended equipment I used *
| Baking tin | Digital kitchen scales |
| Measuring spoons | Sieve |
| Mixing bowl | Spatula |
Salted Caramel Blondies
16
servings20
minutes30
minutes319
kcal1
hour1
hour50
minutesWhite chocoalte, salted caramel and hazelnuts combine for the most luscious salted caramel blondies ever!
Keep the screen of your device on
Ingredients
110 g (½ cup) unsalted butter
150 g (½ cup) caramel, divided (I used tinned caramel)
100 g (½ cup) brown sugar
60 g (¼ cup + 1 tbsp) caster sugar
100 g (⅔ cup) white chocolate, broken into chunks
2 large eggs
2 tsp vanilla
200 g (1 ¼ cups) plain (all purpose) flour
0.5 tsp salt
100 g (½ cup + 1 tbsp) white chocolate chips
75 g (½ cup + 2 tbsp) hazelnuts, halved
0.5 tsp flakey sea salt
Directions
- Line the tin with parchment paper. Preheat the oven to 180C/350F while you make the blondies.
- Mix the flaky sea salt with the caramel and stir to combine. Add as much or as little salt as you like to make it as salted a caramel to suit your preferences.
- In a large mixing bowl, combine the butter, 75g (¼ cup) caramel, sugars and white chocolate. Melt them together in the microwave in 10-20 second bursts, stirring in between, until completely melted. Once everything has melted, keep mixing the ingredients until they come together into a smooth fudgy mixture. Leave this mixture to cool a little, about five minutes
- Add the eggs and vanilla into the bowl one at a time. Mix well to combine in between additions. The mixture will be thick and glossy.
- Sift in the flour and salt, then fold in gently to completely combine. Add in the most of the white chocolate chips and hazelnuts, reserving some of both for the top of the blondie. Fold together to mix in thoroughly.
- Tip the blondie mixture into the prepared tin and spread out to level. Scatter the white chocolate chips and hazelnuts set aside earlier over the top. Place blobs of the remaining caramel all over the top of the blondie, then swirl into the mixture using a skewer or a knife.
- Bake the blondie in the preheated oven for 25-35 minutes. I bake mine for about 30 minutes. The blondies will be golden along the edge and have no jiggle when you shake the tin. The edges will start to shrink away from the sides of the tin once it is baked. Remove the tin from the oven and leave to cool completely before slicing into squares. Enjoy!
Notes
- When you melt the butter, caramel, sugars and chocolate together, the mixture will initially look like it does not mix. The butter will look separated and the rest will look a curdled mess. Trust the process!! Just keep mixing until it all blends together and becomes one smooth mixture.
- Once the initial melting and mixing has happened, try not to beat too much air into the blondie mixture. Rather, fold ingredients in more gently. Beating the mixture will add air to it and make it less likely to be fudgy and chewy and delicious!
- Swap out the white chocolate chips for milk or dark if you wish. Equally, you can also swap the hazelnuts out for any other nut you prefer, or even leave them out completely. The nuts do add a lovely texture to the blondies though, which is why I love them included.
- Leave the blondies to cool completely before you cut into them. I know it is so tempting to cut in as soon as you can. Remember that the warm blondies will continue to bake even out of the oven. Additionally, cutting blondies when they are still warm will result in them breaking apart as they are cut. So no lovely neat squares!
- Cut the cool blondies using a sharp knife for the best results. I like to wipe the knife down between each cut for the cleanest slices too.