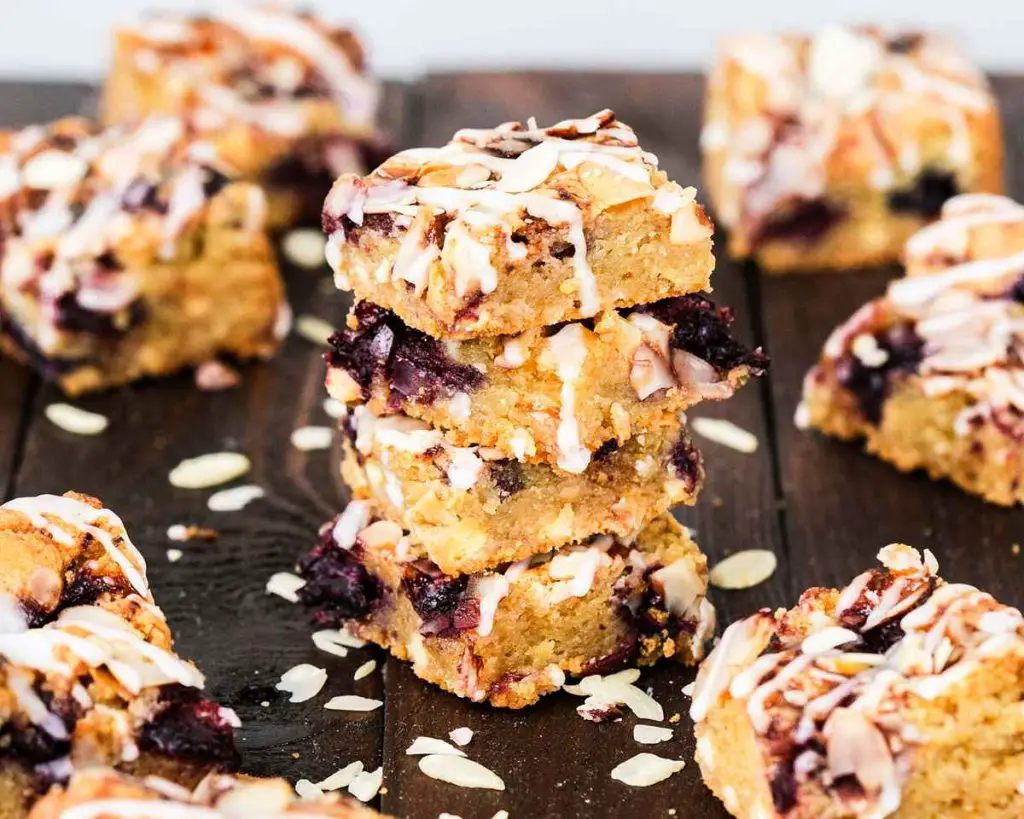
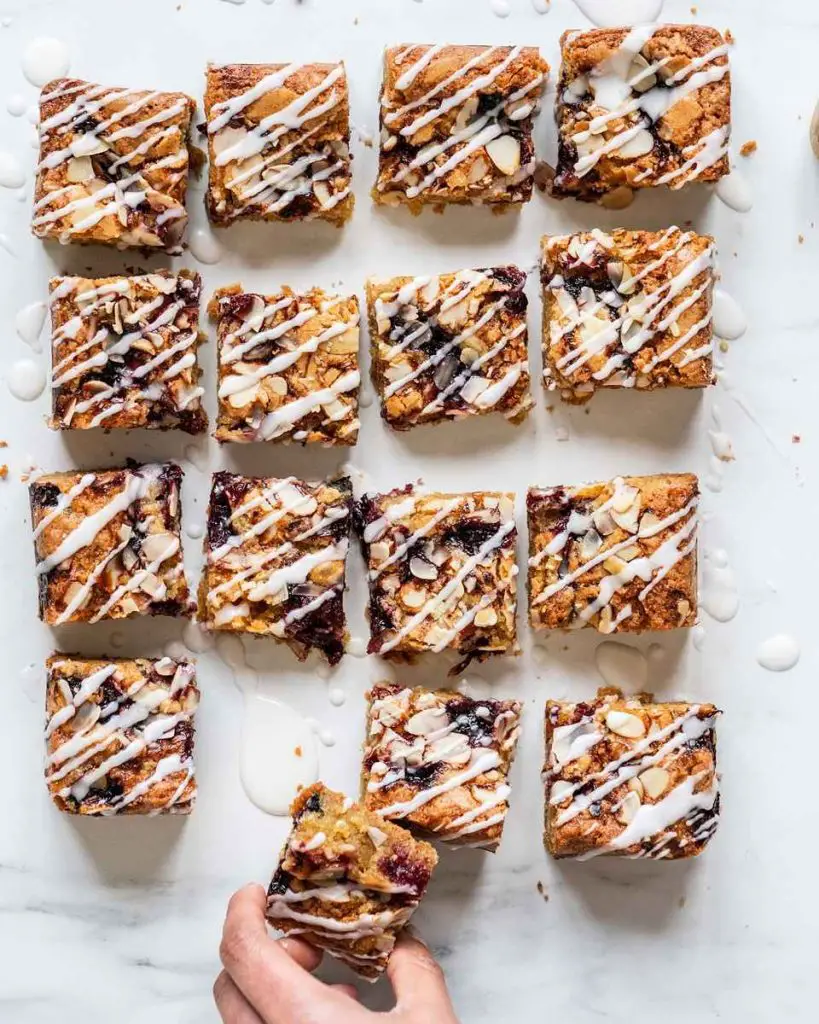
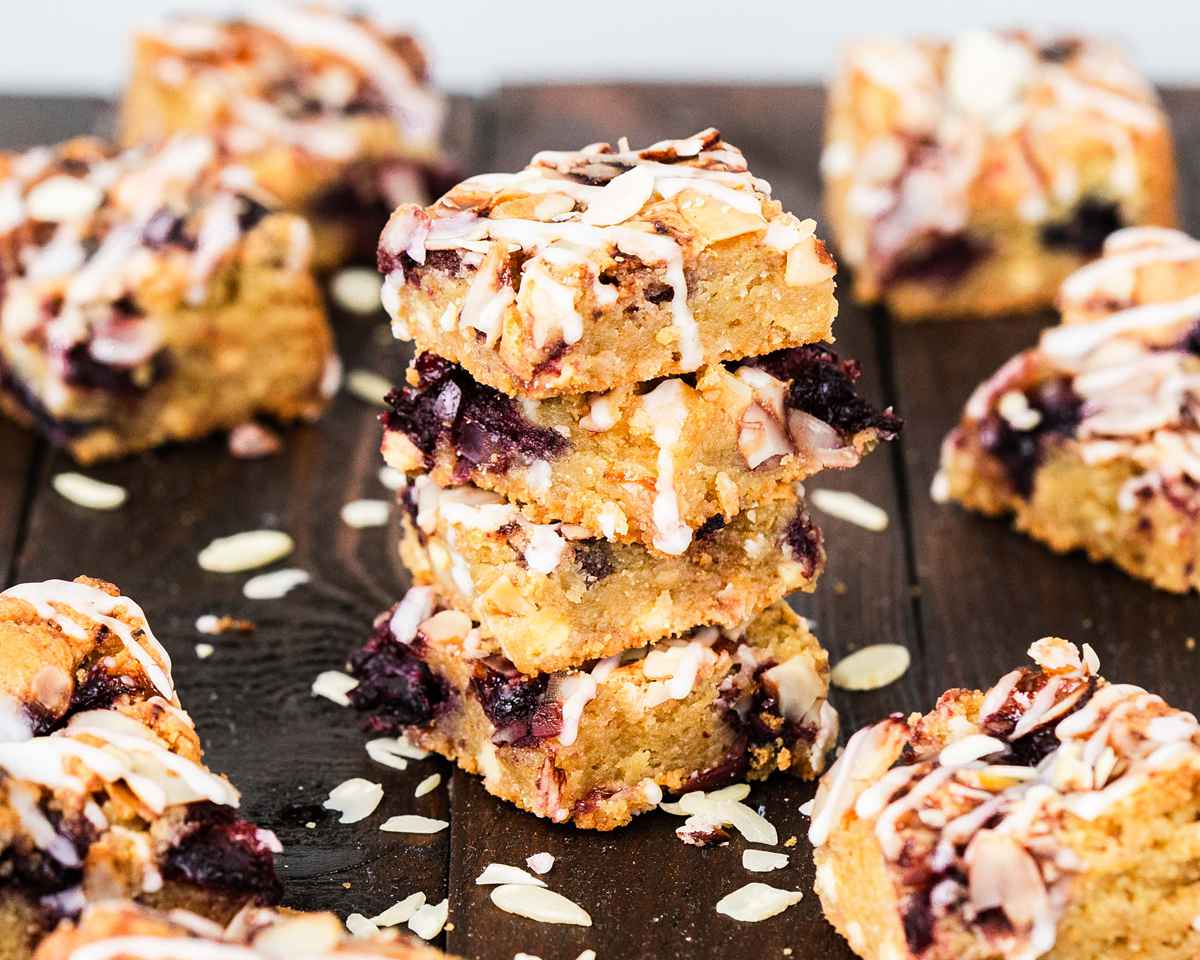
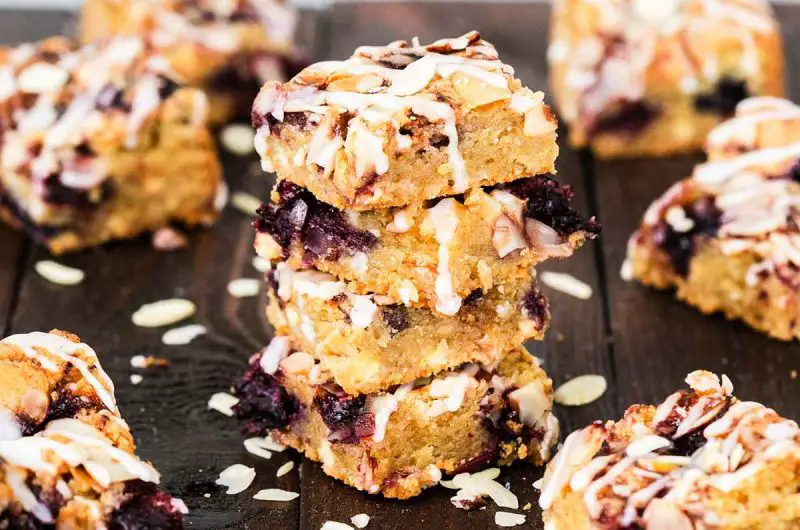
Cherry Bakewell blondies. Beautiful soft squidgy and chewy blondies made with yummy ground almonds and then swirled with a decadent rich cherry compote. Blondie AND Bakewell together = heaven!
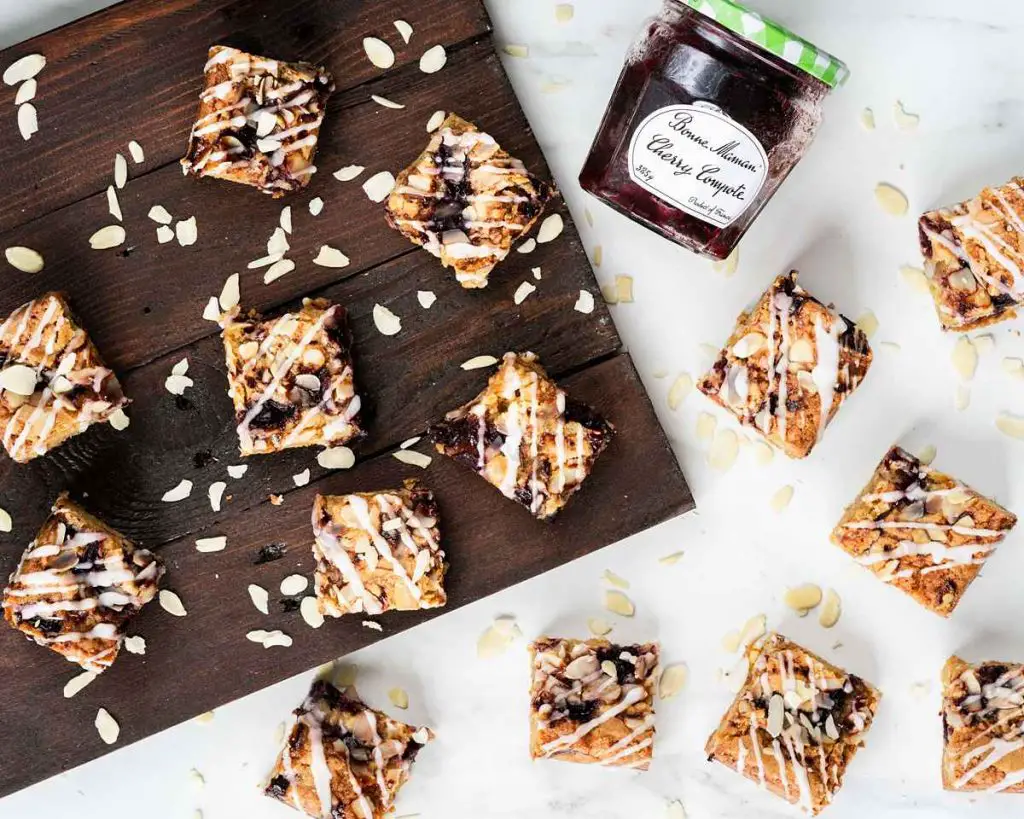
A very British inspired bake
Cherry and almond have become a somewhat classic flavour combination now, and it all originated in a little town in the UK called Bakewell, hence the name. There are many different versions of the original, from tarts to puddings, but the flavours of cherry and almond have now become synonymous with the name Bakewell.
I still love a Bakewell tart, don’t get me wrong, but I do like to keep the flavours and transfer them to other bakes too. Blondies are the perfect bake to showcase this delicious combination of flavours, and so here we are!
What ingredients do I need to make these cherry bakewell blondies?
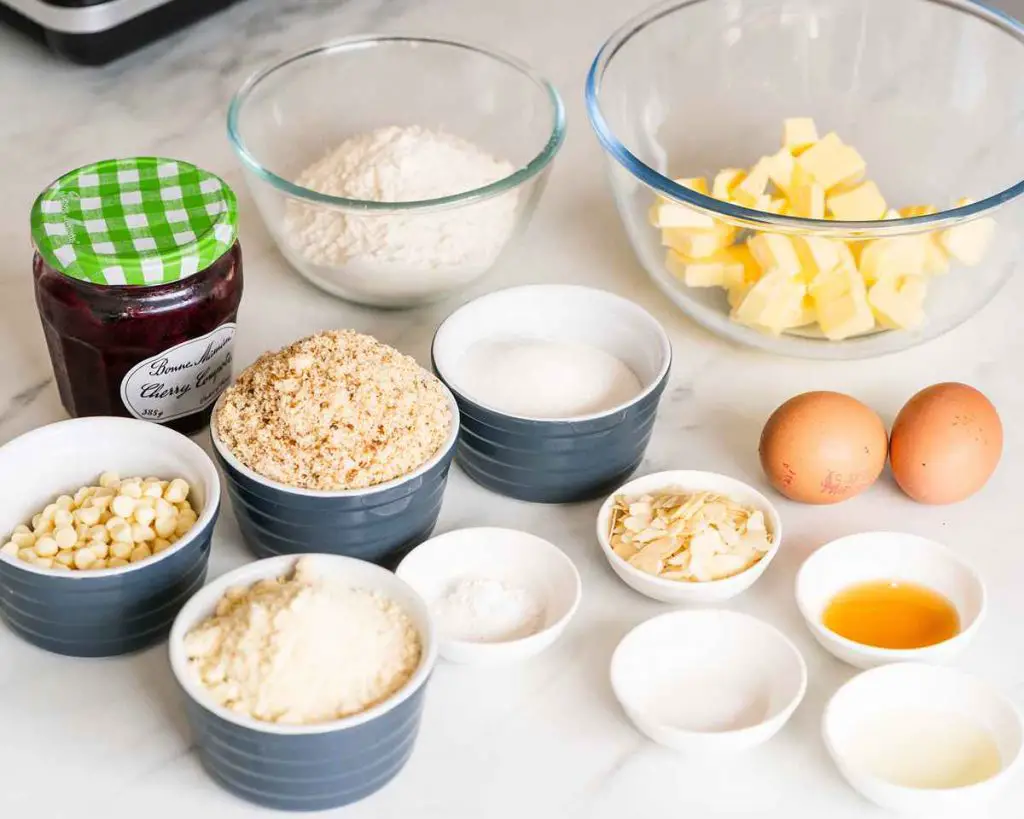
- Unsalted butter: as with all my recipes, I like to use unsalted butter so I can control how much salt is in the bake.
- Brown sugar: gives the blondies a sweetness as well as a yummy flavour, keeps them moist and makes them wonderfully chewy!
- Caster sugar: for sweetness!
- Vanilla: purely for beautiful flavour!
- Almond extract: more yummy flavour!
- Eggs: helps with the structure of the blondies.
- Flour: this recipe uses plain flour. Using plain over self raising allows you to have control of the rising agent used in your bakes.
- Ground almonds: for texture and additional flavour.
- Baking powder: just for a little bit of help with rising as almond flour can result in denser bakes.
- Salt: enhances the flavour of your bake. You won’t taste it, don’t worry!
- White chocolate chips: for extra pops of chocolate with each bite, perfect for complementing the tangy cherry compote.
- Cherry compote: using compote gives a richer flavour of the fruit as it’s made with more fruit and less sugar.
- Flaked almonds: for decorating the top of your blondies and adding extra flavour and crunch.
- Icing sugar: also known as powdered sugar in the US, it dissolves easily to make your icing drizzle.
- Milk: to mix with icing sugar for your drizzle.
What equipment do I need to make blondies?
- Baking tin*: you will need a 8” x 8” pan, one with a loose bottom makes it much easier to lift your bake out.
- Parchment paper: used to line your baking tin, this stops your blondie sticking to your pan and makes it loads easier to remove from the tin too.
- Digital kitchen scales*: whilst I do provide cup measurements for all my recipes, I always recommend using digital kitchen scales to weigh your ingredients out instead. Weighing out your ingredients is much more accurate than measuring by volume, as you do with cups, and will ensure better results. Digital scales are now relatively inexpensive and widely available.
- Measuring spoons*: for measuring smaller quantites such as tablespoons (tbsp) and teaspoons (tsp), I would recommend getting a set of spoons as they would be far more accurate than using your everyday eating spoons.
- Sieve*: to remove lumps from your dry ingredients, ensuring it’s all mixed together evenly.
- Saucepan*: to melt butter and dissolve sugars together before making your blondie mixture in.
- Spatula*: for mixing ingredients together.
How to make cherry bakewell blondies
This blondie batter doesn’t take long to come together, so you can be enjoying some delicious cherry and almond blondies before you can say “let them eat… well, blondies!” 😂
Step 1: Line your baking tin with some parchment/baking paper and set it aside. Preheat your oven to 160C/320F while you make your blondies mixture.
Step 2: In a pan, gently heat your butter and sugars together until the butter is melted and sugars are completely dissolved. Leave to cool slightly.
Step 3: Once your butter mixture has cooled a little, mix in the vanilla and almond extracts, then gently mix in the eggs one at a time.
Step 4: Into your pan, sift the flour, baking powder and salt, then add in the ground almonds and stir to combine. Tip in the white chocolate chips and stir through.
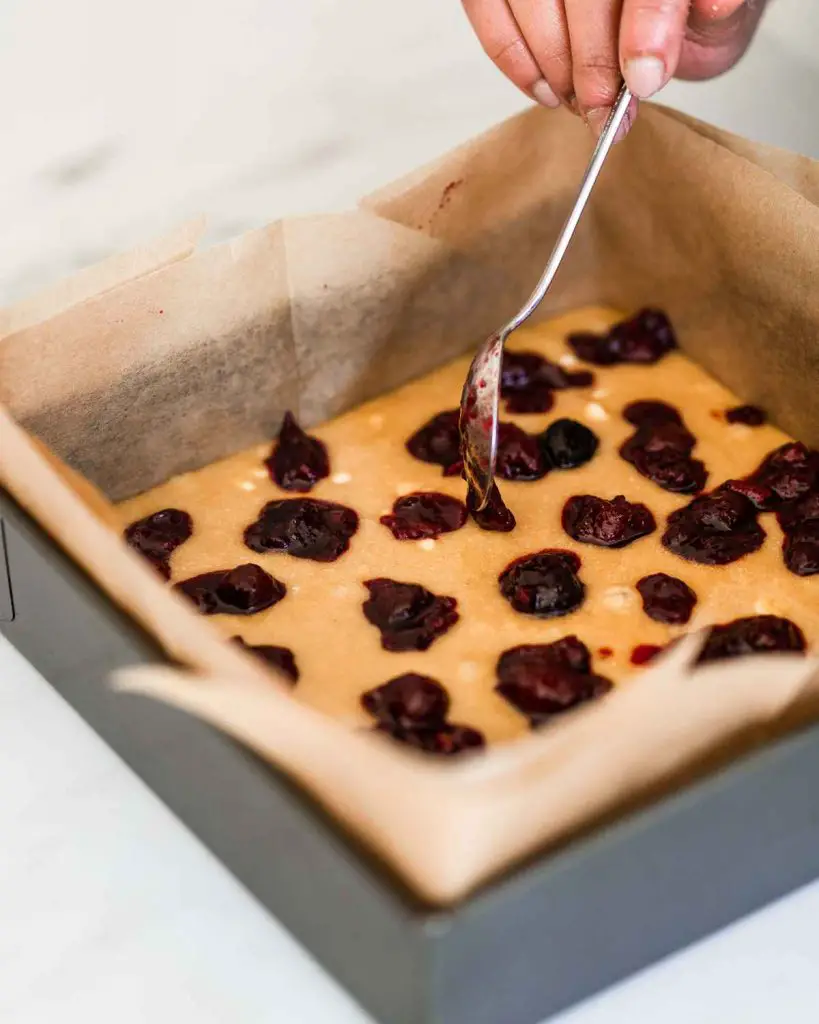
Step 5: Pour your mixture into your prepared tin, then dot with teaspoonfuls of cherry compote. Using a skewer or a knife, swirl the compote into your blondie batter, creating some pretty patterns but being careful not to overmix into a pinky smudge. Sprinkle over your flaked almonds.
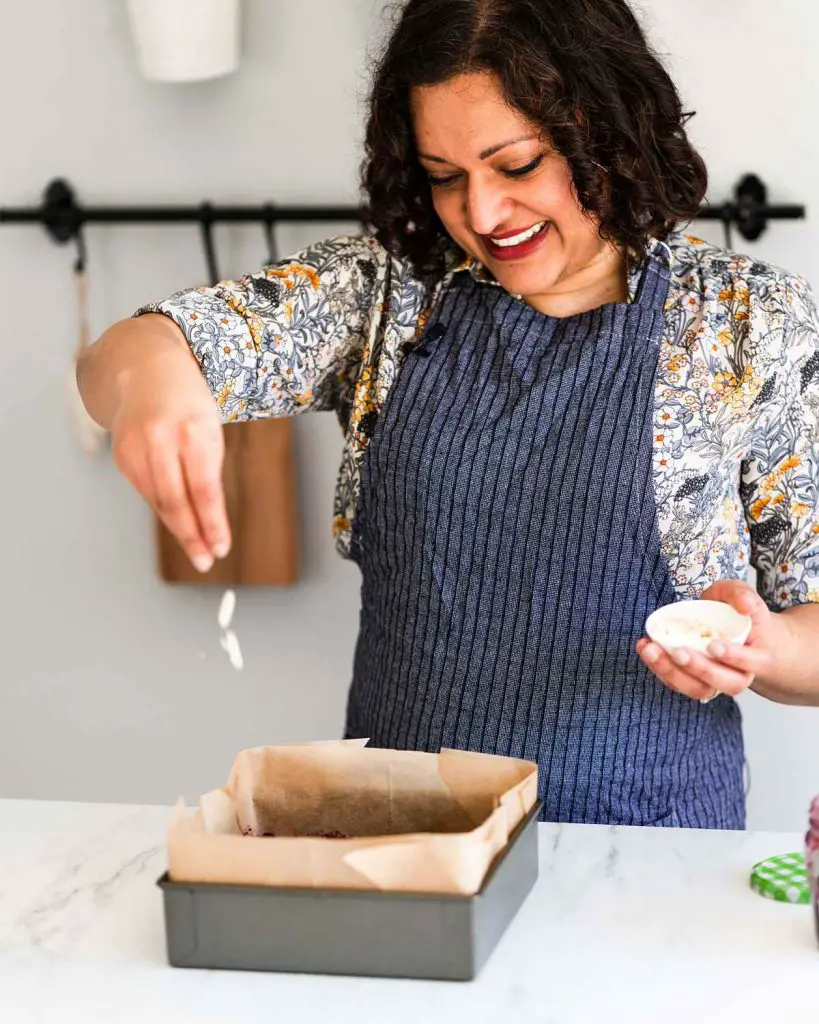
Step 6: Bake your blondie in your preheated oven for 40-50 minutes until done (see my tips below). Leave the blondie to cool completely in the tin.
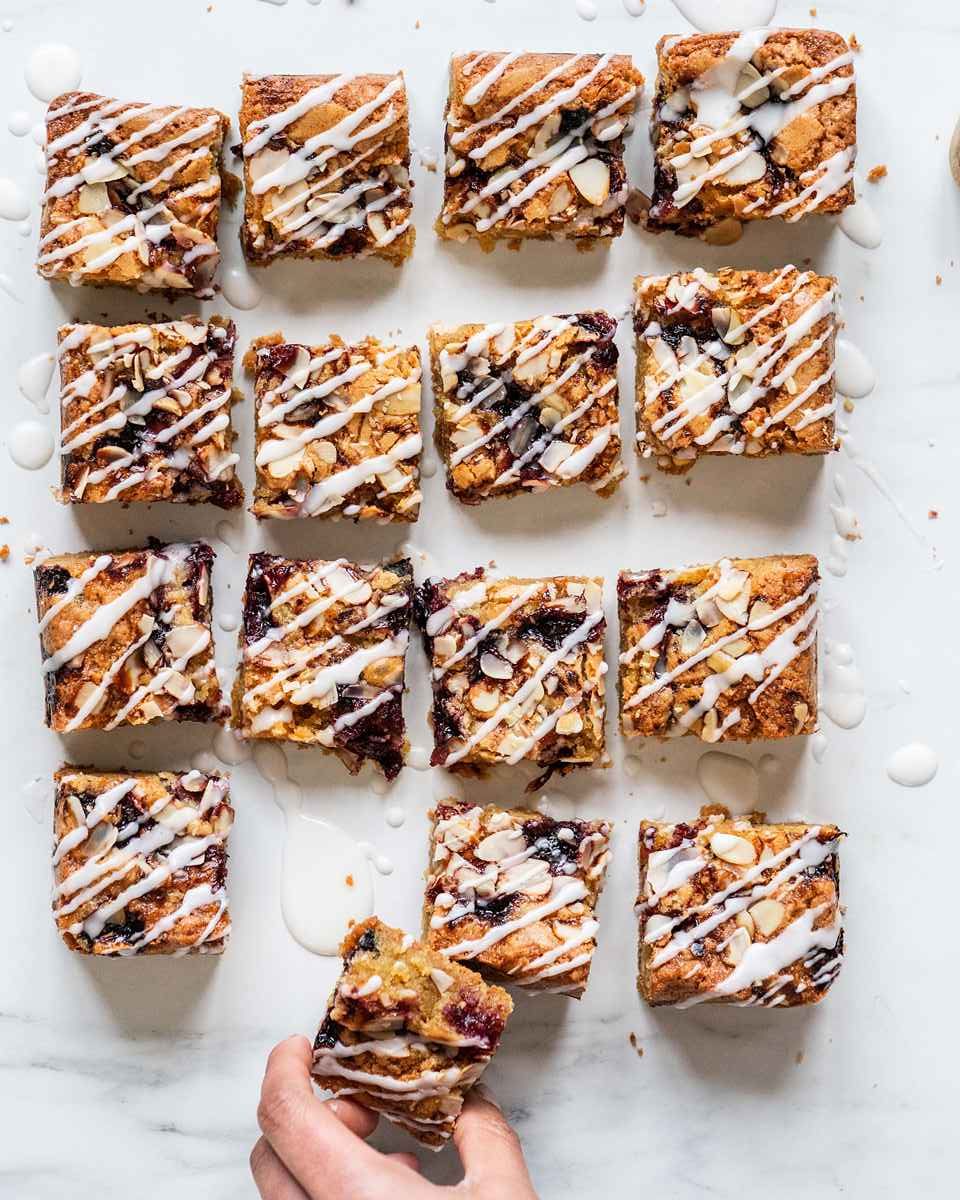
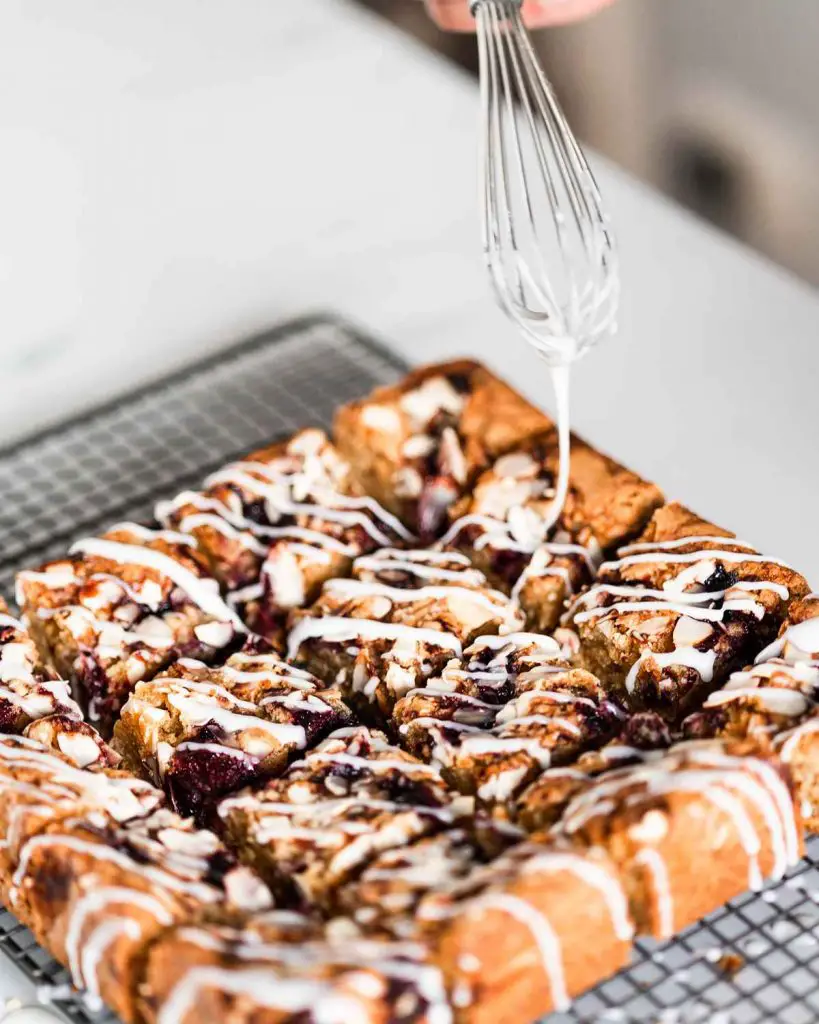
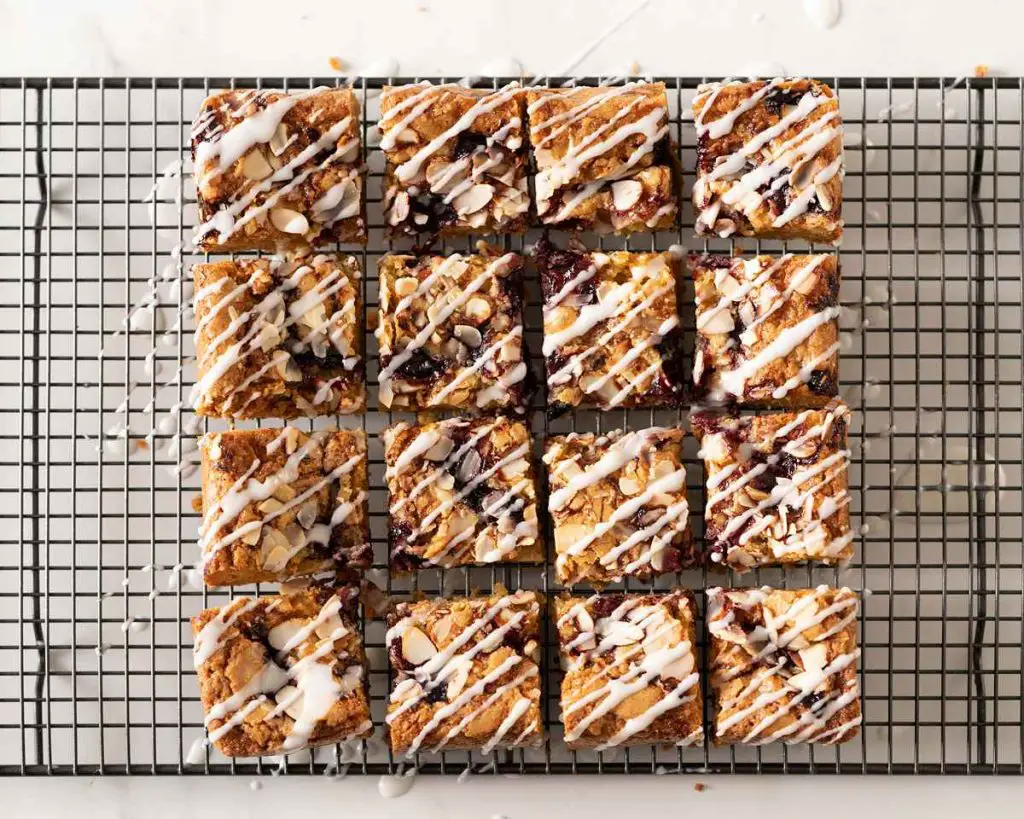
Step 7: When cool, cut your blondie into squares (I get 16 out of this recipe, but you can make bigger/smaller to suit). Mix together your icing sugar with enough milk to create your drizzle, then decorate your blondie squares with it. Enjoy!
How do I line my baking tin?
There are several ways to line your baking tin. The easiest way is to cut two strips of parchment paper slightly smaller than the width of your tin and place them in so you have an overhang over all four sides of your baking tin. Make sure to fold along the bottom and side edges so you get nice clean lines when your blondies bake, and your paper doesn’t get “baked into” your blondies!
How do I know when my blondies are baked?
You can tell when your blondies are done because they will start to pull away from the sides of your pan slightly and the very edges will be golden. There will be a very tiny little wobble when gently shaken, don’t worry. Just leave them in the tin to cool completely, they will continue to bake and firm up from the residual heat of being in the oven. Remember it’s important not to overbake though, or your blondies will end up being hard and dry.
Why did my blondies sink in the middle?
If you beat your ingredients together and incorporate a lot of air in the mixture, blondies can grow too much whilst baking. This results in the blondie not being able to support itself once out of the oven, and so sinking in the middle. To avoid this, remember not to overbeat the batter (ie you want to incorporate minimal air into your mixture), instead mixing in more gently as you add each egg and subsequent ingredient in. Unlike in a cake, you want less air in your blondies to get the fudgy, chewy texture.
How long do blondies last and how do I store them?
These blondies will last 3-4 days if stored in an airtight container in a nice cool place away from direct sunlight. You can store them in the fridge if you wish, just pull out about 30 minutes before eating to allow them to come to room temperature.
Can you freeze blondies?
Absolutely! These blondies will freeze well for up to two months.
How to freeze blondies
I like to use large (sealable) food or freezer bags to freeze my blondies. Wrap each individual blondie piece tightly in cling film and place into your freezer bag. Gently push as much air out of the bag as possible and seal almost all the way, leaving a little part unsealed. Using a straw, carefully slip it into the unsealed part of your bag and use it to suck the remaining air out of the bag. This will make it look like it’s shrinking and make the paper contract against the blondies, which is exactly what you want. Once you’ve got as much air out as you can, seal the bag and lay it flat in your freezer.
How to thaw blondies
When you want to enjoy your frozen blondies again, just thaw them in the fridge overnight. Pull your blondies out of the fridge about half an hour before you want to enjoy eating them again, to allow them to come to room temperature.
Can I make these blondies gluten free and dairy free?
Yes! You can substitute your plain/all purpose flour for a gluten free flour, but do add an additional ¼ tsp Xanthan gum if you can tolerate it. For dairy free options similarly use a plant based butter. And don’t forget about your chocolate swaps too!
Additional tips for making this cherry bakewell blondies recipe
- Make sure you’ve prepared your tools before you start mixing: line your pan and preheat your oven. It’s easy to forget once you start mixing!
- I like to make sure my sugars are well melted and dissolved with the butter, as I like just the texture of the almonds in these blondies. You don’t have to do this, but I find it preferable.
- When swirling the compote into your blondie, don’t overdo it. I like finding ribbons of compote in my blondie, especially for the extra pops of flavour and texture it brings.
- Leave your blondies to cool completely before cutting. Your blondies will continue to bake from the residual heat once out of the oven, so leaving to cool also allows them to firm up enough so they don’t fall apart when you cut into them. You could even pop the uncut blondie in the fridge before cutting for extra clean slices!
Troubleshooting
If you have any other questions about this recipe, please use the comments below to ask away and I’ll do my best to help! And if you made and enjoyed this, I’d love to hear from you too!
And don’t forget: if you make this recipe for almond and cherry blondies, please do consider leaving a rating and review below, I would love to know how you enjoy making them and it really helps others looking for a recipe too! You could even post a picture on Instagram and tag me when you share it with the world, I’d love to see! 😊
More blondie and cherry bakewell recipes to enjoy
Don’t forget too to check out these other yummy recipes on my blog:
White chocolate chip blondies: chewy and delicious, my white chocolate chip blondies recipe is packed with white chocolate, and deserve all the love they can get!
Raspberry and white chocolate blondies: these blondies are chewy and utterly delicious, with the stunning flavours of sweet white chocolate and tart fresh raspberries perfectly complementing each other. If you’re looking for a bake guaranteed to be adored by everyone who tries it, look no further: this is the one!
Cherry bakewell flapjacks: chewy, almondy and definite comfort food, these little wonders are so tasty and easy to make too!
Mini cherry bakewell tarts: a classic British bake in a mini version! Buttery pastry, rich cherry jam, beautiful almond frangipane, a layer of icing, and of course, the obligatory cherry on top!
Happy baking, my friends! x
Recommended equipment and ingredients I used *
| Baking tin | Digital kitchen scales |
| Measuring spoons | Saucepan |
| Sieve | Spatula |

Love love love these cherry bake blondies.
Mine came out the oven and we thought we would have a little taste to see how good it was 🤣 it was so good it never made it to the glazing stage we ate it warm 😋.
It is so easy to make you will not be disappointed. If your a bakewell fan make two 😉 x
Awww, Emma, I love your enthusiasm and raving about this recipe! Thank you so much for taking time to come back and leave a review, so good to have you here! ❤️
Made these the other day. Unbelievably good. Chewy and delicious. And weirdly, they’re lovely straight from the freezer (but that might just be me!) Thanks for the great recipe 😊
So glad you enjoyed these Bram! And love your freezer tip! Not tried that one, but will do the next time I make them! 😊 Thanks for coming back to leave a comment 💕
Easy to follow recipe which makes the most divine, chewy blondies. I’m not usually a fan of cherry but these are delicious
Super easy recipe to follow. Absolutely divine, chewy blondies. I don’t usually like cherries but this is delicious.
Is that really only 80 grams of cherry compote? There’s a lower case letter “c” before the 80. Should that mean something? I really want to make these for the upcoming jubilee this coming weekend. Help!
Hi Tom! Yes, I use around 80g of compote, dolloping in tsp blobs before swirling around. The “c” before the number is short for “circa”, but to avoid future confusion I have changed the post. 80g is a guide, but you could use a little more if you wish too. Hope that clarifies for you, enjoy your baking and your jubilee weekend! 🙂
Got it, thanks!
Made these yesterday for a lunch to celebrate the Queen’s platinum jubilee here in the US and they were a hit! Followed the recipe exactly (no substitutions or changes) and they baked up perfectly. Adding the recipe to my binder of approved recipes. 😁
Hi Tom, so glad you enjoyed the recipe and it was a hit! Really appreciate you taking time to leave me a rating and review, thank you!
These look absolutely divine! I love the combination of almond and cherry flavors.