
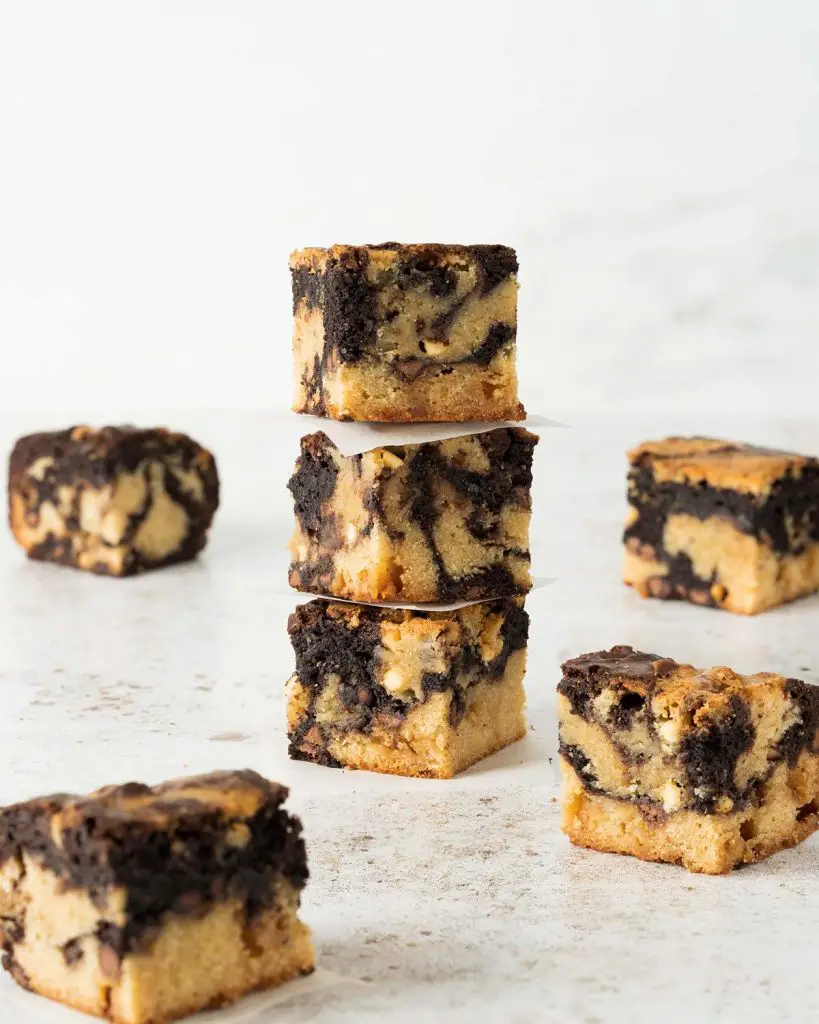
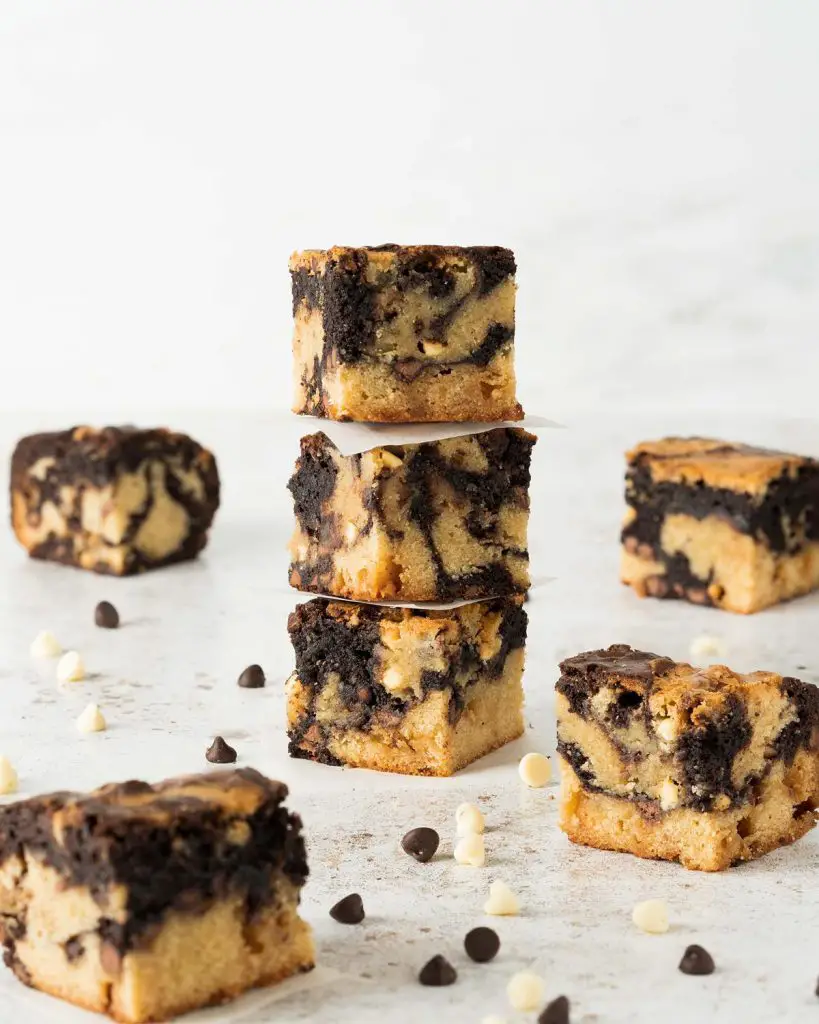
Blondie and brownie fans, stop scrolling! My brownie blondies recipe swirls together both these delights into a heavenly delicious bake no one can resist! Pure, indulgent, blondie brownie bliss!
What’s the difference between a brownie and a blondie
Blondies and brownies are actually very similar in texture and much of the method of making. I like to think of them as the dark and white chocolate cousins of the other. In essence, a brownie uses cocoa and/or dark chocolate as part of the ingredients, making them rich and dark and chocolatey. Whereas blondies use white chocolate and no cocoa powder. This means blondies are lighter in colour and tend to be slightly sweeter than brownies, without compromising on the texture we all adore!
What is blondies brownie?
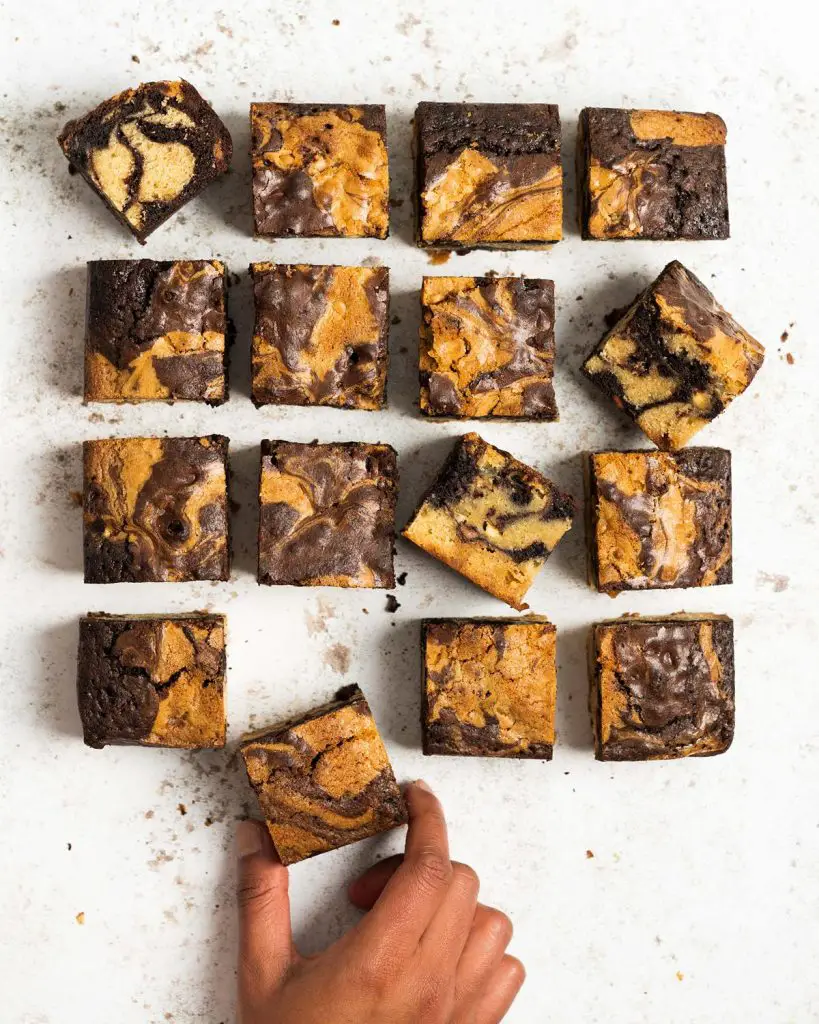
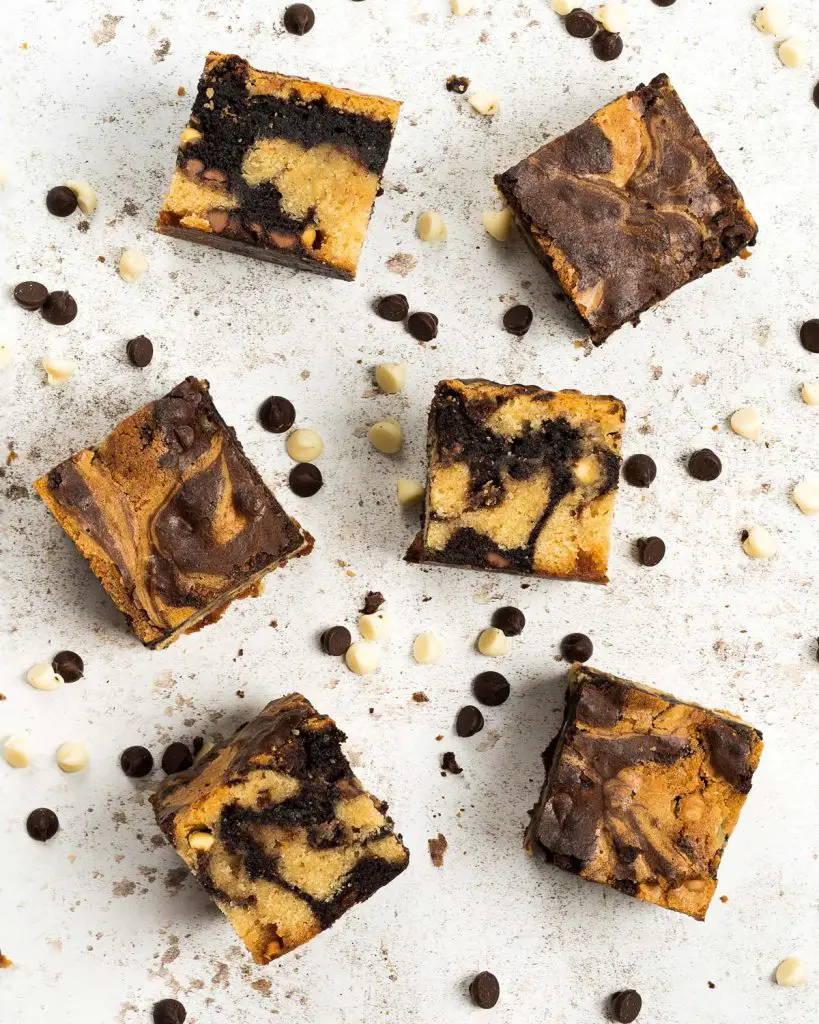
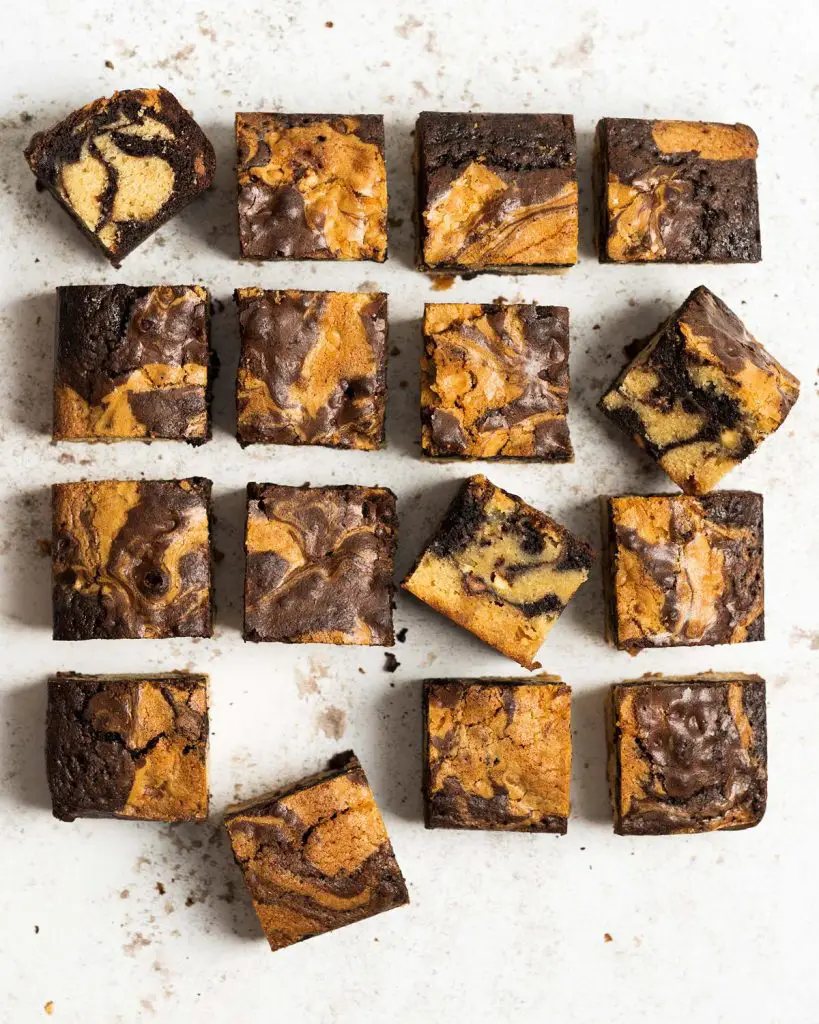
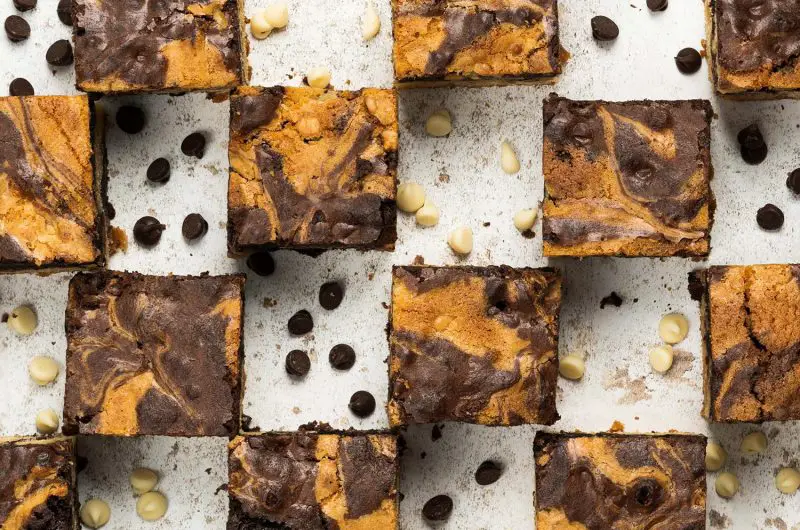
Exactly what it sounds like, a brownie blondie is a bake that combines both delicious brownies with irresistible blondies. Some recipes layer them, one over the other. But I like to swirl them, so not only do you get both blondie and brownie in every mouthful, there is also a pretty pattern to be enjoyed!
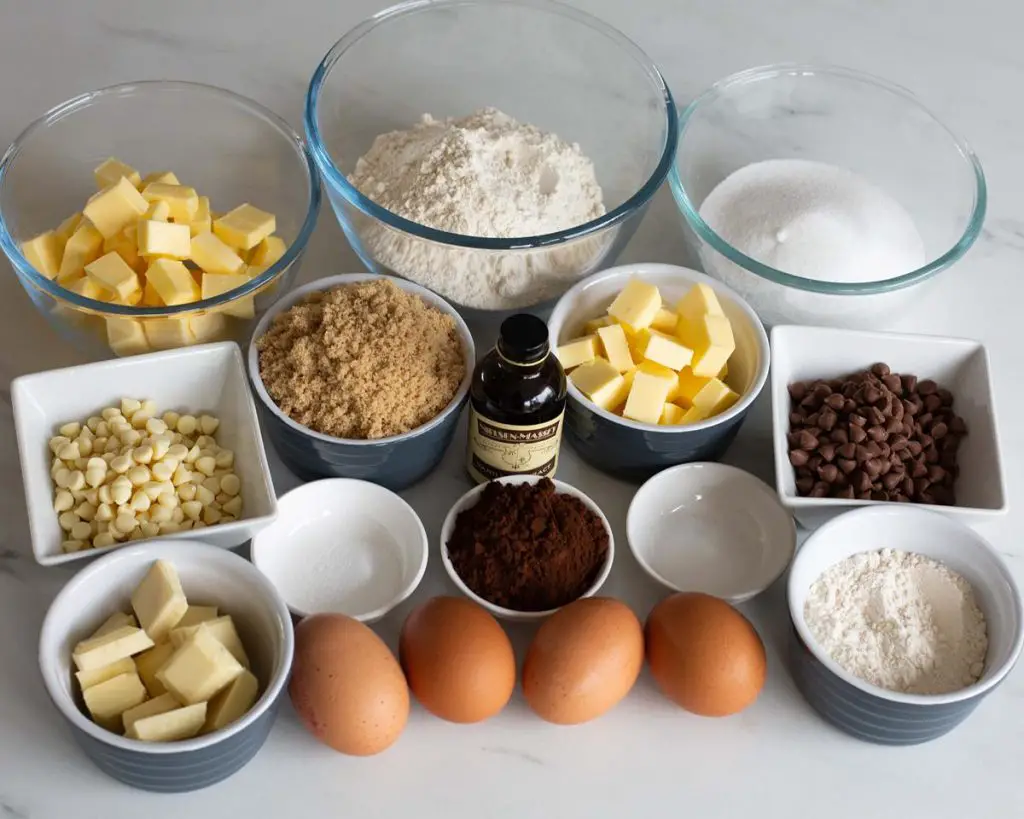
What ingredients do I need to make this brownies blondies recipe?
- Butter: I prefer using unsalted butter so I can control how much salt is in my bakes.
- Caster sugar: for sweetness in the brownie part of this bake.
- Brown sugar: I use brown sugar in the blondie batter, preferring it over caster sugar. I find it gives my blondies a yummy flavour, whilst keeping them moist and irresistibly chewy.
- White chocolate: used in the blondie mixture to give beautiful flavour and texture to the blondie brownies.
- Eggs: for structure and volume in the bake.
- Vanilla: gives the whole bake a beautiful flavour!
- Cocoa powder: chocolate delight for the brownie part of these brownie blondies.
- Flour: used in both batters, I use plain (all purpose) flour here to give a more dense chewy texture without some of the rise self raising flour gives.
- Salt: enhances the flavours of the bake. You will not taste it at all, don’t worry!
- Chocolate chips: I use two types of chocolate chips in this bake. Milk chocolate chips in the brownie half, and white chocolate chips in the blondie.
What equipment do I need to make marble blondie brownies?
- Baking tin*: I used an 8” square pan for these blondies. One with a loose bottom makes it much easier to lift the blondie brownies out of the tin after baking.
- Parchment paper: for lining the baking tin. This stops the bake from sticking to the pan, making it loads easier to remove from the tin once baked.
- Digital kitchen scales*: my recommended method of measuring out ingredients is always to weigh them. This is more accurate than using volume measurements, especially important in baking. However, I do provide measurements in grams and cups to suit individual preferences.
- Measuring spoons*: an essential tool for measuring smaller quantities such as teaspoons (tsp) and tablespoons (tbsp). Using special measuring spoons is more accurate than using every day eating spoons, so is a must for every baker.
- Small mixing bowl*/large mixing bowl*: any bowl the ingredients can be mixed up in is good! My mixing bowls are also microwave safe, which makes it easier to melt ingredients together and mix in the same bowl.
- Spatula*: to mix ingredients together and scrape out the mixture when transferring it to the baking tin.
- Whisk*: used to mix together ingredients when making both the brownie and blondie parts of this bake.
- Sieve*: to remove lumps from the dry ingredients, helping ensure everything gets mixed together evenly.
How to make the perfect marbled brownie blondies
In essence, I make two batches of batter for this recipe. One is a brownie batter, and the other is a blondie one. Then they are both placed in my tin together, swirled and baked. Eh voila, brownie blondies!
For the brownie batter:
Step 1: Line the baking tin with parchment paper then set it aside. Preheat the oven to 180C/350F.
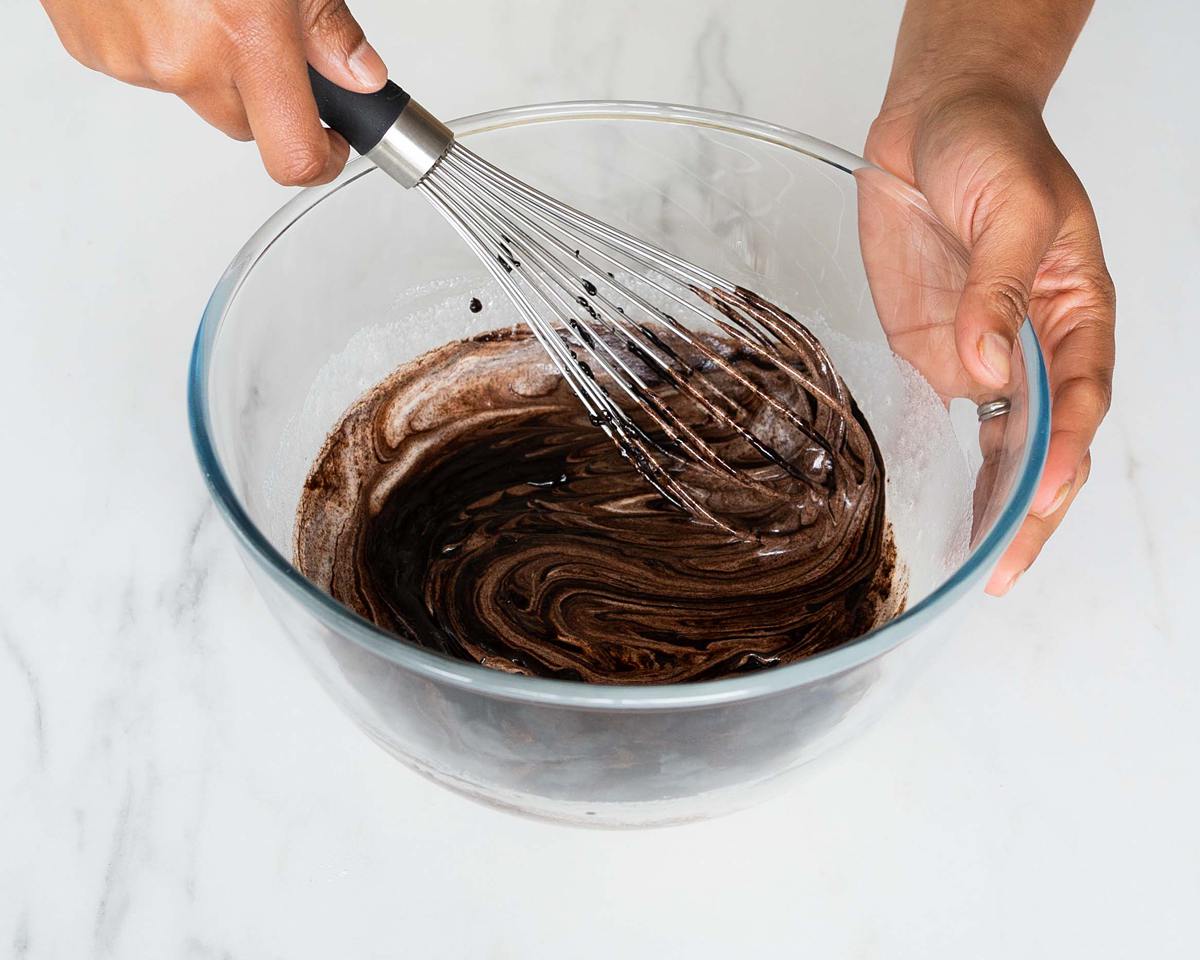
Step 2: In a small mixing bowl, melt the butter in short bursts in the microwave, stirring in between, until melted. Tip in the cocoa powder and mix to combine. Set this bowl aside to cool slightly.
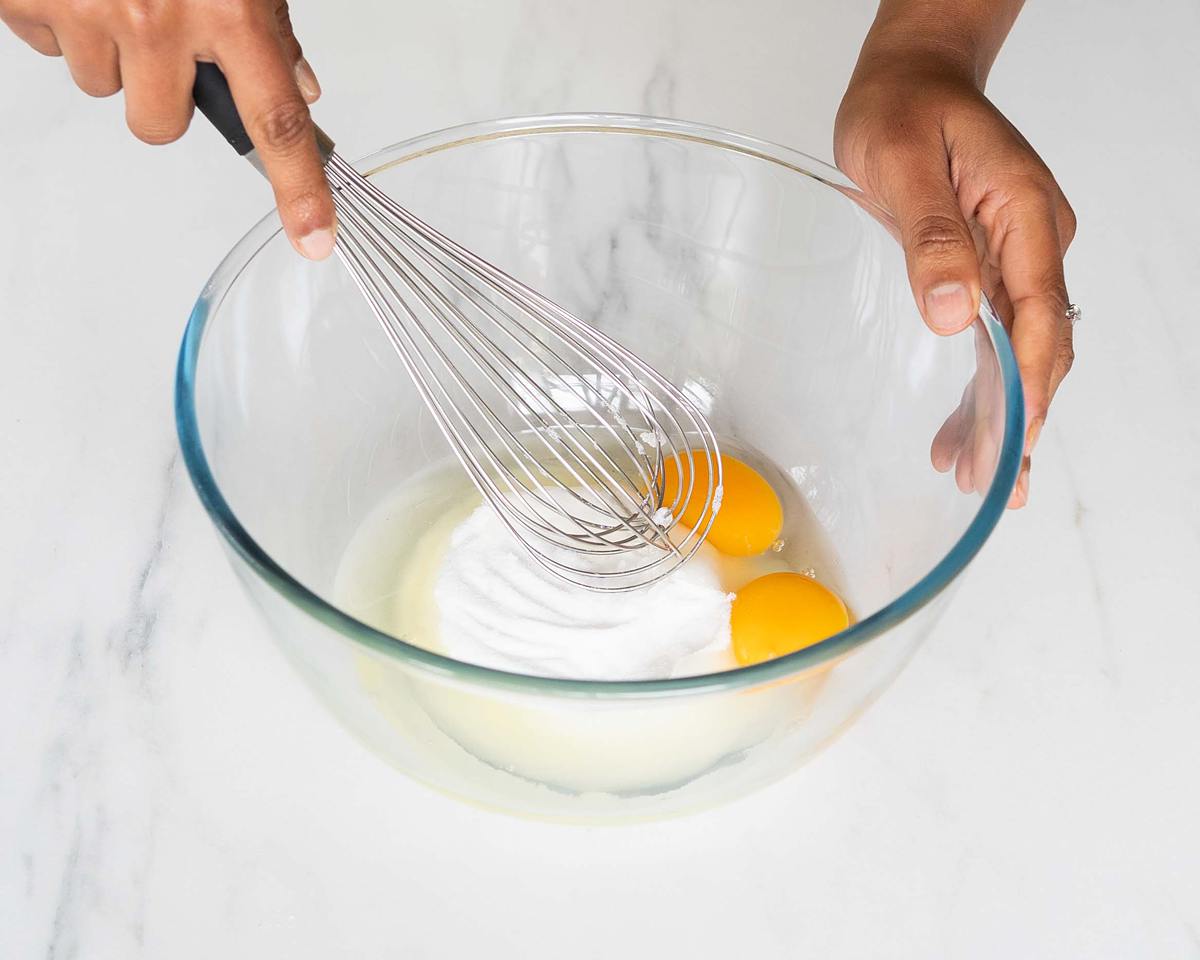
Step 3: In a separate large mixing bowl, beat together the sugar and eggs for 2 minutes until pale and creamy. Add in the vanilla and chocolate mixture and stir together to combine.
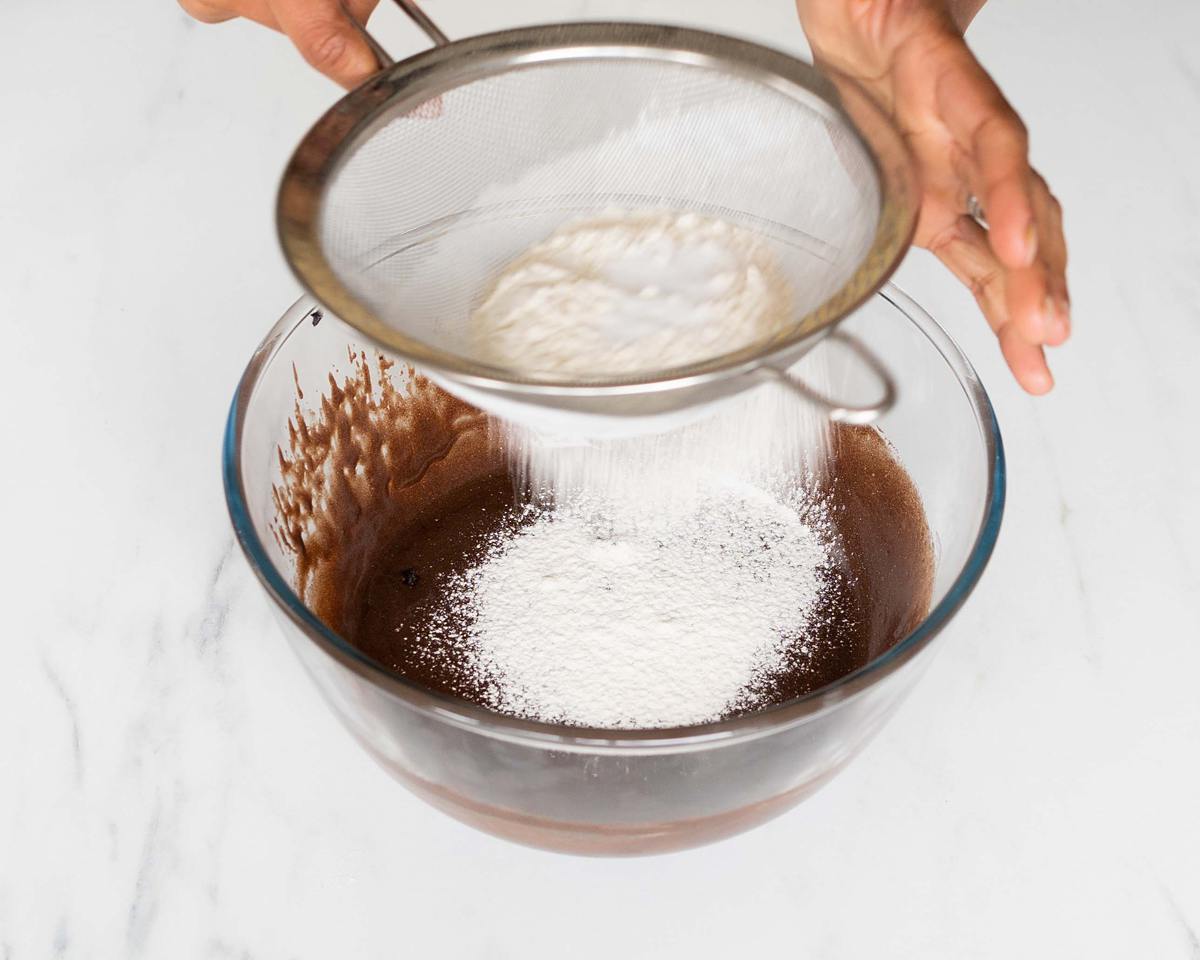
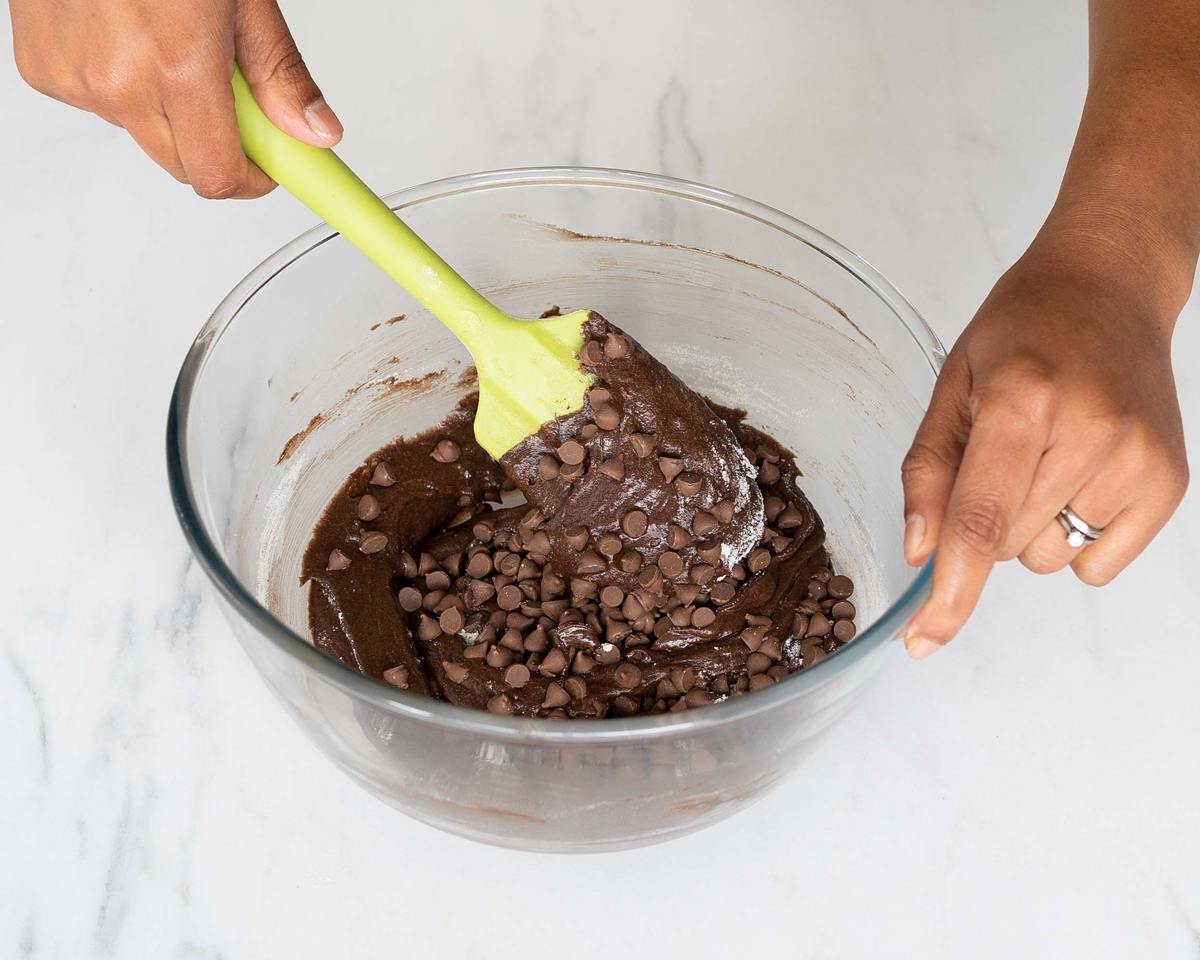
Step 4: Sift in the flour and salt and fold it into the chocolate mixture until almost combined. Tip in the chocolate chips and fold in, making sure there are no streaks of flour remaining. Set this bowl aside whilst making the blondie mixture.
For the blondie batter:
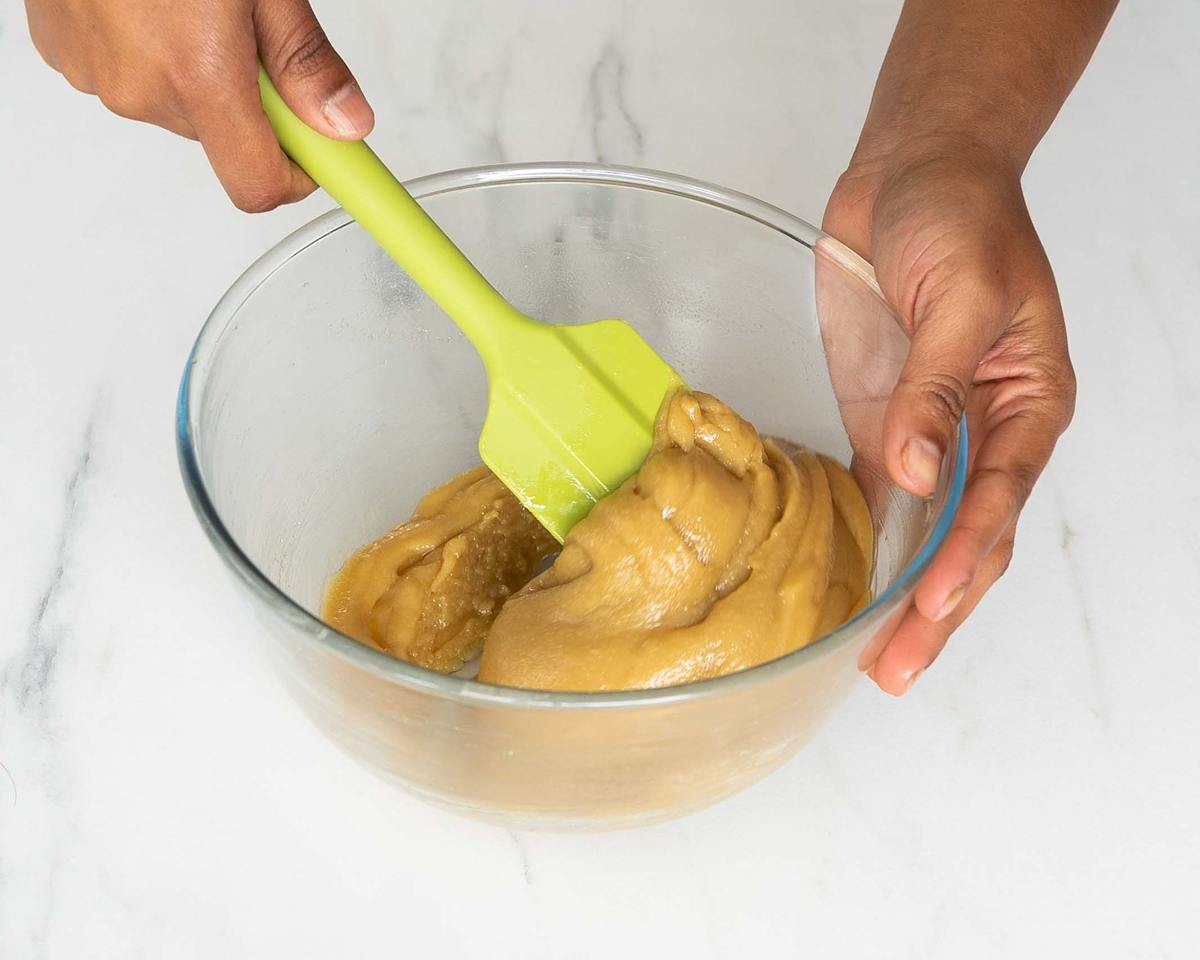
Step 1: In a large mixing bowl, combine the butter, sugar and white chocolate. Melt them together in the microwave in 10-20 second bursts, stirring in between, until completely melted. Once everything has melted, keep mixing these ingredients until they come together and turn into a smooth fudgy mixture. The mixture may look curdled to start with. Just keep mixing, be patient, and have faith it will come together in the end!
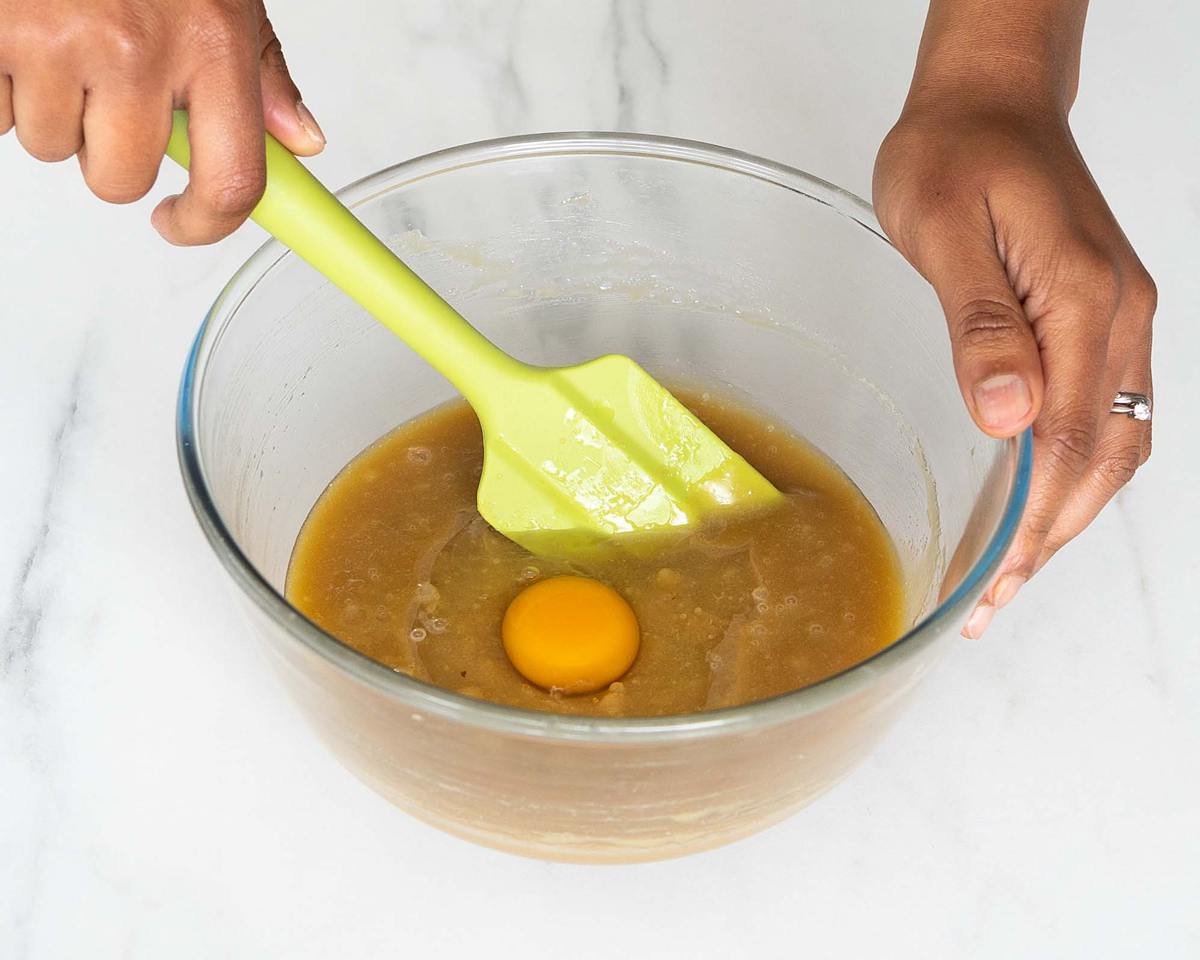
Step 2: Add the eggs and vanilla into the bowl one at a time, mixing well to combine in between additions. The mixture will be thick and glossy.
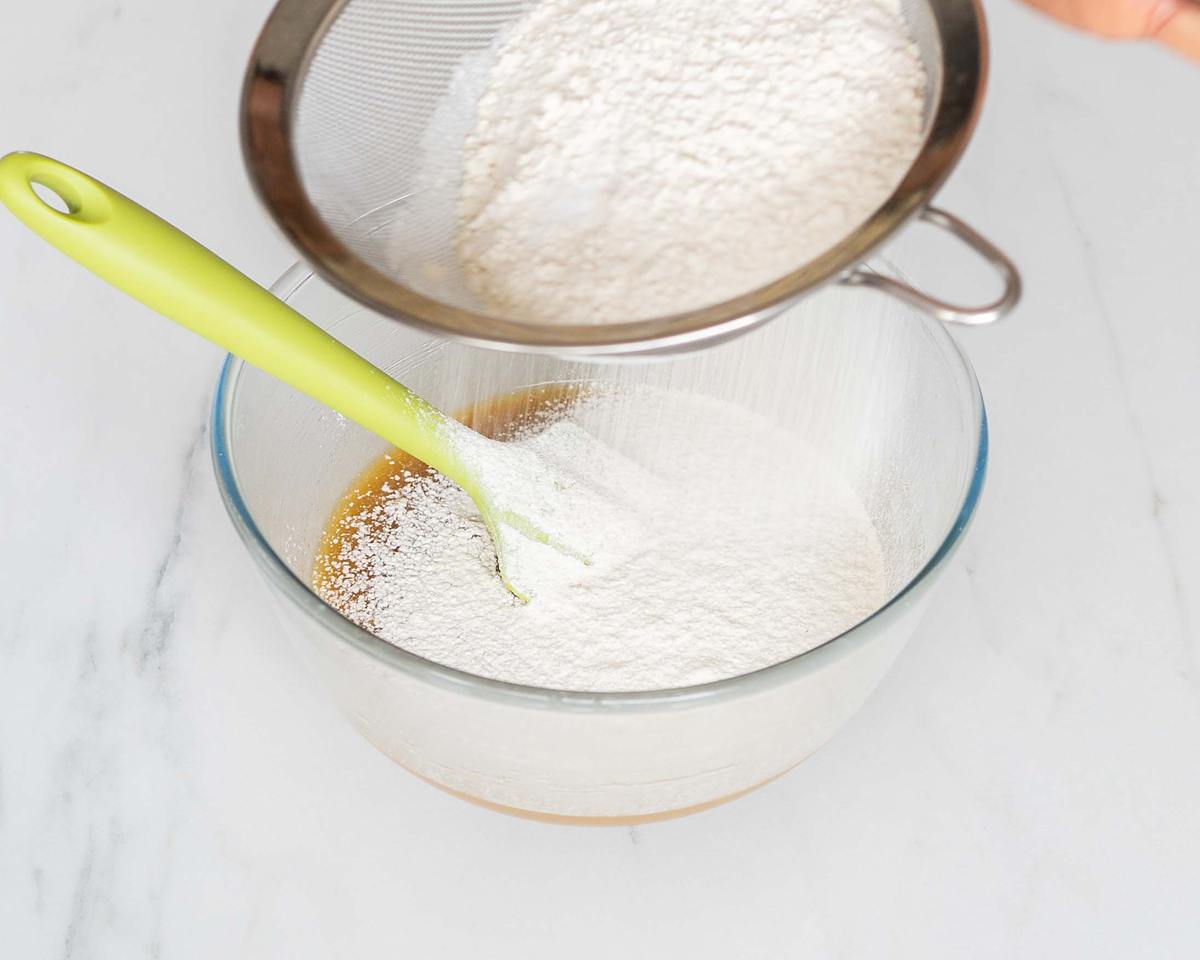
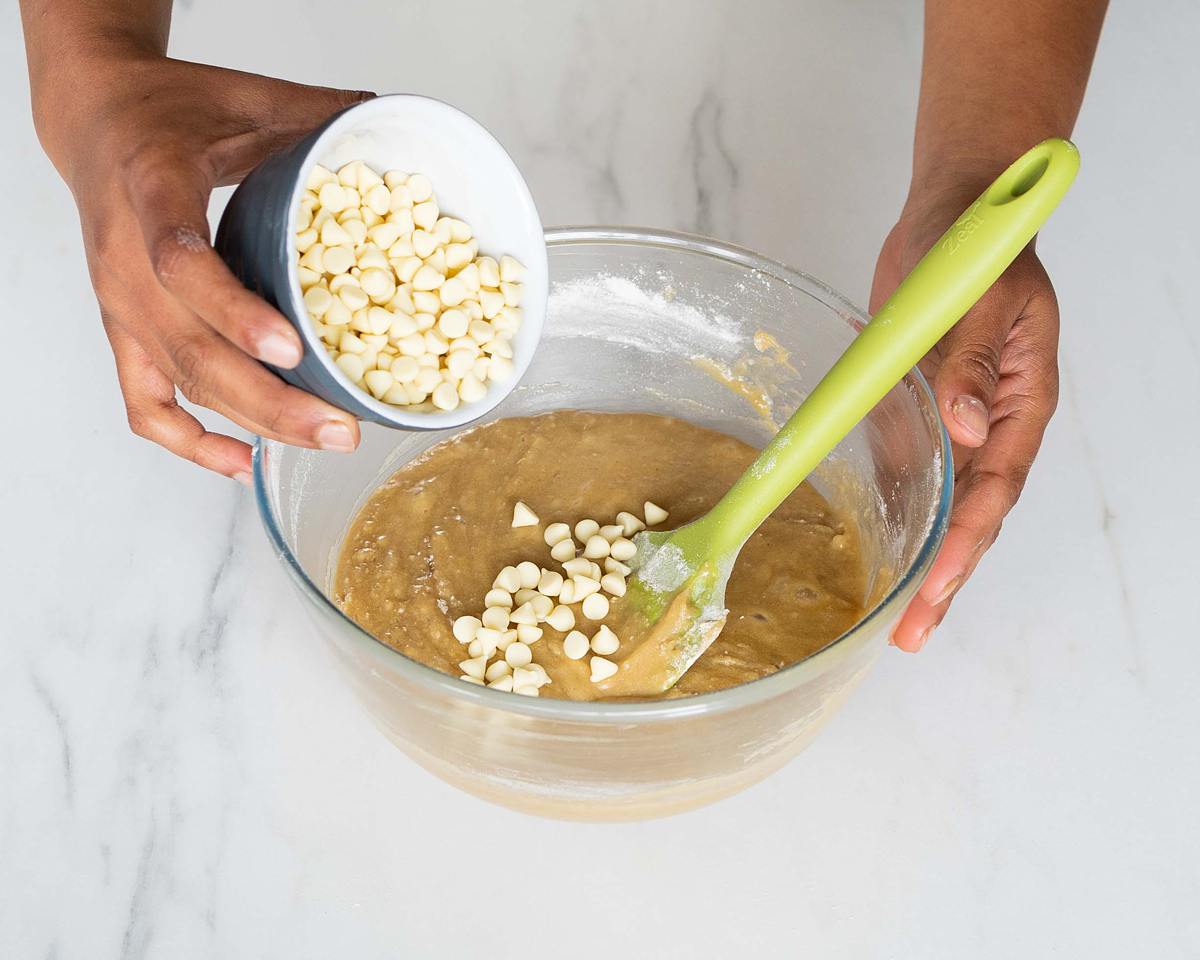
Step 3: Sift in the flour and salt, then fold in gently to almost completely mix together. Add in the chocolate chips and fold together to mix in thoroughly, leaving no streaks of flour.
To bring it all together:
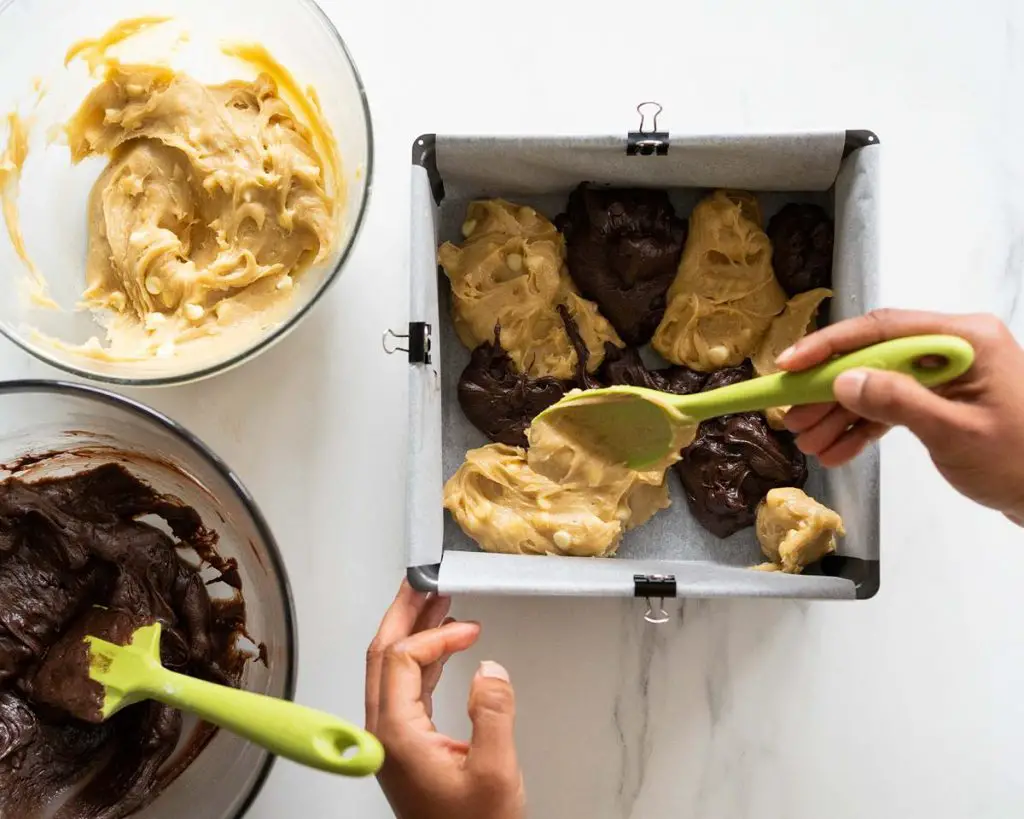
Step 1: Once both brownie and blondie mixtures have been made, it is time to bring them together to bake. Using a large spoon to measure each mixture, place alternating dollops of each mixture around the base of the tin. Once the base has been covered, place spoonfuls of mixture on top, trying to keep blondies over brownies or brownies over blondies. Keep doing this until all of both mixtures have been used up.
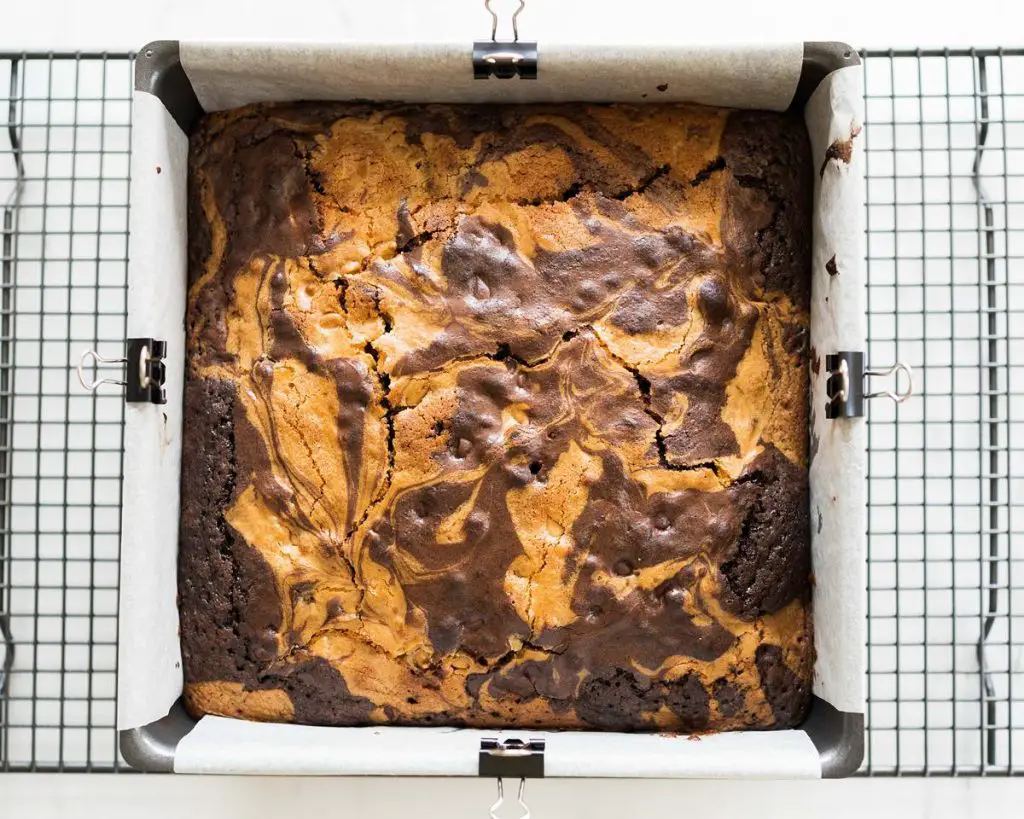
Step 2: Using a knife, gently swirl the mixture around in the tin to create a marbled pattern on top of the brownie blondie. Be careful not to swirl too much or both mixtures will combine and lose definition.

Step 3: Bake in the preheated oven for 40-50 minutes until the edges are firm and shrinking away from the sides of the pan, and the middle no longer wobbles. A wooden skewer inserted into the middle of the bake will come out with a few very moist crumbs. Remove from the oven and cool on a rack for 5 minutes before turning out of the tin. Leave to cool completely before cutting into squares. Enjoy!
How do I line a baking tin?
The simplest way is to cut two strips of baking parchment slightly narrower than one side of the square tin. You can brush the tin with some melted butter before laying the strips in the tin in a cross shape. The butter helps the paper stick to the tin and not move, but is not required. You should make sure to have some paper overhanging over all four sides of the tin to help with removing the brownie blondies from the tin once baked.
How do I know when my brownie blondies are done?
The blondie brownies are done when they start to pull away slightly from the sides of the tin. You will also notice the edges of the bake is golden, and the middle will no longer wobble when the tin is gently shaken. A wooden skewer inserted into the middle of the bake will come out with a few very moist crumbs, not wet with unbaked mixture.
Please remember not to overbake this brownie blondie or it will be hard and dry, not fudgy and chewy as we want. Just check it carefully using the guidance shared above and bake will be beautiful!
Can I make this brownie blondies recipe gluten free and dairy free?
You can substitute the plain/all purpose flour for a gluten free plain flour blend. For dairy free options, this brownie blondie recipe will work with a plant based block butter. Please make sure to use the blocks of butter, not the spreadable kind found in a tub. Remember too you will need to substitute the white chocolate for a suitable dairy free alternative, along with both milk and white chocolate chips.
How long do these brownie blondies last and how do I store them?
These chunky beauties need to be stored in an airtight container and will last about 4-5 days. They do not need to be kept in the fridge, just a cool spot away from direct sunlight is perfect.
Can you freeze these blondies brownies?
Absolutely! These brownie blondies will freeze well for up to three months, though they are always better enjoyed freshly baked.
How to freeze brownie blondies
Wrap each piece individually tightly in cling film and place in an airtight container before placing in the freezer. A container will protect these blondie brownies from being bashed and broken in the freezer. However, if you have no space or containers, placing them in a sealable freezer bag and removing the air from the bag before sealing and laying flat in the freezer will work well too.
How to thaw brownie blondies
When ready to eat the frozen blondies again, just remove as many as you wish from the freezer. Unwrap and place the blondie brownie pieces on a cooling rack to thaw completely before devouring!
Additional tips for making this recipe for blondie brownies
- Make sure you have everything prepared before you start mixing: line the pan and preheat the oven. It is so easy to get flustered once you start mixing, especially since there are two mixes going on here!
- Read through the instructions twice, especially the ingredients and their measurements. I have lost count of how many times I have started making the brownie batter and mixing the wrong amount of flour in! Know where you are at so you don’t make my mistakes!
- Make sure, with both the brownie and the blondie mixtures, to allow a few minutes for the initial mixtures to cool before adding the eggs. If you rush through, you may end up slightly cooking the eggs in the warmth of the mixture, ending up with delicious scrambled eggs instead!
- When you melt the butter, sugar and chocolate together for the blondie part, the mixture will initially look like it does not mix. The butter will look separated and the rest will look a curdled mess. This is exactly how it should look, just keep mixing until it all blends together and becomes one smooth mixture.
- Take your time when placing the mixture into the tin. Place spoonfuls next to each other, alternating between the blondie and the brownie mixtures, until the bottom is covered, then work on the layer above until all the mixture has been used.
- When doing the brownie blondie swirl, remember not to over swirl it or it will end up mixing both batters and will lose definition between the two colours.
- Leave the brownie blondies to cool completely before you cut into them. I know it is so tempting to cut in as soon as you can. Remember though that the warm blondies will continue to bake even once out of the oven. Additionally, cutting it when it is still warm will result in them falling apart as you cut them. So no lovely neat squares!
Any other blondie brownies questions
I hope I have helped with your search for blondie brownie recipes. If you have any other questions about this particular recipe, please use the comments below to ask away and I will do my best to help you. Once you have made this recipe for brownie blondies, please consider leaving a rating and review for it below, I would love to know how you enjoy making it. It is also really helpful for others looking for a recipe like this one. You could also share it with me on Instagram and tag me in it if you choose to share it with the world!
Even more brownie and blondie recipes for you to enjoy
Blondie and brownie fans, I have your back! Here are just some of the beautiful recipes on my blog too:
Brownie donuts: brownie donuts, aka bronuts, are my latest obsession! Rich and chocolatey, squidgy and fudgy, with a deep chocolate glaze everyone will love. If you are a brownie fan and love your donuts too, then this one is most definitely for you!
Jammie Dodger blondies: love jammie dodgers? Cannot get enough blondies in your life? Then this bake is for you! Beautiful fudgy white chocolate blondies packed with jammie dodger biscuits and swirls of raspberry jam. These jammie dodger blondies really are absolutely incredible!
Oreo stuffed brownies: these Oreo stuffed brownies are rich, gooey and beautifully chocolatey. A perfectly decadent treat for all the chocolate, brownie and Oreo fans out there. Deep, dark and wholly irresistible, these brownies are just out of this world to die for!
And that is it for today! To all my fellow bakers, brownie lovers and blondie fanatics, I dedicate this bake to you!
Happy baking, my friends! x
Recommended tools I used in this bake *
| Baking tin | Digital kitchen scales |
| Measuring spoons | Small mixing bowl |
| Large mixing bowl | Spatula |
| Whisk | Sieve |
Brownie Blondies Recipe
16
servings20
minutes40
minutes382
kcal1
hourThe best of both worlds, these brownie blondies are chewy and fudgy and totally irresistible!
Keep the screen of your device on
Ingredients
- For the brownie batter
100 g (¼ cup + 3 tbsp) unsalted butter
40 g (¼ cup + 2 tbsp) cocoa powder
200 g (1 cup) caster sugar
2 large eggs
1 tsp vanilla
60 g (¼ cup + 3 tbsp) plain (all purpose) flour
0.5 tsp salt
100 g (½ cup + 1 tbsp) milk chocolate chips
- For the blondie batter
160 g (¾ cup) unsalted butter
160 g (¾ cup + 1 tbsp) brown sugar
100 g (⅔ cup) white chocolate, broken into chunks
2 large eggs
2 tsp vanilla
200 g (1 ¼ cups + 3 tbsp) plain (all purpose) flour
0.5 tsp salt
100 g (½ cup + 1 tbsp) white chocolate chips
Directions
- For the brownie batter
- Line the baking tin with parchment paper then set it aside. Preheat the oven to 180C/350F.
- In a small mixing bowl, melt the butter in short bursts in the microwave, stirring in between, until melted. Tip in the cocoa powder and mix to combine. Set this bowl aside to cool slightly.
- In a separate large mixing bowl, beat together the sugar and eggs for 2 minutes until pale and creamy. Add in the vanilla and chocolate mixture and stir together to combine.
- Sift in the flour and salt and fold it into the chocolate mixture until almost combined. Tip in the chocolate chips and fold in, making sure there are no streaks of flour remaining. Set this bowl aside whilst making the blondie mixture.
- For the blondie batter
- In a large mixing bowl, combine the butter, sugar and white chocolate. Melt them together in the microwave in 10-20 second bursts, stirring in between, until completely melted. Once everything has melted, keep mixing these ingredients until they come together and turn into a smooth fudgy mixture. The mixture may look curdled to start with. Just keep mixing, be patient, and have faith it will come together in the end!
- Add the eggs and vanilla into the bowl one at a time, mixing well to combine in between additions. The mixture will be thick and glossy.
- Sift in the flour and salt, then fold in gently to almost completely mix together. Add in the chocolate chips and fold together to mix in thoroughly, leaving no streaks of flour.
- To bring it all together:
- Once both brownie and blondie mixtures have been made, it is time to bring them together to bake. Using a large spoon to measure each mixture, place alternating dollops of each mixture around the base of the tin. Once the base has been covered, place spoonfuls of mixture on top, trying to keep blondies over brownies or brownies over blondies. Keep doing this until all of both mixtures have been used up.
- Using a knife, gently swirl the mixture around in the tin to create a marbled pattern on top of the brownie blondie. Be careful not to swirl too much or both mixtures will combine and lose definition.
- Bake in the preheated oven for 40-50 minutes until the edges are firm and shrinking away from the sides of the pan, and the middle no longer wobbles. A wooden skewer inserted into the middle of the bake will come out with a few very moist crumbs. Remove from the oven and cool on a rack for 5 minutes before turning out of the tin. Leave to cool completely before cutting into squares. Enjoy!
Notes
- Make sure you have everything prepared before you start mixing: line the pan and preheat the oven. It is so easy to get flustered once you start mixing, especially since there are two mixes going on here!
- Read through the instructions twice, especially the ingredients and their measurements. I have lost count of how many times I have started making the brownie batter and mixing the wrong amount of flour in! Know where you are at so you don’t make my mistakes!
- Make sure, with both the brownie and the blondie mixtures, to allow a few minutes for the initial mixtures to cool before adding the eggs. If you rush through, you may end up slightly cooking the eggs in the warmth of the mixture, ending up with delicious scrambled eggs instead!
- When you melt the butter, sugar and chocolate together for the blondie part, the mixture will initially look like it does not mix. The butter will look separated and the rest will look a curdled mess. This is exactly how it should look, just keep mixing until it all blends together and becomes one smooth mixture.
- Take your time when placing the mixture into the tin. Place spoonfuls next to each other, alternating between the blondie and the brownie mixtures, until all used up, then work on the layer above.
- When doing the brownie blondie swirl, remember not to over swirl it or it will end up mixing both batters and will lose definition between the two colours.
- Leave the brownie blondies to cool completely before you cut into them. I know it is so tempting to cut in as soon as you can. Remember though that the warm blondies will continue to bake even once out of the oven. Additionally, cutting it when it is still warm will result in them falling apart as you cut them. So no lovely neat squares!
What a gorgeous recipe! Thought it was going to be too mega sweet for me with the white chocolate as well, but it really wasn’t and very more-ish! It’s a fairly easy-ish recipe to make, my 13 year old daughter made this pretty much by herself, but looks really impressive when made! Thanks Andrea 🙂
So glad you all enjoyed it! Thanks so much for taking time to leave a comment too! 😊
This recipe is so yummy! I made it for a dinner with my waterpolo team and people loved it! It’s cakey and fudgy at the same time, and took way longer to bake but the end result was so worth the wait! It rose super high and the marble effect came out lovely.