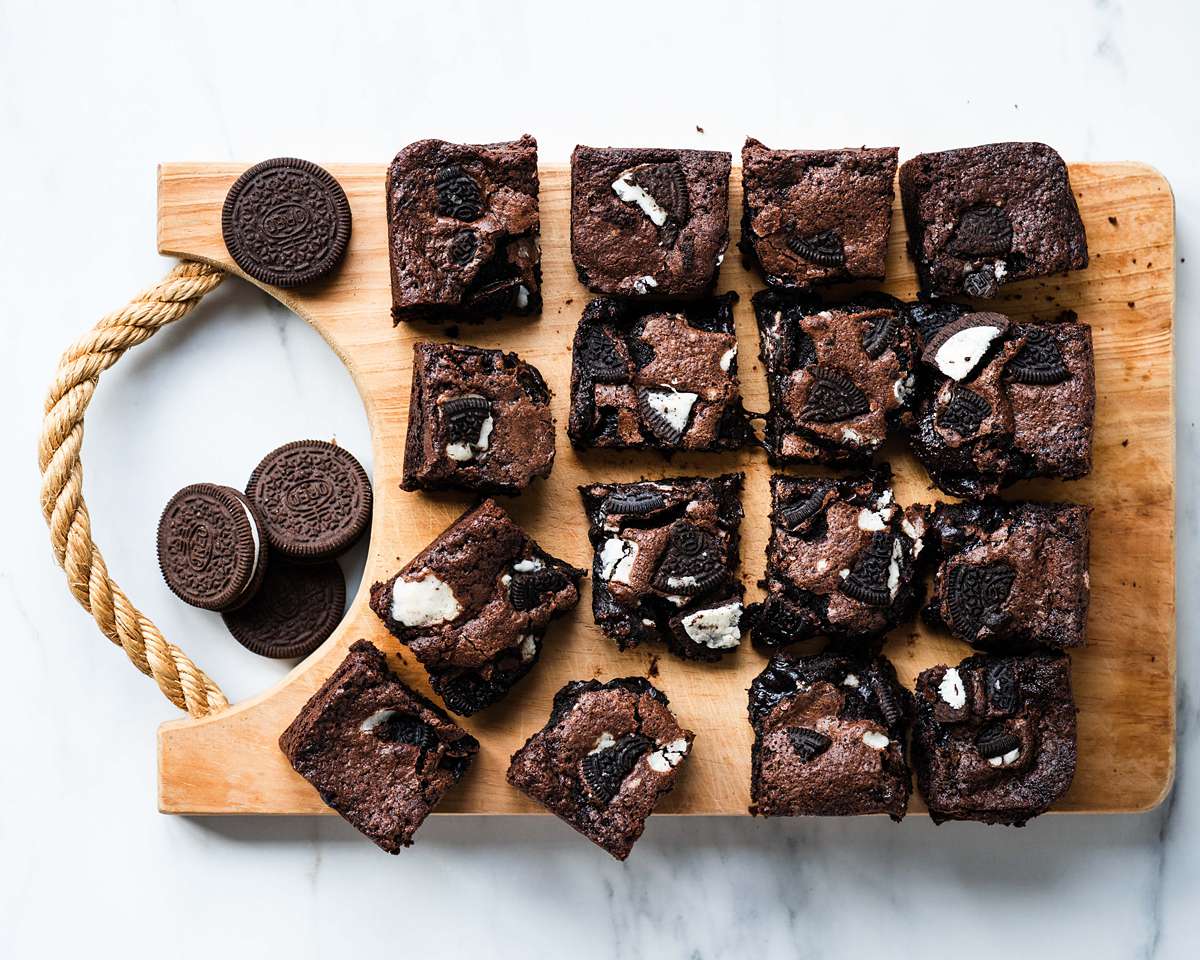
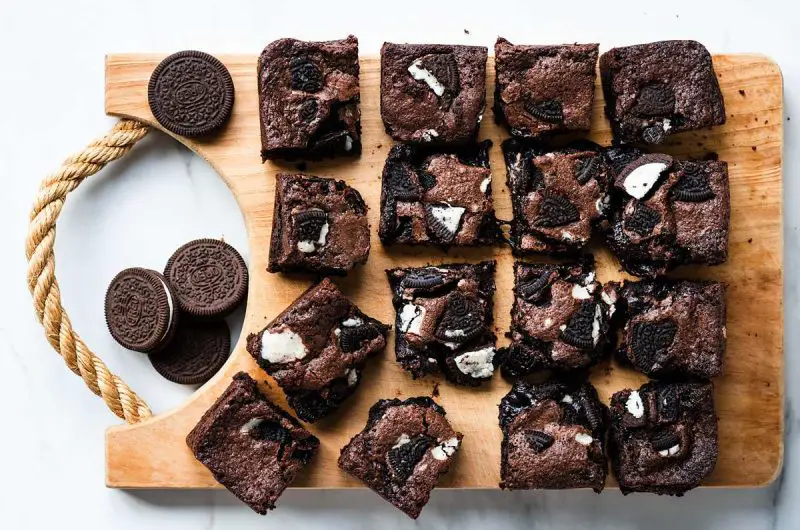
These Oreo stuffed brownies are rich, gooey and beautifully chocolatey. A perfectly decadent treat for all the chocolate, brownie and Oreo fans out there. Deep, dark and wholly irresistible, these brownies are just out of this world to die for!
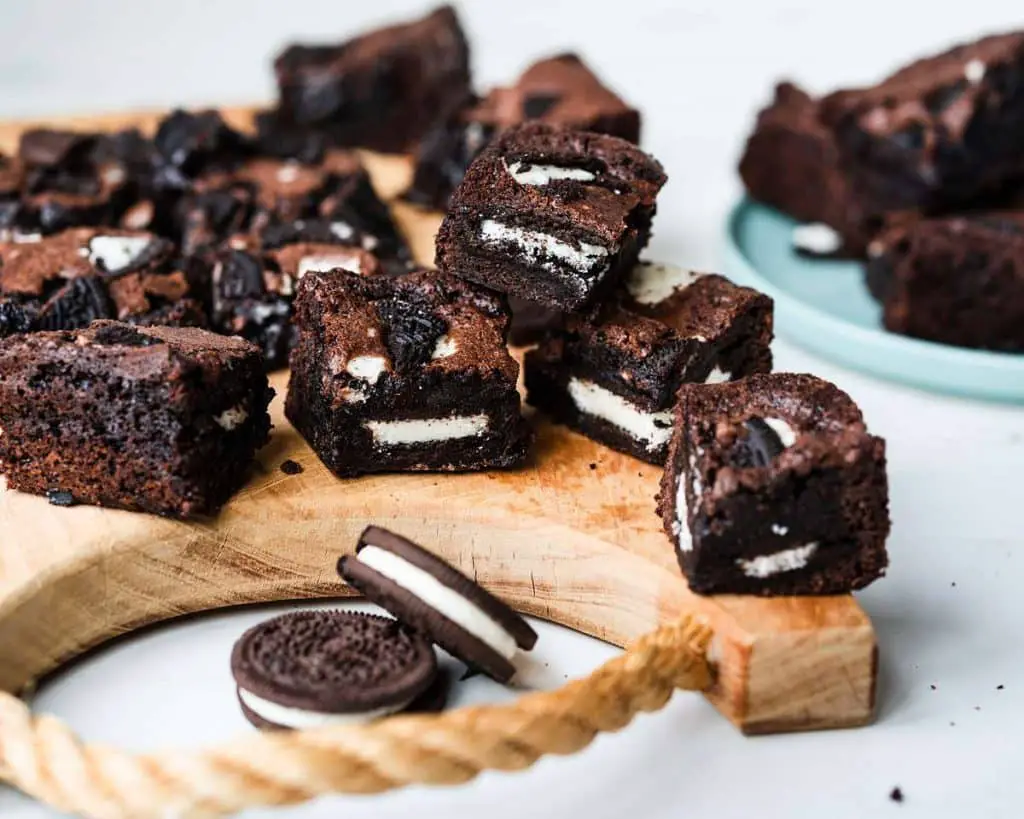
Double the creme, double the joy!
My daughter is currently obsessed with all things Oreo. From cookies and fudge to ice cream and cheesecake, she just cannot seem to get enough of them. So when she and I found some double creme Oreos in the shops at the weekend, it was inevitable we would bring them home to bake something joyful with them!
Brownies for me hold some of my earliest baking memories. Granted, they were mostly baking fails when I tried making them as a child (I get bakes really wrong too, believe me!). But the love for the totally unique fudgy texture of a really good brownie has always made me weak at the knees.
And, of course, chocolate. You can never EVER go wrong with including chocolate in your baking. This is a fact and no one can convince me otherwise! 😆
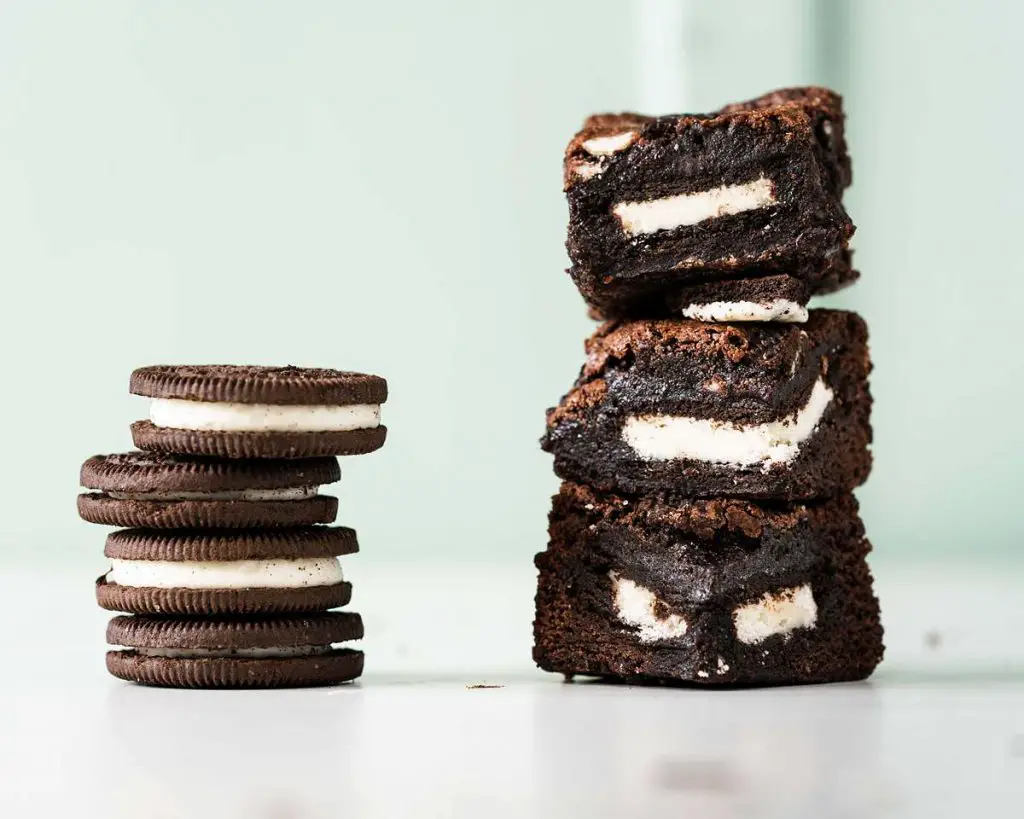
How do you like your Oreo brownies?
There are as many preferences for brownies out there as there are choices! Fudgy, chewy, cakey, firm, gooey… the list is endless! And honestly, one brownie recipe is just not able to satisfy everyone! Personally, I prefer my brownies more fudgy or chewy. I really love the dense texture of it, rather than a cakey one as others prefer. For me, the perfect brownie is always one that is chewy and rich, perfect when served warm with a bit of vanilla ice cream. Yum!
A little fun fact for you: brownies are meant to be made with a lot less flour than a cake or a cookie. This is what helps give it that gorgeous chewy texture. In other words, remember not to worry when you see the proportion of flour to all your other ingredients is substantially less! I have experimented with lots of different recipes, trust me it works!
What ingredients do I need for Oreo stuffed brownies?
- Butter: I always use unsalted butter as it allows me to control if I wish to add any salt into my bake.
- Brown sugar: for the sweetness of course, but also helps with the fudgy texture of your brownies.
- Caster sugar: needed for these brownies. There is a decent amount of sugar in these brownies, but don’t be alarmed by this, they aren’t overly sweet!
- Eggs: helps with the structure of the brownies.
- Flour: this recipe uses self raising flour. If you don’t have self raising flour, substitute for plain flour and add in 1½ tsp baking powder too.
- Cocoa powder: essential in a brownie for all that beautiful chocolatey loveliness!
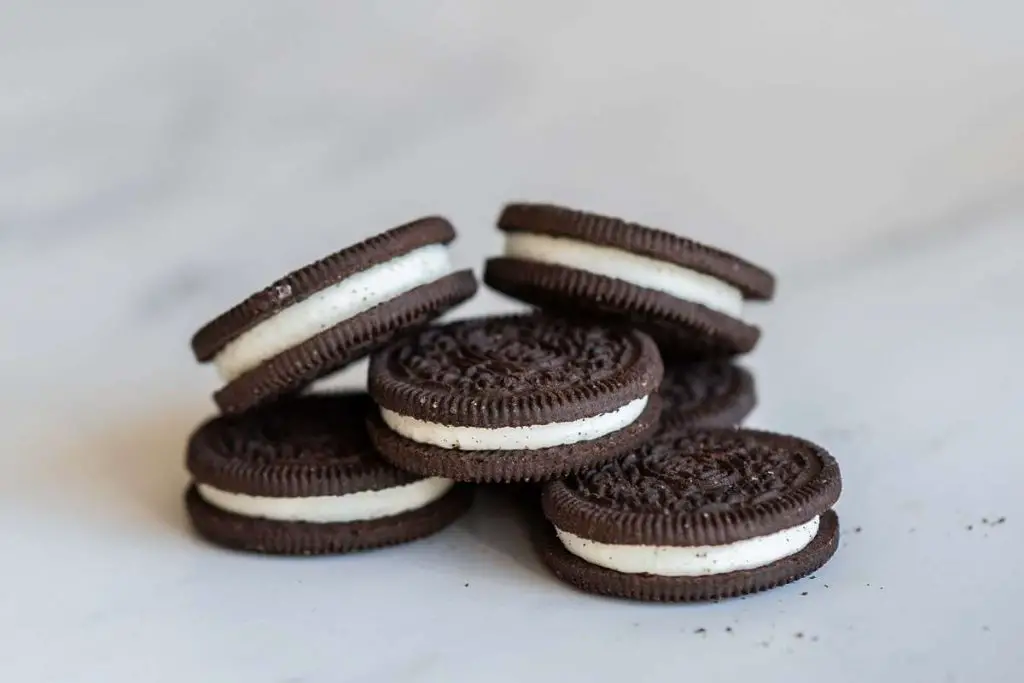
- Oreos: the star of this bake. Make sure you have enough for a few spare to munch on whilst you bake! Perks of the baker, right?? 😇
What baking equipment do I need to make these Oreo stuffed brownies?
- Baking tin*: you will need an 8”x 8” tin. One with a loose bottom is my preference, for ease of removal once baked.
- Parchment paper*: to line your baking tin. This stops your brownie from sticking to your pan and makes it loads easier to slide off the base of the tin too.
- Digital kitchen scales*: weighing out ingredients, for me, guarantees me a brilliant result every time. This is always my preference when baking, but I do provide measurements in cups too if this is your preference.
- Measuring spoons*: a set of measuring spoons made for food preparation is a useful tool in your kitchen. It is also far more accurate than using your everyday eating spoons, which can vary greatly in size.
- Sieve*: I like to sieve my dry ingredients before mixing them in. I find they mix through better and more easily if sifted first.
- Mixing bowl* any bowl large enough will do: plastic, glass, the choice is yours!
- Whisk*: to mix together your initial ingredients together, ensuring everything is fully combined.
- Spatula*: to use to mix ingredients together towards the end of my method. I don’t want to add any air to my brownie batter, so stirring with a spatula limits it.
How to make Oreo stuffed brownies
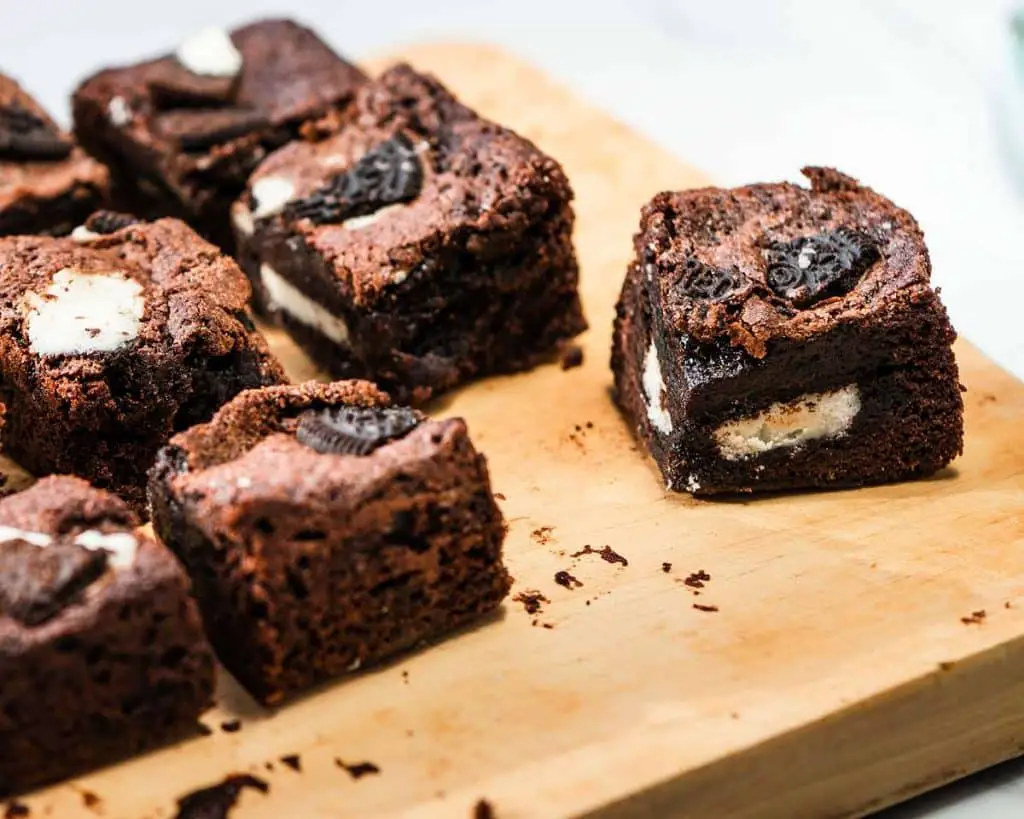
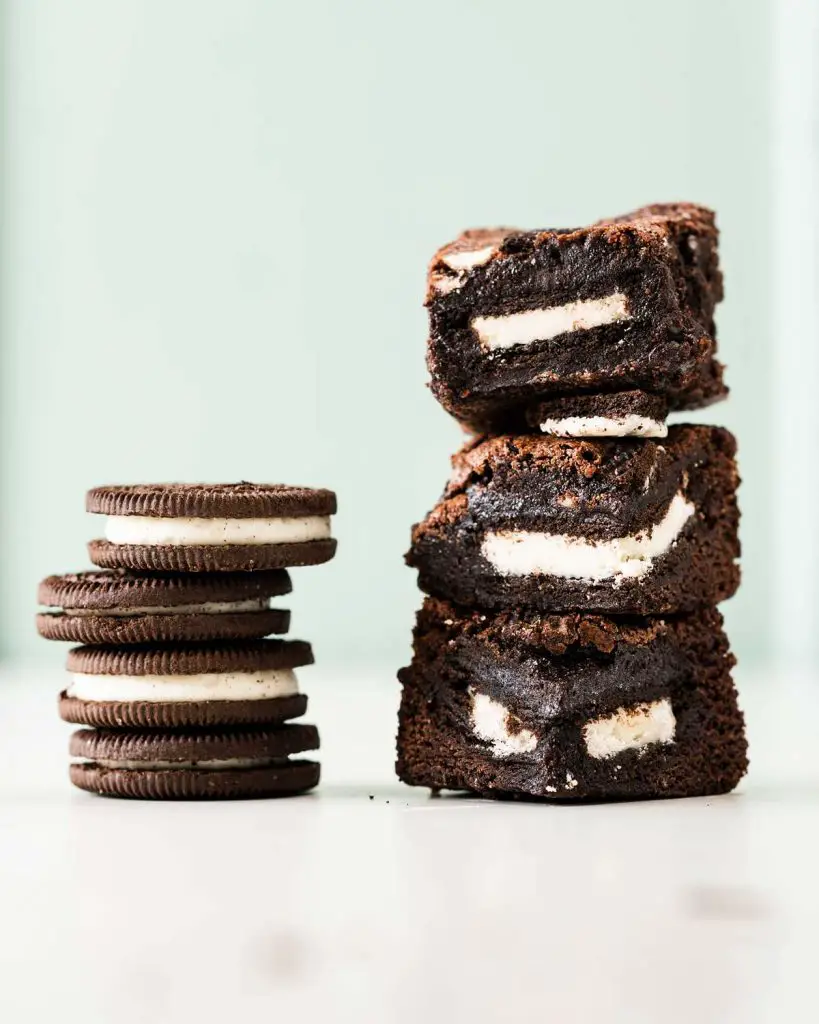
These brownies are dense and chewy, packed with a layer of Oreos within the brownie and also pushed into the top. They come together really quite quickly too, so the only bit you need some patience for is the cooling time before you can dig in!
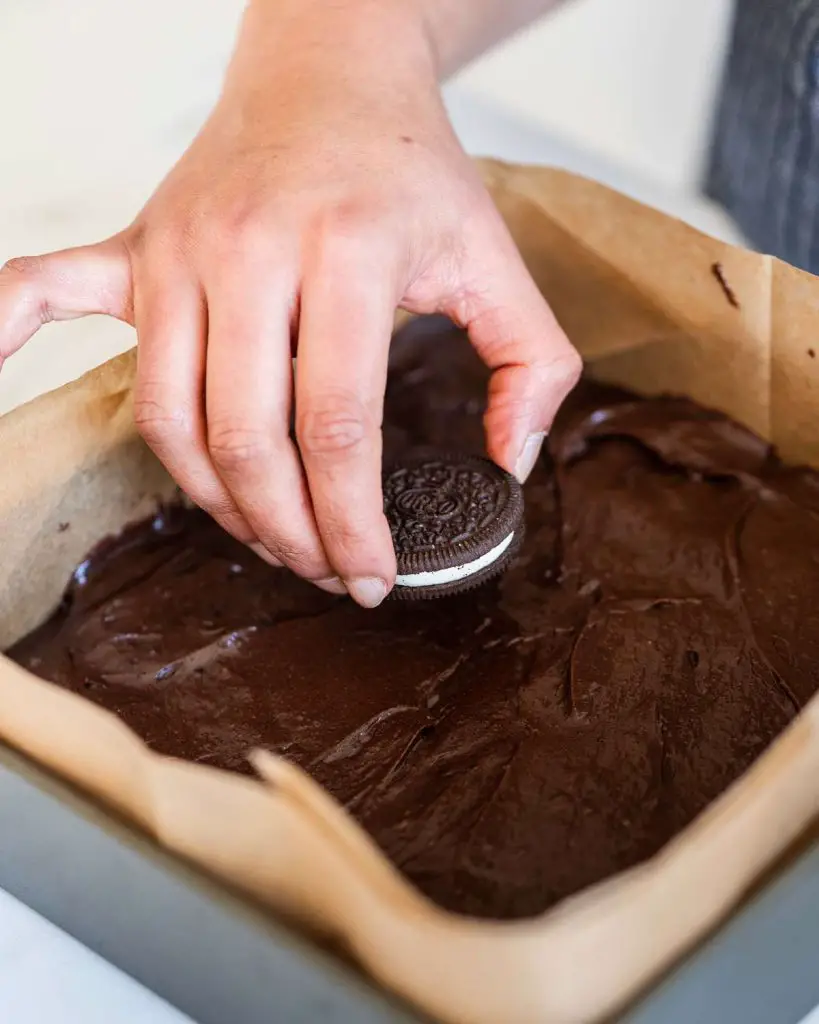
Step 1: Line an 8″ baking tin with parchment paper then set it aside. Preheat your oven to 170C/340F while you make your brownie batter.
Step 2: Melt your butter in a large mixing bowl. Tip in both sugars and whisk thoroughly to combine. Add in your eggs one at a time, mixing each one in well before adding the next. Sift in the flour and cocoa powder and stir in using a spatula until no streaks remain.
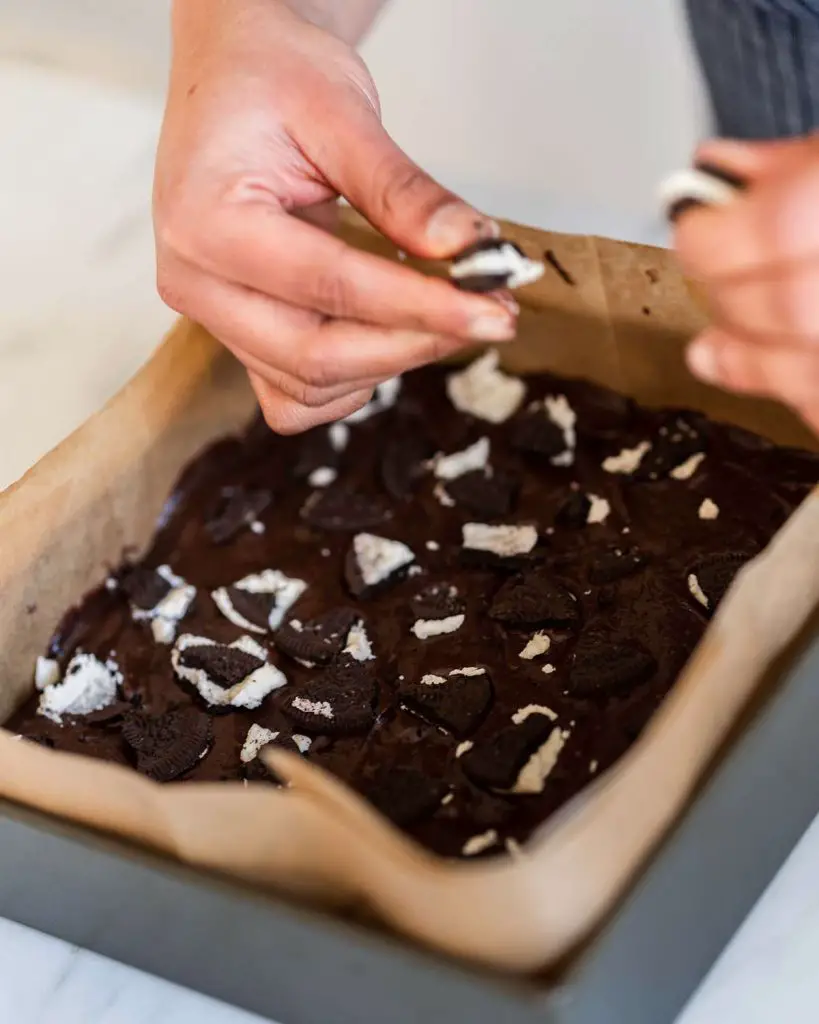
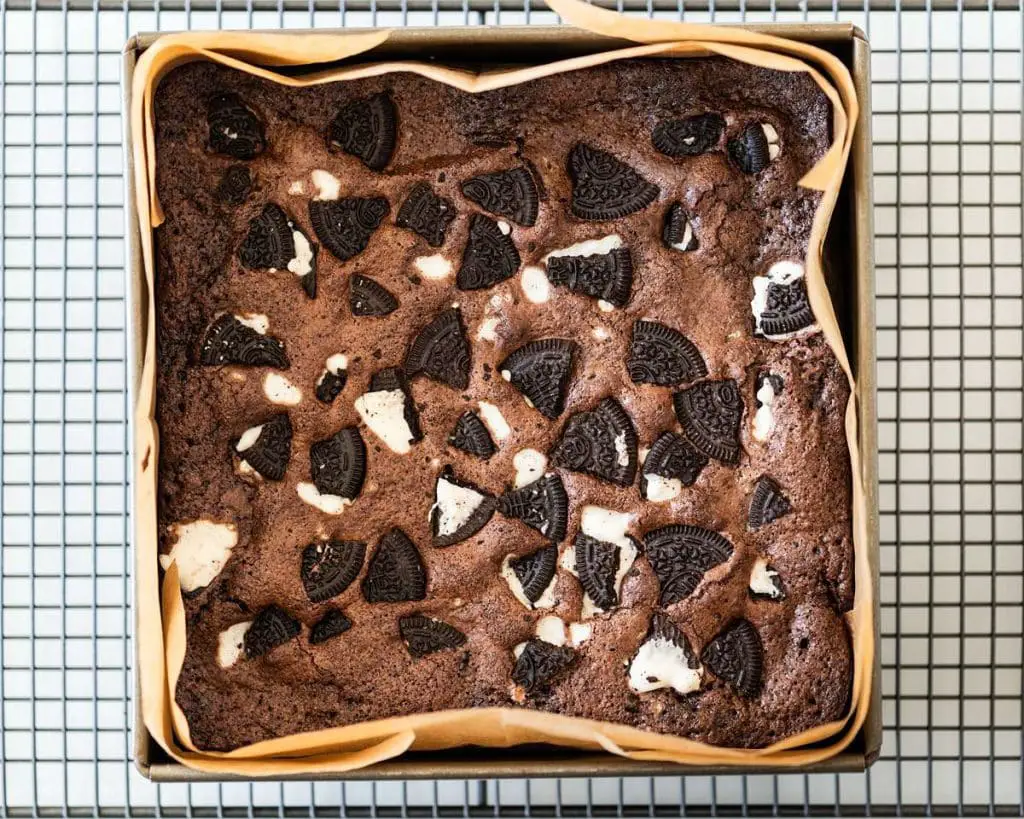
Step 3: Pour just over half your brownie mixture into your prepared baking tin. Spread the brownie batter evenly in your tin. Lay sixteen Oreo biscuits in a layer over the brownie mix, pressing them in gently to slightly submerge them. Top with the remaining brownie mixture, making sure the middle layer of Oreo biscuits are fully covered by brownie batter. Break up the remaining Oreo biscuits and gently push them randomly into the top of your brownies.
Step 4: Bake your brownie in your preheated oven for 25-35 minutes. How long you bake will depend on your oven and how well you like your brownies baked. I bake mine for around 30 minutes. Leave to cool completely in the tin, before cutting into squares. Enjoy!
Do I need a special tin to make chocolate brownies?
Metal tins are best for baking your brownies and blondies at home as they distribute heat evenly and ensure an even bake. I would highly recommend avoiding tins made of glass, silicone or ceramic to bake your brownies in. Glass dishes absorb heat, leading to burnt or over baked edges for your brownies. Silicone does not conduct heat at all, so it will take longer to bake your brownies. And ceramic is a very similar material to glass, so it will conduct heat well but could over bake your brownies.
Do I need to line my baking tin and how do I do it?
I would definitely recommend lining your baking tin before baking your brownies, as it makes it so much easier to remove once baked. There are several ways to line a square baking tin. The easiest way is to cut two strips of parchment paper a little smaller than one side of your tin. Lightly brush your tin all over with melted butter to help the paper stick easily. Then lay your strips of parchment in your tin in a cross shape. Press the paper into the tin, smoothing as you go and making sure the edges and corners are folded to give you crisp edges for your Oreo stuffed brownies.
How do I tell when my brownies are done?
When exactly should you pull your Oreo stuffed brownies out of the oven? If you remove it too soon, you will end up with an under baked and runny mess. Too late and you will have a well baked (albeit tasty!) chocolate slab that may well be tough and too dense to eat. Neither is ideal, I know you will agree! If you just remember these few rules, you will be able to decide when your brownies are ready to be removed from the oven:
- Firstly, you want to check your brownies are completely firm and not at all wobbly around all the edges. You want them firm but still soft, not hard as a rock. When pressed, the edges alone should feel like the baked texture of a cake. I occasionally find I need to turn my baking tin in the oven part way through baking, just to ensure it bakes evenly.
- Once you have done the first check, give your tin a little wiggle. The middle should not look like a crust of brownie floating over a liquid brownie middle. Instead, you want the middle to have no wobble when gently shaken. The middle should feel a little fudgy when gently pressed. If it does appear more liquid in the middle than fudgy, just leave it in the oven for a few more minutes and check again.
- Skewer tests are a bit trickier when it comes to brownies. This test checks the middle of the bake for a lack of crumbs, but used in a brownie recipe will leave you with over baked edges. If you must use a skewer, test your brownie about 1” in from the outside edge of your tin. If it comes out clean or with a couple of crumbs, like with a cake, your brownie is good to go!

How do I cut my Oreo stuffed brownies neatly?
Always leave your brownies to cool completely before cutting them. This is the best way to get lovely neat cuts for your brownie pieces. Brownies tend to be slightly soft when removed from the oven. This is why it is really important to leave it to cool completely before cutting, to allow the brownie time to firm up as it cools.
When you do cut your cooled brownies, remember it’s really important to use a sharp knife. I like to dip my knife in hot water and wipe it down in between cuts too. Warming the knife up before each cut allows the knife to glide through the brownie, resulting in perfect clean cut lines.
As for the size of each piece, well this is a personal preference! I bake my brownies in an 8” square tin, and I find this size is perfect for sixteen pieces of brownies. However, I am aware that some people like larger pieces, and for some this can be too big. Do cut to a size that suits you and your preferences.
What should I store my Oreo stuffed brownies in? How long will my brownies last?
Brownies dry out much quicker than a normal cake does, so I would recommend eating them as soon as you can! They will keep for up to 4 days once baked but are best enjoyed within the first 2 days. Your brownies should always be stored in an airtight container, in a cool place away from direct sunlight.
Are these Oreo stuffed brownies freezable?
Yes, absolutely! Make sure your brownies are completely cool, then slice them up and double wrap each piece individually in cling film. These Oreo stuffed brownies will freeze well for up to three months.
How do I defrost brownies?
This is even easier than freezing! Simply remove from the freezer and unwrap your brownie pieces, then place on a cooling rack to come to room temperature. The time this takes will depend on the temperature of the room they are defrosting in. If patience isn’t your forte, you can place your unwrapped brownie piece on a plate and microwave for 40-50 seconds to speed up the thawing process.
Can these Oreo brownies be made gluten free and dairy free?
Unfortunately, whilst you can make the brownie mixture gluten free, Oreos themselves do contain gluten. This means these Oreo stuffed brownies cannot be made gluten free. Since Oreo biscuits themselves are dairy free (though they may contain traces of dairy from cross contact), you can substitute the butter for a dairy free block butter alternative in these brownies to make them dairy free.
Additional top tips for making these Oreo stuffed brownies
- Always make sure you’ve prepared your baking tools and all your ingredients before you start making your mixture. Line your baking tin with parchment paper, preheat your oven and get all your ingredients out ready to use. It makes for a really stress free baking experience!
- Do add in some extra chocolate chips, or even some large chinks of chopped chocolate, to your brownie mixture before tipping into your baking tin, if you wish. I like them just with Oreos as the star of the show, but if you want added indulgence, go for it!
- This one is so important, I’ll say it again: make sure your brownie is COMPLETELY COOL before you cut into it. Remember to use a sharp knife to cut it to, to help you get through the brownie and biscuits more easily.
- Once cooled and cut, try warming your brownie in the microwave for 30 seconds and serve with a scoop of vanilla ice cream. You can thank me later 😘
Troubleshooting
I have tried to answer as many questions as I can here, but if you have any other questions about this recipe please use the comments below to ask away. And remember to comment too if you’ve made and enjoyed these Oreo stuffed brownies too. I’d love to hear from you!
If you have made this recipe for Oreo brownies, please take a moment to leave me a rating and review below. It is so helpful for others looking for a similar recipe, and I would be so appreciative of your enjoyment of these brownies. You can also find me on Instagram, so please do share and tag me when you’ve baked them, I’d love to see! 😊
More chocolate themed recipes for you to check out on my blog
If you have enjoyed this recipe, please do look at these recipes too:
Oreo donuts: if you’re looking for the best baked oreo donuts, you’ve found them! Cakey soft donuts topped with a tangy glaze, utterly delicious!
Biscoff brownies: squidgy brownies with chunks of Biscoff biscuits, topped with Biscoff and white chocolate. These Biscoff brownies are truly scrumptious!
Oreo cookies and cream fudge: this one is always a hit with everyone who tries it! Creamy, melt-in-the-mouth indulgence with beautiful crunch and texture from the biscuits, people never believe just how easy this fudge is to make!
The BEST chocolate fudge cake you will ever try: 👈🏽 Think that says it all really! Rich, soft and moist chocolate layers with the most amazing silky chocolate fudge icing. I can’t decide if I like this cake as is or warm with some vanilla ice cream. Either way, you need this in your life!
As always, thanks so much for joining me today my friends! Happy baking! x
Recommended equipment I used in this recipe*
| Baking tin | Parchment paper |
| Digital kitchen scales | Measuring spoons |
| Sieve | Mixing bowl |
| Whisk | Spatula |

Look absolutely irresistible! I can’t wait to try this recipe at home.
Combining two of my favorite treats is such a genius idea!