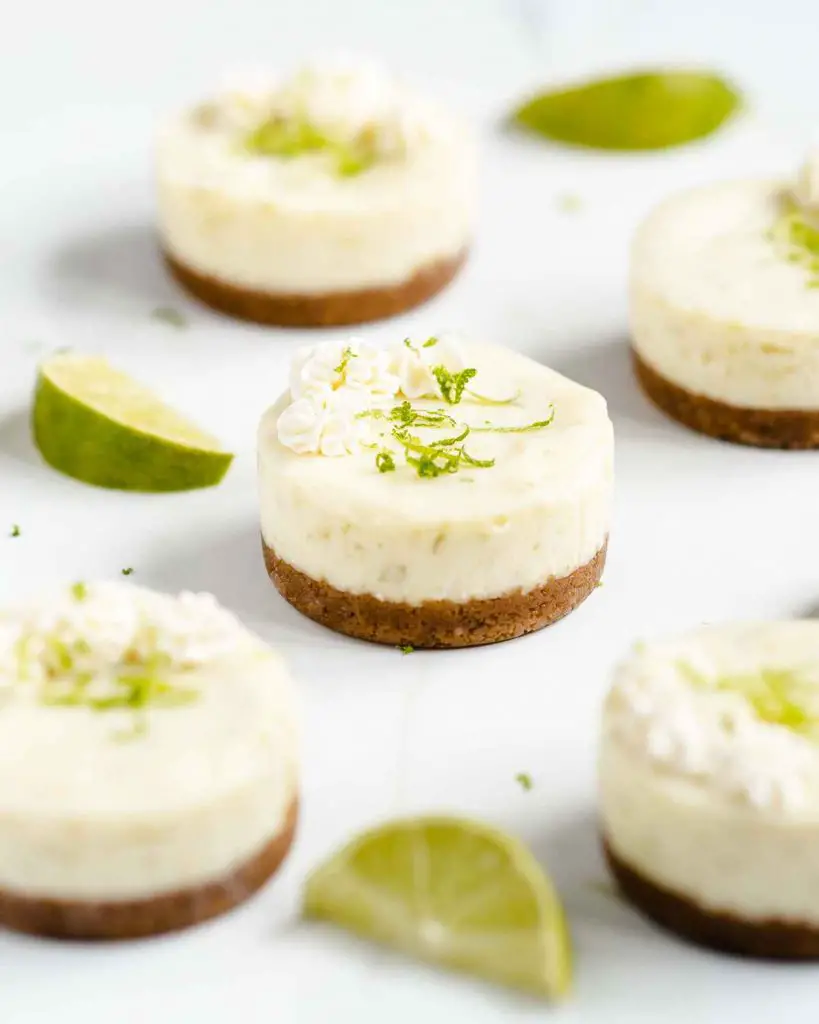
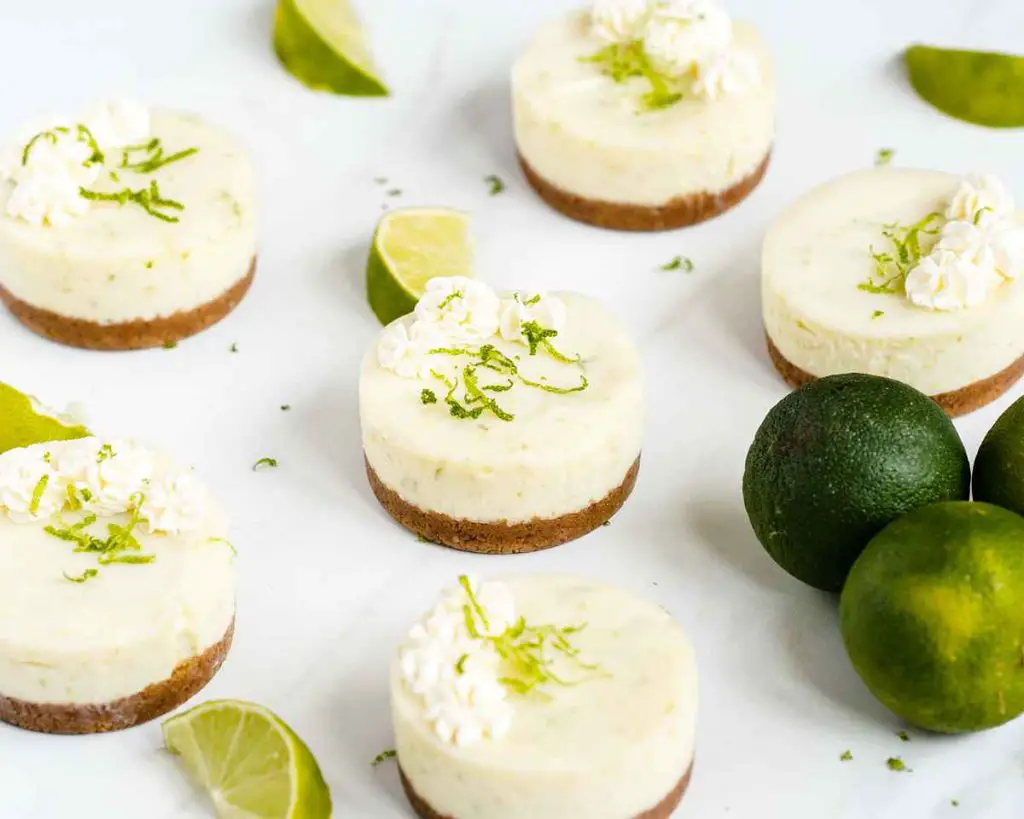
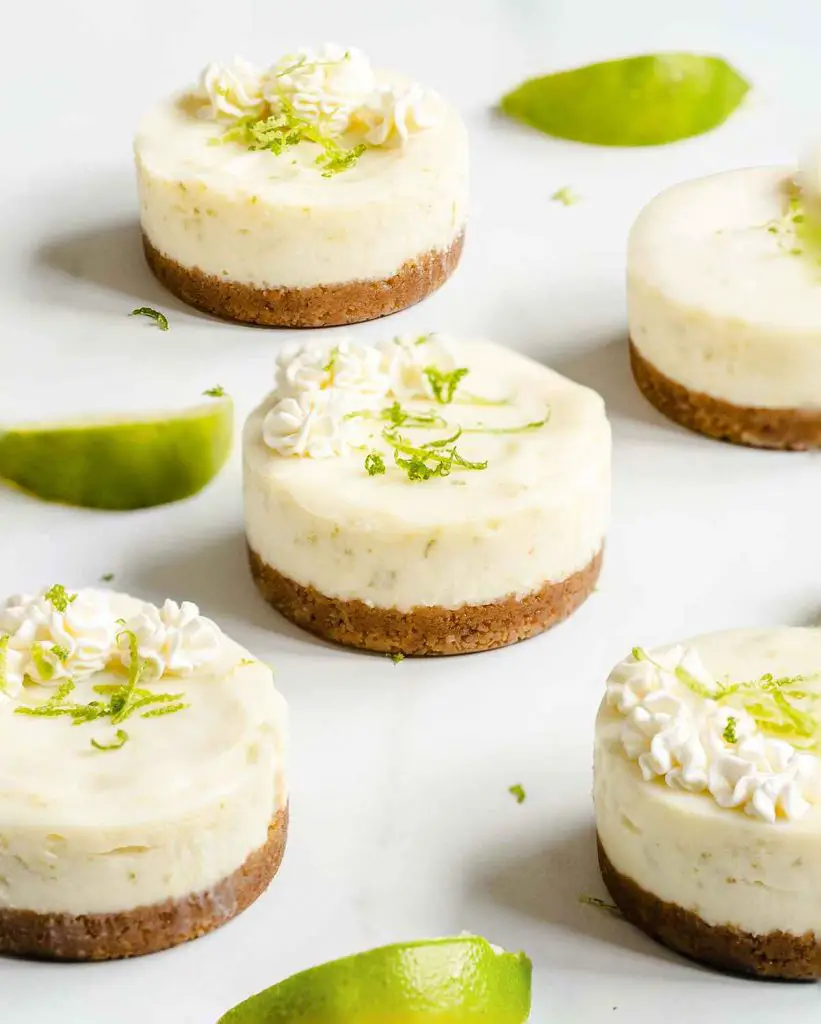
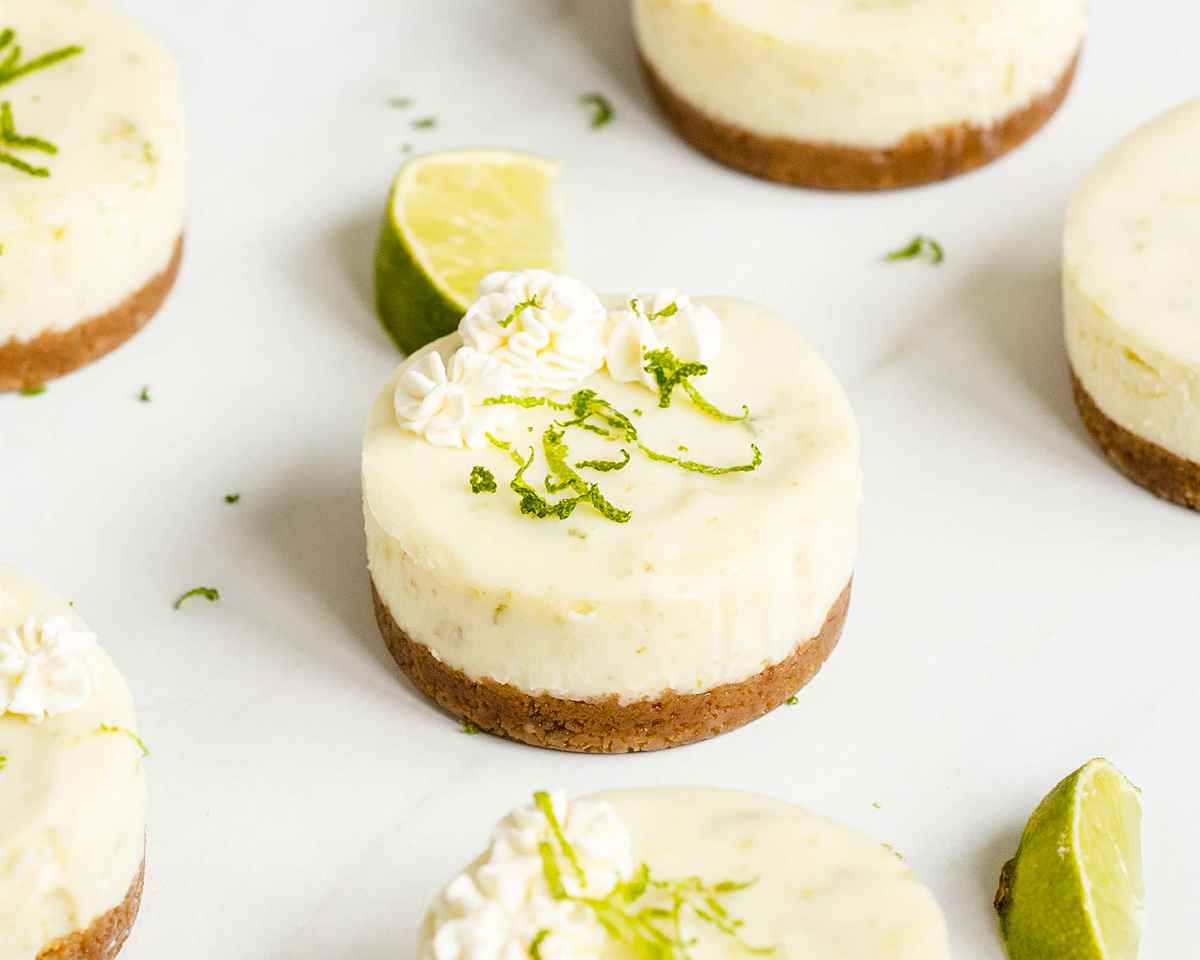
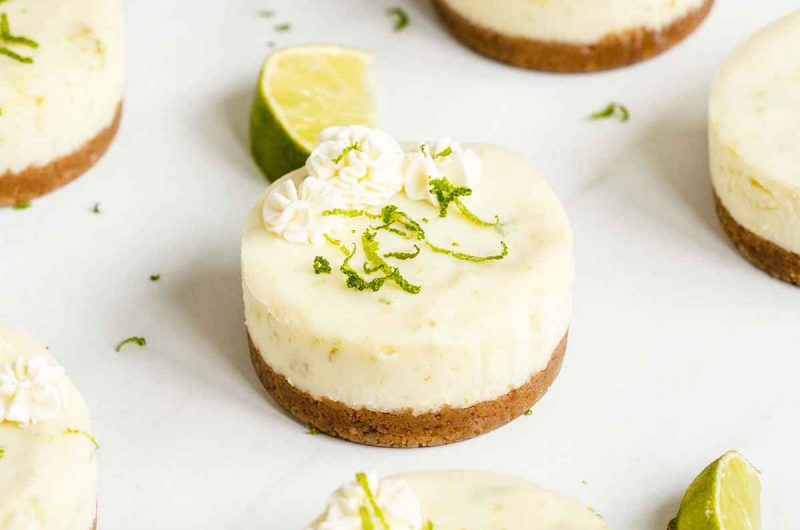
These adorable mini key lime pies are made without eggs and are so good, you will struggle to resist them! Beautiful individual buttery biscuit bases topped with a luscious creamy tangy and sweet key lime filling. Pipe with some softly whipped cream and a little lime zest and you have a perfect single serve dessert!
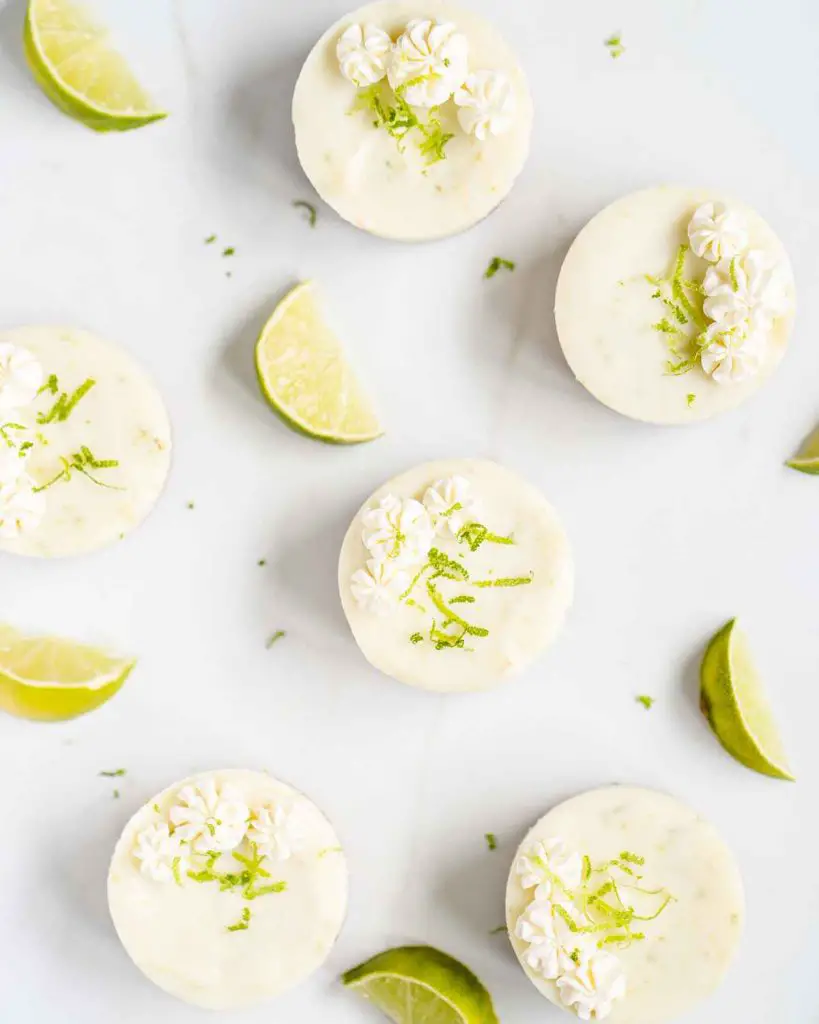
All the classic flavours… but mini!
I never used to be a fan of tangy, citrus based desserts. Lemon and lime certainly were avoided at all costs in favour of chocolate or caramel. Whilst I still love those flavours, I have now also embraced citrus flavours into my loves, and am so glad I have!
One of the reasons I love these little beauties is for their mini size. Honestly, there are times I could quite happily cut myself a large slice of a regular key lime pie and eat the whole lot! This, of course, is not always the best idea, so having a mini version where I do not need to be trusted to cut a small slice works well for me! Oh, and as an added bonus, did I mention these are eggless too?
What ingredients do I need to make this mini key lime pies recipe?
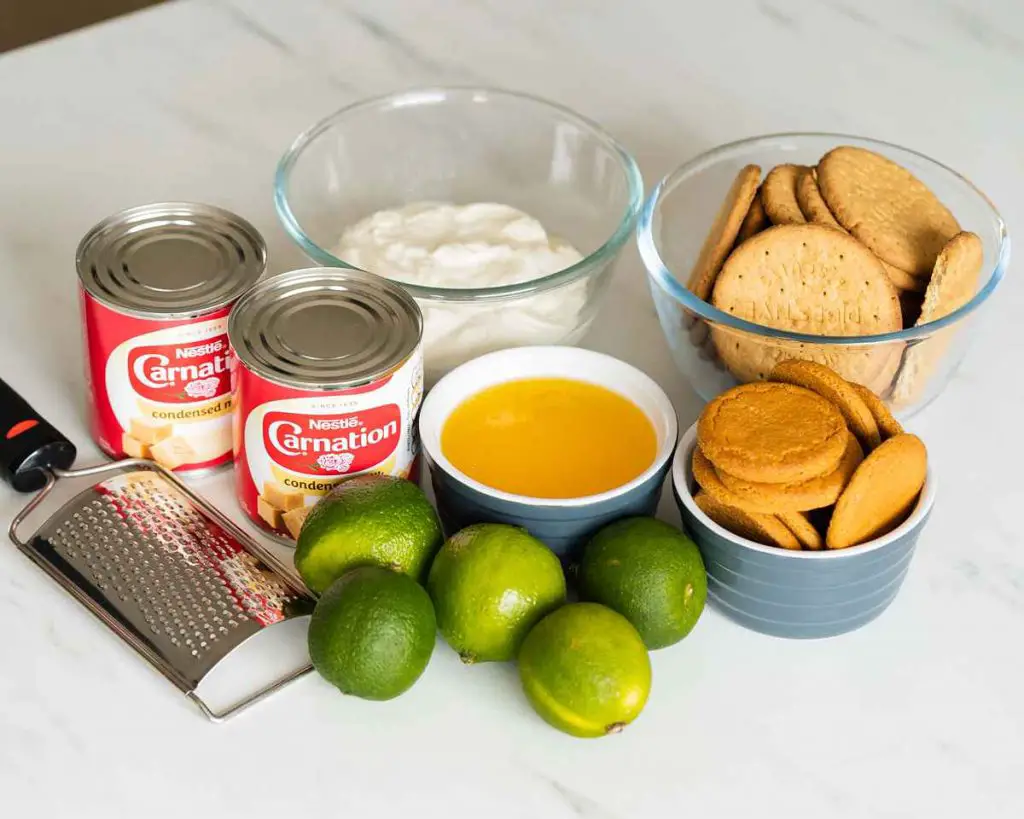
- Digestive biscuits: for the biscuit base of the pies.
- Ginger biscuits: I use a mix of digestive biscuits and ginger biscuits in the base. This gives a lovely gentle warming gingery flavour to the whole pie. If you are not keen, you can replace the ginger biscuits for the same quantity of digestive biscuits instead.
- Butter: use unsalted so you can control the amount of salt in your bake.
- Sweetened condensed milk: for the filling. No need for any additional sugar, as the sweetness from this is sufficient.
- Yogurt: used in the filling for a beautiful creamy key lime filling.
- Limes: here in the UK, key limes are not easy to come by. In this recipe, I have used regular limes instead. Please adjust the amount of limes you use depending on your preferences and tastes. I use both the zest and the juice of my limes in the filling.
- Double (heavy) cream: optional as your topping. I like to whip this up to peaks and pipe it in pretty stars or rosettes on top of the pies. This is purely for decoration.
- Icing sugar: to sweeten your whipped cream topping.
What tools do I need to make these pies?
- Digital kitchen scales*: a useful kitchen tool for weighing out ingredients, although I do provide measurements in cups as well as grams. I would always recommend using mass (grams) over volume (cups) as a way of measuring out your ingredients.
- Measuring spoons*: for measuring out smaller quantities of ingredients.
- Food processor*: to help blitz your biscuits into crumbs for the bases. Alternatively, put all your biscuits into a large sealable bag and bash them with a rolling pin. The latter is rather therapeutic!
- Rolling pin*: useful if you decide to bash your biscuits instead of blitzing. I use the end of mine to push the biscuit base evenly down in the bottom of my tin.
- Loose-bottomed mini cakes tin*: I love this tin! It means I can make mini cheesecakes, cakes and pies without needing to use cupcake tins and liners. So easy to release and gives lovely straight sides for your mini key lime pies.
- Mixing bowl*: to mix together your ingredients at various stages, from the base ingredients and the filling to whipping the cream for the topping.
- Zester*: to get that beautiful zest off the limes!
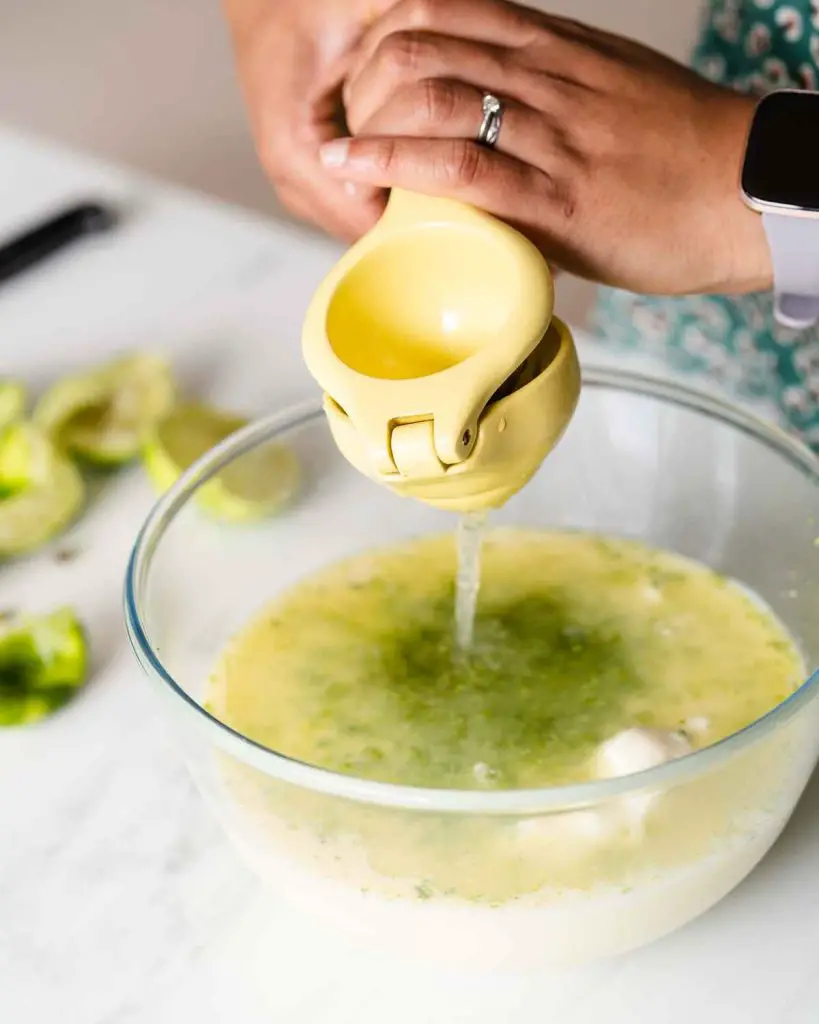
- Juicer*: makes it lots easier to squeeze the juice from the limes.
- Electric hand mixer*: whilst you can beat your filling and topping by hand, this handy tool makes it all a whole lot easier.
- Spatula*: for scraping your bowl down.
- Piping bags*: to use when piping your whipped cream topping.
- Piping nozzle*: for your whipped cream decorations. This one is a small star shaped nozzle, if you do not have this one, use any other one you have. You could also just spoon or spread a little whipped cream over your tart without piping.
How to make my mini key lime pie recipe
These cute mini pies are actually really easy to make! First make and bake the biscuit base, then add and bake the creamy lime filling. Once baked, cool and chill before topping with your beautiful dreamy whipped cream topping and garnish with a few additional strands of lime zest. Yum!
For the biscuit base:
Step 1: Preheat the oven to 180C/350F. No need to line or brush the loose bottomed tin with butter. However, if you have chosen to make these in a regular cupcake/muffin tin, I would recommend lining them with cupcake cases.
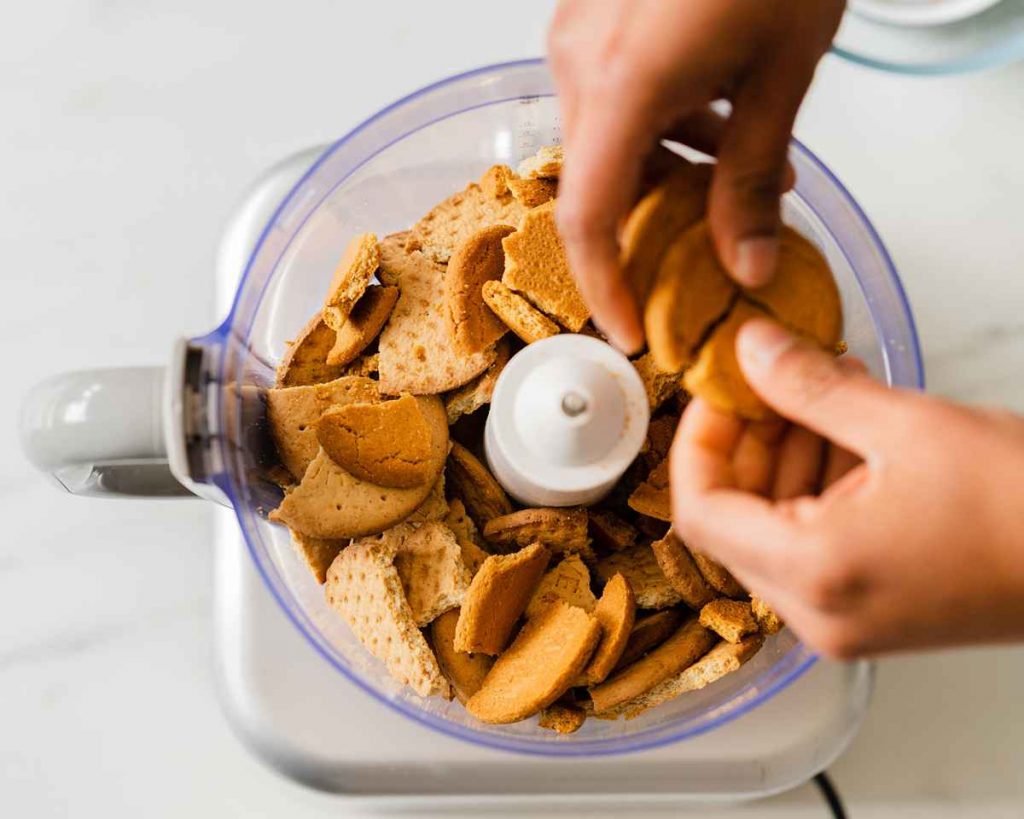
Step 2: Tip both the digestive and ginger biscuits into the food processor and blitz until it is all evenly crumbled. If using a rolling pin, place the biscuits into a large sealable freezer bag. Bash until they are all evenly broken, then tip the crumbled biscuits from the bag into a large bowl. Add in the melted butter and mix it all together until well combined.
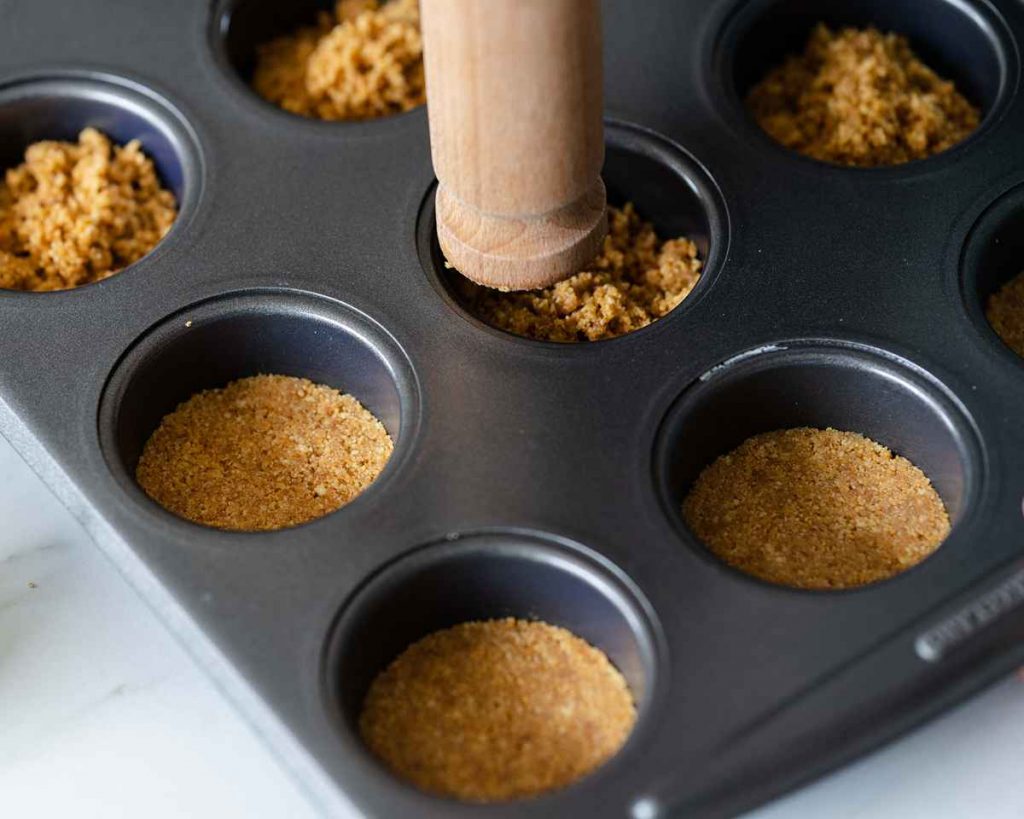
Step 3: Spoon the biscuit mixture evenly into each section of the tin (or cupcake cases), then press down firmly to compress the base. Bake the biscuit bases in the hot oven for 8-10 minutes. Remove to a wire rack and leave to cool slightly, ready for the filling.
For the filling:
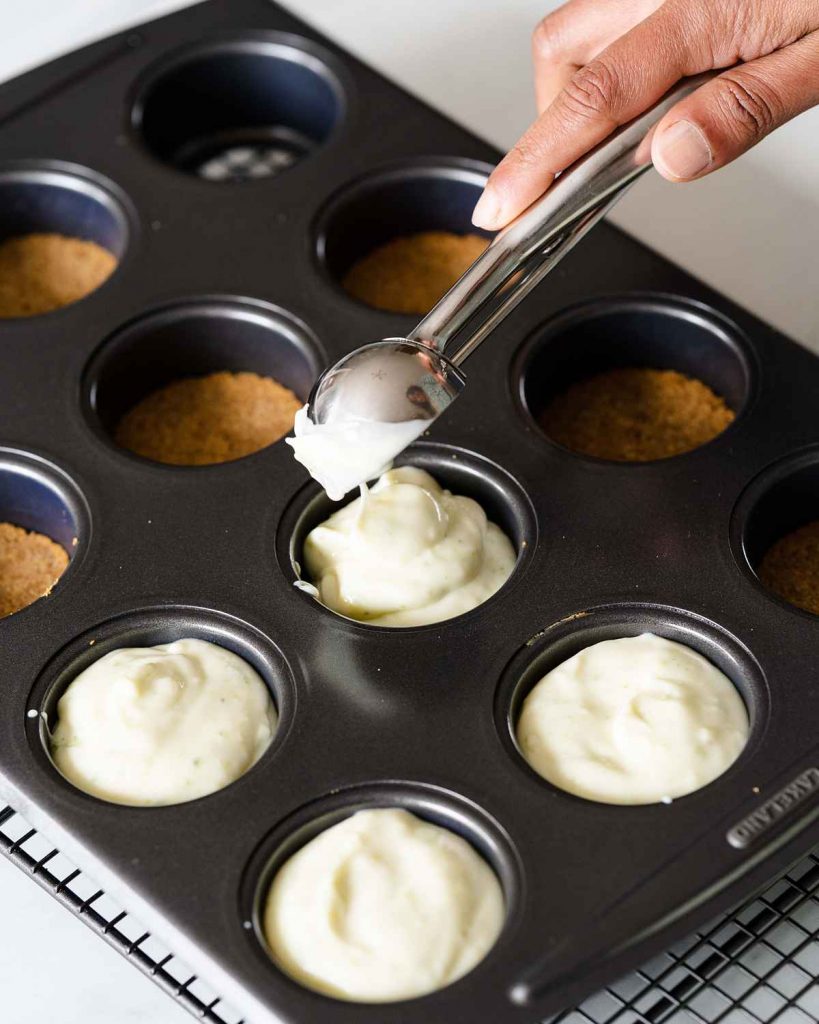
Step 1: Whilst the base is baking, prepare the filling. Into a large mixing bowl, tip in the sweetened condensed milk and the Greek yogurt. Zest the limes first, directly into the mixing bowl, then squeeze in the juice of the limes. I use three smaller limes, but you could use four instead, which I find is plenty tangy enough. If you like it really limey, you can add more lime zest and juice to suit your taste. Beat these ingredients together until smooth and creamy, then divide it evenly over the biscuit bases.
Step 2: Carefully return your tin to the oven for another 5-8 minutes. Bake until there is a very slight wobble to the filling in the middle. Remove the tin from the oven and place on a wire rack to cool for about 30 minutes. Once cooled sufficiently, place the tin in the fridge to allow the pie to chill completely.
For the topping:
Step 1: Once the mini pies are completely chilled, leave them in the fridge whilst preparing the topping. In a large mixing bowl, tip in the double cream and icing sugar to taste. Beat together until it thickens to your liking. I prefer to stop just before it gets to being stiff peaks, as I prefer the cream more on the softer side.
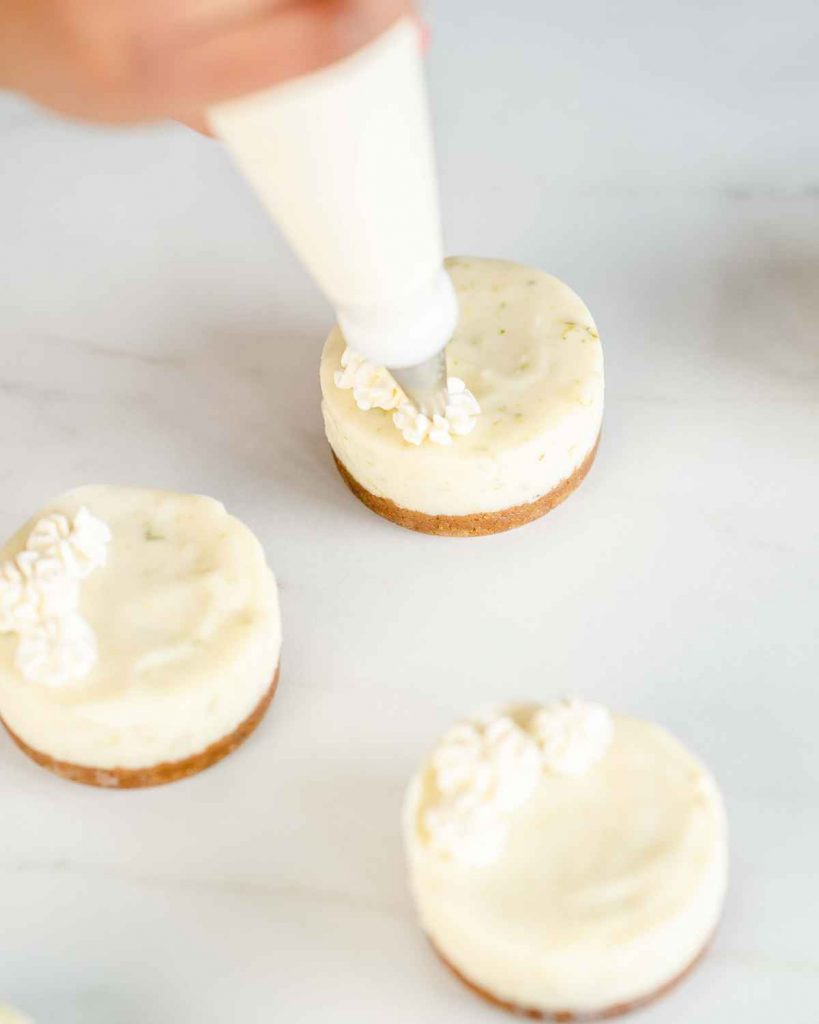
Step 2: Spoon it into a piping bag fitted with your nozzle of choice, and pipe stars or swirls over the top of each mini key lime pie. Alternatively, simply spoon a little of the whipped cream over the top of each mini pie and spread out as you wish. Garnish the top with a little additional lime zest for a pop of colour and flavour. Enjoy!
What can I use if I don’t have a loose bottomed cake tin?
If you have not got a loose bottomed mini cakes tin as I have, you can use a cupcake or muffin tin to make these mini key lime pies. You will just need to also use cupcake or muffin cases too, to make it easier to remove the finished mini pies from the tin. Once removed, you can peel off the paper cases and serve.
Can I use regular limes to make key lime pie?
Key limes are readily available in the US. Here in the UK, they are much harder to come by (I have only come across them once myself!), so I will usually use regular limes to make this pie. Key limes are smaller and contain more seeds, and have more of a tart flavour than regular limes. Do not let that be a deterrent though, these mini key lime pies are still delicious even made with regular limes!
Why do I need to bake the biscuit base?
You do not need to bake the base of this key lime pie recipe. However, there are a couple of reasons I prefer to do it. I find the base can go a little soggy if not baked before adding the filling on top and baking it. And I also prefer the firmer texture of the baked based, as unbaked it will be more crumbly.
Can I use a shop bought base for ease?
Absolutely you can use a shop bought base if you wish! However, please keep in mind, here in the UK, the ready made pastry cases you buy from your local store is a shortcrust pastry base and not a biscuit base as I make here. I would highly recommend making this biscuit base, as it is so simple and you will really love the difference!
How can I tell when the key lime pie filling is baked?
You can tell the filling is baked when it has leveled off to a flat surface. When in the oven, give your tin a gentle shake. There should only be a slight wobble to the filling when it is ready to come out of the oven. Do not touch it or you will leave a fingerprint in it and spoil the lovely smooth top! It will continue to bake and firm up with the residual heat once you remove it, so it is important to remove it before completely firms up.
How long will these mini key lime pies last and how do I store them?
These little pies will keep for 4-5 days once baked. Please store them, undecorated with whipped cream, in the fridge in an airtight container until required. You can prepare your whipped cream in advance and keep it in a separate container in the fridge. When you are ready to serve, simply decorate each mini key lime with some whipped cream and lime zest and serve.
Can I freeze key lime pie?
These baked mini key lime pies, once cooled, will freeze well for up to a month. Store in an airtight container and take care not to knock them until frozen solid. When frozen, thaw them in the fridge overnight. Please remember not to decorate them with whipped cream before freezing, only when you are about to serve them.
How can I make these eggless mini key lime pies gluten and dairy free?
To make these gluten free, simply substitute the digestive and ginger biscuits for a gluten free alternative. For a dairy free dessert, you will need to substitute the butter in the base. Use a thick set dairy free Greek yogurt for the filling and a dairy free condensed milk alternative too. And remember to swap your double cream for a suitable dairy free alternative that will whip to stiff peaks too!
Please note, that I have not tried this recipe using these substitutions myself, but know others have with success.

Additional tips for making this eggless mini key lime pies recipe
- Ensure your biscuits are all evenly crushed up. This is especially important when doing it by hand using a rolling pin, as it is easy to miss some larger chunks. The larger pieces of biscuit will make it harder to press your bases evenly into your tin, and is likely to crumble apart more easily too.
- If you wish to make it simpler, you can substitute the same weight in ginger biscuits for more digestives instead. I love the hint of additional warmth the ginger biscuits bring, so I like to do a mix, but should you not want that then using completely plain digestive biscuits will work well too.
- Be sure you use a good quality, full fat Greek yogurt when making the filling. The thicker texture of the yogurt really helps with the setting of the filling, so this is important!
- You can adjust the number of limes you use in this bake. I like mine sharp but still sweet, so find three smaller works perfectly, however you may wish to have it more or less sharp. Adjust according to your preferences.
- Always zest your limes BEFORE you juice them. It is so so much easier than trying to zest a floppy, half cut sphere!
- To help you get the most juice from your limes, roll them firmly on a table before you cut them. If your limes are really firm, microwave them for 5-10 seconds, roll firmly and then juice.
- When whipping up the cream, I prefer to keep it a little softer than stiff peaks. I find scooping and piping the cream actually makes it firm up more, so I would recommend stopping beating it about 5-10 seconds before you think you will hit stiff peaks.
- Remember not to top your mini key lime pies with cream until just before you serve them. This is to help ensure your cream holds the best shape for when you present your masterpiece to your fellow dessert lovers!
Troubleshooting
If you have any other questions about my recipe, please use the comments below to get in touch, I would love to help. And if you do make this recipe for mini eggless key lime pies, please do consider leaving a rating and review below. I really appreciate you taking the time to do so, as it massively helps me grow my site. Plus it really helps others looking for a good, easy recipe too!
Additionally, you could also post a picture of your creation on Instagram and tag me when you share it with the world. You know I would love to see it!
More recipes from my site for you to enjoy
Do check out these other yummy recipes on my blog too:
Key lime pie: the full sized version of key lime pie, this recipe also uses no eggs, and can easily be made dairy-free too. This one too is brilliant for entertaining and looks really impressive with the beautiful swirls of cream on top. Of course, no one needs a special occasion for key lime pie, go on and make it just because you can!
Vegan lemon drizzle cake: this cake is totally and utterly delightful, it is all the things you want in a good lemon cake! It is light, fluffy and packed with plenty of lemon flavour. And it contains no eggs or dairy products. Perfection!
Eggless red velvet cake: three layers of beautiful decadent red velvet sponge with a smooth and totally irresistible cream cheese icing. This is one showstopper of a cake you will definitely not want to miss!
Happy baking, my friends! x
Recommended tools I used for this bake *
| Digital kitchen scales | Measuring spoons |
| Food processor | Rolling pin |
| Loose-bottomed mini cakes tin | Mixing bowl |
| Zester | Juicer |
| Electric hand mixer | Spatula |
| Piping bags | Piping nozzle |

After seeing the beautiful photo I had to try these. They were absolutely delicious and worth the effort. Ha ha – what effort?? These were so easy to make I almost thought I was missing a step. I checked a few times to make sure but nope it was just that simple. Your recipes was so easy to follow and I can’t to try more of them! Thank you!
Ah, you are so sweet! I’m so glad you enjoyed this recipe, really appreciate you taking time to leave me a review too, thank you! I shall look forward to hearing of your other bakes using my recipes! 🙂