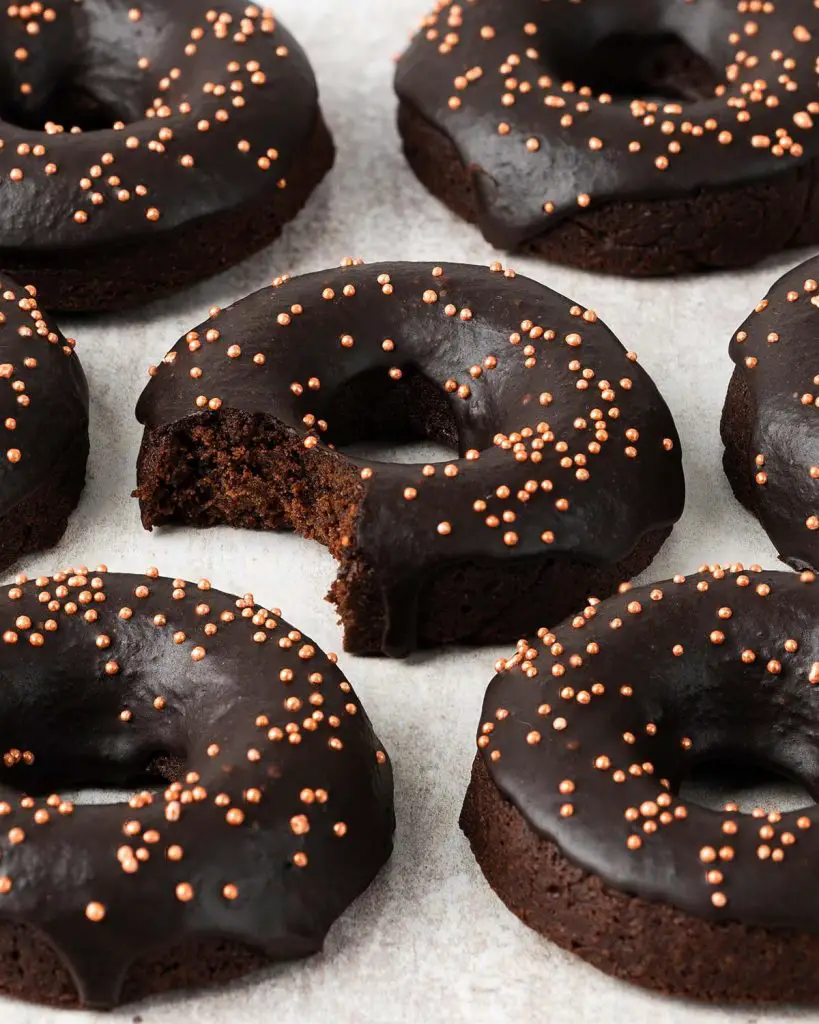
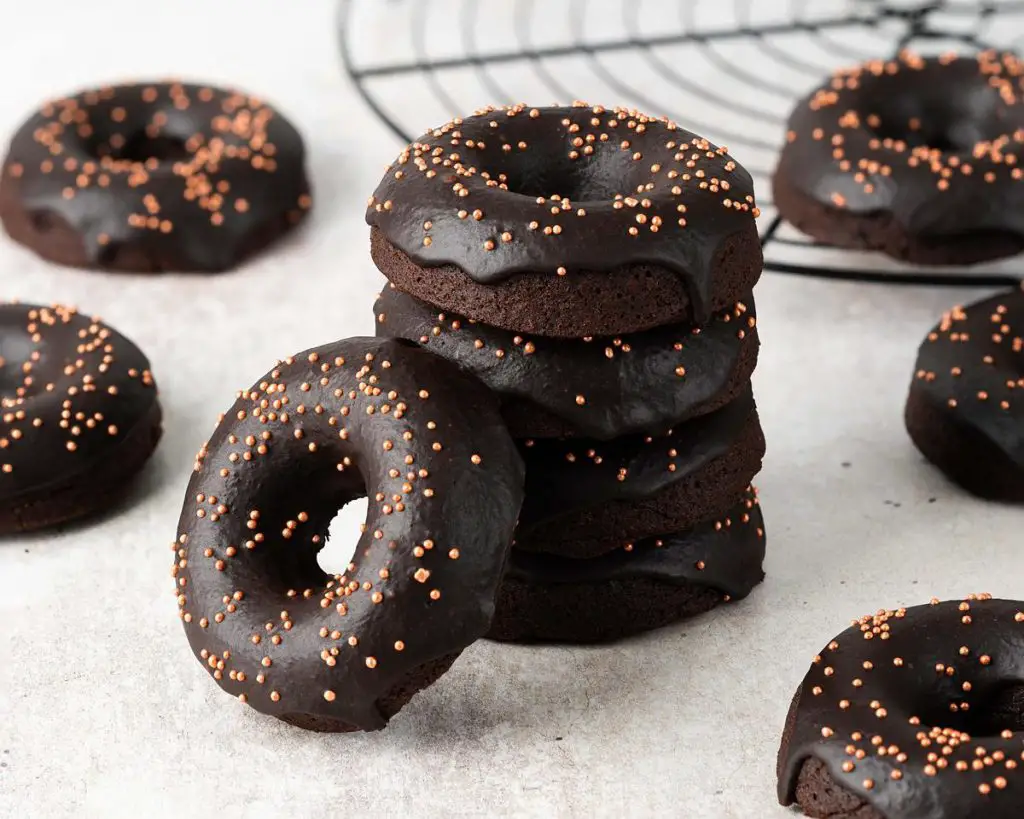
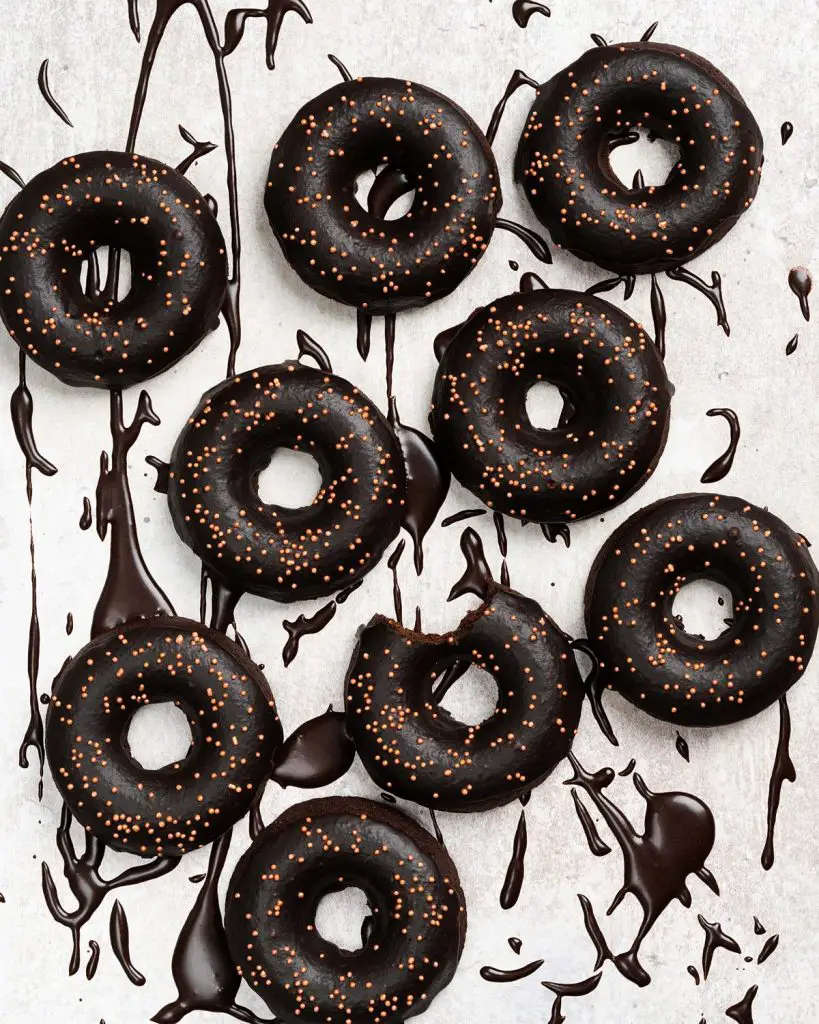
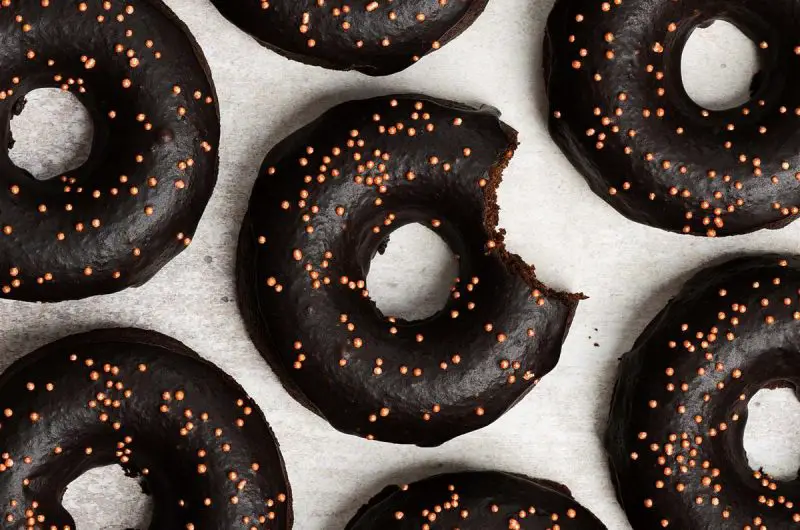
Brownie donuts, aka bronuts, are my latest obsession! Rich and chocolatey, squidgy and fudgy, with a deep chocolate glaze everyone will love. If you are a brownie fan and love your donuts too, then this one is most definitely for you!
What are bronuts?
Bronuts is basically the name given to the creation that combines brownies in a baked donut. Brownies + donuts = bronuts! These delicious creations are totally ingenious, especially if you are a chocolate brownie lover. Whilst I absolutely love a light cakey donut too, a brownie in donut form is just so irresistible, it would be rude to say no!
And the chocolate! These bronuts contain dark chocolate, cocoa powder and a beautiful rich chocolate glaze. In my eyes, that makes them triple chocolate bronuts, which surely no one can go wrong with!
What ingredients do I need to make bronuts?
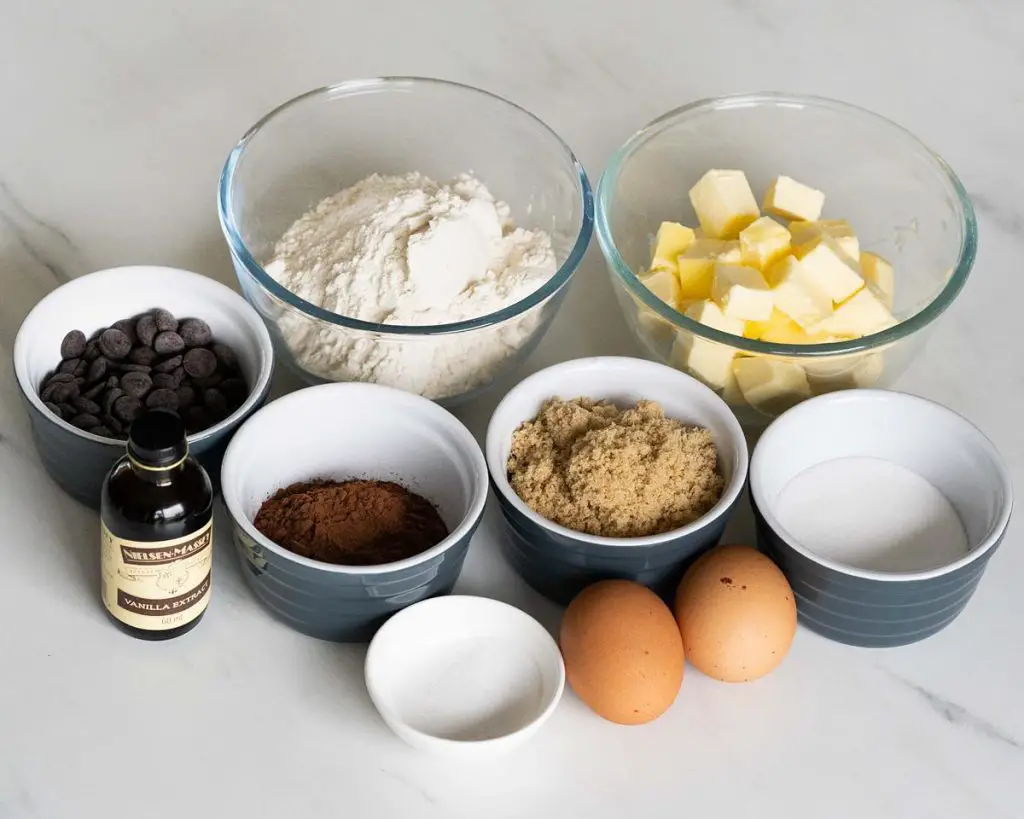
- Butter: I use unsalted butter here and add salt, so I have full control of how much salt goes into my bake.
- Brown sugar: soft light brown sugar gives sweetness and helps with the chewy texture of the bronuts.
- Caster sugar: for sweetness in the bronuts.
- Dark chocolate: deep and rich chocolatey loveliness. Use a dark chocolate you enjoy eating.
- Eggs: help with the structure of the bake.
- Vanilla: for beautiful flavour enhancing joy!
- Flour: plain or all purpose flour is used to make these. There is no raising agent added, so this cannot be substituted with self raising flour.
- Cocoa: adds even more rich chocolate flavour to the brownie donuts.
- Salt: just a little used to round off the flavours. You cannot taste it, fear not!
- Milk: used to thin out your glaze to your preference. I like my glaze thick on my donuts, but you can add more if you prefer it more runny.
- Sprinkles: optional for decorating the brownie donuts.
What tools do I need to make brownie donuts?
- Donut pan*: to make the bronuts in. I have two of these so I can bake more than one batch at once, but you can use just one and refill in between bakings.
- Pastry brush*: used to brush the donut pan with melted butter. This prevents the brownie donuts from sticking to the tin, making for easier release.
- Digital kitchen scales*: for weighing out larger quantities of ingredients. I do provide measurements in cups too, if this is your preference.
- Measuring spoons*: for measuring out smaller quantities of ingredients.
- Mixing bowl*: to mix all the ingredients together for the brownie donuts.
- Sieve*: to remove larger clumps from the dry ingredients, ensuring they mix well with the wet.
- Spatula*: useful to scrape the bowl down when mixing the ingredients together.
- Piping bags*: helps keep the brownie mixture neatly within the donut hole of the pan. I prefer piping for speed and tidyness, but the mixture could also be spooned in if required.
- Small bowl*: to make the glaze and use when dipping the donuts.
How to make bronuts
These brownie donuts could not be simpler to make. They come together in just one bowl, and can be ready to be devoured in just an hour!
For the bronuts
Step 1: Brush the donut pan with some melted butter and set it aside. Preheat the oven to 180C/350F whilst making the brownie mixture.
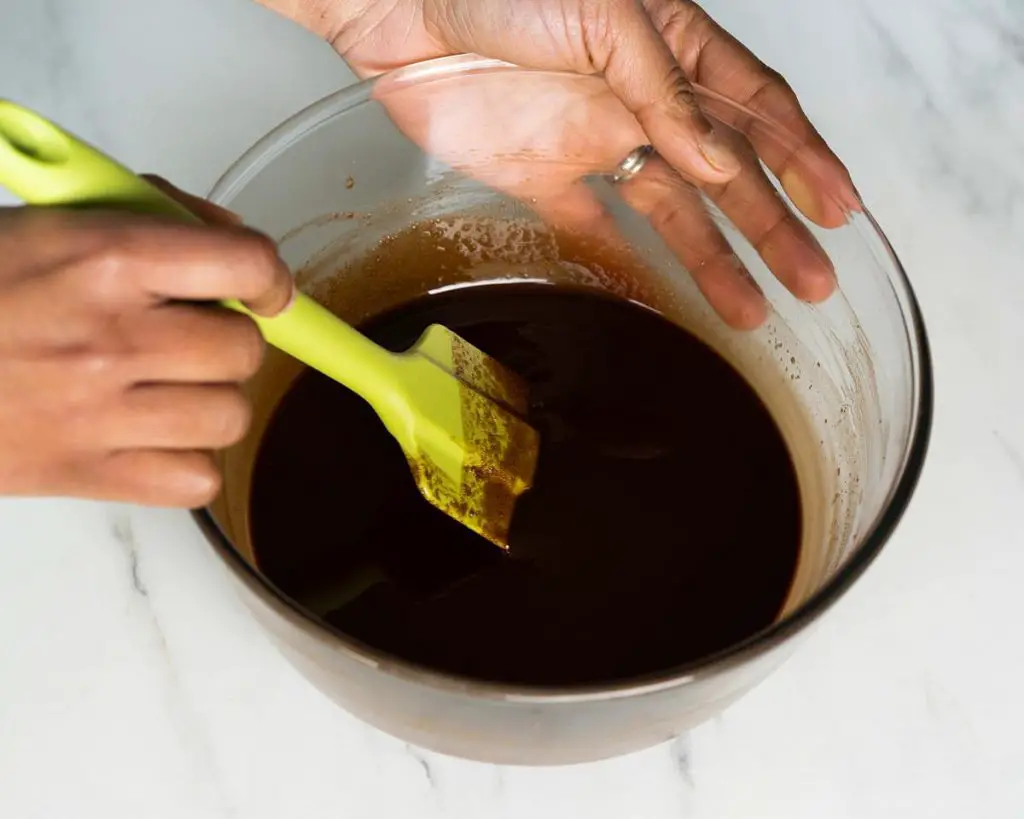
Step 2: In the large mixing bowl, melt together the butter, brown sugar, caster sugar and dark chocolate. I do this in the microwave in short bursts, stirring in between, but it can be done on the hob too. Whichever way you choose to do it, make sure to stir often so not to burn your sugars or chocolate. Once everything is melted and well mixed together, leave the mixture to cool.
Step 3: Once the mixture has cooled down, add the eggs in one at a time mixing in between additions. Add in the vanilla and stir to combine.
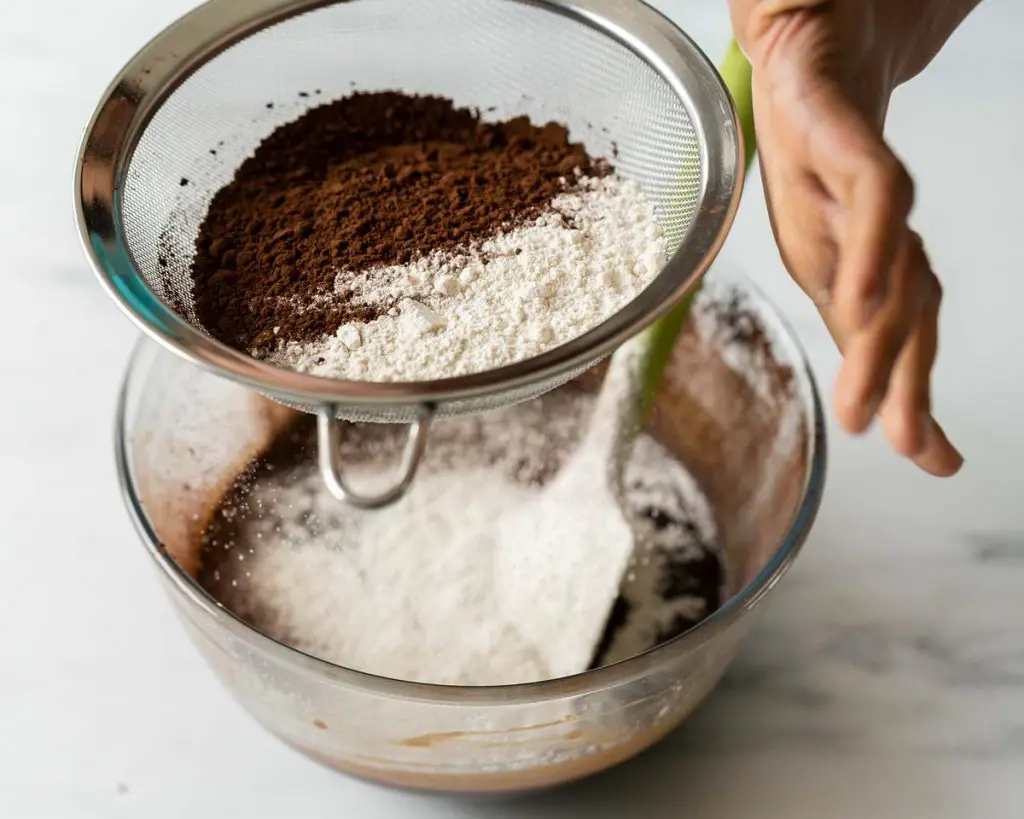
Step 4: Sift the flour, cocoa powder and salt into the mixing bowl and fold in using the spatula until just combined. Spoon the brownie mixture into a piping bag, if using, then pipe into the donut pan. Fill the pan evenly until level with the top. Unlike other baked donuts, these do not rise as much, so there is no risk of it overflowing and the donut hole closing over. Smooth the tops of the mixture once it has all been split between the donut holes.
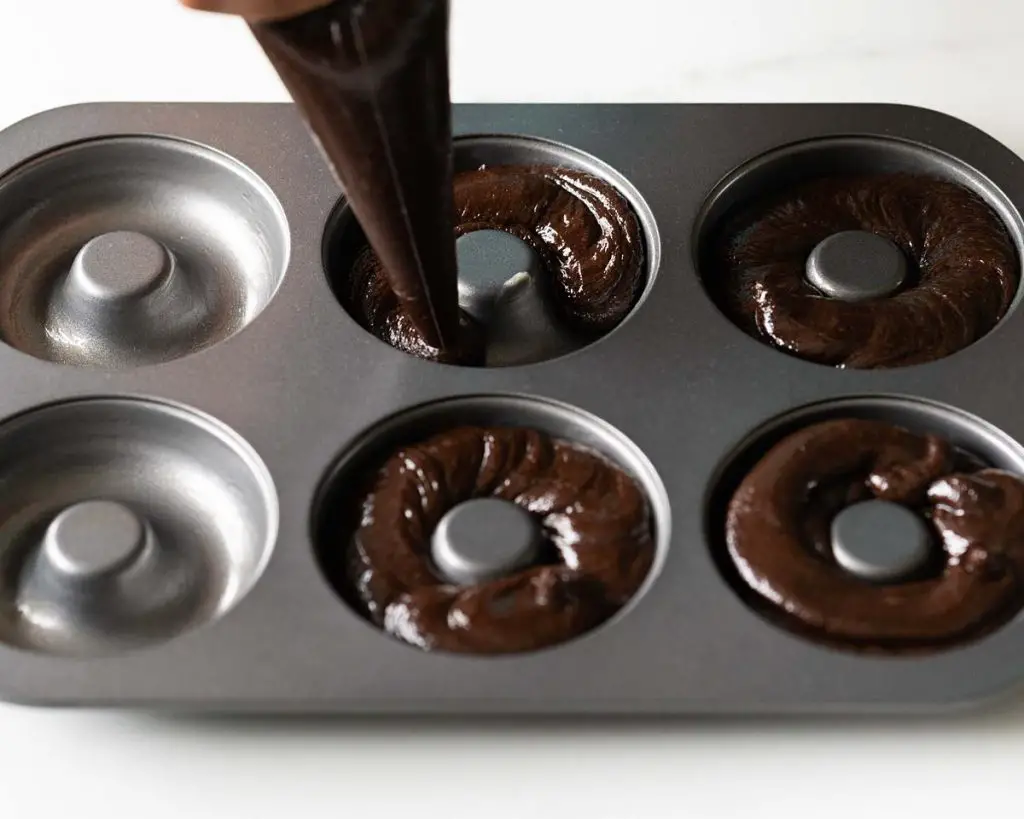
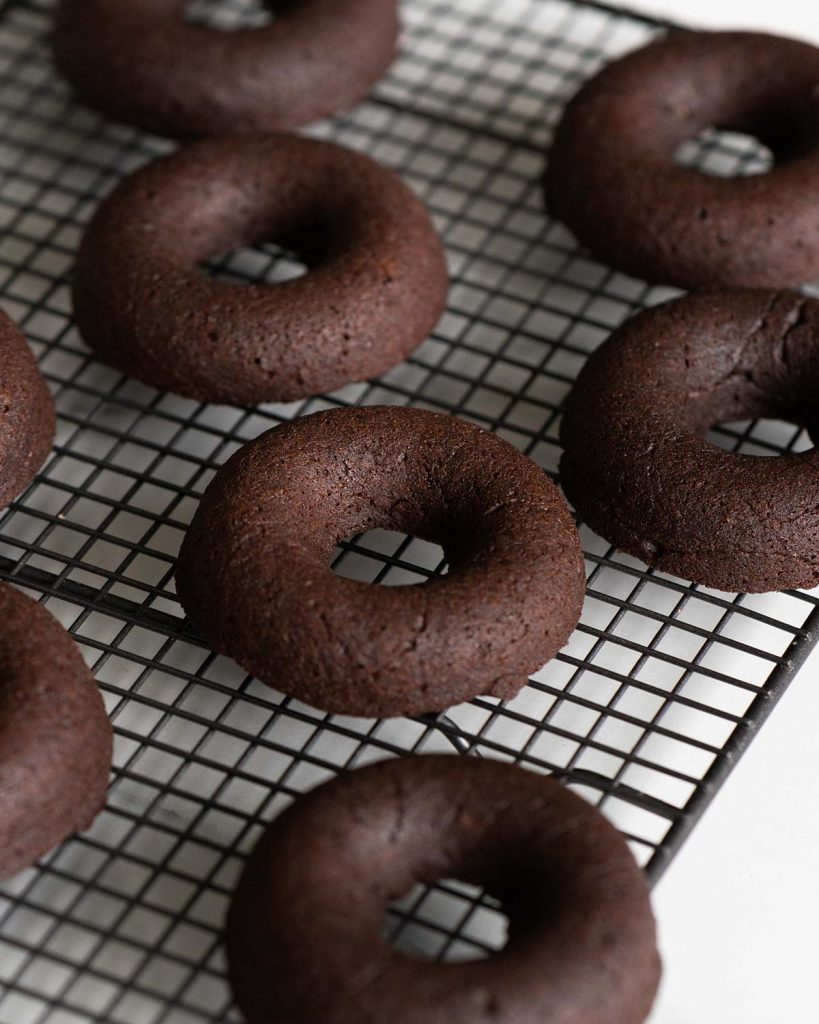
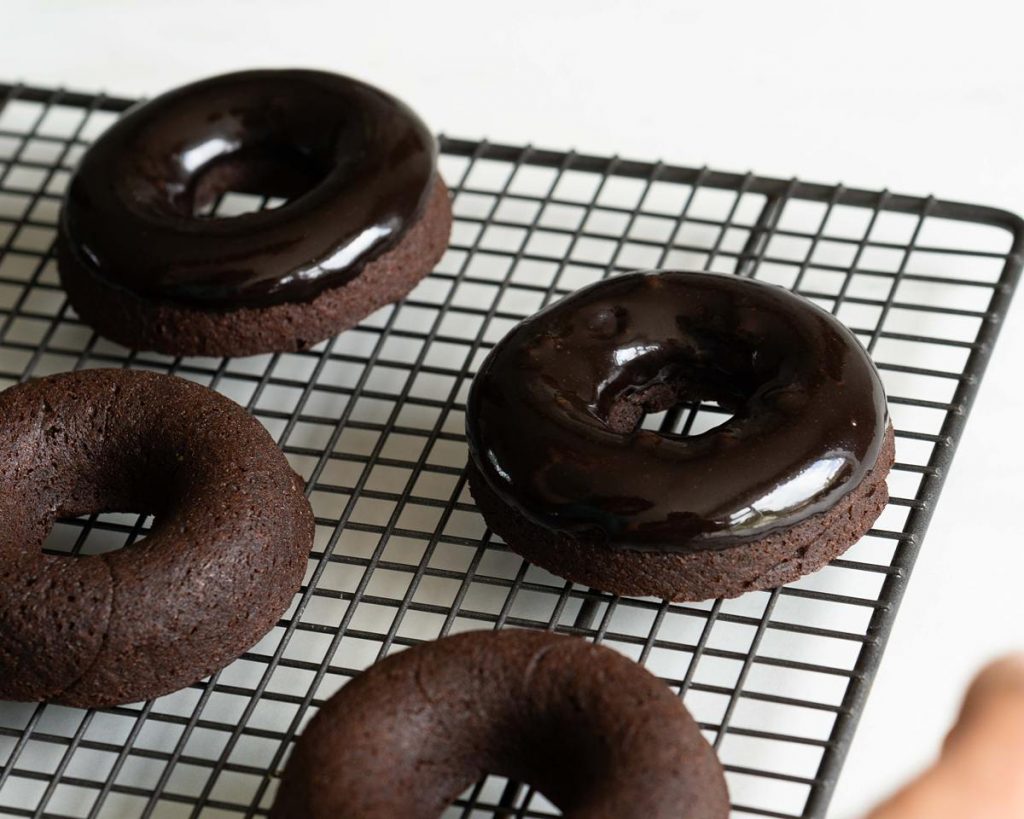
Step 5: Bake the bronuts for 10-12 minutes until baked through and the tops have slightly domed and have cracked all the way over the donuts. Leave in the pan to cool for 5 minutes, then transfer to a wire rack to cool before decorating.
For the decoration
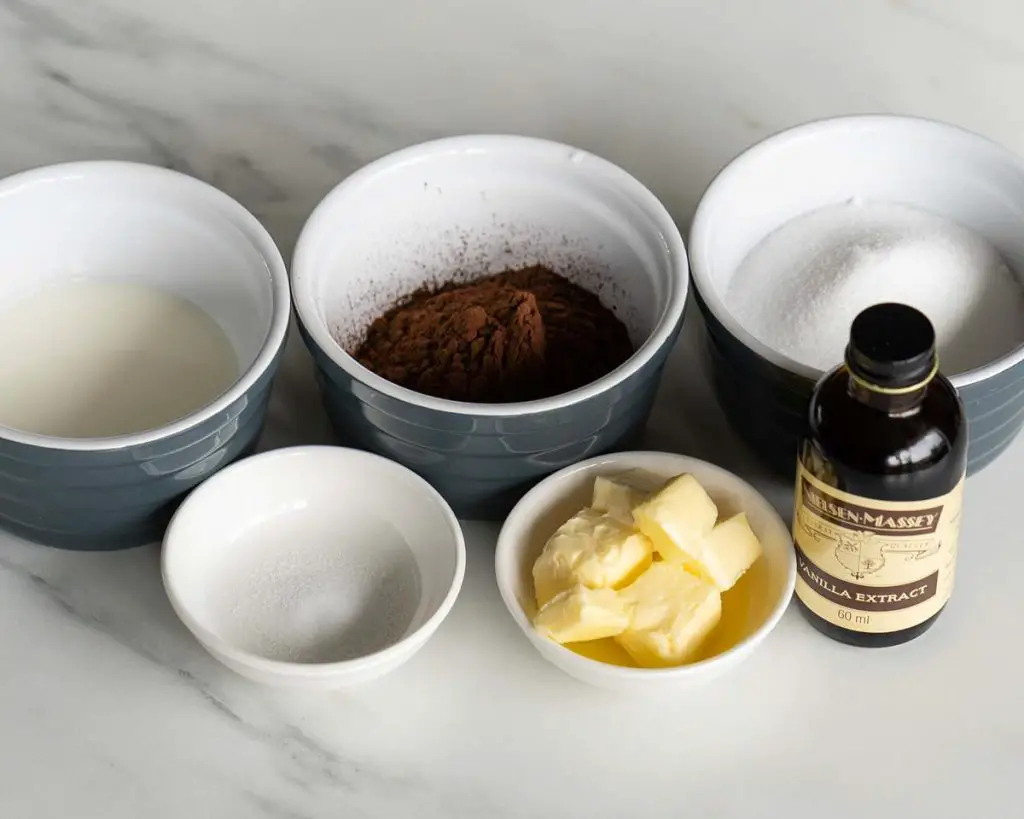
Step 1: In a small mixing bowl, place the butter, sugar, salt and cocoa powder along with 2 tbsp milk. Heat it in short bursts in the microwave , stirring gently to combine until smooth. Add in the vanilla and mix in well. If you prefer your glaze thinner, add in more milk one teaspoon at a time until it reaches the consistency you like.
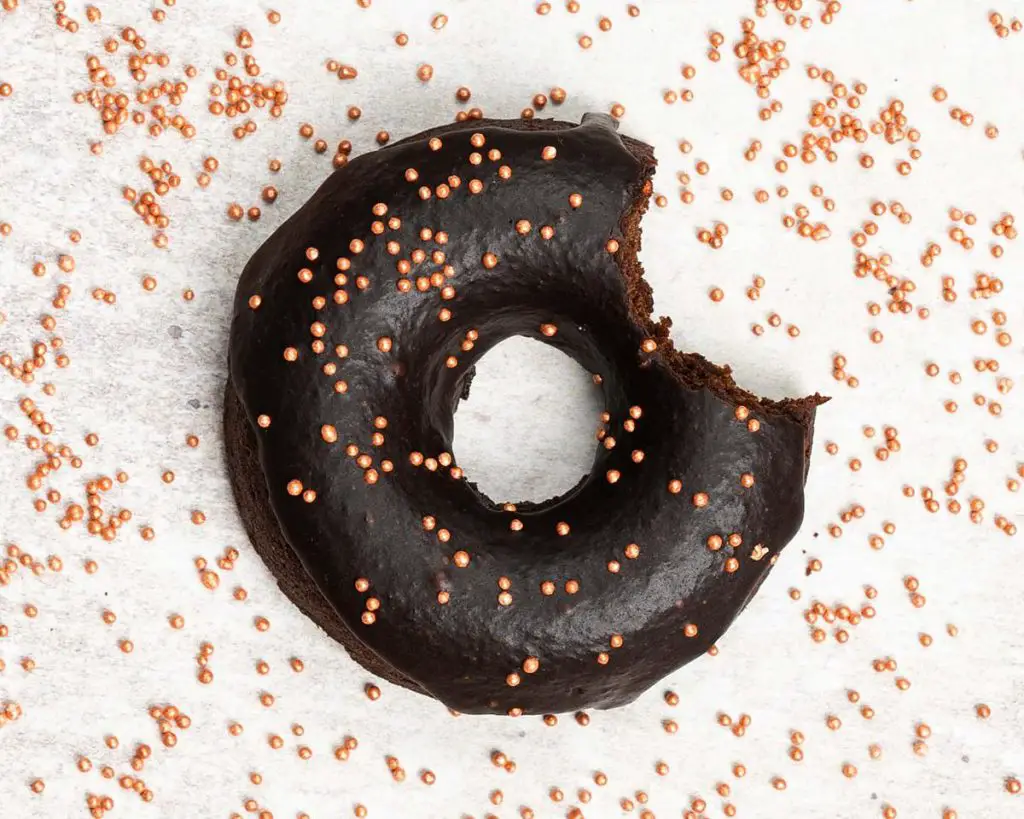
Step 2: Carefully dunk your bronuts into the glaze, gently swirling them around to coat the top of them evenly. Leave to settle back on the cooling rack, popping any air bubbles with a toothpick if needed. Decorate with sprinkles, if desired. Enjoy!
How do you remove bronuts from the pan?
Once the donut pan has been removed from the oven, let it sit on your cooling rack for 4-5 minutes. Very gently, use a (rounded) knife to carefully ease the bronuts out of the pan. They should be fairly firm and come out without too much difficulty.
How long do these baked brownie donuts last? How do I store bronuts?
These brownie donuts will last 3-4 days if stored in a cool place and in an airtight container. However, these delicious bronuts, as with most brownies, are best enjoyed as fresh as possible, ideally on the day they are made.

Can you freeze bronuts?
Absolutely! Freeze your brownie donuts before you glaze or decorate them for best results. These bronuts will freeze well for up to two months.
How to freeze brownie donuts
I would recommend not decorating your bronuts before freezing them, but doing it after you have defrosting instead. I like to use large (sealable) food or freezer bags for freezing. Cut two pieces of parchment slightly smaller than your bag, then slide one into the bottom of your bag. Place your bronuts, in one layer, on the paper and top with the second piece of paper. Gently push as much air out of the bag as possible and seal almost all the way, leaving a little part unsealed. Using a straw, carefully slip it into the unsealed part of your bag and use it to suck the remaining air out of the bag. This will make it look like the bag is shrinking and make the paper contract against the bronuts – perfect! Once you have as much air out as you can, seal the bag and lay it flat in the freezer.
How to thaw your bronuts
When you want to enjoy your frozen bronuts again, just remove them from the freezer and remove from the bag. Place them on a wire rack at room temperature, brushing off any ice crystals, and leave to thaw. This should only take a few hours. Then you can decorate your brownie donuts as you wish!
Can I make these bronuts gluten free and dairy free?
Yes! You can substitute plain/all purpose flour for a gluten free flour blend. For dairy free options similarly use a plant based butter, chocolate and milk. Also remember to grease your donut pans with dairy free butter too.
Additional tips for making these baked brownie donuts
- Make sure all tools are prepared before you start mixing: grease your pan and preheat your oven.
- Try not to over beat the brownie mix. You do not want to add air to the mix, but you do want to ensure everything is well combined at each step.
- Ensure the chocolate mixture is cool to touch before adding in the eggs. If you add the eggs before the mixture has cooled enough, you risk having scrambled eggs as part of your bronuts!
- Leave your brownie donuts to cool completely before decorating. If you try to dip the bronuts before they are cool, the icing will melt off and not remain on as a glaze too well.
- I like to dip two or three bronuts into my glaze, then go back and add sprinkles to them. Doing them in batches like this means the glaze gets a little skin on top, so my spinkles are less likely to be swallowed up by the glaze!
Troubleshooting
If you have any other questions about this bronut recipe, please use the comments below to ask away and I will do my best to help. And if you made and enjoyed this recipe for brownie donuts, please do consider leaving a rating and review below. I hope you will enjoy them as much as I do! Please do post a picture on Instagram too and tag me when you share it with the world!
More donut recipes for you to try and enjoy
More delicious donut recipes for you to check out!
Chocolate fudge donuts: my chocolate fudge donuts are a chocaholic’s dream. Moist and light cakey chocolate donuts, fudgy chocolate glaze and more chocolate to decorate. Yum!
Eggless cinnamon sugar donuts: my eggless cinnamon sugar donuts are utterly addictive! Light and fluffy, these baked donuts are sure to be enjoyed by everyone.
Oreo donuts: if you are looking for the best baked oreo donuts, look no further! Cakey soft donuts topped with a tangy glaze. Utterly heavenly.
Lemon blueberry donuts: beautifully fluffy lemon donuts, bright pops of fresh blueberry and a stunning blueberry glaze make these donuts a real showstopper!
And that’s all for today! Happy baking, my friends! x
Recommended tools I used to make this bake *
| Donut pan | Pastry brush |
| Digital kitchen scales | Measuring spoons |
| Mixing bowl/small bowl | Sieve |
| Spatula | Piping bags |

These bronuts are fabulous. My daughter and my son had them and absolutely loved them. Feel like I’ve been missing something in my life. Give these a go!! You won’t be disappointed.
Lois, what a fabulous comment and review! I’m so glad you’re children loved them so much! Thank you so much for coming back to leave a review!
These are amazing!!! They have been a hit ever since I came across this recipe. Even my dad who doesn’t like anything chocolate, loves them.
Thank you for such a fabulous review, I’m so glad you love them! Plus, I’m utterly delighted too to have converted your dad too! 🙂
In the recipe for the bronut do you use choc bar?
I use dark chocolate when making the bronuts, yes. Hope that helps 😊