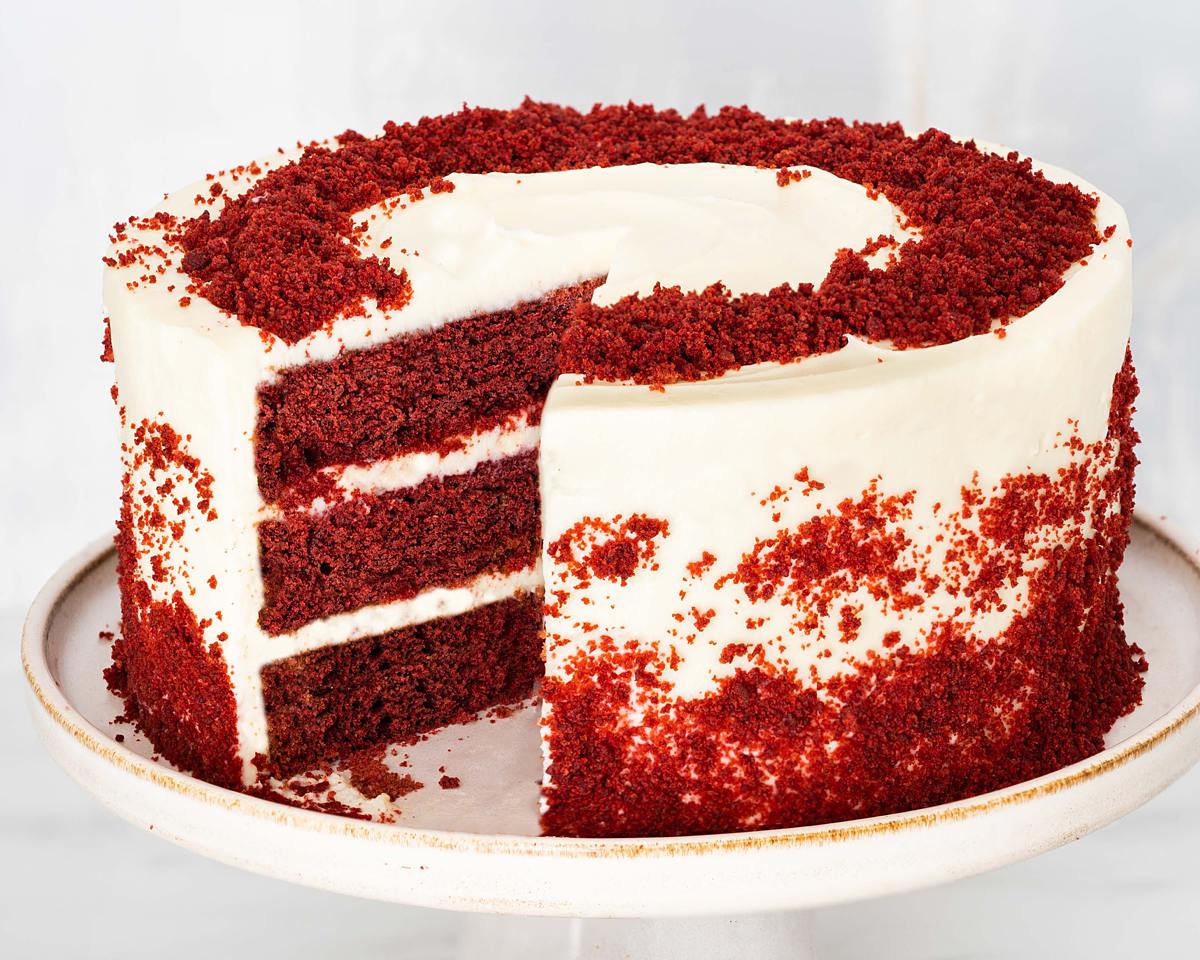
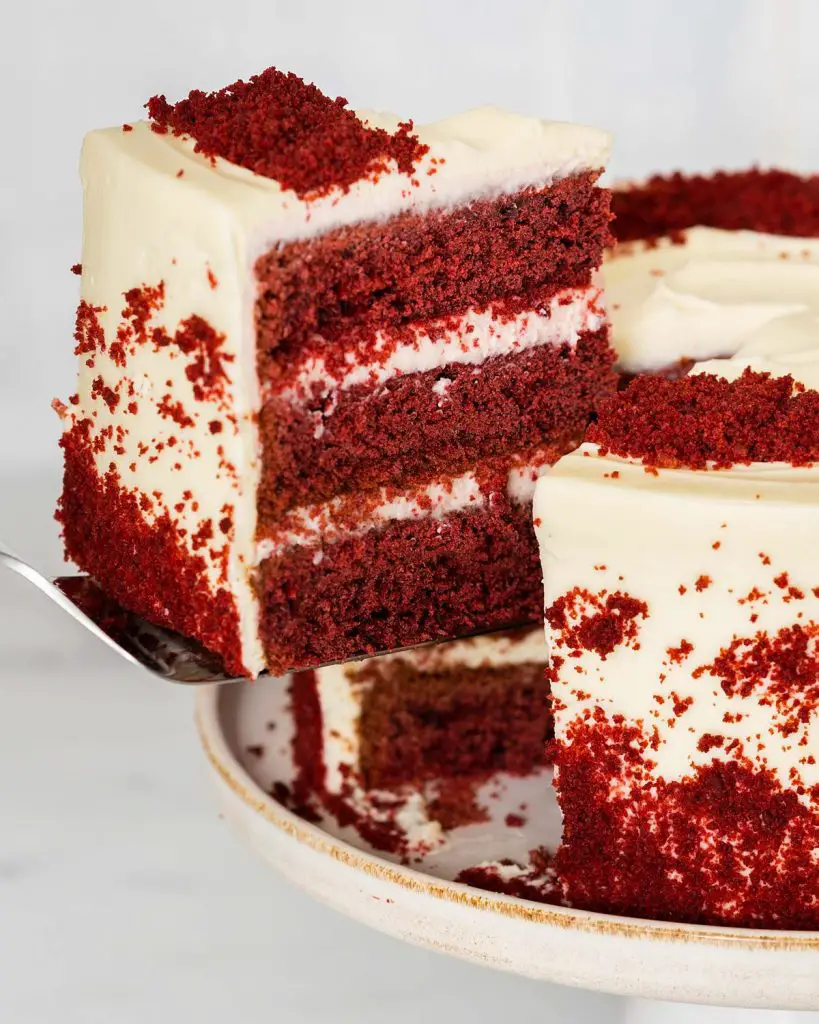
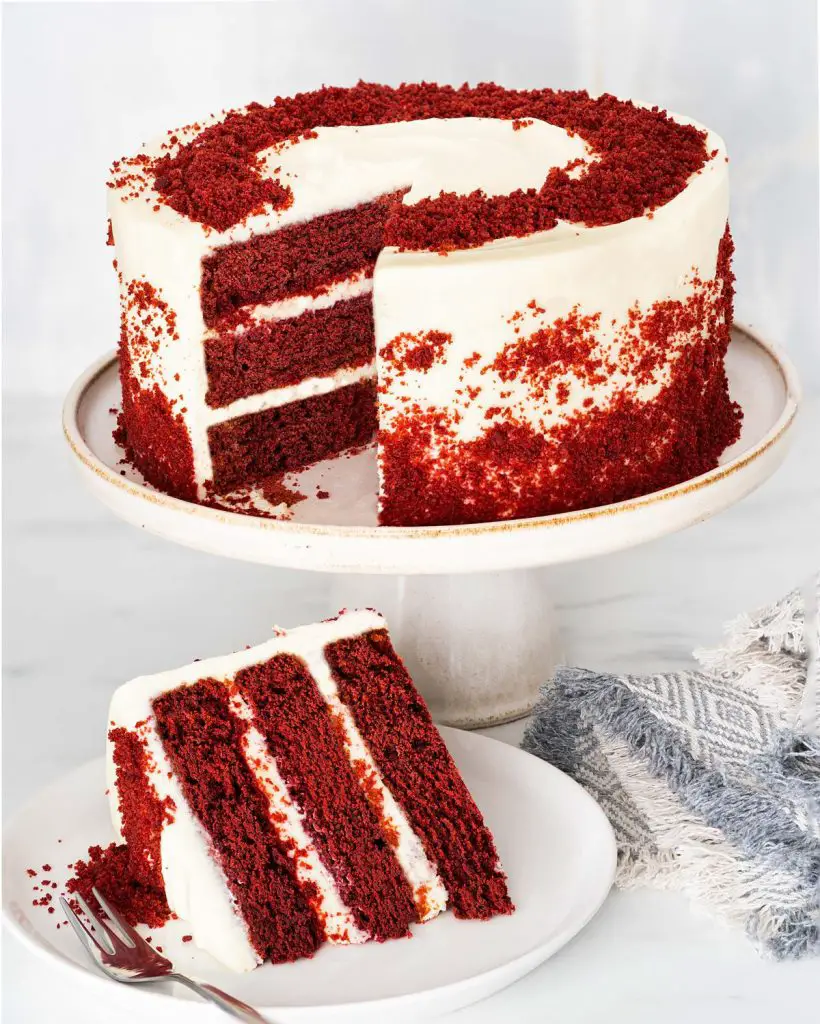
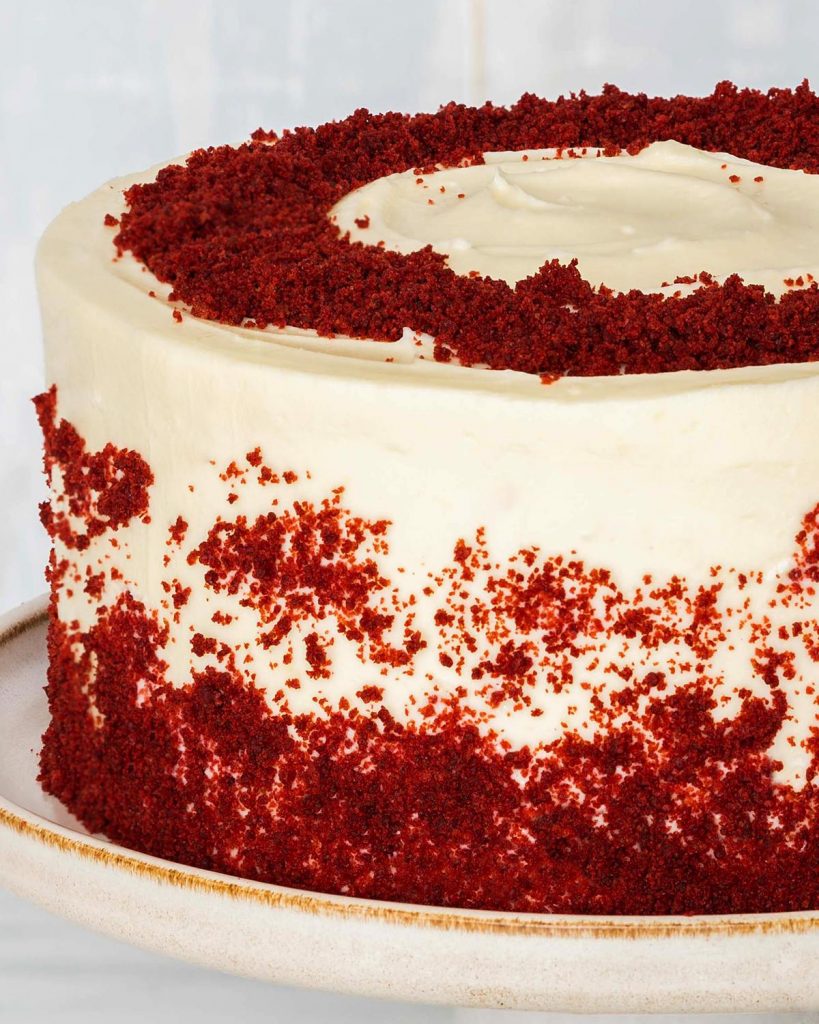
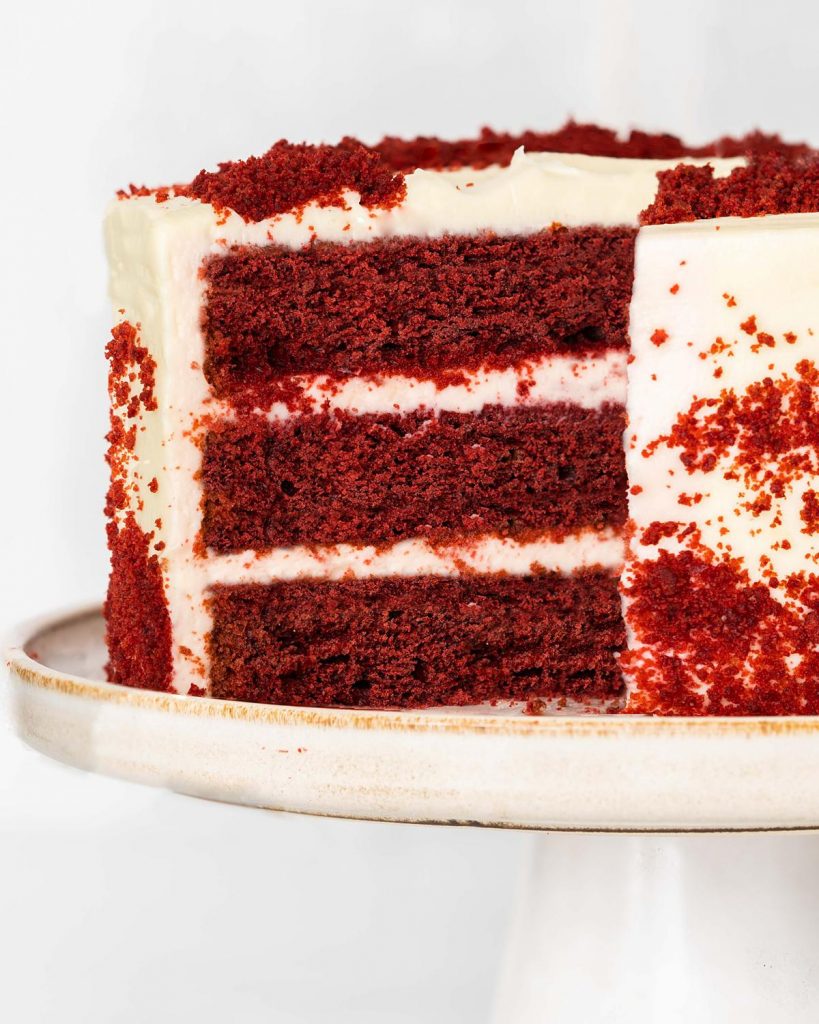
You will love this rich and moist eggless red velvet cake recipe. It has three layers of beautiful decadent red velvet sponge with a smooth and totally irresistible cream cheese icing. This is one showstopper of a cake you will not want to miss!
What is red velvet cake?
Red velvet cake is essentially a chocolate cake, though it is very light and strong with vanilla flavour too. The stronger flavour of red velvet cake actually comes from the cream cheese icing rather than the cake itself. The cake is traditionally flavoured with cocoa and vanilla, so it truly is a mix of flavours.
Traditionally, this cake is not made red using food colouring as is common these days. It would have gained the red colour from the reaction of the cocoa with the acid in the cake. Additionally, the term “velvet” in the cake’s title, when it was first made back in the 1800s, would have told of the cake’s texture. This would naturally have made it far more appealing to high society types, boosting the popularity of the cake.
Is red velvet cake eggless?
Red velvet cake traditionally contains eggs in the cake. However, I have tweaked my recipe for it to bring you this eggless red velvet cake recipe.
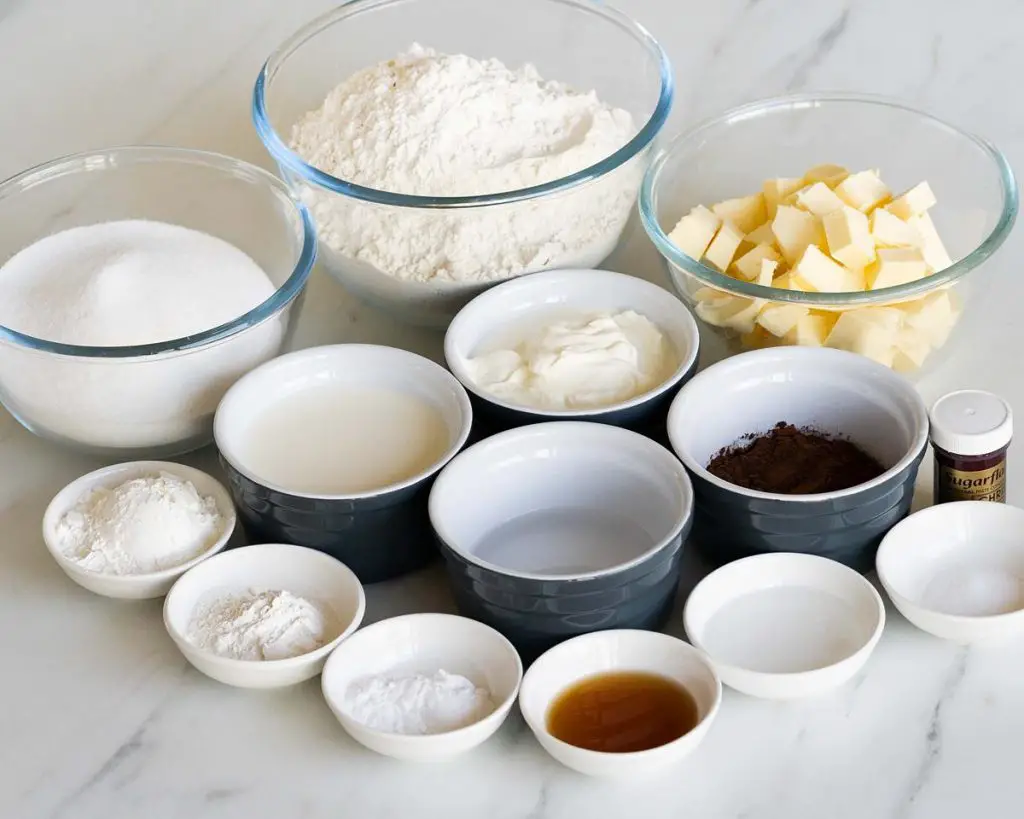
What ingredients do I need to make this eggless red velvet cake?
- Butter: unsalted butter is used in this recipe. Salted butter can not be substituted here.
- Caster sugar: for sweetness in your cake.
- Flour: I use plain flour to make this red velvet cake. I prefer this here as I can control the amount of rise in my cakes better.
- Cornflour (cornstarch): keeps the cake tender and beautiful.
- Baking powder/bicarbonate of soda (baking soda): the leavening agents in this bake, for rise and lightness.
- Salt: just a little added, to enhance the flavours. You will not be able to taste it, do not fret!
- Cocoa powder: not as much used as in a regular chocolate cake, but just a little for a lighter chocolate flavour.
- Yoghurt: used to make the buttermilk part of this cake. Also helps to keep the cake moist and tender.
- Milk: part of the liquid content of this recipe. Mixed with yoghurt to form buttermilk too.
- Water: part of the liquid requirement for this recipe.
- Vinegar: red velvet cake uses the reaction between vinegar and bicarbonate of soda to help with the rise of the cakes. It is a unique ingredient amongst cakes, giving the cake a little edge that is different from all other cakes.
- Food colour*: I used some red food colouring here to enhance the colour of my cake. You can leave it out if you wish, but your cake will not end up a red colour. I find gel colours are much more intense, so will give you a far stronger colour than liquid colours will deliver.
What tools do I need to make this red velvet eggless cake?
- Cake tins*: to bake your cakes in. I use three separate tins to make this three layer cake, rather than baking as one and slicing in three. I find this way guarantees me better baked cakes, plus I find it easier than slicing layers out of one larger cake.
- Parchment/baking paper: to line your tin before baking your cake in it.
- Digital kitchen scales*: I do provide all my measurements in cups too, however I continue to encourage all bakers to weigh out ingredients when baking. A set of digital kitchen scales is so useful and an essential baking tool for me.
- Measuring spoons*: a set of dedicated measuring spoons is essential for a baker. These are more accurate than using your everyday teaspoons and tablespoons, which can vary greatly in size.
- Stand mixer*/Handheld electric mixer*: both useful tools to make life easier in your kitchen! I like using my stand mixer when mixing up lots of ingredients together, or if I need to mix for a longer time. I use my handheld mixer more for smaller quantities as I find I can control the mixing better this way. You can, of course, make this whole recipe entirely by hand. But it will be quite the workout for your arms!
- Sieve*: to sift your dry ingredients before mixing in. This is important to remove lumps from the ingredients, helping ensure good incorporation of everything together.
- Spatula*: to scrape down your bowl with as you add ingredients, ensuring everything mixes together thoroughly.
- Jug*: I use a jug to mix together my wet ingredients separately before adding in with the dry ingredients.
- Mixing bowl*: in which to make your cream cheese icing.
- Piping bag*: used for decorating your cake.
- Offset spatula*: to help spread your icing over your cake smoothly and evenly.
How to make eggless red velvet cake
As with making any cake, you must first make and bake the cake layers. Once they are completely cool, you will make an icing before levelling, filling and decorating your eggless red velvet cake. It is not hard, but rather just takes a little time to work through the steps.
For the cake
Step 1: Brush three 8″ circle cake tins with some melted butter, then line the base with parchment paper and brush with a little butter again to make sure it sticks down well. Set your tins aside. Preheat your oven to 180C/350F while you make your cake batter.
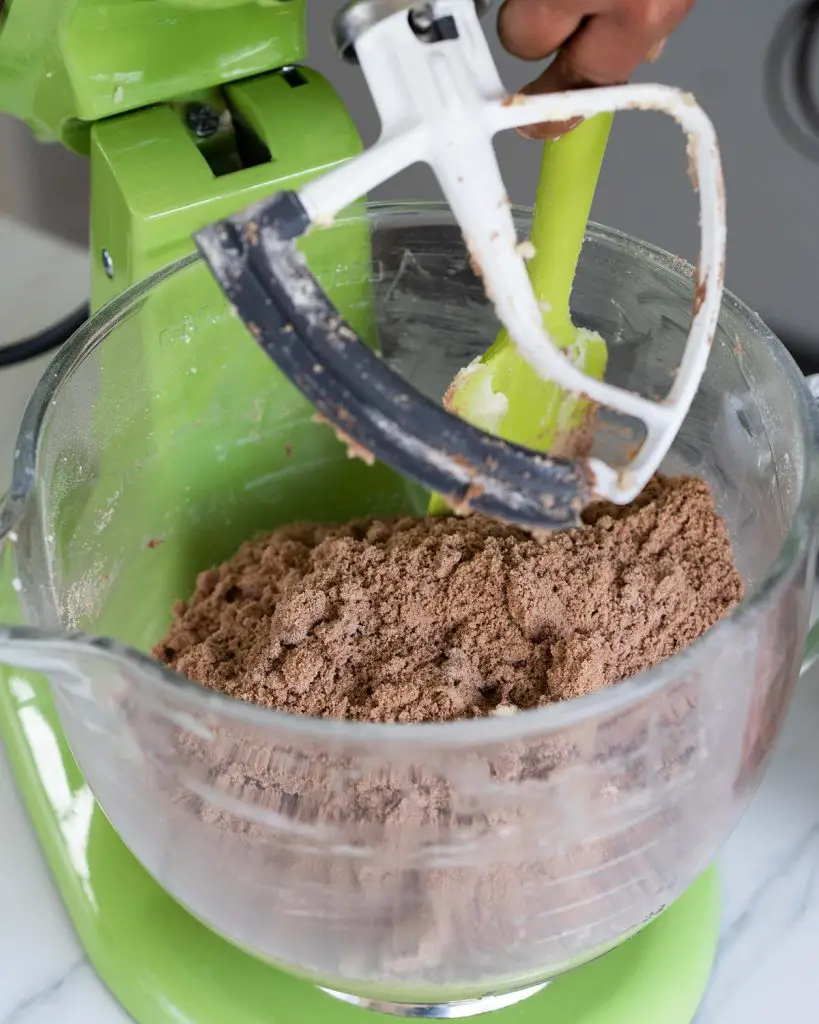
Step 2: In the bowl of your stand mixer, cream together your butter and sugar until pale and fluffy. Sift in the flour, cornflour (cornstarch), baking powder, bicarbonate of soda (baking soda), salt and cocoa powder. Beat it all together until your mixture resembles damp chocolatey sand.
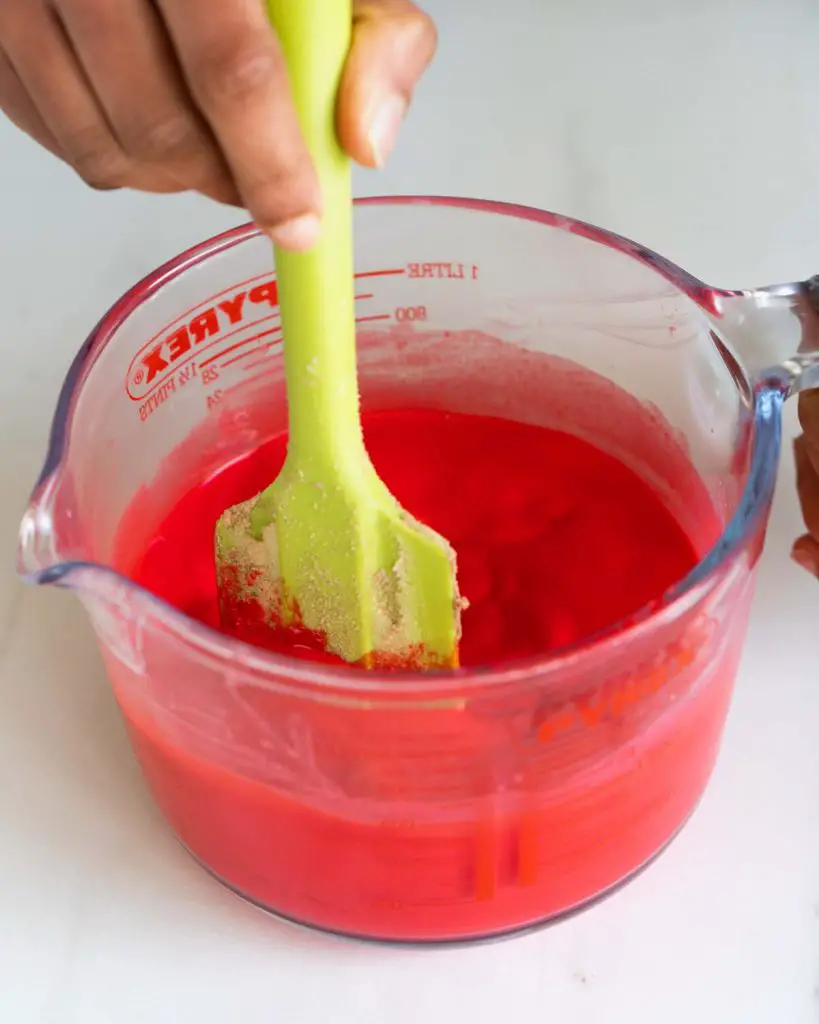
Step 3: In a separate bowl or large jug, mix together the milk and yogurt to make your buttermilk. To the jug, add in the water, vanilla and food colouring then mix. Add more colour if you wish to have a more vibrant shade of red. The colour deepens as the cake bakes, so your red will not be quite as vibrant once baked as your cake mixture is.
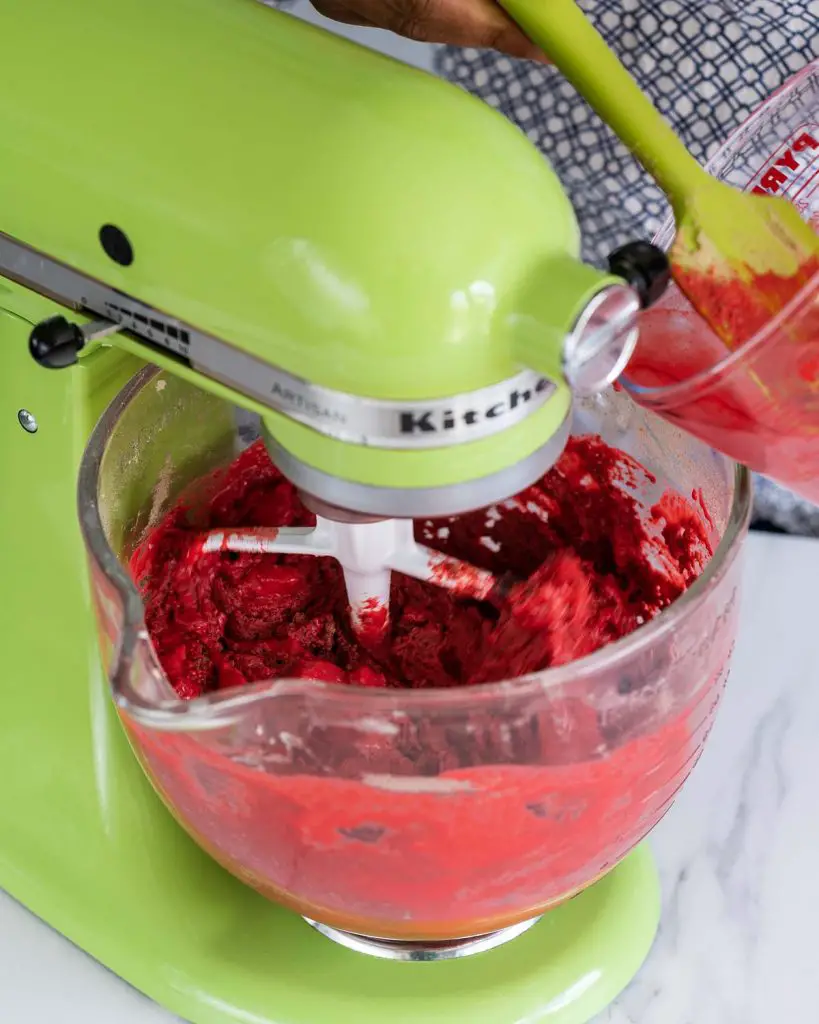
Step 4: With your mixer running, slowly pour in your wet ingredients into the dry, scraping the bowl down if needed to incorporate all the ingredients well. Once everything is well combined, add in the vinegar and beat again to mix through. Turn the speed up to high and beat for 30 seconds.
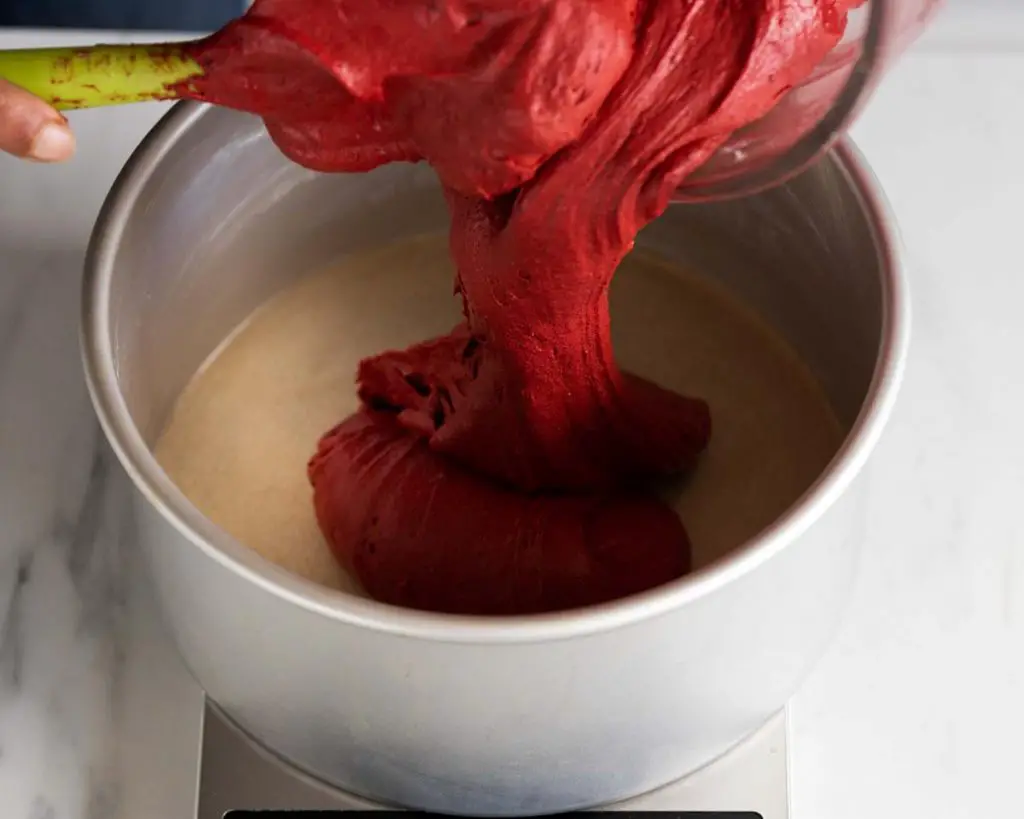
Step 5: Divide your cake mixture evenly between your three prepared pans. Bake in your preheated oven for 20-25 minutes. When baked, your cakes will be firm and springy to the touch and a toothpick inserted into the cakes will come out clean. Cool in the tins for 5 minutes, then transfer to a cooling rack to cool completely.
For the cream cheese icing and decoration
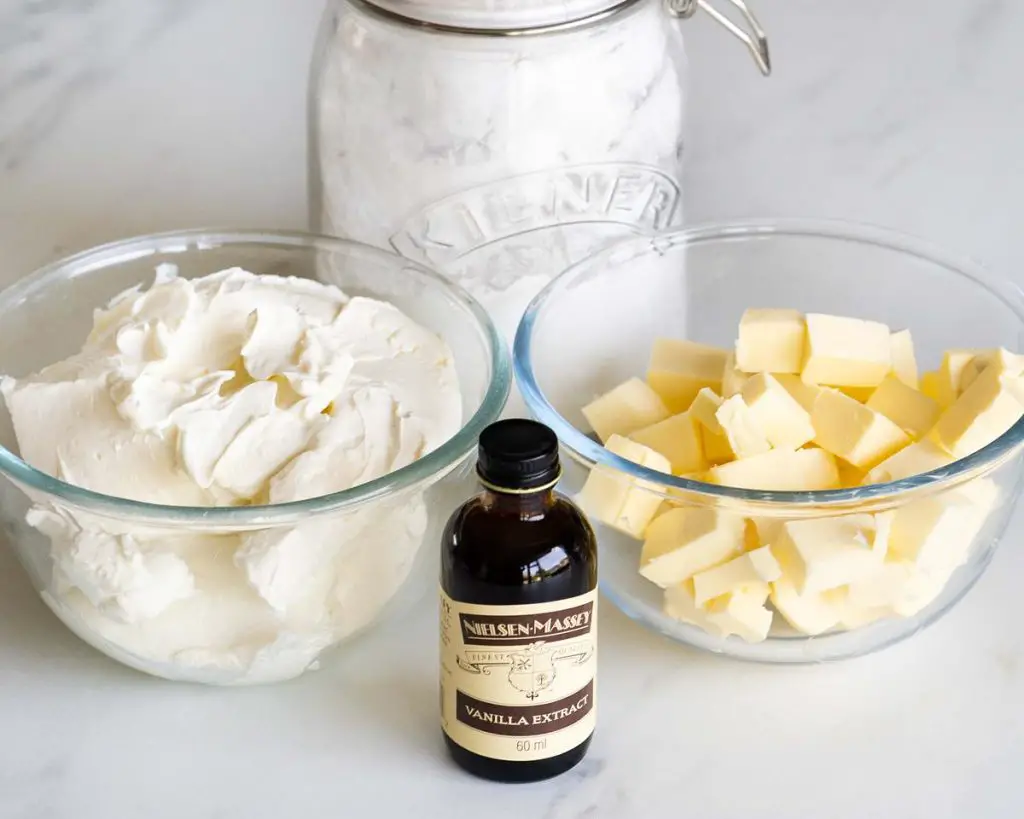
Step 1: Once your cakes are cool, we can crack on with decorating them! To make your cream cheese icing, first beat your butter until really soft and paler. Add in the icing sugar and vanilla, mixing to combine and fluff up again. Give your cream cheese a little smash to soften it, then tip into your butter mixture and beat well to fully combine.
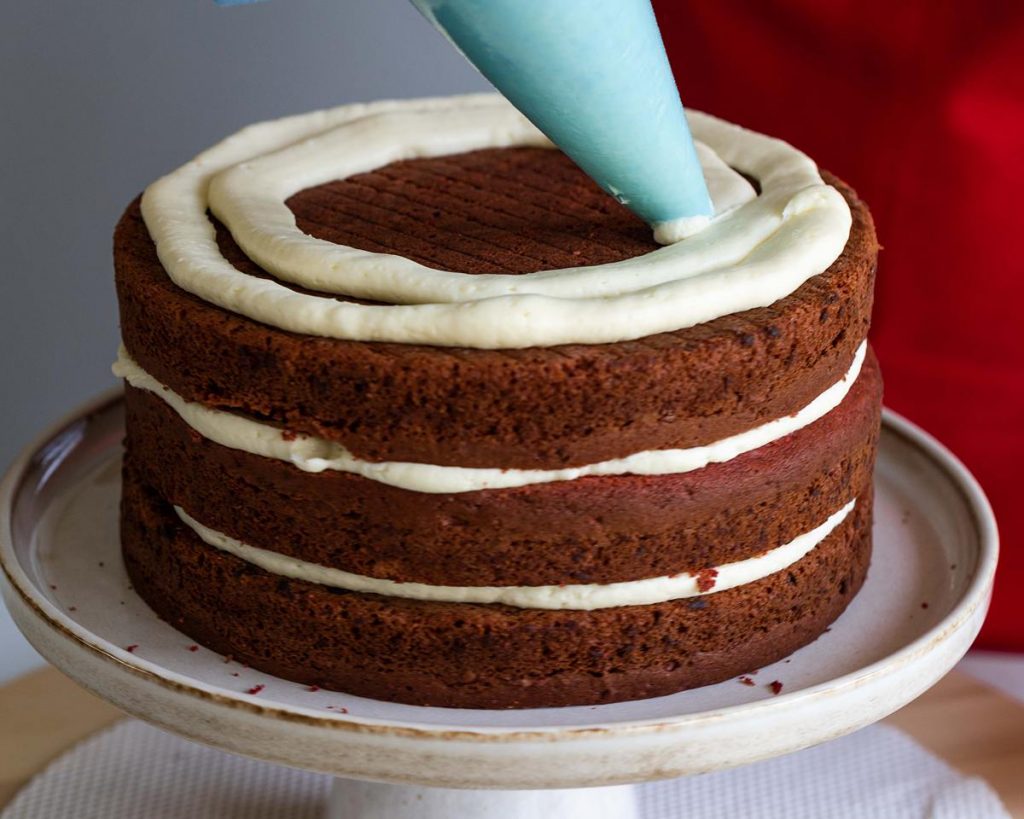
Step 2: Before you assemble your cake, level the tops of your individual cake layers. If they do not need levelling, that is fine, but I like to regardless as I use the crumbs for my decoration. Once level, put a little dollop of cream cheese icing on your serving plate. Place your bottom layer of cake on the icing, pressing down gently to secure the cake to the icing. Spread or pipe a layer of icing on top of your first cake, smoothing to level if needed, then place your second cake layer on top. Repeat the icing and cake layer steps once more for your third and final layer of cake. Cover the top and sides of your assembled cake with the remaining cream cheese icing, then smooth it out with a scraper or offset spatula.

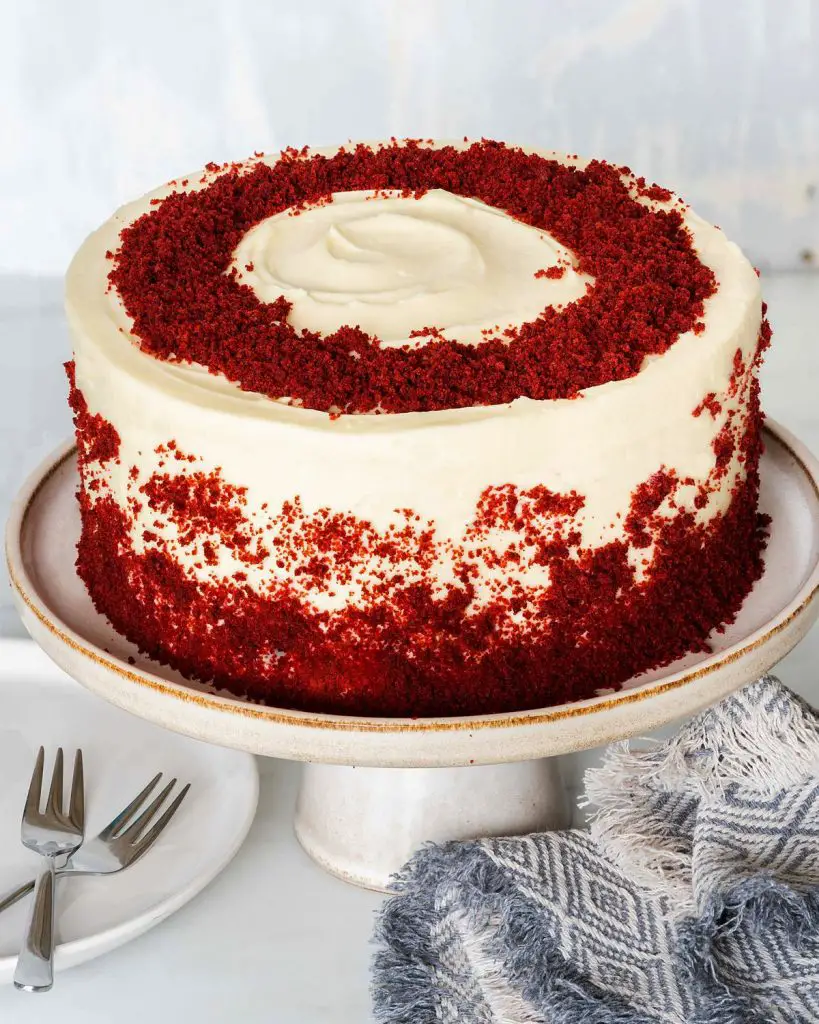
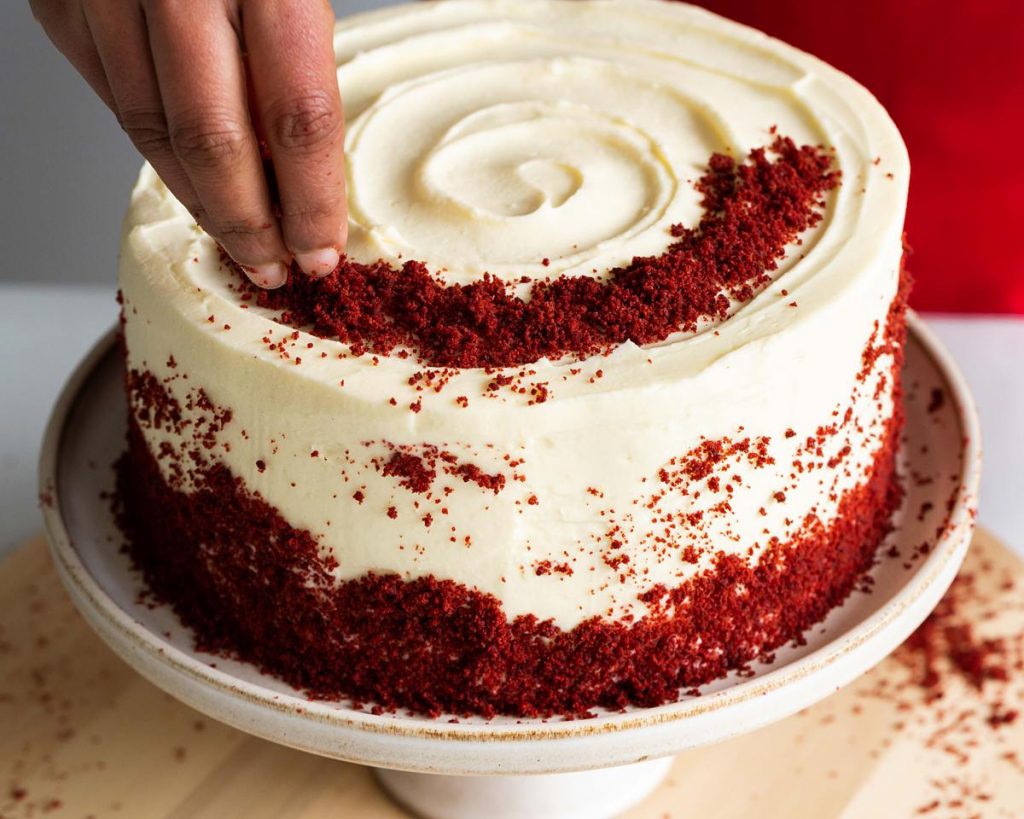
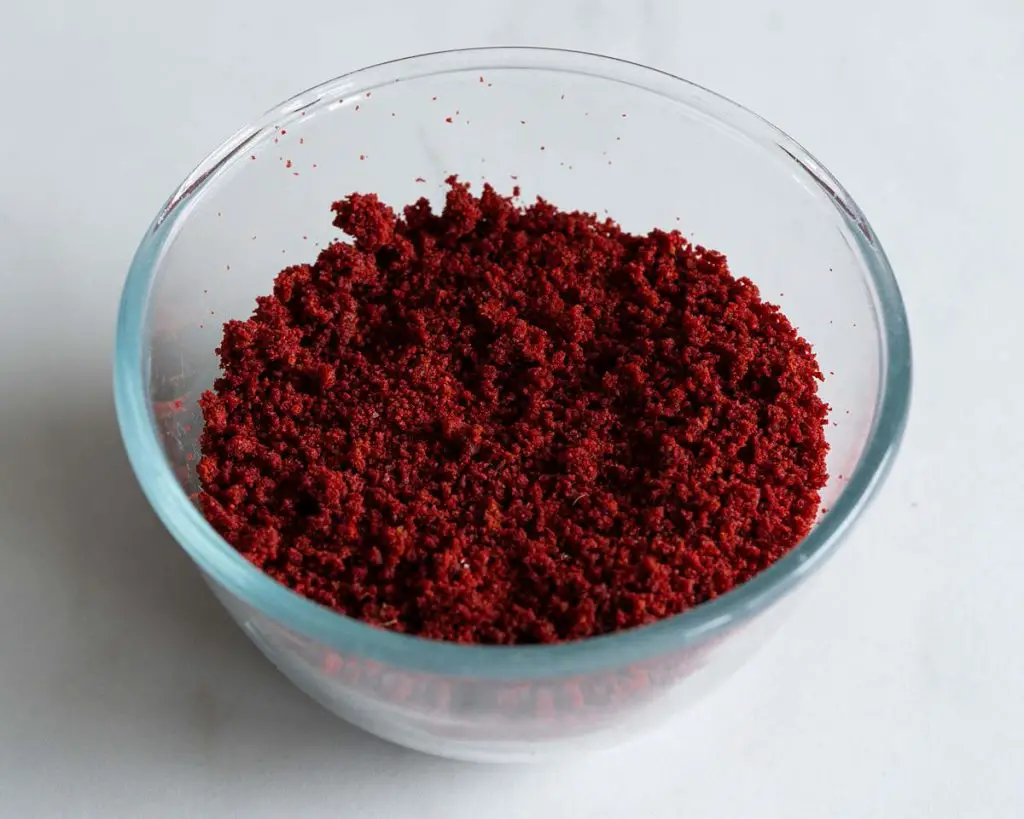
Step 3: Crumble up the off cuts of cake from when you levelled your layers earlier. If you want to decorate your cake as I did, here is how I did it. First create swirls in your icing on top of your cake using your offset spatula, a rounded knife or even a spoon. Using your cake crumbs, carefully sprinkle a ring of crumbs on top of your cake leaving a little rim of icing around the edge. Carefully push cake crumbs around the bottom of your cake. Gently ease a few more crumbs a little higher up along the side of your cake to create a tapered crumbs effect. Enjoy!
How do I line my cake tins?
Place your cake tin on some parchment paper and trace around the base of your tin. Cut out this shape and set aside. Melt some butter and use it to brush inside the base of your cake tin. Place the cut out circle of parchment paper on the buttered base and use your brush to flatten and ease it into the corners. Brush a little more butter over the parchment circle and up the sides of the cake tin. Your tins are now ready to be used.
How can I tell when my cakes are baked?
You will know when your red velvet eggless cakes are done as they will be firm to touch and will have shrunk away from the sides of the pan slightly. Additionally, a toothpick inserted into the cake will come out clean or with one or two crumbs only.
What food colouring is best for red velvet cake?
I prefer to use a gel food colour in any of my baking, as I find it gives the best colour with the least amount of liquid, which can affect your bake. If you wish you use the same one I do, you can find a direct link to it in the table lower down this post.
How long does this red velvet cake last and how do I store it?
This cake is best eaten within 2-3 days of being made to be enjoyed at its best. It will need to be stored in the fridge due to the cream cheese icing.
How to freeze cake
If you wish to make this cake ahead of time and freeze it, you can do this no problem. I would recommend not freezing the assembled cake, but the individual cake layers instead. Then, when you are ready, you can defrost your layers, make your cream cheese frosting, and decorate your cake.
To freeze the cake layers, first make sure they are completely cool. Wrap each layer of cake tightly and securely in cling film, then a layer of tin foil and another tight layer of cling film. You do not want any moisture getting to your cakes, or they will turn out a soggy mess, hence thoroughness. Stack the cakes on top of each other, and place the stack on a flat surface in the freezer.
How to defrost your frozen cake layers
When you are ready to defrost and decorate your red velvet cake, simply remove the layers from the freezer and unwrap them. Place each cake in a single layer on a cooling rack, brushing off any remaining ice crystals, and leave to come to room temperature. Your cakes are ready to be decorated once defrosted.
Can I make this cake gluten and dairy free too?
Yes, you can make this gluten free by substituting your plain (all purpose) flour for a gluten free flour blend. Your butter, yogurt, milk and cream cheese can all be substituted too for suitable dairy free alternatives. By substituting dairy products in this bake, you would be making this a vegan red velvet cake.
Additional tips for making this red velvet eggless cake recipe
- Make sure you have prepared your tools and ingredients before you start mixing your cake batter. So, grease and line your cake tins, preheat your oven and get your ingredients out ready to use. It is easy to forget something once you get going, and there is a fair amount going on in this recipe.
- Take time to read through the recipe so you are familiar with what steps come next. Please do not skip details and instructions given as it could affect the results of your final bake.
- I find with this eggless version that baking one large cake and slicing can lead to a much denser cake. I would definitely recommend you bake your cake in three separate layers.
- Do line your tins before baking your cakes in them. This will lead to far less stress releasing your cakes than if they were not lined, where you may end up with cake stuck to your tin.
- Make sure you use butter, milk, yogurt and cream cheese at room temperature. This helps them blend better with the other ingredients, making for better cakes and icing.
- Do ensure you beat your butter and sugar really well, until pale and fluffy when making your cake mixture. The extra air in doing this will really help you get a lovely light cake as a result.
- When your cakes come out of the oven, leave them for a few minutes in the tin to cool a little before turning them out onto your cooling rack to cool completely.
- Please make sure your cakes are completely cool before you fill and decorate. If you decorate sooner, the icing will melt and you will have a really runny, cream cheese mess!
- Ensure your cakes are cool before you level them or you risk them breaking more easily. I would definitely level your cakes, even if they look fairly level, just to give you some additional cake crumbs for decoration.
- If you find your cream cheese icing is too soft to work with, pop it in the fridge for an hour or so to allow the butter to firm up a little.
Leftover off cuts of red velvet cake and cream cheese icing? No problem!
Once you have finished decorating your cake, if you find you have a little leftover cake crumbs and cream cheese frosting, I have a solution for you! Combine enough icing with your cake crumbs to help them stick together. Roll this mixture into small balls, about the size of a walnut, then dip them in some melted white chocolate. And voila, you have made yourself some eggless red velvet cake pops! This is a really fun additional bit of the recipe to do with little ones, as they love getting stuck in too!
Troubleshooting
If you have any questions about this red velvet cake recipe without egg, please comment below and I will do my best to help. And do remember: if you make this red velvet eggless cake, please do consider leaving a rating and review below. It would mean so much to me, and I know many others really will appreciate it too. You could even post a picture on Instagram and tag me when you share it with the world. You already know I would love to see!
More recipes from my blog for you to enjoy
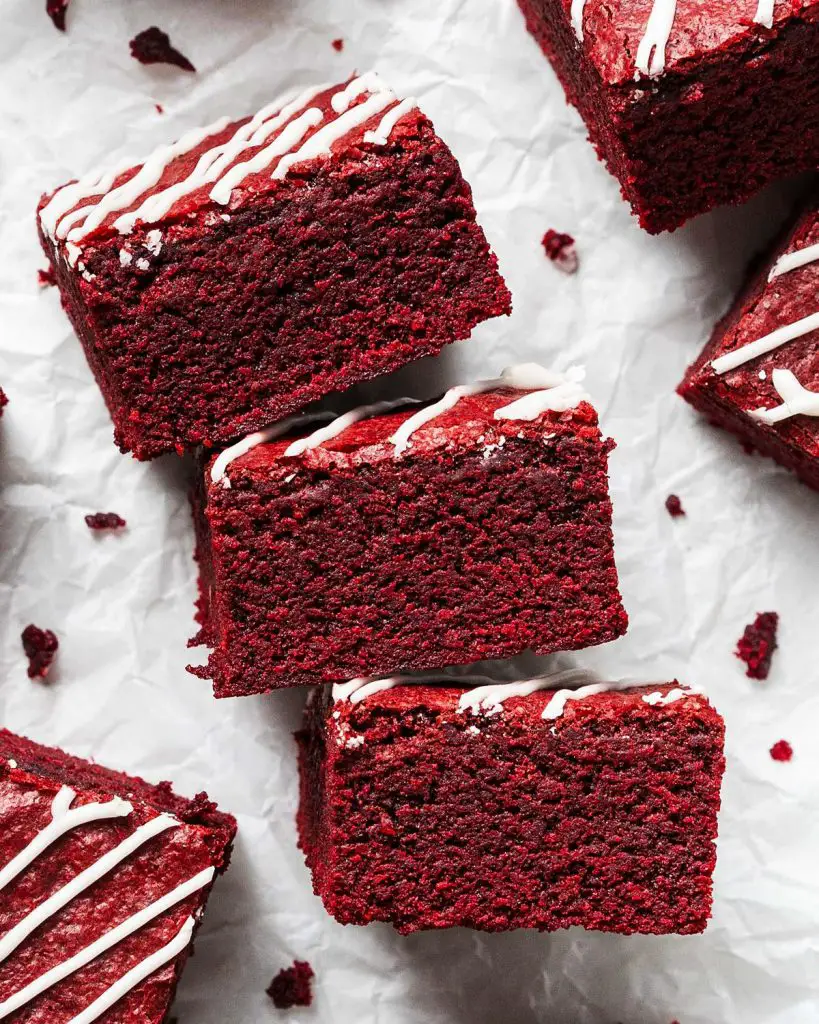
Red velvet brownies: If red velvet cake and brownies had a baby together, what would the resulting bake be? Let me introduce you to the irresistible result that is red velvet brownies! These vibrant brownies are chewy, fudgy, and oh so delicious!
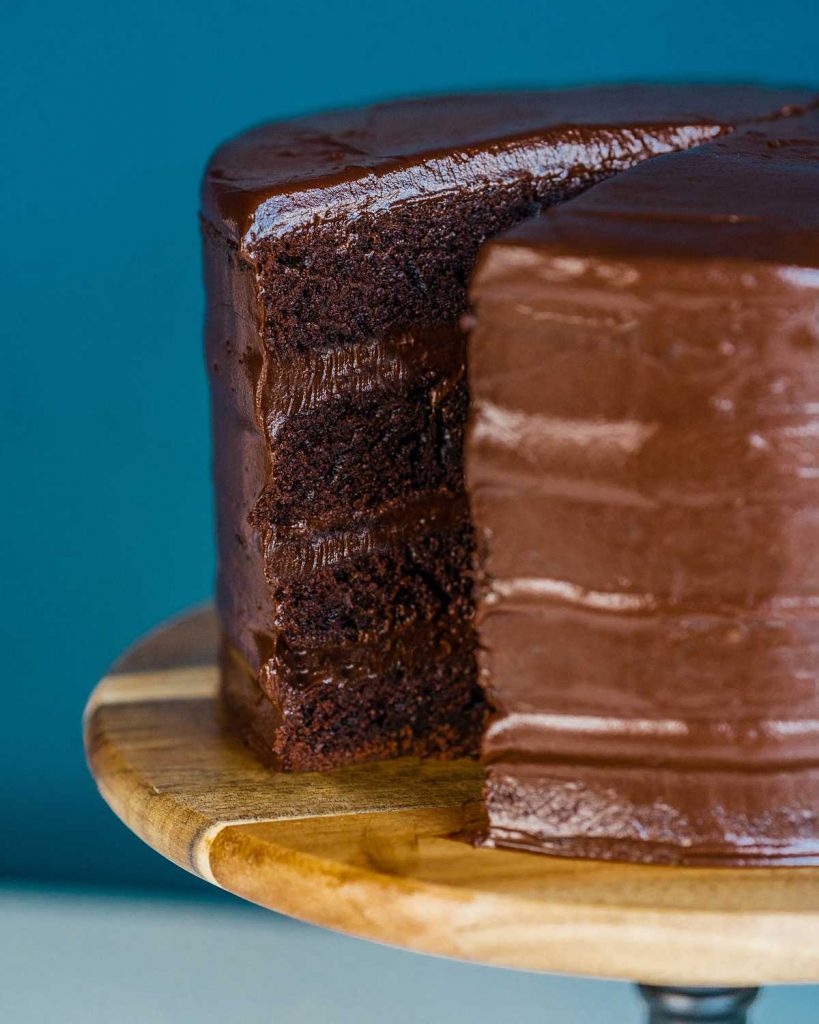
Chocolate fudge cake: the ULTIMATE chocolate fudge cake! Light and airy but deeply chocolatey cake with a silky chocolate fudge icing. Serve either at room temperature, soft and melt-in-your-mouth, or warm and gooey with ice cream. Yum!
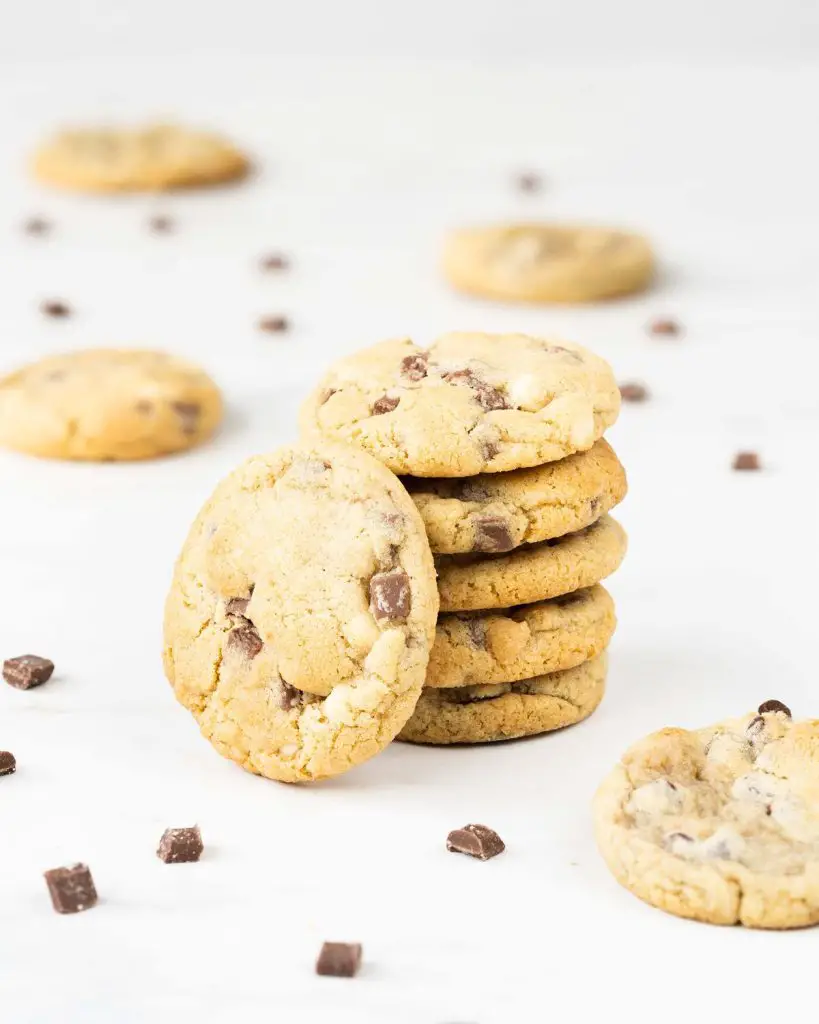
Eggless chocolate chip cookies: my eggless chocolate chips cookies are chunky, chewy and a total treat! Add that they’re super easy to bake and can be made ahead of time, and surely you have an all round winner!
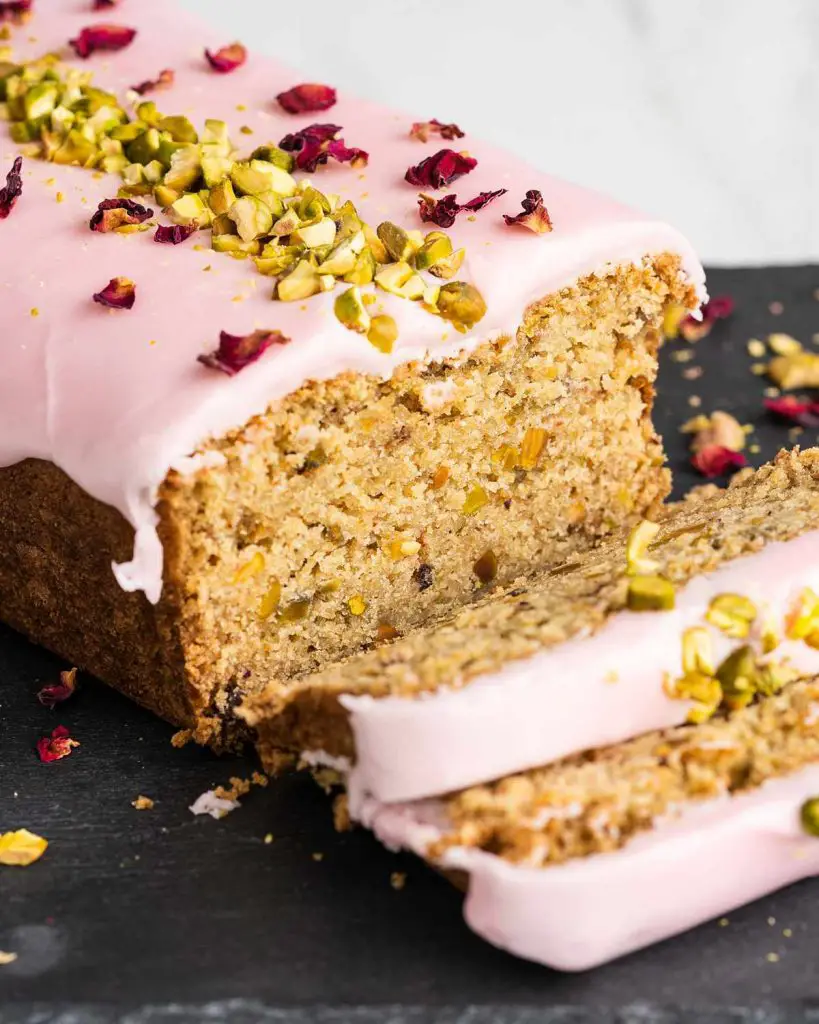
Rose pistachio and cardamom loaf cake (eggless): this cake is inspired by the stunning smells and flavours of India. Earthy pistachio, fragrant cardamom, and floral rose come together in this eggless bake to create an incredible stunning cake that is truly out of this world.
And that’s all there is to it! This eggless red velvet cake is all yours to be enjoyed!
Happy baking my friends! x
Recommended equipment and ingredients I used *
| Cake tins | Digital kitchen scales |
| Measuring spoons | Stand mixer |
| Handheld electric mixer | Sieve |
| Spatula | Jug |
| Mixing bowl | Piping bag |
| Offset spatula | Food colouring |
Eggless Red Velvet Cake
16
servings30
minutes20
minutes635
kcal2
hours3
hoursDelicious and light, this eggless red velvet cake with cream cheese frosting will have everyone coming back for more!
Keep the screen of your device on
Ingredients
- For the cake
180 g (¾ cup + 1 tbsp) unsalted butter
300 g (1 ½ cups) caster sugar
470 g (2 ¾ cups + 3 tbsp) plain (all purpose) flour
3 tbsp cornflour (cornstarch)
3 tsp baking powder
1.5 tsp bicarbonate of soda (baking soda)
0.5 tsp salt
25 g (3 tbsp + 2 tsp) cocoa powder
230 ml (¾ cup + 3 tbsp) milk (I used whole milk)
170 g (¾ cup) yogurt
50 ml (3 tbsp + 1 tsp) water
2 tsp vanilla
1.5 tbsp white vinegar
1-2 tsp red food colour
- For the cream cheese icing and decoration
300 g (1 ¼ cups + 2 tbsp) unsalted butter
300 g (2 cups + 1 tbsp) icing (powdered) sugar
645 g (2 ¾ cups + 1 tbsp) cream cheese
2 tsp vanilla
Directions
- For the cake
- Brush three 8″ circle cake tins with some melted butter, then line the base with parchment paper and brush with a little butter again to make sure it sticks down well. Set your tins aside. Preheat your oven to 180C/350F while you make your cake batter.
- In the bowl of your stand mixer, cream together your butter and sugar until pale and fluffy. Sift in the flour, cornflour (cornstarch), baking powder, bicarbonate of soda (baking soda), salt and cocoa powder. Beat it all together until your mixture resembles damp chocolatey sand.
- In a separate bowl or large jug, mix together the milk and yogurt to make your buttermilk. To the jug, add in the water, vanilla and food colouring then mix. Add more colour if you wish to have a more vibrant shade of red. The colour deepens as the cake bakes, so your red will not be quite as vibrant once baked as your cake mixture is.
- With your mixer running, slowly pour in your wet ingredients into the dry, scraping the bowl down if needed to incorporate all the ingredients well. Once everything is well combined, add in the vinegar and beat again to mix through. Turn the speed up to high and beat for 30 seconds.
- Divide your cake mixture evenly between your three prepared pans. Bake in your preheated oven for 20-25 minutes. Your cakes will be firm and springy to the touch and a toothpick inserted into the cakes will come out clean. Cool in the tins for 5 minutes, then transfer to a cooling rack to cool completely.
- For the cream cheese icing and decoration
- Once your cakes are cool, we can crack on with decorating them! To make your cream cheese icing, first beat your butter until really soft and paler. Add in the icing sugar and vanilla, mixing to combine and fluff up again. Give your cream cheese a little smash to soften it, then tip into your butter mixture and beat well to fully combine.
- Before you assemble your cake, level the tops of your individual cake layers. If they do not need levelling, that is fine, but I like to regardless as I use the crumbs for my decoration. Once level, put a little dollop of cream cheese icing on your serving plate. Place your bottom layer of cake on the icing, pressing down gently to secure the cake to the icing. Spread or pipe a layer of icing on top of your first cake, smoothing to level if needed, then place your second cake layer on top. Repeat the icing and cake layer steps once more for your third and final layer of cake. Cover the top and sides of your assembled cake with the remaining cream cheese icing, then smooth it out with a scraper or offset spatula.
- Crumble up the off cuts of cake from when you levelled your layers earlier. If you want to decorate your cake as I did, here is how I did it. First create swirls in your icing on top of your cake using your offset spatula, a rounded knife or even a spoon. Using your cake crumbs, carefully sprinkle a ring of crumbs on top of your cake leaving a little rim of icing around the edge. Carefully push cake crumbs around the bottom of your cake. Gently ease a few more crumbs a little higher up along the side of your cake to create a tapered crumbs effect. Enjoy!