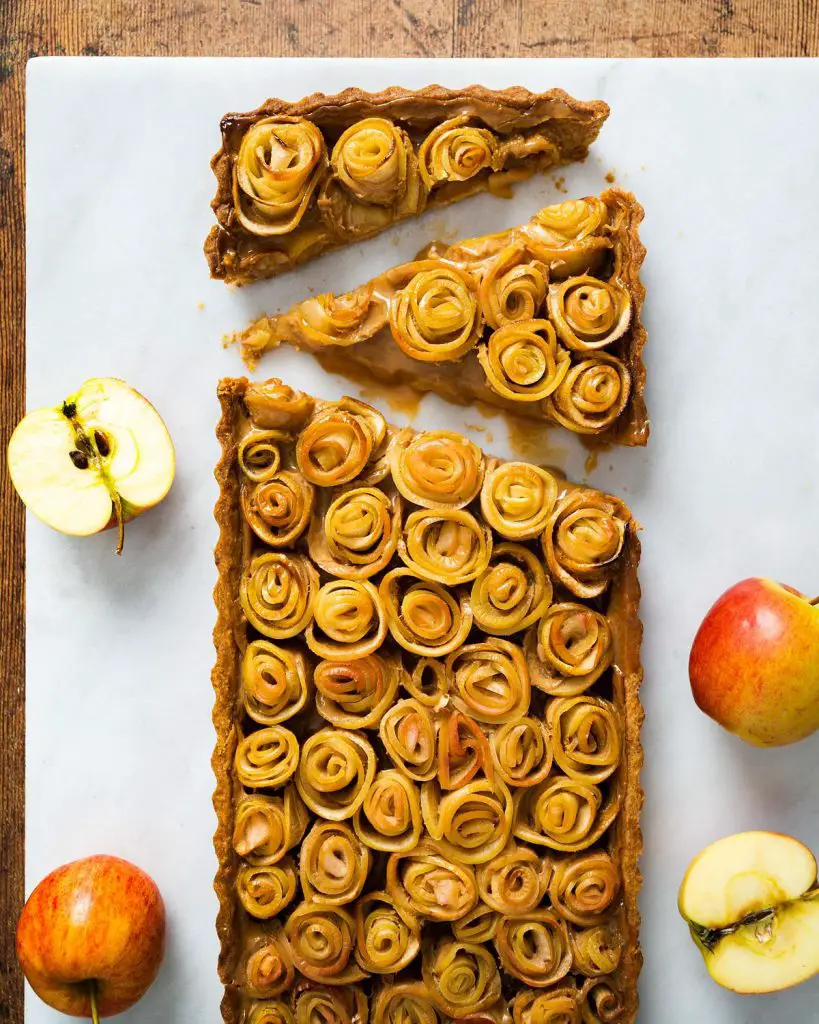
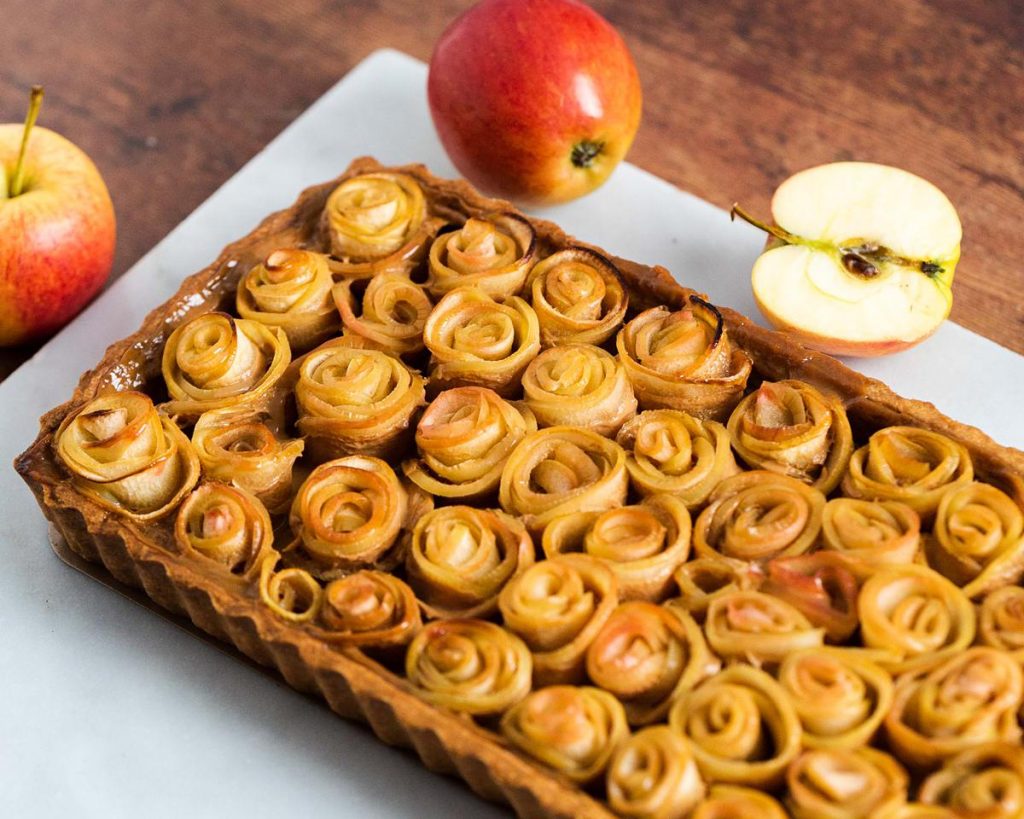
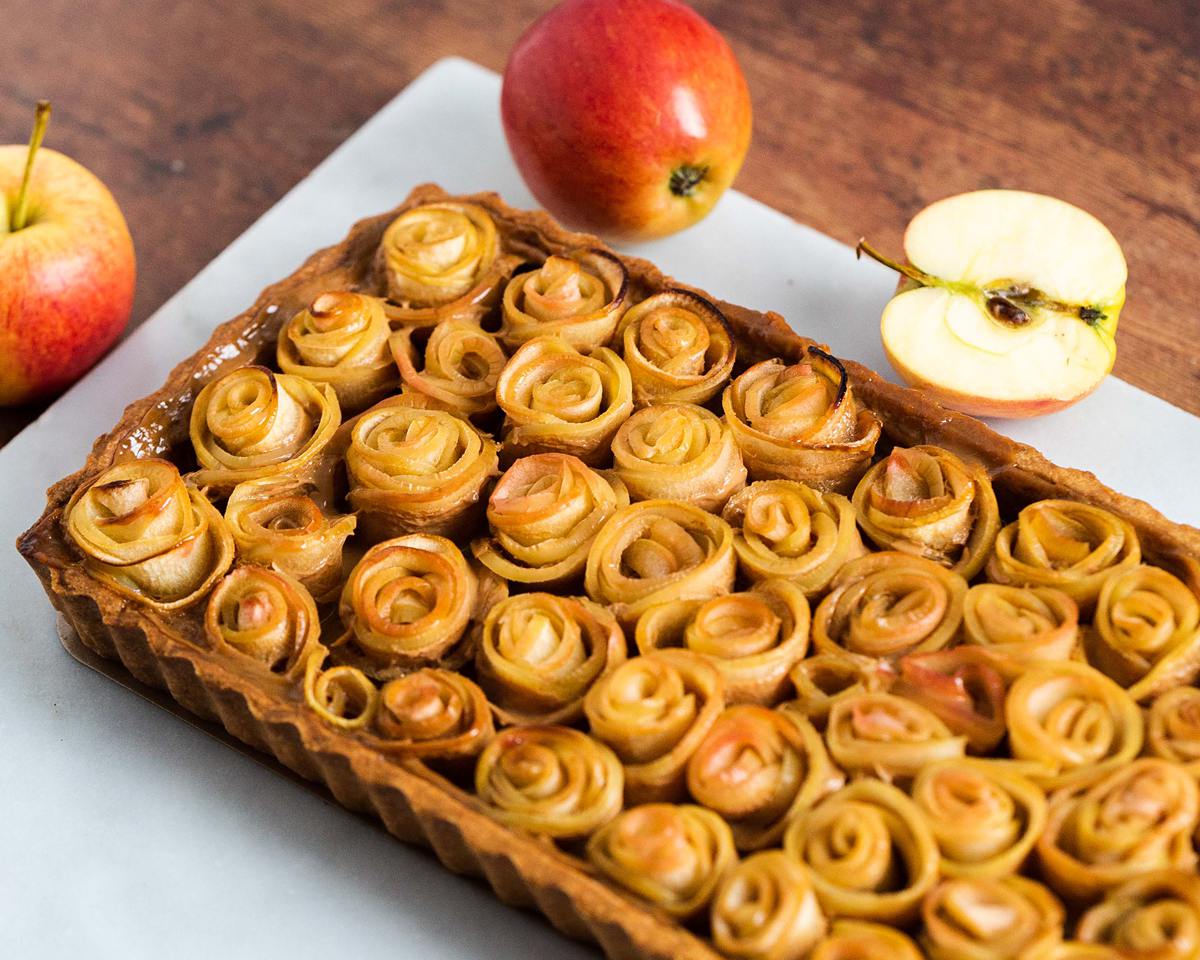
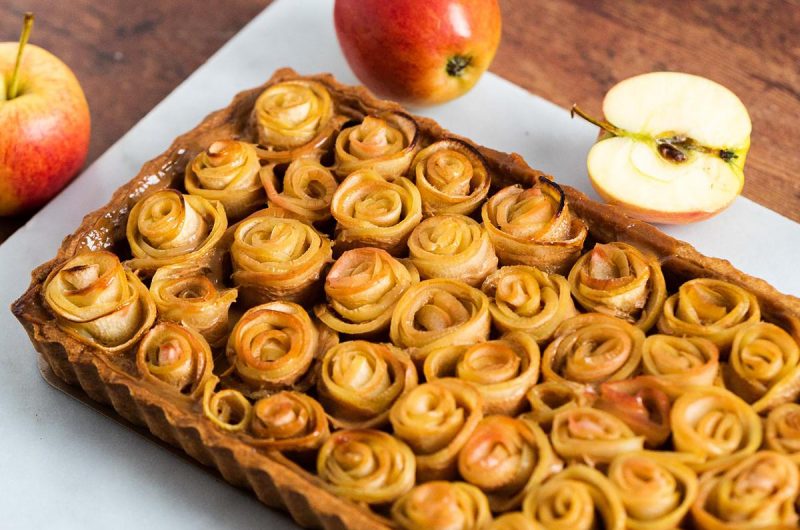
My caramel apple tart combines beautiful buttery pastry, smooth caramel and tart apples in a stunningly striking bake! This apple rose tart may take a little effort to put together, but requires just a few ingredients and is sure to wow anyone who gets to indulge in and enjoy it!
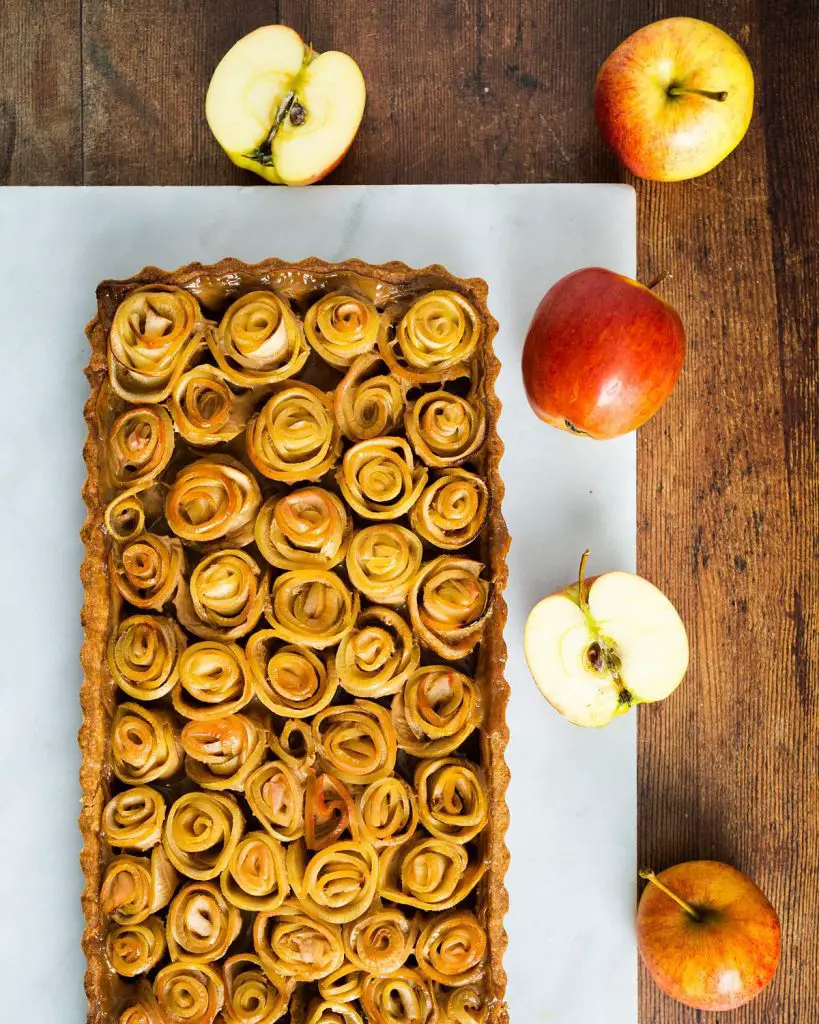
A seasonal favourite
Autumn is the season for apples, and caramel is just such a wonderful pairing with it, in all its forms. Whether in a cake, a cupcake, a pie or even simply as caramel apples, there is no denying its truly a match made in heaven!
I love pairing tart apples with sweet caramel during this time of year. And putting them into a wonderful short pastry shell? Just heavenly! Serve on its own, or with some pouring cream or vanilla ice cream for a truly wonderful and indulgent treat!
What ingredients do I need to make a caramel apple tart?
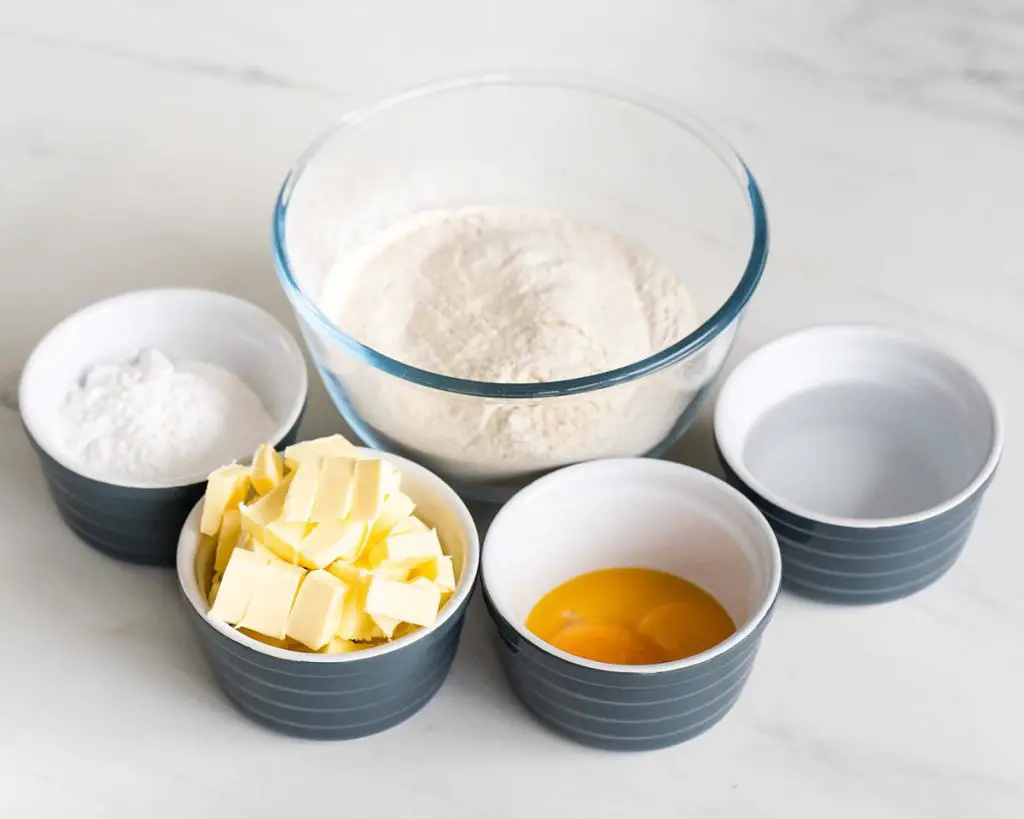
- Flour: I use plain flour for my pastry in this tart as it I do not want any rise in it.
- Icing/Powdered Sugar: for sweetening the shortcrust pastry.
- Butter: I use unsalted butter to make the pastry for my caramel apple tart. Make sure the butter is cold when making the shortcrust pastry.
- Eggs: yolks in the pastry add richness and flavour.
- Ice cold water: make sure to use cold water when making pastry. You want to keep the whole mixture as cold as possible throughout the whole process of making pastry.
- Caramel: I use a tin of caramel when making this tart, just for ease. You can, of course, make your own too if you prefer, but I love the convenience of tinned caramel.
- Apples: I would recommend using a tart apple such as Braeburn, rather than a sweet one such as Gala, when making this tart.
What equipment do I need to make caramel apple tart?
- Food processor*: a brilliantly quick way to make the pastry, and my preferred way for speed and convenience.
- Digital kitchen scales*: weighing out ingredients when baking rather than measuring by cups is my recommendation always. However, I do provide volume (cup) measurements too if this is your preference when baking.
- Measuring spoons*: for smaller quantities of measurement such as tablespoons (tbsp) or teaspoons (tsp). It is a small baking investment, but worth it for the consistency and accuracy of measuring ingredients out.
- Sieve*: useful to remove lumps from the dry ingredients before blending everything together when making pastry.
- Rolling pin*: for rolling out the pastry. If you do not have a rolling pin, get creative! A tall glass or even a wine bottle works well too!
- Rectangular tart tin*: to make the caramel apple tart in.
- Apple corer*: used to remove the core of the apples before slicing them for the apple rose tart.
- Mandoline slicer*: a useful tool to help slice the apples into beautiful thin slices, helping make it easier to roll them into beautiful apple roses.
How to make apple caramel tarts
First, you will need to make and bake the pastry shell. You can, if you wish, buy ready made shortcrust pastry from the store, but homemade is always better in my opinion! Once the shortcrust pastry shell has been baked, fill it with caramel (tinned or homemade), top with apple roses and bake until the apples are soft and delicious.
For the pastry
If you have chosen to use ready made shop bought pastry, skip this stage completely. If you have bought pre-made pastry dough, you will need to roll it out, line the tin and bake according to package instructions. However if, like me, you want to make your own pastry, keep reading!
Step 1: In a food processor or a large mixing bowl, mix together the flour and sugar. Add in the cold butter and cut or blend in until the mixture resembles fine breadcrumbs. Ensure no large chunks of unblended butter remain or it will speckle the pastry when rolled out. Tip in the egg yolks and blend again until just combined. Add in the ice water a little at a time until the pastry dough comes together in clumps.
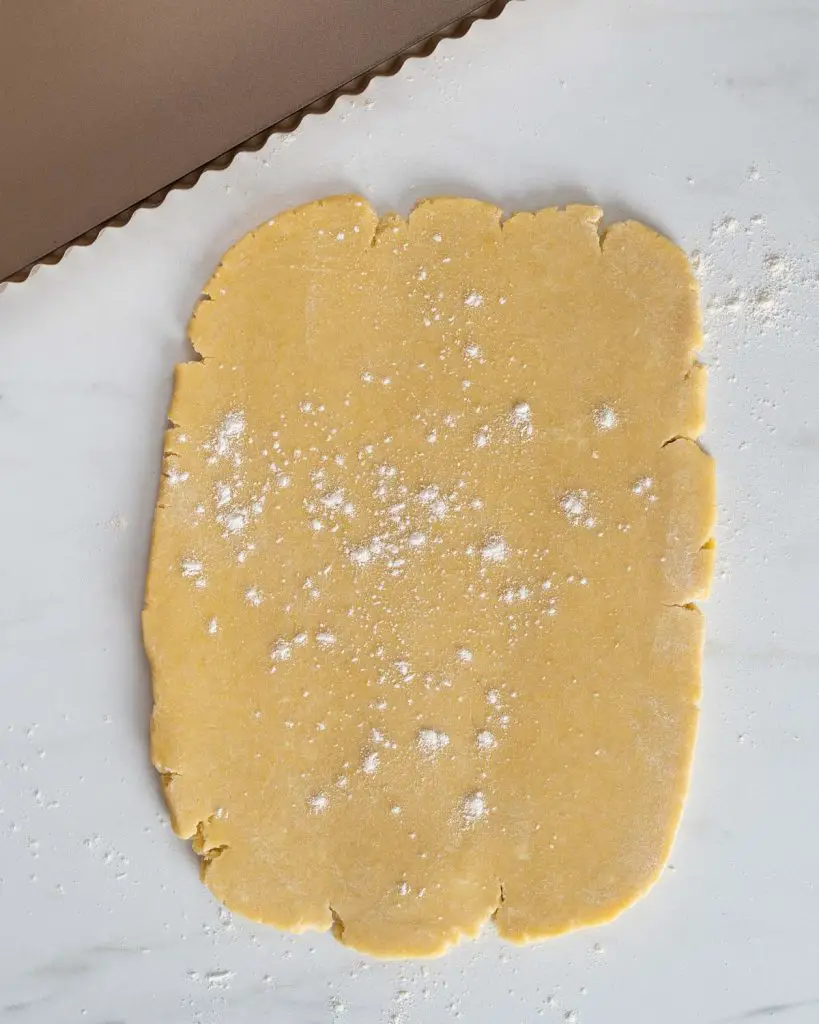
Step 2: Tip out the dough onto a clean work surface and gather it together. Squeeze it to bring together, try to avoid kneading and working it too much or the pastry will end up being tough. Shape the pastry into a long rectangle, wrap tightly in cling film and pop in the fridge to chill for at least 30 minutes. At this point, you can freeze the dough for another day, if desired.
Step 3: Once the dough has chilled, it is time to line the tart tin. First, preheat the oven to 180C/350F whilst preparing the pastry for baking. Dust a work surface with a little flour and roll out the pastry rectangle until an inch or so larger all round than the base of the pastry tin. Carefully lift the pastry and place it in the tin, pushing it into the corners and fluted edges. Using a sharp knife, trim off the excess pastry, gathering the offcuts and rewrapping them to store for another baking project. Prick the bottom of the pastry shell with a fork (this stops the bases puffing up and rising a lot when baking). Pop the tray into the freezer to chill and firm up for 15 minutes.
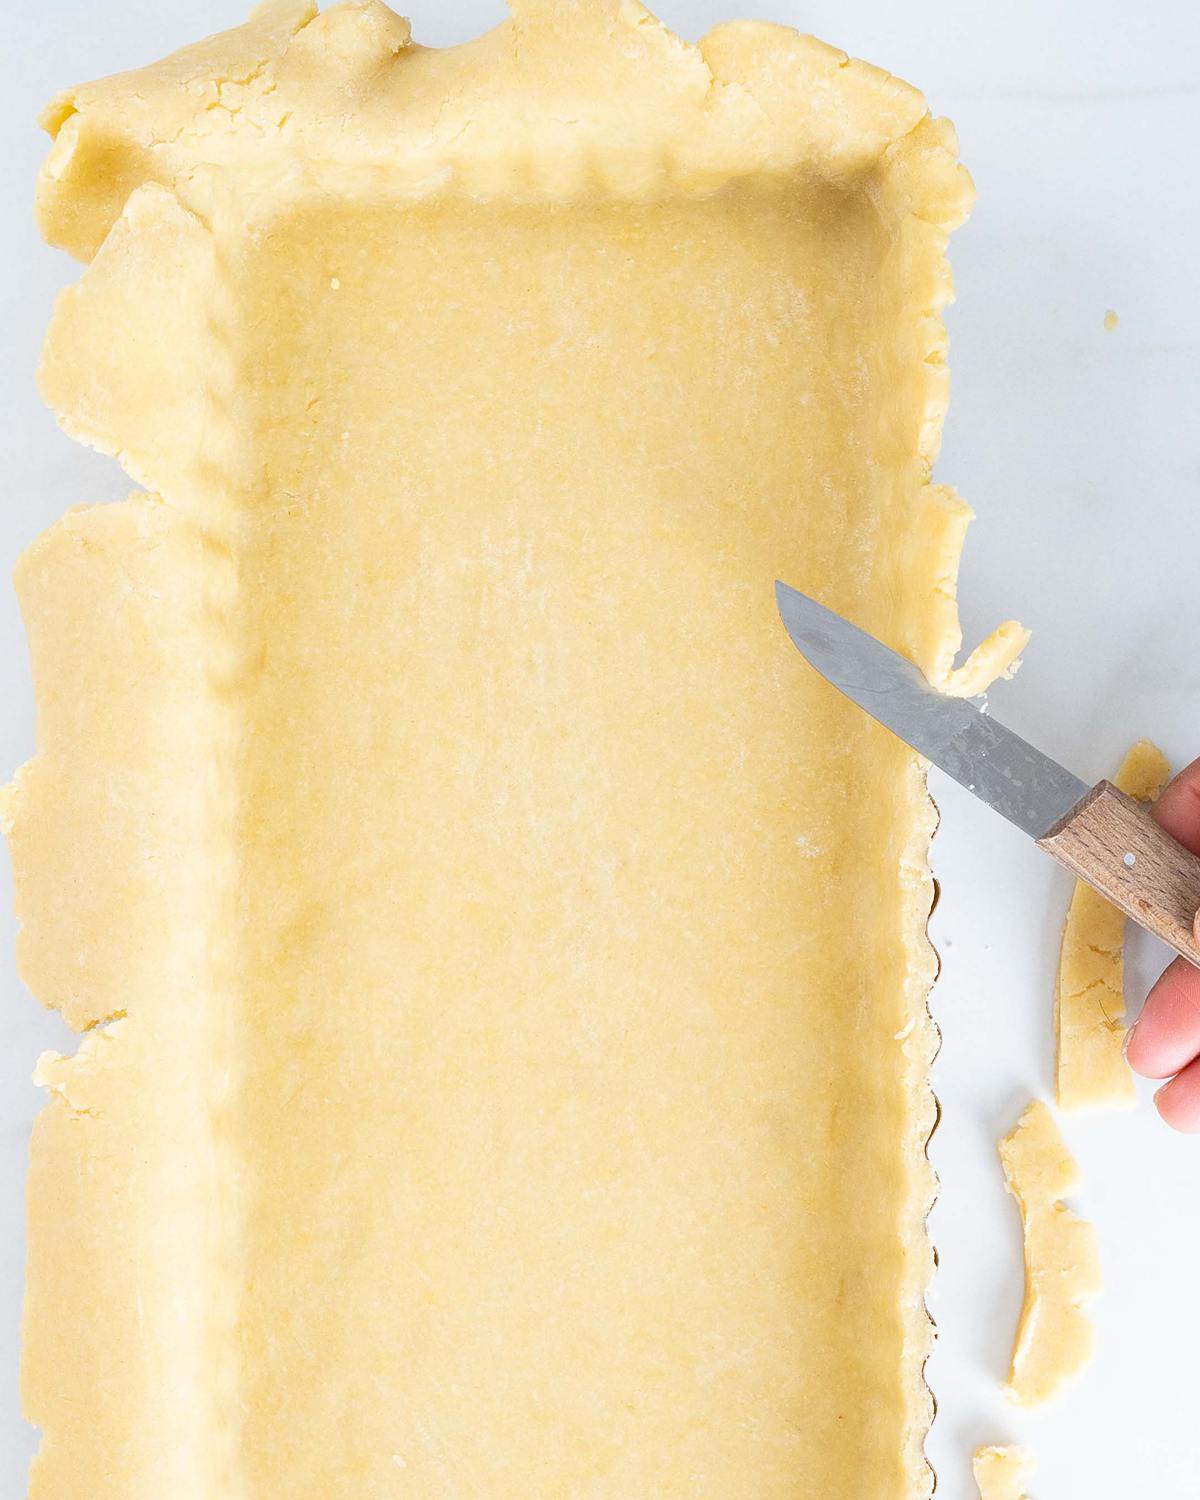
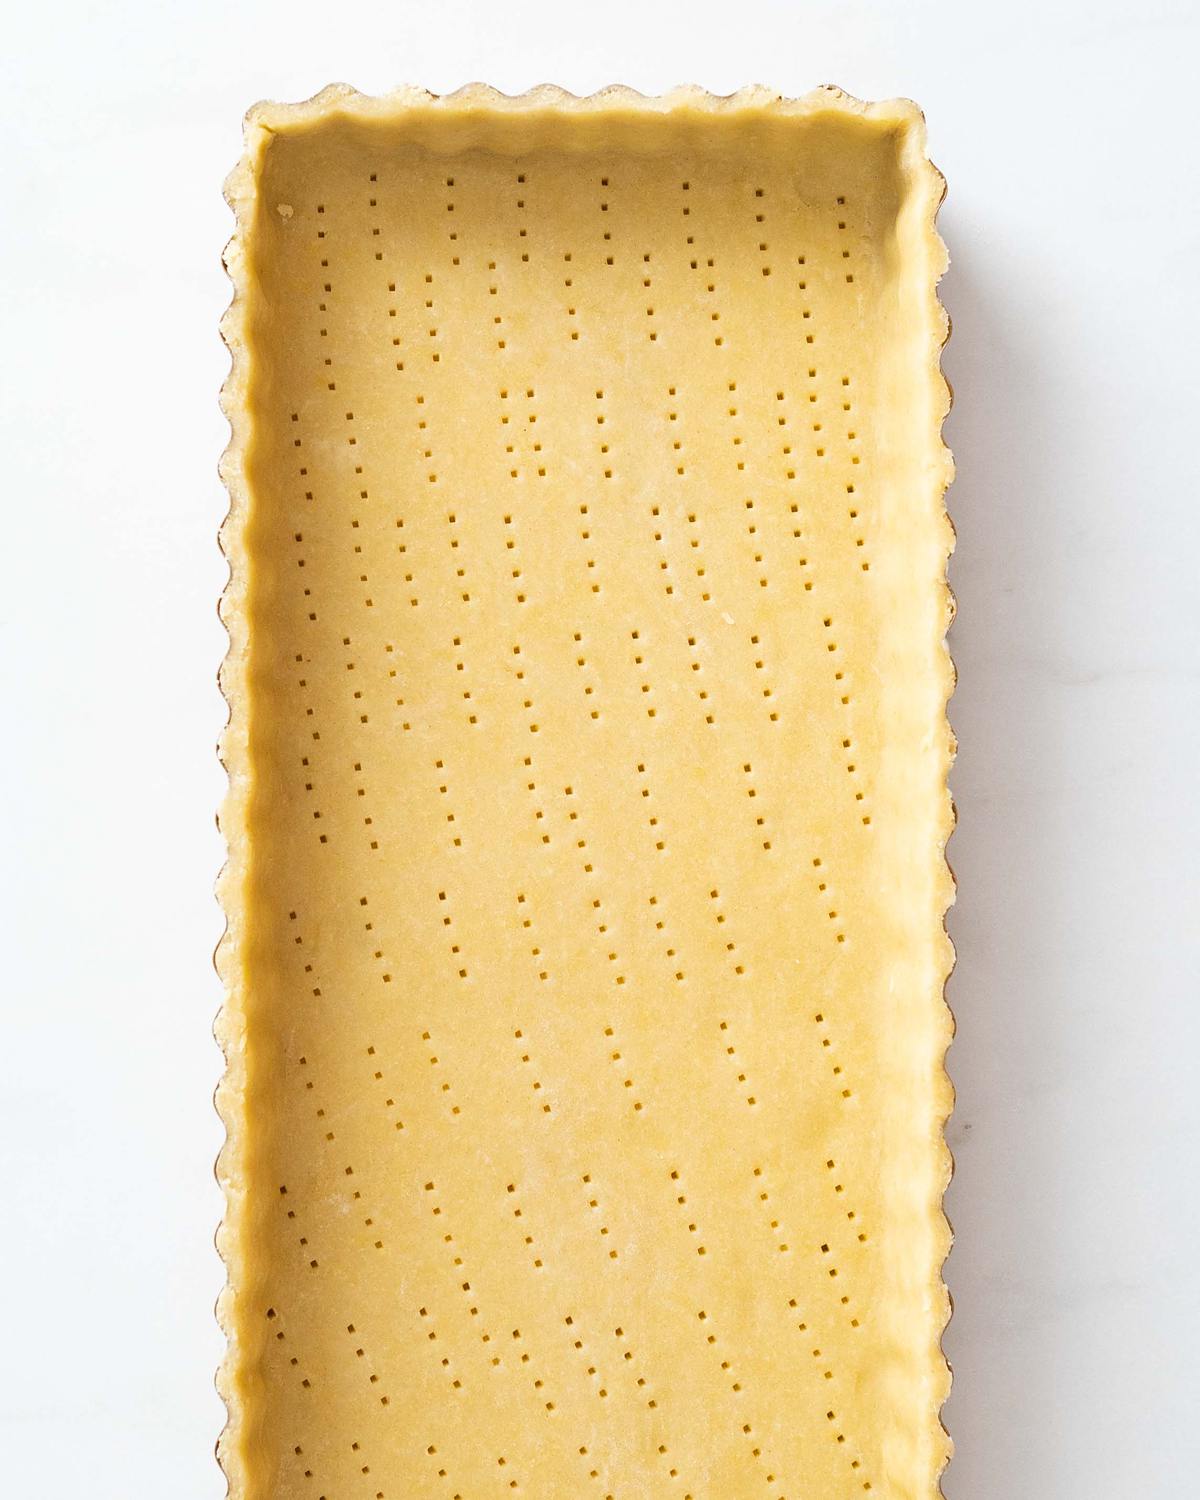
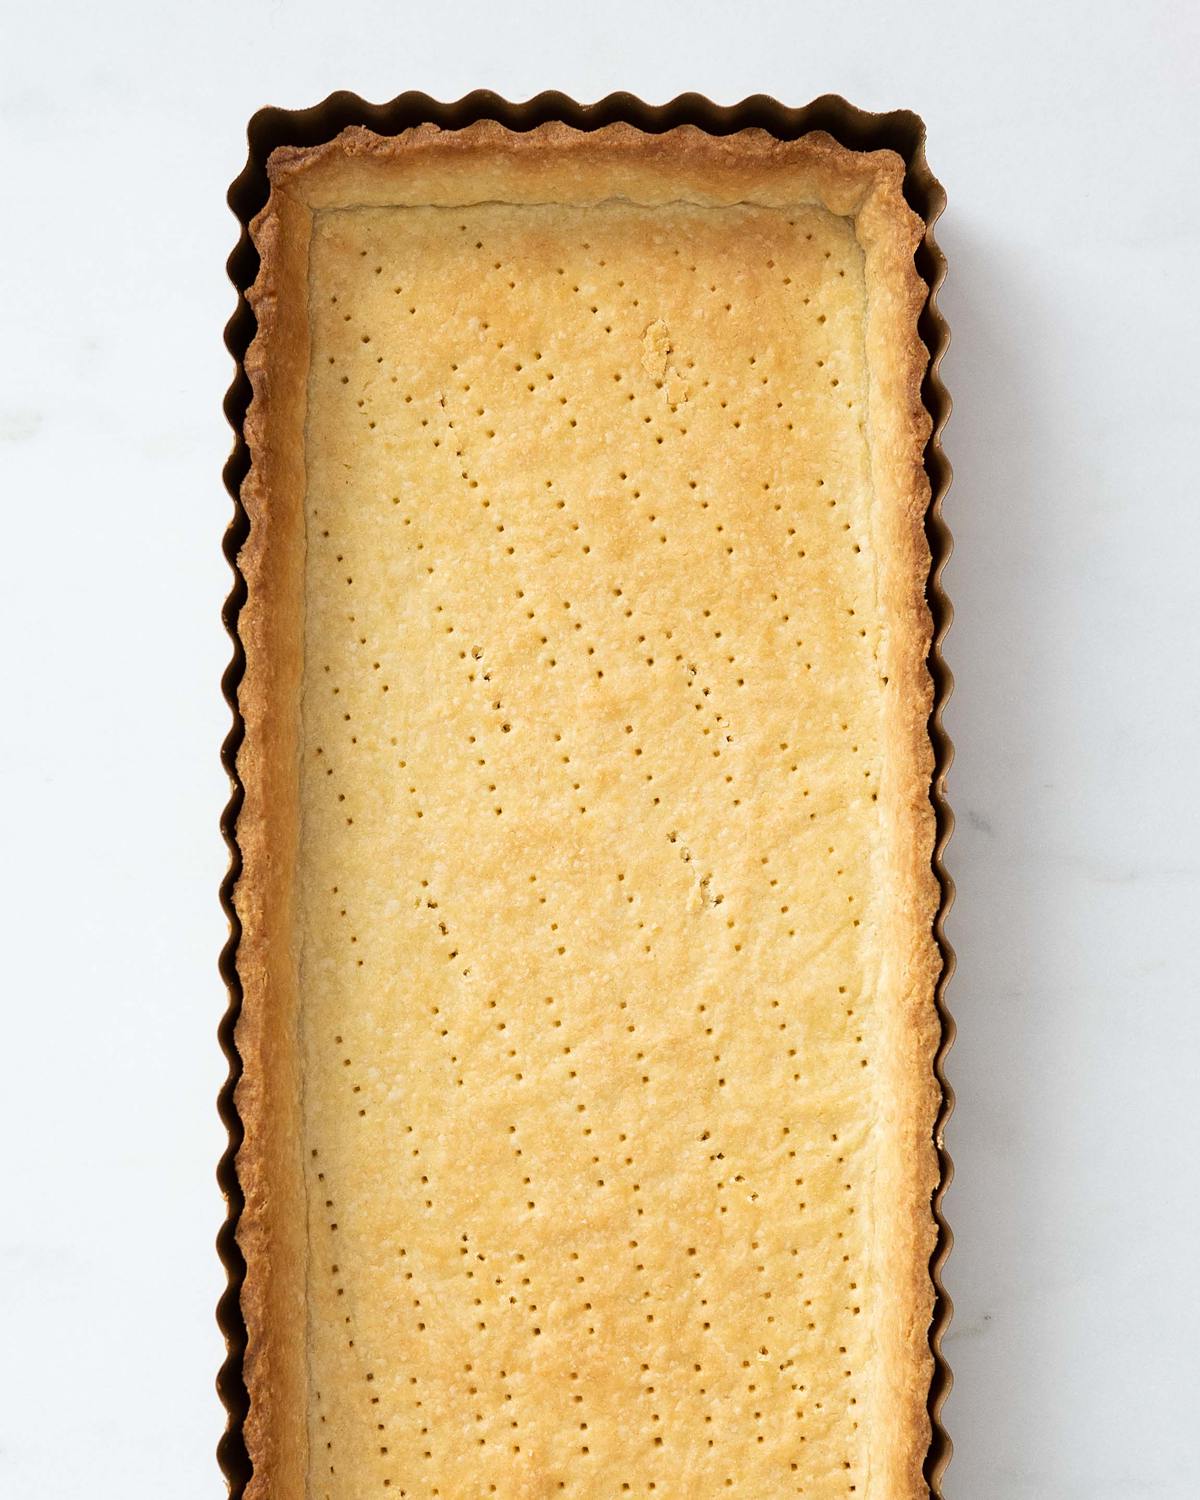
Step 4: When the pastry has chilled, line it with some crumpled up baking parchment and fill it with baking beans. Blind bake the shortcrust tart shell in the hot oven for 10 minutes, then remove the paper and baking beans. Bake again for 10-12 minutes until lightly golden and biscuity. Remove from the oven and leave in the tin to cool a little whilst preparing the rest of the ingredients.
For the filling and apple roses
Step 1: While the pastry is baking, prepare the apples. Core and thinly slice them, setting in a large bowl filled with water and a little lemon to prevent them browning. You can either slice them by hand (in which case I envy your knife skills!) or using a mandoline to get really thin slices. Once they are all sliced, drain the lemon water before covering the apples with boiling water and placing a lid on the bowl. Leave to sit for 20 minutes for the apples to soften and be pliable.
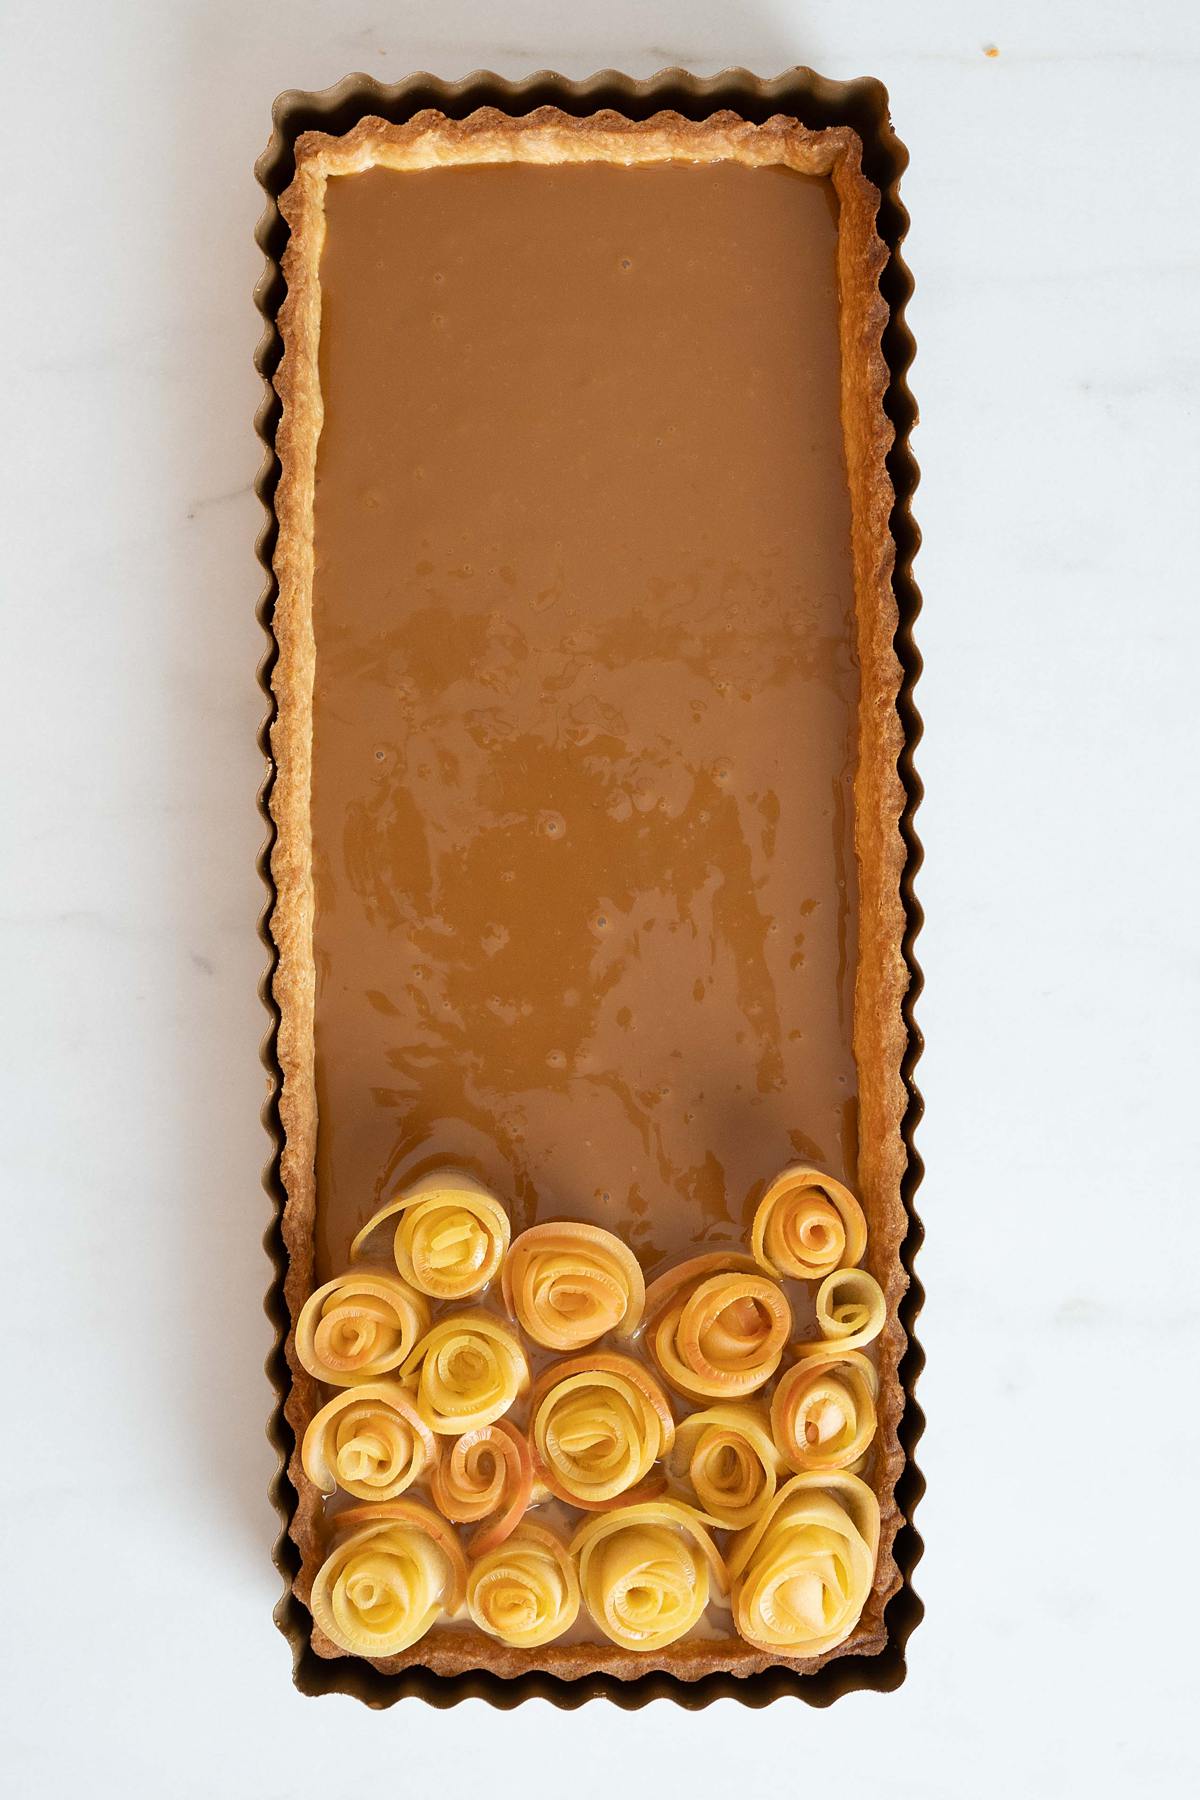
Step 2: Give the caramel a quick stir to loosen and get rid of any lumps, then pour over the shortcrust base, spreading out evenly in the tart shell.
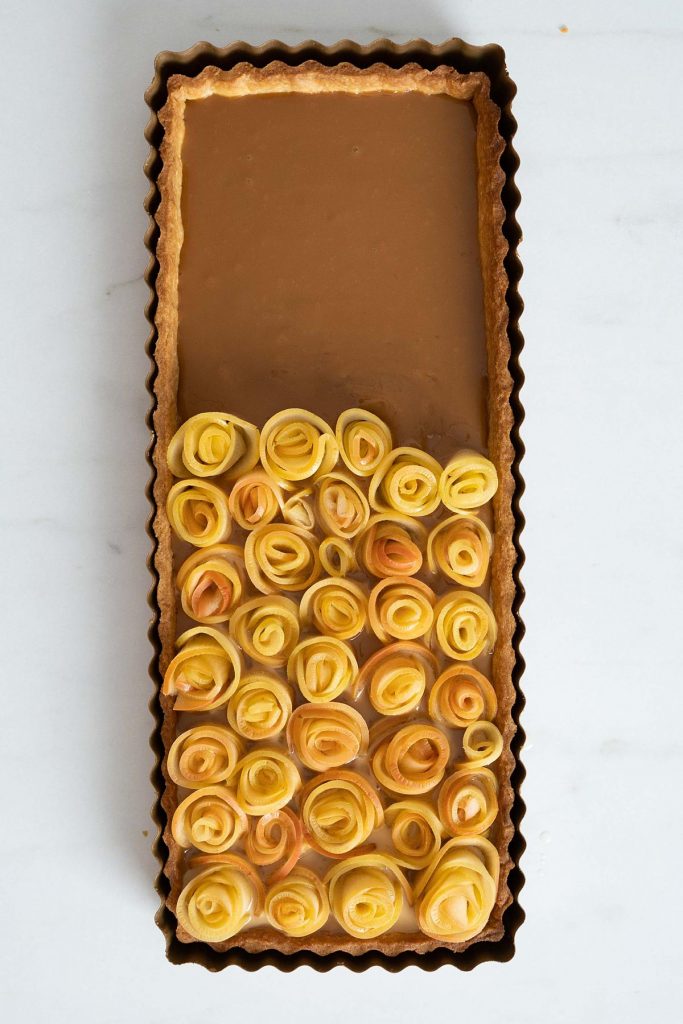
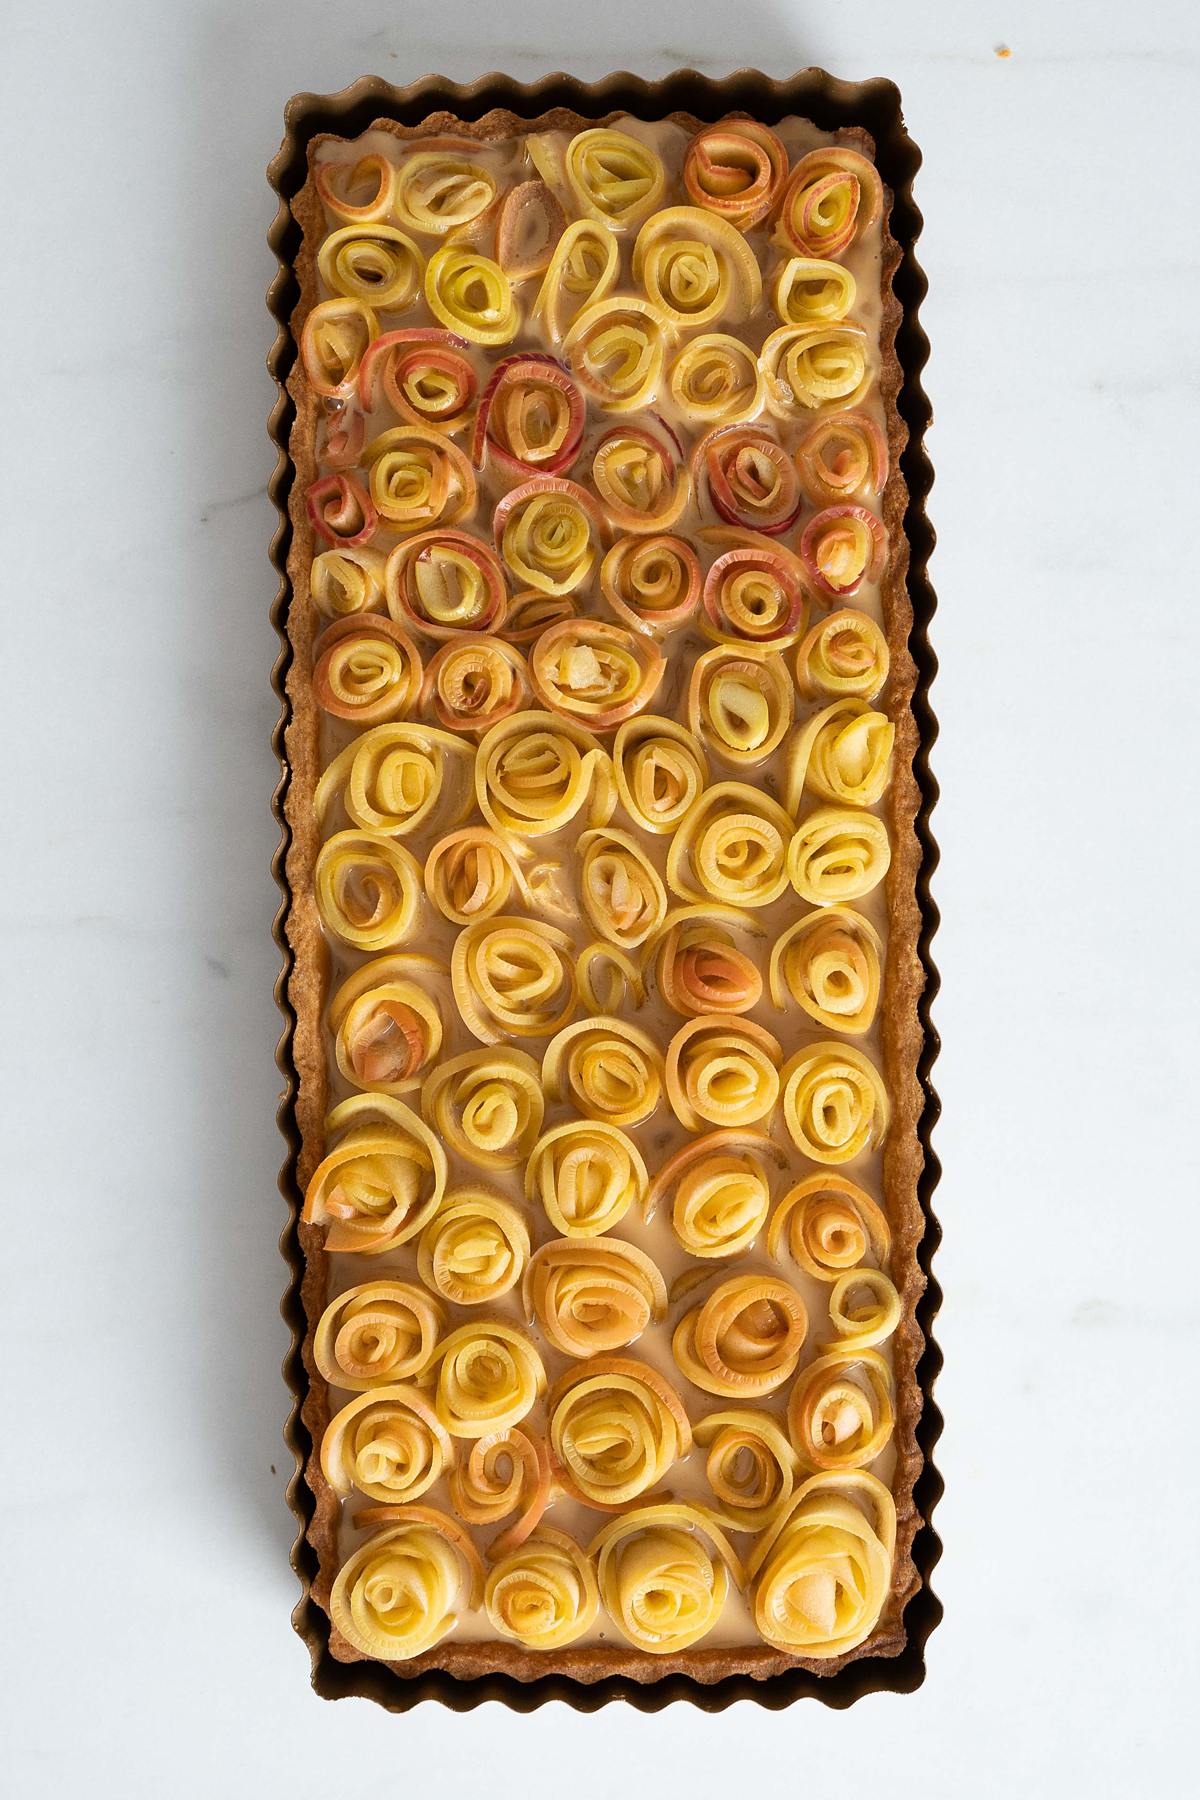
Step 3: Once the apples are softened, drain them and pat dry. Lay a row of about five or six slices on the worktop, overlapping them about half way. Starting at one end of the row of apple slices, roll the slices up tightly to create an apple rose. Push the base of the apple rose into the tart, where the caramel should help hold it in place. Repeat with the remaining apple slices to completely fill the tart shell.
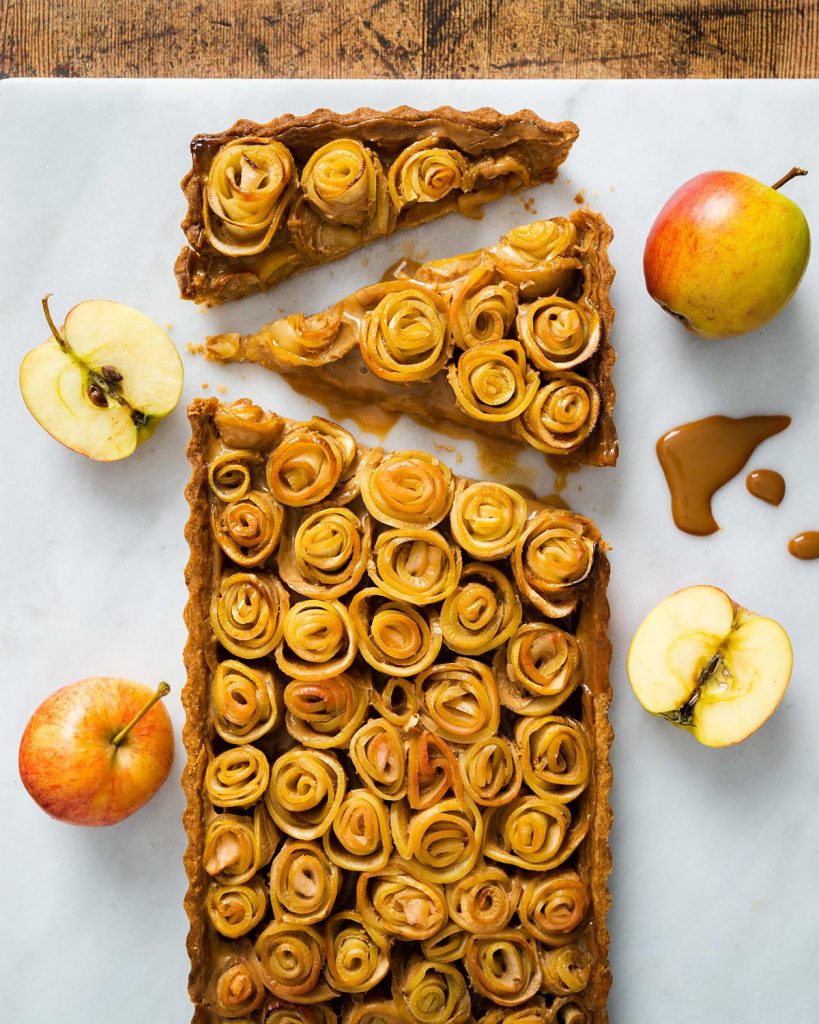
Step 4: Brush the tops of the roses with some lemon juice, to prevent them from browning too much in the oven. Bake the apple rose tart for 25-30 minutes until the caramel is gently bubbling and the apples are soft. Leave to cool completely in the tin before removing and slicing to serve. Enjoy!
Can I use ready made pastry?
You can definitely use shop bought pastry, either a pre-made pastry case or pre-made pastry you use to roll out and line your tin yourself. I would however recommend making your own pastry as you will get a much lovelier, buttery pastry and a better flavour for the whole bake.
Can I use homemade caramel?
Absolutely, you can use homemade caramel to make this caramel tart too. I use tinned caramel here purely for convenience and ease.
Can this caramel apple tart be made in advance?
Elements of this apple tart caramel work well to be made in advance. The pastry dough can be made up to two days in advance, wrapped tightly and kept in the fridge. A baked pastry case will keep well in an airtight container for 2 days at room temperature. Homemade caramel must be stored in the fridge and will keep well for a couple of weeks.
I would recommend not making the whole assembled tart and storing it, but making it on the day you wish to serve it instead. It is delicious serves with some pouring cream or ice cream on the side.

How to store caramel apple tart
Once it has been made and baked, the apple tart should be stored in an airtight container in a cool place away from direct sunlight. It is best consumed on the day it is made, as if left longer than this, the pastry is likely to become soft and slightly soggy.
Can this tart be frozen?
This apple caramel tart cannot be frozen once fully assembled. The pastry will freeze beautifully, both baked and unbaked, but the delicate apple roses will wilt and sag and look very sad indeed once thawed!
How to freeze caramel apple tart
This tart cannot be frozen once put together. You can freeze the pastry either before or after baking. If freezing before, freeze at the stage of the first chill once tightly wrapped in cling film. Once baked, ensure the shells are completely cool, then freeze stored in an airtight container. Defrost on a cooling rack at room temperature for a couple of hours before using.
Can I make this caramel apple tart gluten and dairy free?
You can substitute the flour in the pastry for a gluten free flour blend if you wish. Butter can be easily substituted for a dairy free block butter alternative too. Please ensure you use a dairy free caramel when making this recipe too.
Additional top tips for making this caramel apple tart recipe
- Make sure the tools and ingredients are prepared before you start mixing. This is important when making the pastry, as you ideally want to keep it as cold as possible.
- Take time to read through the recipe so you are familiar with each step of the process. Do not skip details and instructions given as it could affect the results, especially with the pastry.
- Make sure you use cold butter and ice water when making pastry. Remember it is important to keep the pastry as cold as possible throughout the process of bringing it together.
- Keeping your pastry as cold as possible helps stop it from misshaping and contracting when baking. Hence popping it in the freezer for a second chill before baking is really important.
- Blind bake the pastry before baking helps it keep its shape, along will filling to the top of the paper with baking beans. For a detailed tutorial on making pastry, please do look at my baking basics pastry post, linked below.
- Ensure the apple slices are really thin when slicing them for the roses. If they are too thick, they will not roll so easily, and so will not form pretty roses.
- Using a tart apple here gives a lovely contrast with the sweet caramel filling.
- Flavour variants: try sprinkling some salt over the caramel for a salted caramel version of this tart, or even a little cinnamon on the apples before baking.
Troubleshooting
If you have any other questions about this recipe, please leave me a comment below, I would love to help. And if you do make this homemade caramel apple tart recipe, please do consider leaving a rating and review below. I would really appreciate your feedback to grow my website and it really helps others looking for a similar recipe too. Additionally, you could also post a picture on Instagram and tag me when you share it with the world. You already know I would love to see!
More recipes from my blog for you to enjoy
Do check out these other yummy recipes on my blog too:
Sweet shortcrust pastry: a good, reliable sweet shortcrust pastry recipe is a must in the repertoire of any baker. It is so versatile, a perfect base for a wide range of pies and tarts. Follow my guide, with lots of top tips to help you make beautiful rich, flakey sweet shortcrust pastry like a pro. Perfect for all the delicious bakes you have planned!
Toffee apple cheesecake: my toffee apple cheesecake is packed with the beautiful flavours of toffee, cinnamon and apples in the decadent comfort food that is cheesecake. Perfect for a weekend treat or a dinner party with friends!
Sticky toffee pudding: this cake is light and delicious, especially served with lashings of smooth toffee sauce and vanilla ice cream. This classic British bake is the ultimate comfort food, and it is so easy to make!
Happy baking, my friends! x
Recommended equipment I used to make this recipe *
| Food processor | Digital kitchen scales |
| Measuring spoons | Sieve |
| Rolling pin | Rectangular tart tin |
| Apple corer | Mandoline slicer |

As soon as I saw this beautiful tart I knew I wanted to make it but didn’t have a mandoline as I’m super clumsy so my husband had banned it LOL. That said, I invested in one that is v safe, and I was able to execute this recipe without a hitch! My daughter and I made homemade caramel ahead of time and the pastry turned out fantastic, I’ve made a lot of pastries but never using icing sugar so that was fun. Rolling the apples certainly took longer than I had budgeted, it probably took about a whole hour but there was also some learning curve involved. I’m planning to make it again in a couple of weeks and think my technique has improved. the end result was loved and devoured by all. Thank you so much for this amazing crowd pleaser!
Such a wonderful comment! And so glad you managed to find a way to slice the apples without slicing your fingers too! Thank you for an amazing comment, so glad it was enjoyed all round! 😊
What size is the tart tin please?
The tart tin is 36cm x 14.5cm. Hope that helps! 😊