
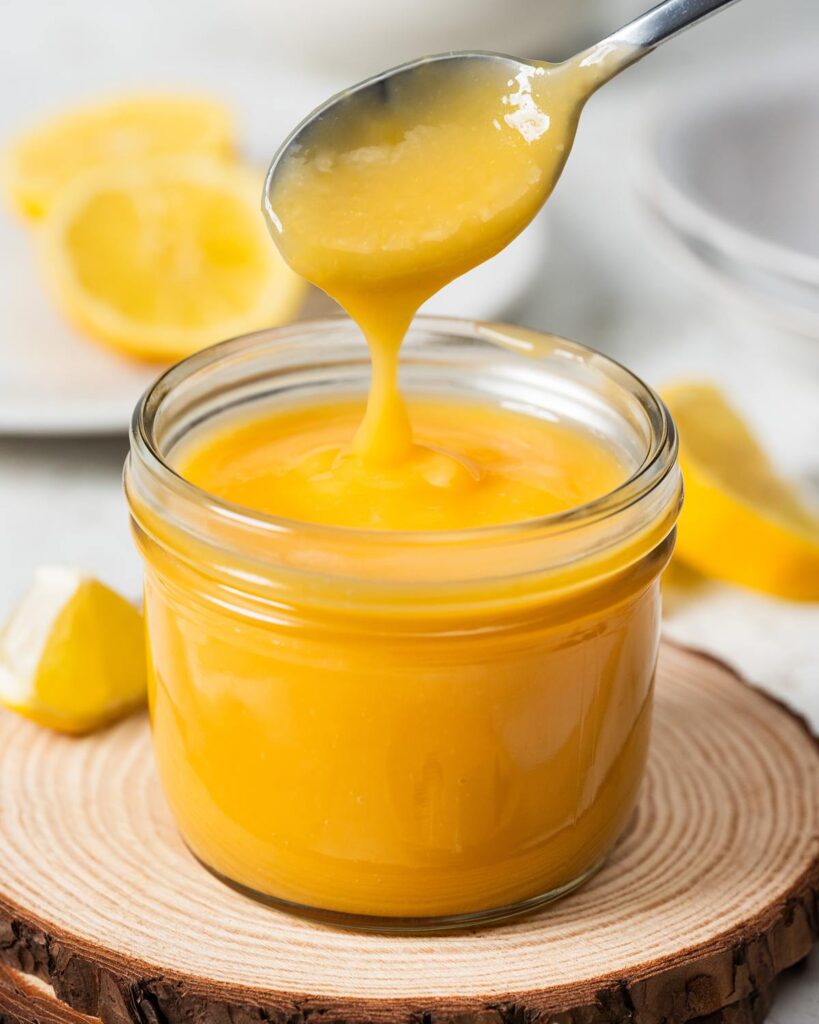
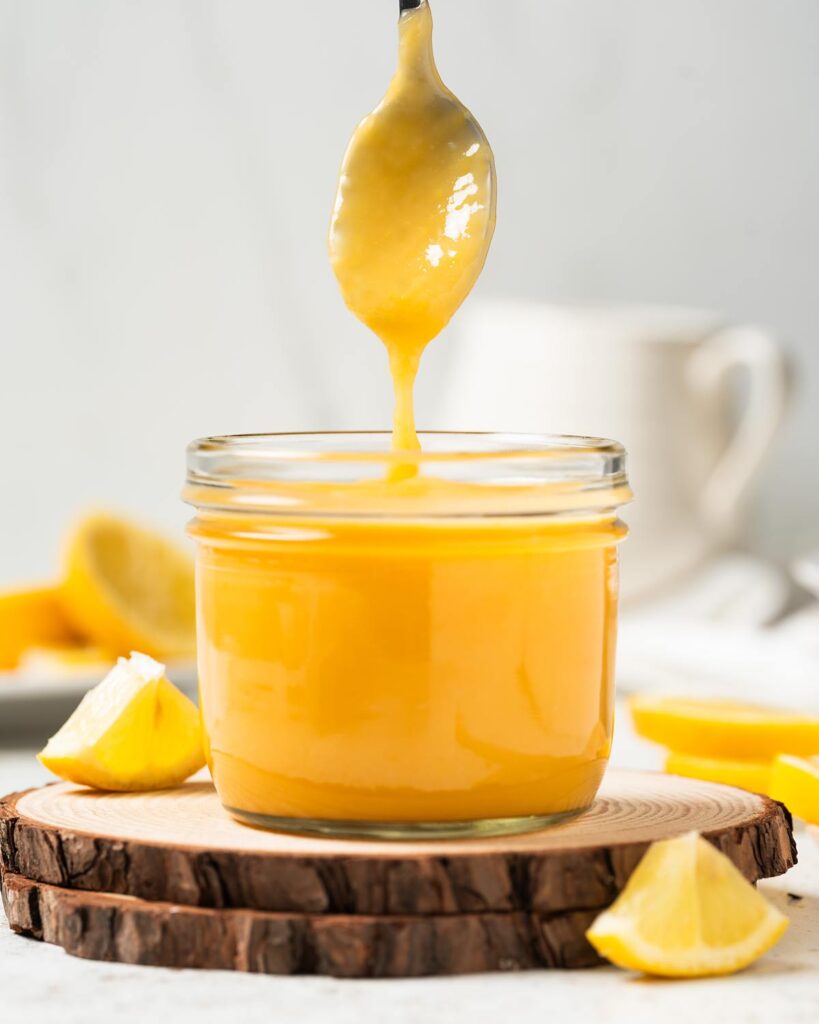
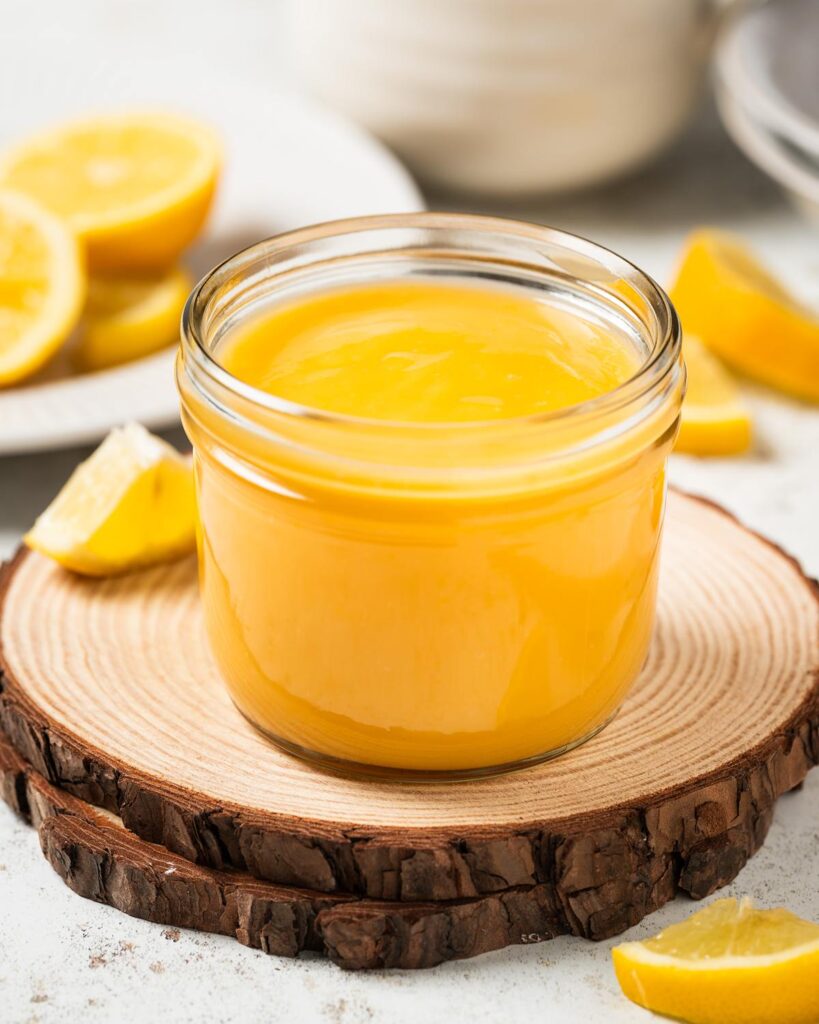
My easy lemon curd is sharp and tangy and beautifully creamy and rich. It is sure to brighten up anyone’s day! It is perfect for filling cakes, cupcakes and tarts, for topping waffles and pancakes or even swirled into ice cream. Yum!
Not as hard as you think!
For the longest time, I thought any kind of curd was really laborious to make. Honestly, I believed it required hours of standing by a stove, slaving away stirring a mixture to heat it very carefully and slowly until it reached the right consistency. And then the result would be this tiny portion of curd only fit to cover a few small slices of toast.
Thank goodness I was wrong!
Since those days, in my search for the perfect curd recipe, I have actually tried quite a few. Many of them called for only egg yolks and not egg whites. Now, whilst using up egg whites is never really a problem in my kitchen, sometimes I just did not want to have to use them up. So I tried a different way myself and came up with a recipe that works using the whole egg, leaving no leftover ingredients. Excellent!
What is a curd?
A fruit curd is made of eggs (some recipes include the whites, a lot use only the yolk), sugar and fruit all cooked together until it thickens. It is then cooled before being used in a variety of ways. Some recipes will also include butter in the ingredients, which gives the curd a beautiful silky texture. In terms of texture, fruit curds are not dissimilar to custard, but with a beautiful, bold fruity flavour instead!
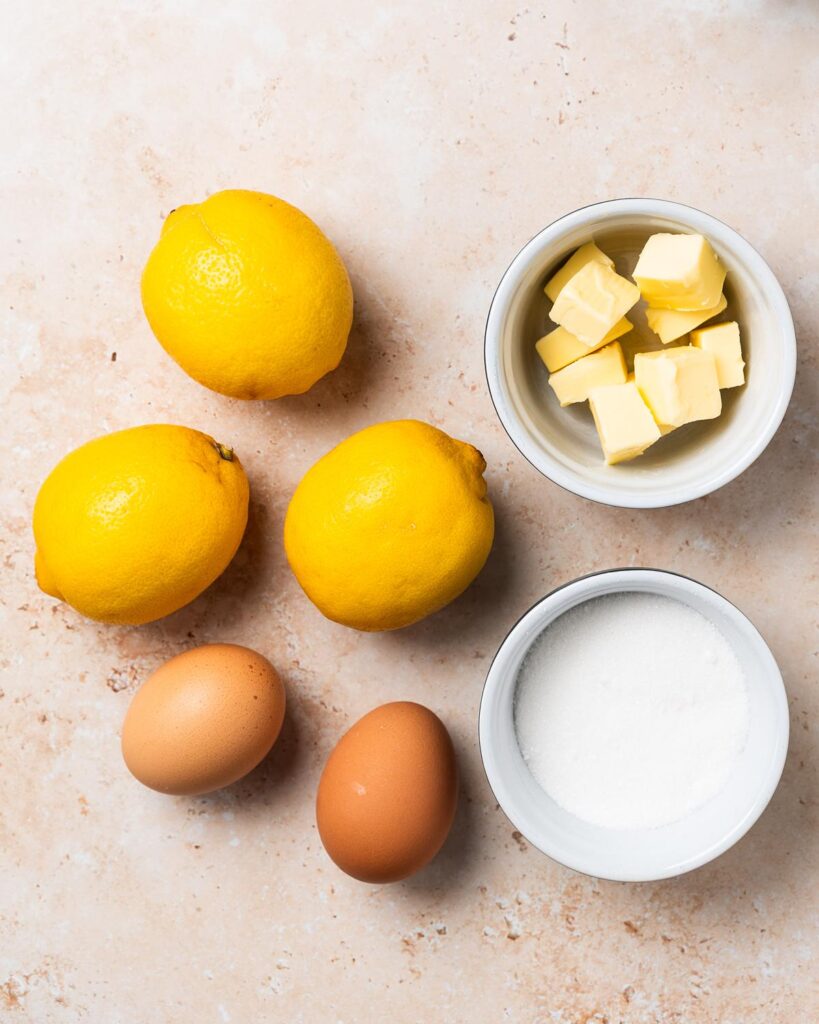
What ingredients do I need to make lemon curd?
- Lemons: an essential ingredient in making lemon curd!
- Butter: gives the curd a beautiful smooth and silky texture.
- Sugar: for sweetness. Do adjust this to taste, if you prefer it less or more sweet.
- Eggs: helps thicken and set the curd.
What equipment do I need to make homemade curd?
- Digital kitchen scales*: I do provide all my measurements in cups too, however I find weighing out my ingredients delivers better results by far. A set of digital kitchen scales is so useful and completely essential for me when baking.
- Zester*: to get all that beautiful, flavourful zest off the lemons!
- Lemon squeezer*: makes getting all the juice from the lemons… well, lemon squeezy!
- Mixing bowl*: to mix the ingredients in when cooking it together.
- Whisk*: to make sure everything is thoroughly mixed together.
- Small saucepan*: to create a bain-marie when heating up the curd mixture.
- Spatula*: to scrape every single last bit of beautiful curd out into the jar.
- Preserve jar*: to store the curd once made. These jars are wonderful, but you could just as easily use a clean sterilised jam jar too.
How to make this easy lemon curd
Lemon curd is so so easy to make, and I adore how versatile it is! Simply melt together the butter, sugar and lemon zest and juice before cooling slightly. Then add in the egg and cook again, whisking constantly, until thick. Easy peasy lemon squeezy!
Step 1: First sterilise the storage jar. Wash the jar well in soapy water and rinse clean. Then pop it in an oven preheated to 160C/320F for 10-15 minutes. Use immediately after sterilising.
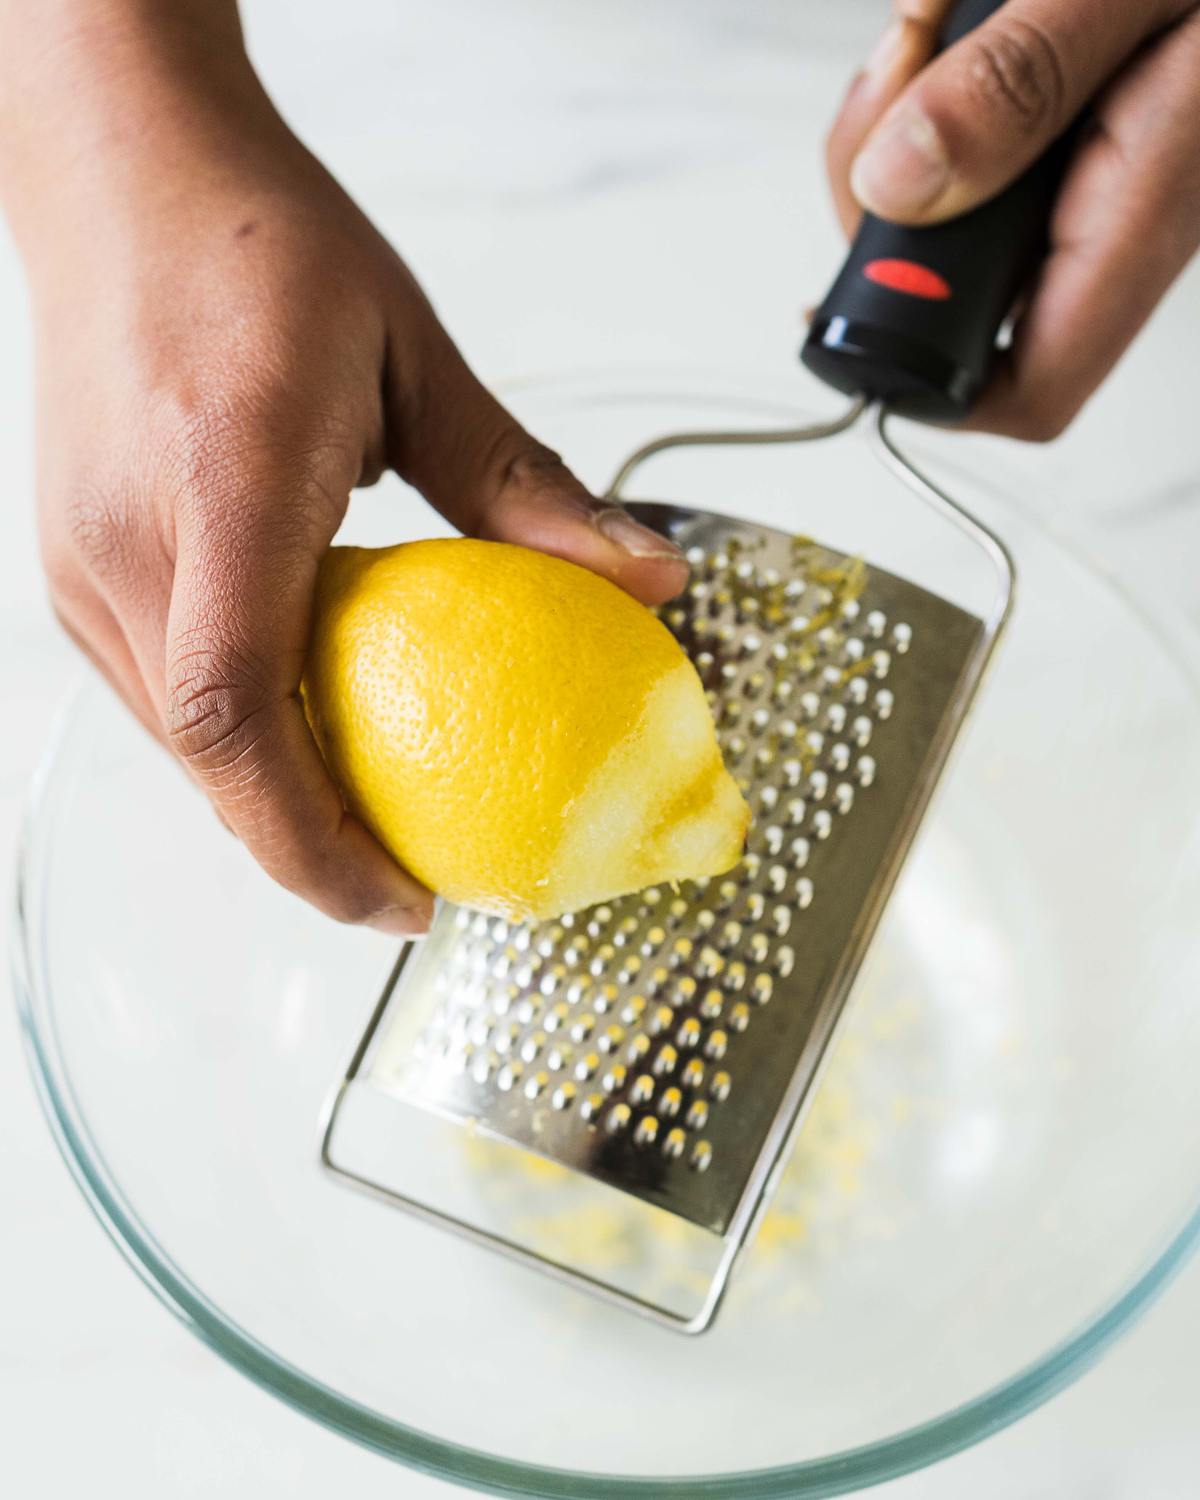
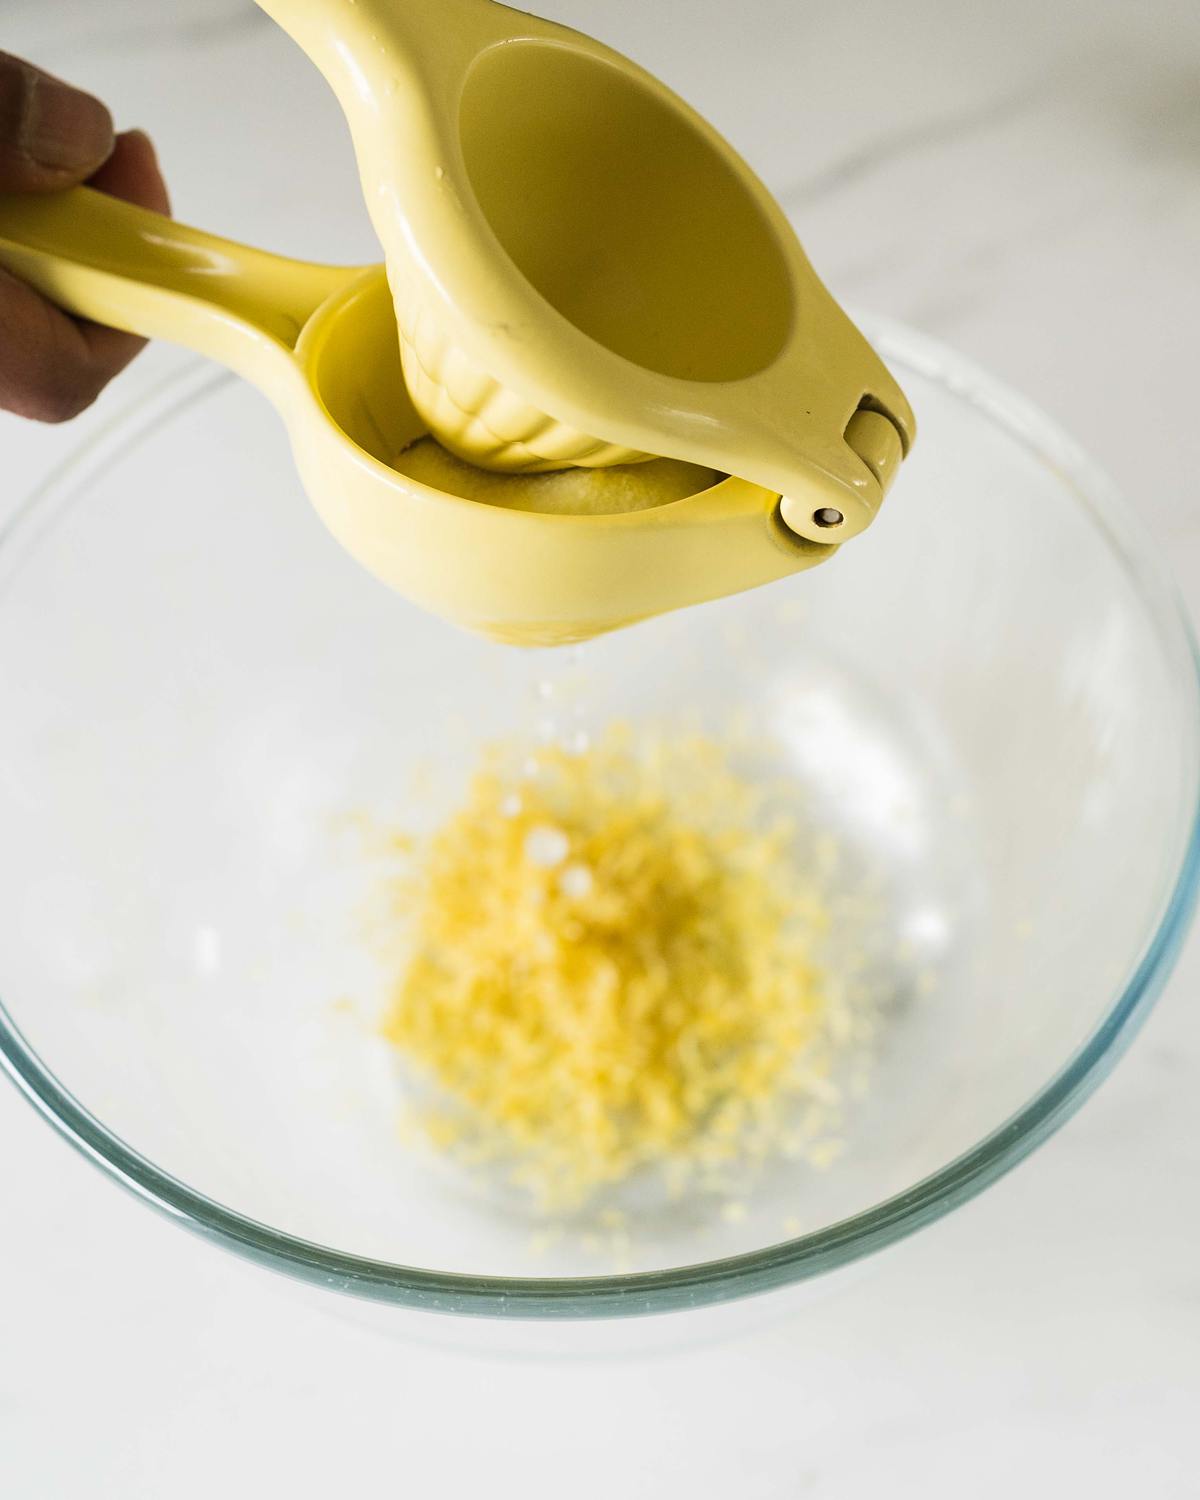
Step 2: Whilst the jar is sterilising, make the curd. Place a small saucepan on the hob on medium heat. Fill with about an inch or two of water in the bottom and leave to come to simmer whilst preparing the curd. Zest the lemons directly into a large mixing bowl. This gets the oils into the bowl of the curd too, which means extra flavour! Squeeze the juice of the lemons into the same bowl, then tip in the butter and sugar.
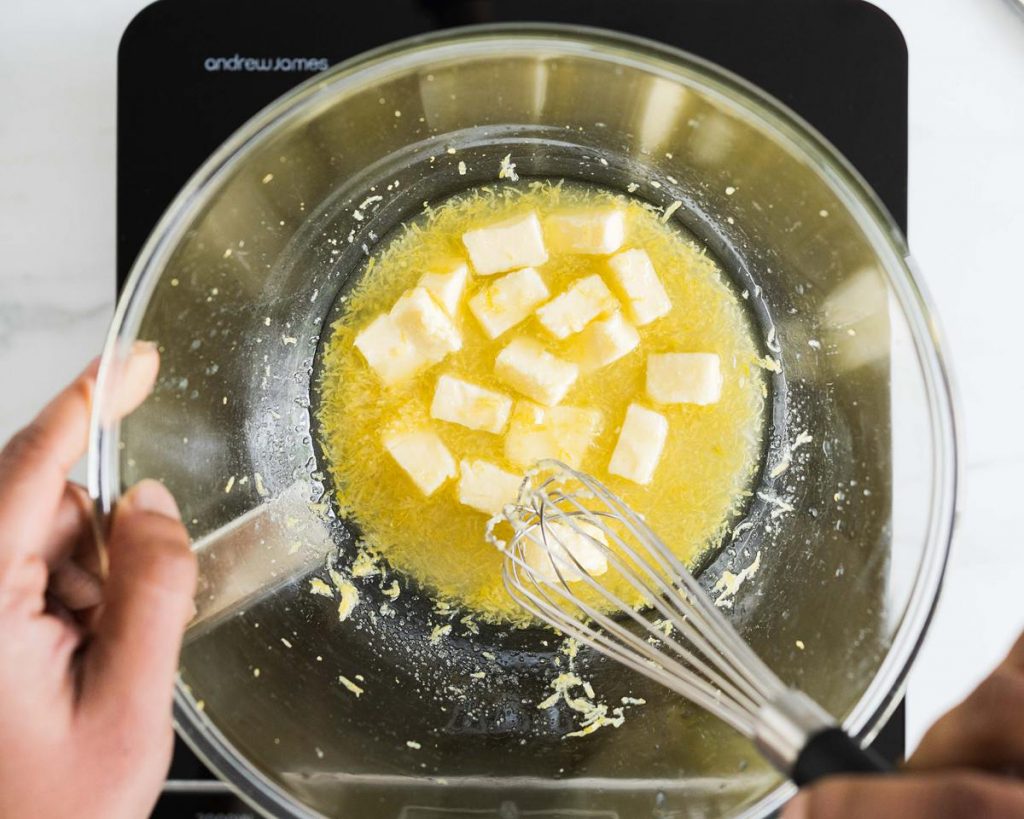
Step 3: Place the bowl over the now simmering water, making sure the water in the pan does not touch the bottom of the bowl. Whisk the mixture whilst heating until the butter has melted and the sugar is completely dissolved. Remove from the heat and allow to cool slightly.
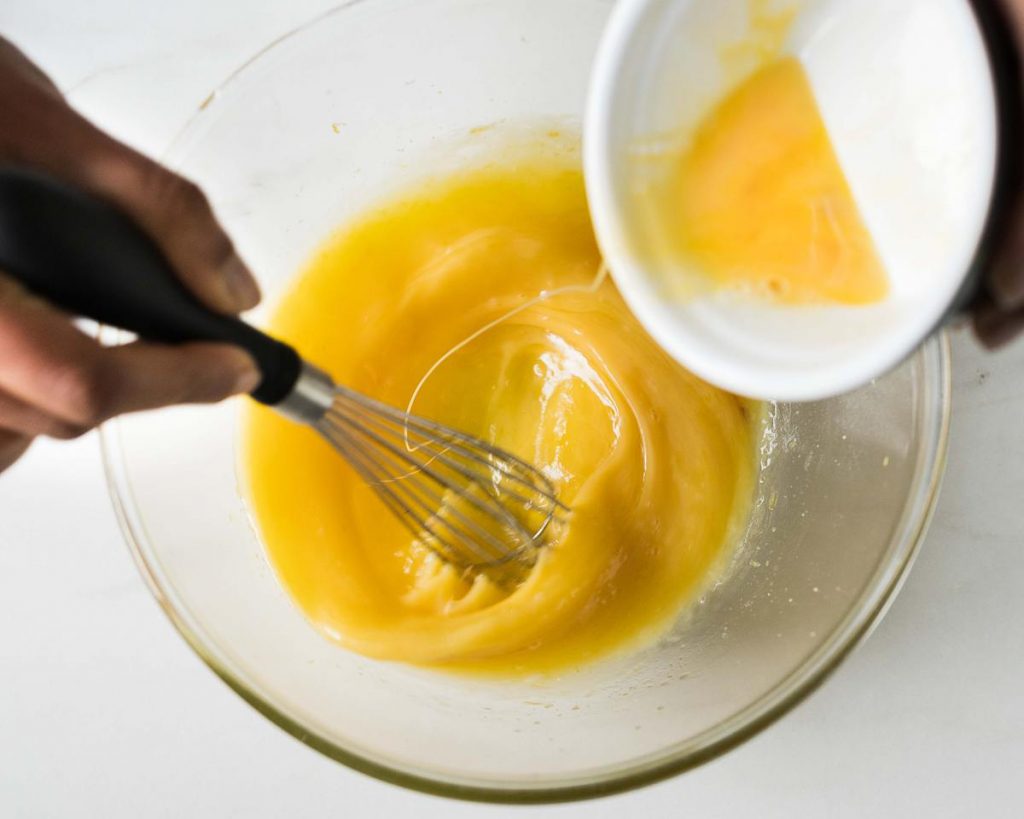
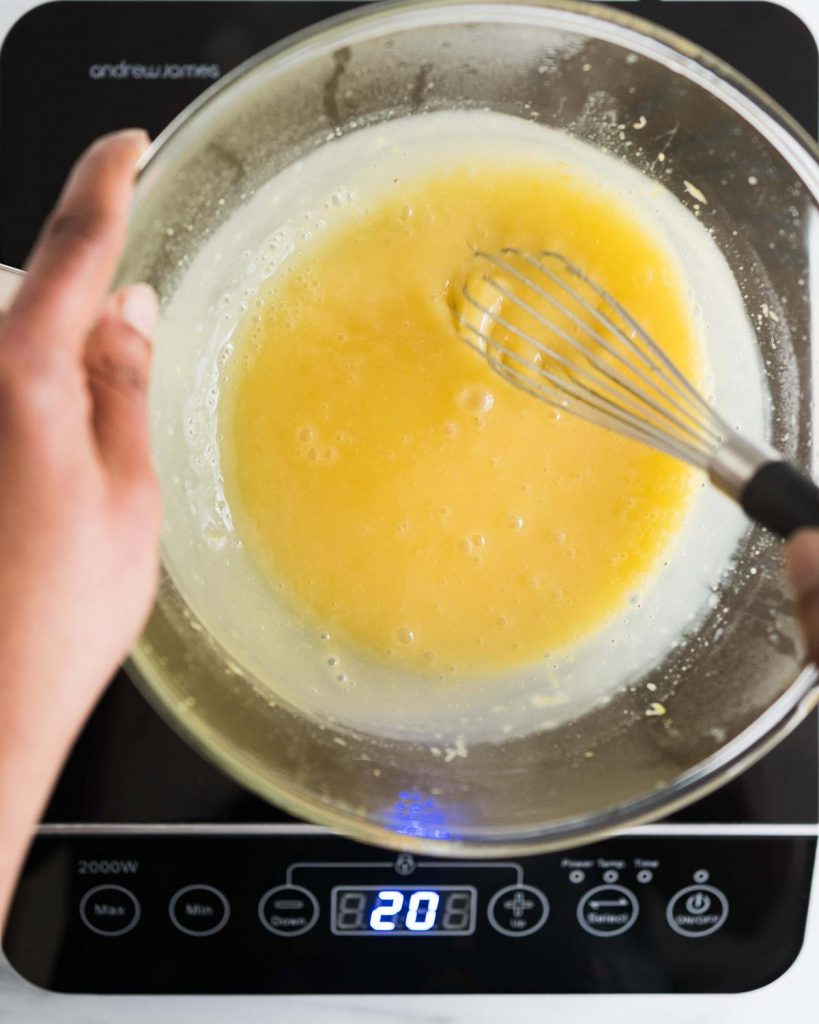
Step 4: Once the mixture has cooled slightly, add in the eggs and mix in. Return the bowl over the pan of simmering water and cook again, whisking constantly. The mixture will be runny at first, then will have a bit of white foamy streaks through it is whisked. Eventually the white streaks will disappear and the curd will thicken. This step usually takes me about 10 minutes.
Step 5: When the lemon curd is nearly ready, carefully remove the sterilised glass jar from the oven. Pour the lemon curd into the jar and put the lid on tightly. Leave to cool to room temperature before placing in the refrigerator to allow it to set completely. Enjoy!
How can I use this lemon curd?
Lemon curd is so versatile, you can almost treat it as you would a jam or conserve. This means it can be enjoyed on toast or crumpets, on top of waffles or pancakes, or folded into cream for a beautiful fruity mousse. It makes a wonderful filling for cakes, cupcakes and tarts, and is delicious served swirled through ice cream too. These are just a few ideas to show how versatile lemon curd can be, but there are plenty more ways it can be used too!
How long will lemon curd last?
This curd will keep for 10 days if stored in the refrigerator. Whether it will last that long is a different story!
Can lemon curd be frozen?
Lemon curd can indeed be frozen. Make sure it is completely cool, then place in a freezer safe airtight container. Place a layer of cling film (plastic wrap) on the surface of the curd to help keep it airtight and prevent any potential contamination then put the lid on and freeze.
The lemon curd can be kept frozen for up to two months.
How to defrost lemon curd
To thaw lemon curd, place the container of frozen lemon curd in the refrigerator over night. You may notice the curd has a little bit of separation. Simply give it a good stir before using it and all will be well!
Once defrosted, the lemon curd cannot be frozen again and must be used within two days.
Additional tips for making this lemon curd recipe
- Start the whole process of making curd by first sterilising the jars for the curd to go into at the end.
- Always zest the lemons before juicing (trust me, it is not fun zesting already juiced fruit!). Zest directly into the mixing bowl, so you get the zest but also the flavourful oils of the fruit too.
- Allow the initial lemon mixture to cool down a little before adding in the eggs. It only needs a few minutes to cool, but it is definitely worth the wait not to have lemon flavoured scrambled eggs!
- Once the eggs have been added, it is really important to keep whisking the lemon curd whilst heating it. If not whisked continuously, the curd will cook at the bottom of the bowl and end up being lumpy and not smooth and creamy.
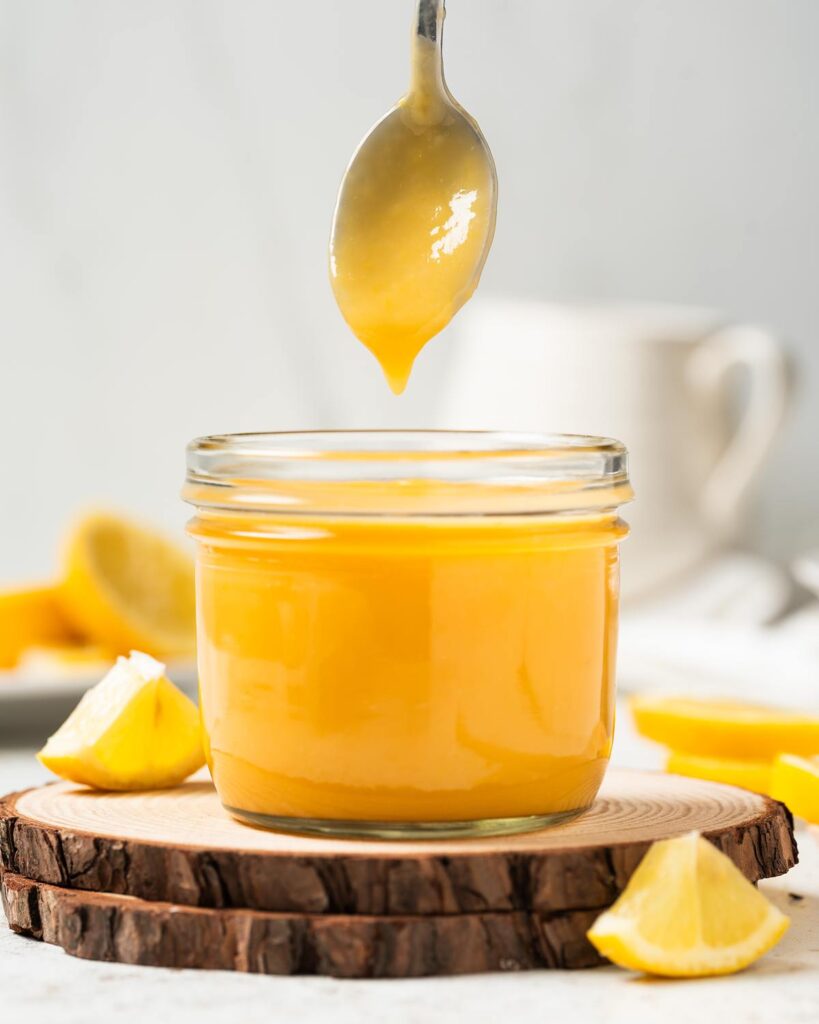
- Remember your lemon curd will continue to cook and thicken as it cools, so take it off the heat before it gets really thick. When ready, it will coat the back of a wooden spoon, and should not run back together if you pull a finger through it.
- When the lemon curd has thickened, pour it straight into the sterilised jar. Screw the lid on tightly and leave it to cool on the side for a couple of hours. Once at room temperature, place the jar in the refrigerator and leave to cool completely for a few more hours before using and enjoying.
Troubleshooting
If you have any questions about this homemade lemon curd recipe, please comment below and I will do my best to help! And if you have made this recipe for homemade lemon curd, please take a moment to leave me a rating and review below. I would really appreciate it, it helps not only me but others looking for a trustworthy recipe.
You could even post a picture on Instagram and tag me when you share it with the world. You know I would love to see!
More recipes for you to enjoy
Please have a look at these other easy peasy recipes on my blog too:
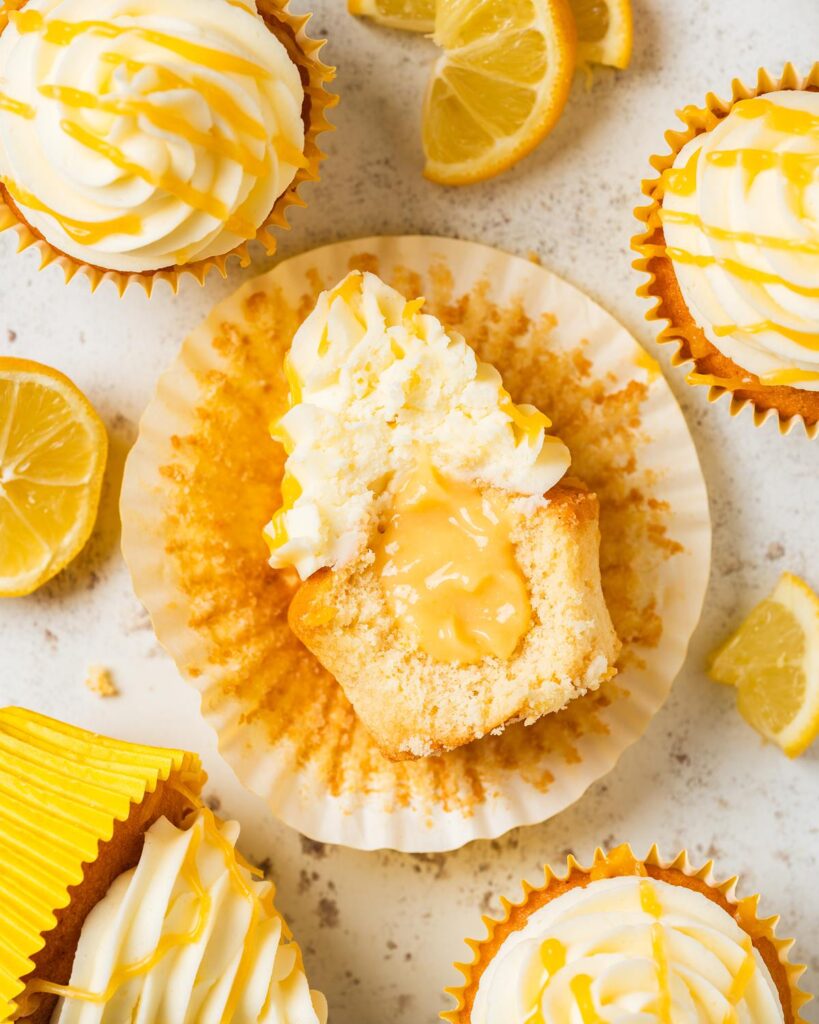
Lemon curd cupcakes: moist lemon cupcakes, filled with tangy lemon curd and topped with a swirl of sweet lemon buttercream. Topped with a drizzle of even more lemon curd, these cupcakes are totally scrumptious!
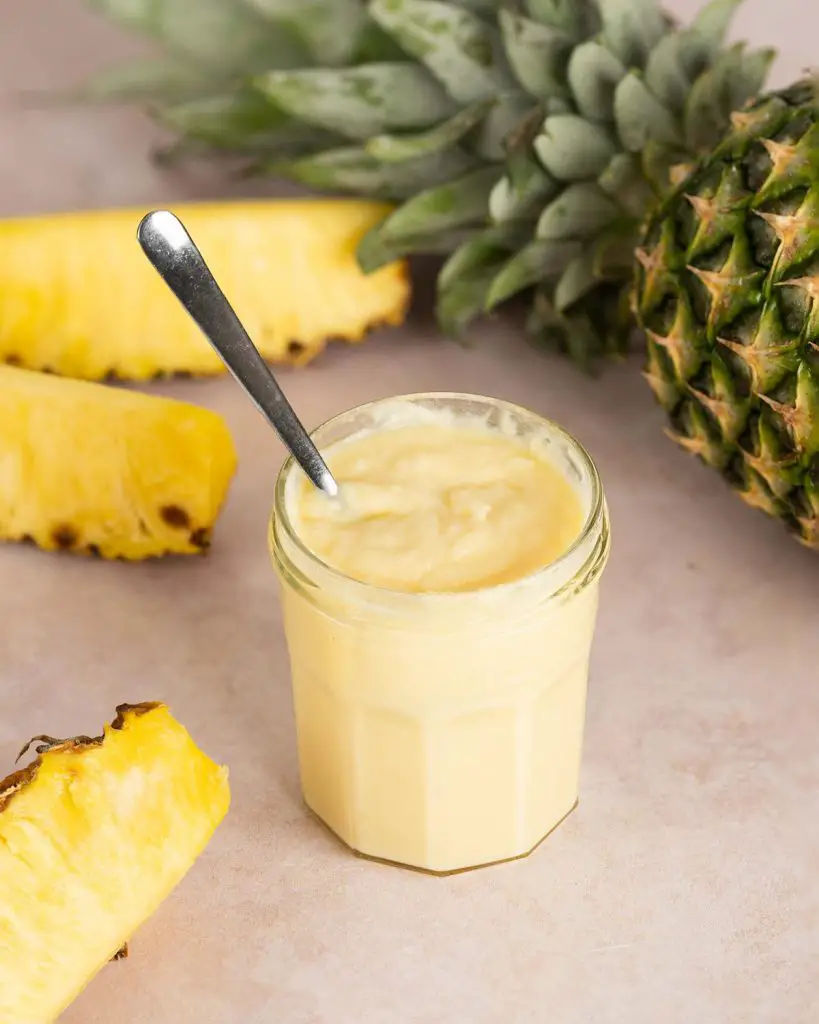
Pineapple curd: this tropical curd is sweet and delicious and so easy to make. Perfect for cakes, tarts, waffles, or even served over ice cream!

Sweet shortcrust pastry: this is a must in the repertoire of any baker. Beautiful and rich, sweet shortcrust pastry is perfect for pies and tarts, and would be perfect filled with this zesty curd!
Thanks so much for joining me today, my friends! Hope you enjoy this delicious zesty and silky smooth lemon curd! x
Recommended equipment to make this lemon curd recipe *
| Digital kitchen scales | Zester |
| Lemon squeezer | Mixing bowl |
| Whisk | Small saucepan |
| Spatula | Preserve jar |
Zesty & Silky Smooth Homemade Lemon Curd
Ingredients
- 2-3 lemons, zest and juice
- 50 g (3 tbsp+2 tsp) unsalted butter
- 80-100 g (¼ cup+2 tbsp – ¼ cup+3 tbsp) sugar (I use granulated)
- 2 large eggs
Instructions
- First sterilise the storage jar. Wash the jar well in soapy water and rinse clean. Then pop it in an oven preheated to 160C/320F for 10-15 minutes. Use immediately after sterilising.
- Whilst the jar is sterilising, make the curd. Place a small saucepan on the hob on medium heat. Fill with about an inch or two of water in the bottom and leave to come to simmer whilst preparing the curd. Zest the lemons directly into a large mixing bowl. This gets the oils into the bowl of the curd too, which means extra flavour! Squeeze the juice of the lemons into the same bowl, then tip in the butter and sugar.
- Place the bowl over the now simmering water, making sure the water in the pan does not touch the bottom of the bowl. Whisk the mixture whilst heating until the butter has melted and the sugar is completely dissolved. Remove from the heat and allow to cool slightly.
- Once the mixture has cooled slightly, add in the eggs and mix in. Return the bowl over the pan of simmering water and cook again, whisking constantly. The mixture will be runny at first, then will have a bit of white foamy streaks through it is whisked. Eventually the white streaks will disappear and the curd will thicken. This step usually takes me about 10 minutes.
- When the lemon curd is nearly ready, carefully remove the sterilised glass jar from the oven. Pour the lemon curd into the jar and put the lid on tightly. Leave to cool to room temperature before placing in the refrigerator to allow it to set completely. Enjoy!