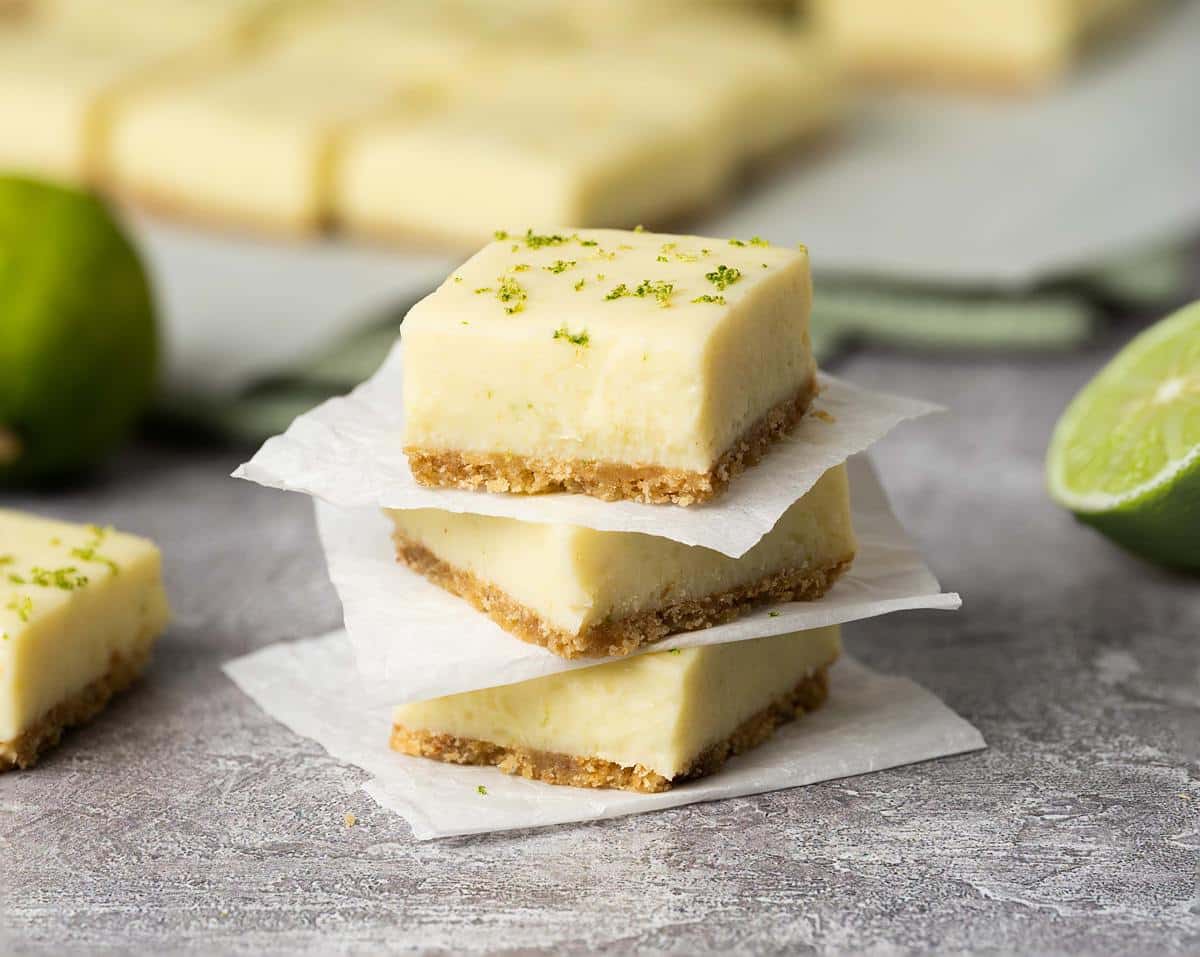
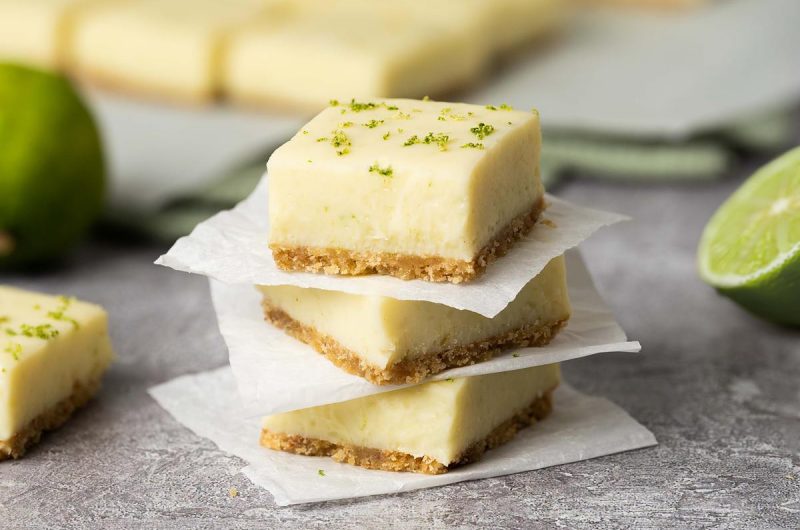
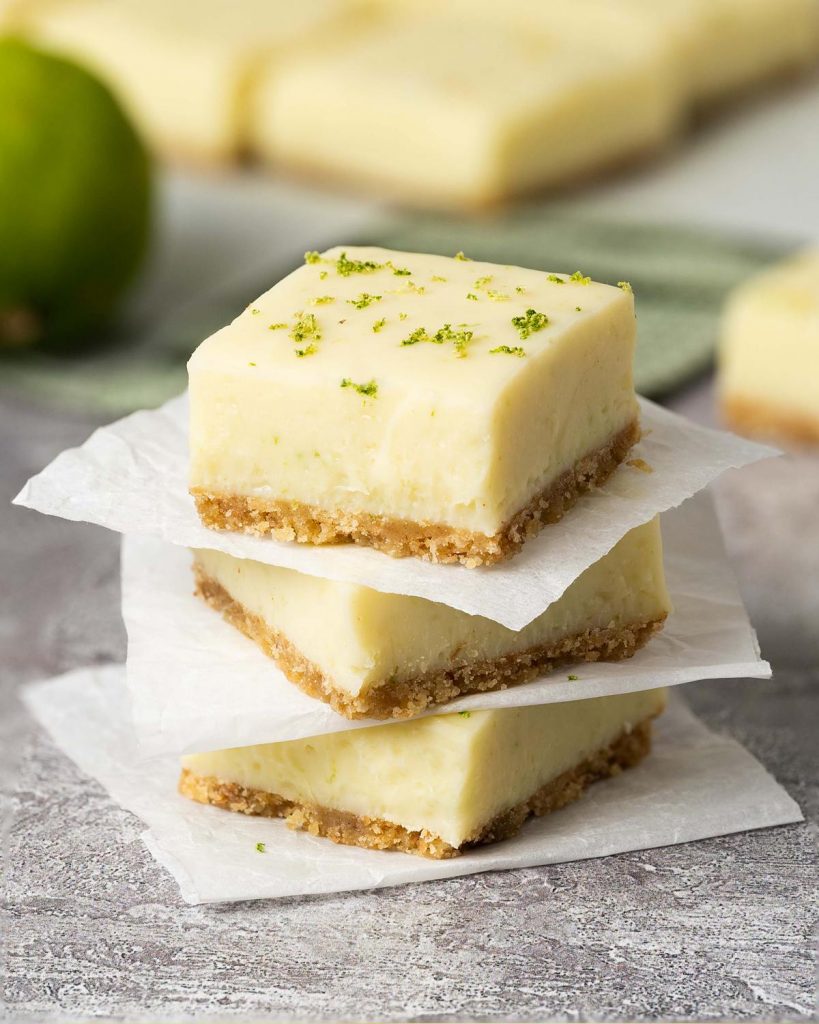
A delicious and simple fudge, which captures all the delicious flavour and texture of the class key lime pie. With a light biscuit base and a creamy zingy lime filling, this key lime fudge is one everyone will love!
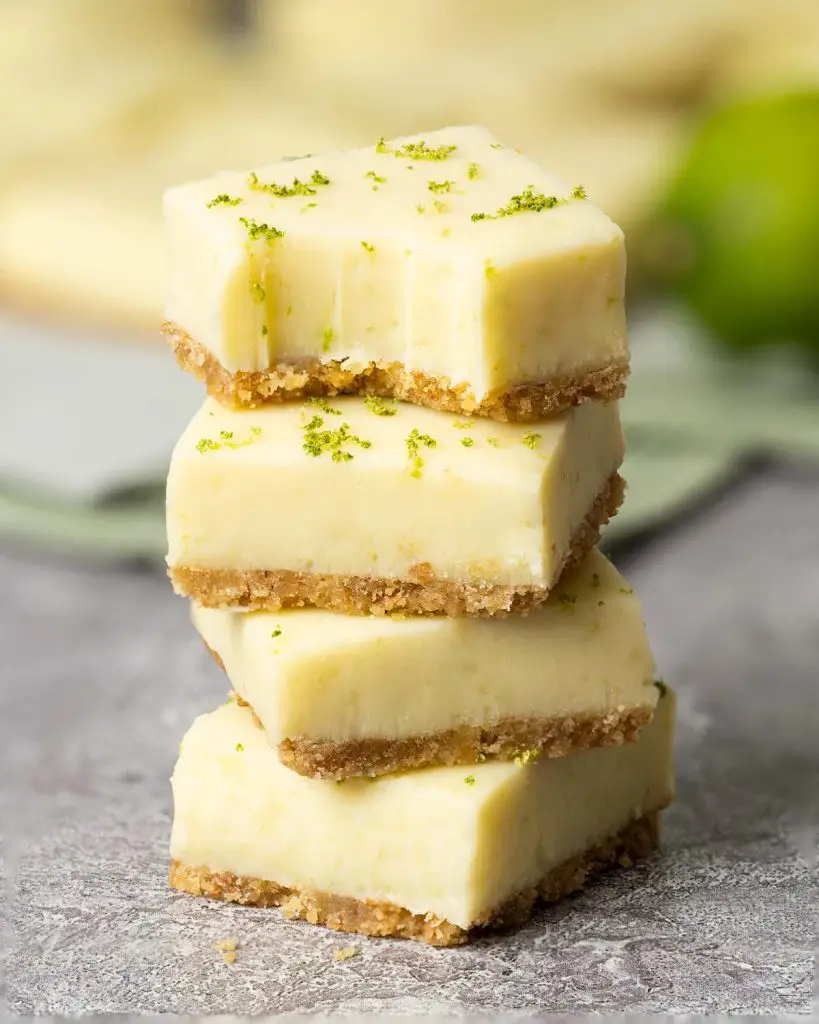
What is fudge?
Fudge is a dense and soft confection slab, known for being smooth and melt-in-your-mouth in texture. The texture of a good fudge is somewhere between fondant icing and hard caramel (nearer the fondant!), wonderfully smooth and just melt-in-your-mouth heavenly!
How is quick fudge different from traditional fudge?
Traditional fudge is made by heating up sugar, butter and milk together. These three together make up the basic ingredients for fudge, then all sorts of flavours can be added to it. This mixture is heated to soft ball stage, before being beaten and mixed whilst cooling to prevent crystals forming. Doing this results in a smooth creamy consistency for the fudge.
Quick fudge doesn’t take as much time or effort to make as traditional fudge, which is why it’s preferred by so many. It doesn’t require a food thermometer nor does it need beating whilst cooling. You simply melt together core ingredients of condensed milk and chocolate, add in any extras, then tip into your pan and leave to set. Job done!
Is fudge the same as Scottish tablet?
No, fudge is much softer and creamier than Scottish tablet, which typically has a brittle, grainy texture. Scottish tablet is also more of a medium-hard confection, whereas fudge is softer by comparison.
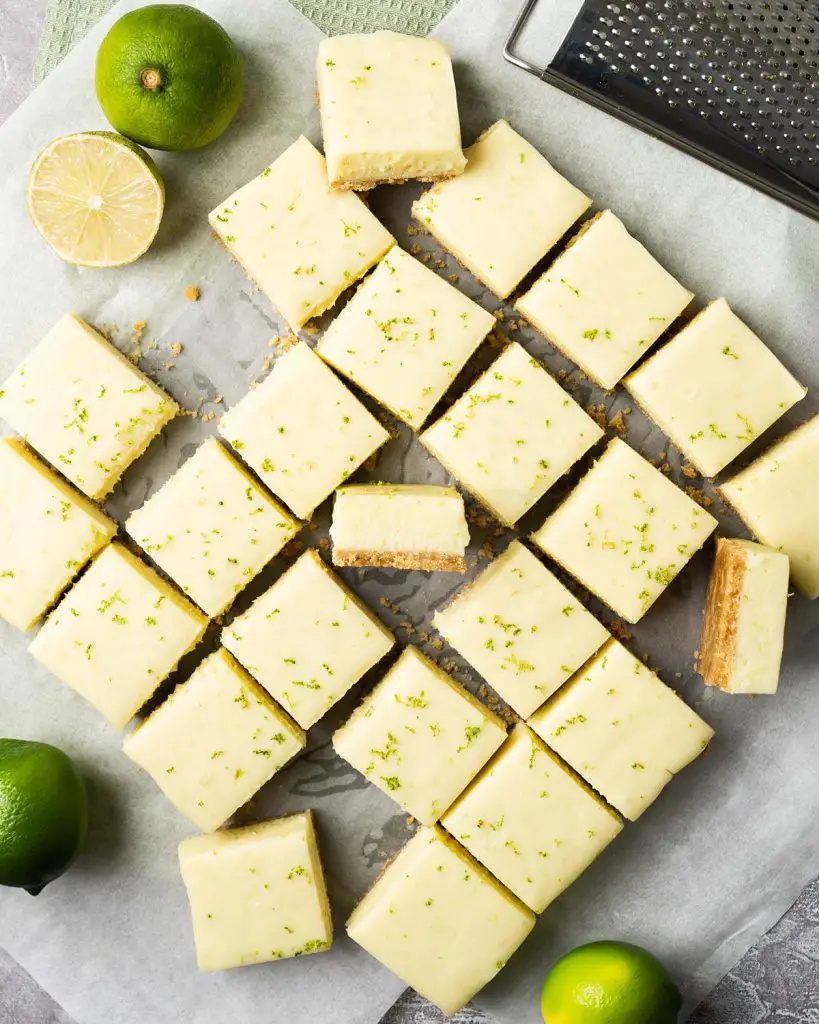
What makes this key lime fudge so easy to make
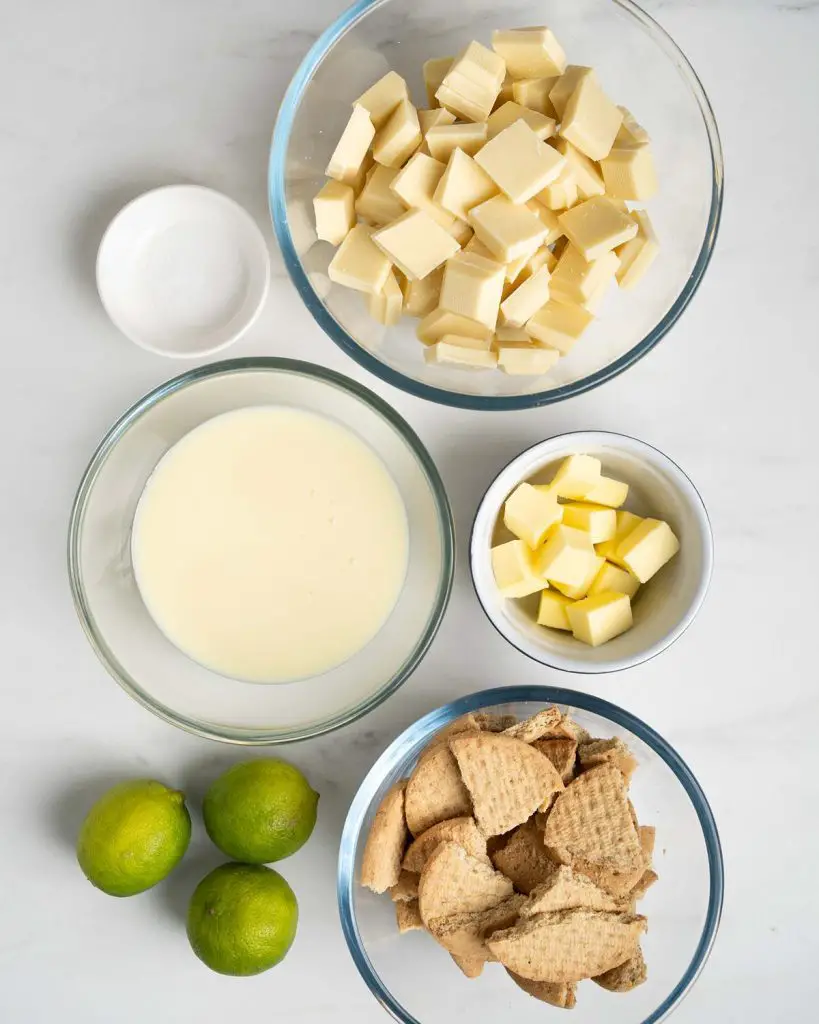
- Just five ingredients. This lime fudge is made using simple and widely available ingredients.
- No bake option. The biscuit base can be baked if you prefer it firmer, but it is completely not necessary when making this recipe.
- Quick to make. No need to spend hours cooking and stirring the fudge mixture. Just combine ingredients, spread in the tin and leave to set!
- Adaptable recipe. If you do not want the biscuit base, you can easily make this as a lime three ingredient fudge instead. But trust me, you will love the addition of the biscuit base too!
Ingredients needed to make this key lime fudge recipe?
- Digestive biscuits: used to make the base of the key lime fudge recipe sweetened condensed milk.
- Unsalted butter: melted and used to bind the biscuit base.
- White chocolate: forms the body of the fudge. Use your favourite white chocolate for extra deliciousness.
- Condensed milk: for sweetness, creaminess and all round yumminess! I always use the full fat version, not the lighter one.
- Limes: the star flavour of the fudge! Use key limes if you can get them, of course. But regular limes work wonderfully too.
What equipment do I need to make this fudge recipe?
- Baking tin*: to make and set the fudge in.
- Parchment paper: for lining the tin.
- Digital kitchen scales*: I provide all my measurements in cups, however I would encourage all bakers to weigh out ingredients when baking. A set of digital kitchen scales is so useful and totally an essential baking tool for me.
- Measuring spoons*: a set of measuring spoons is essential for any baker. This is because these are more accurate than using everyday teaspoons and tablespoons, which can vary greatly in size.
- Rolling pin*: to bash up the biscuits. Much more fun than using a food processor!
- Mixing bowl*: to melt and mix the ingredients together when making the biscuit base and the key lime fudge.
- Spatula*: for mixing ingredients together and to transfer the mixture into the tin.
- Zester*: to get all that beautiful, deliciously flavourful zest off the limes.
- Juicer*: makes getting all the juice from the lime super easy.
How to make key lime fudge
This amazingly easy key lime pie fudge recipe comes together in just a few steps! Simply make the biscuit base and press in the bottom, then make the lime fudge itself before levelling it over the base. Finally, add an extra zesting of lime on top for extra zingy flavour and leave to set before cutting. Yum!
Step 1: Line an 8″ x 8″ tin with baking parchment, then set it aside.
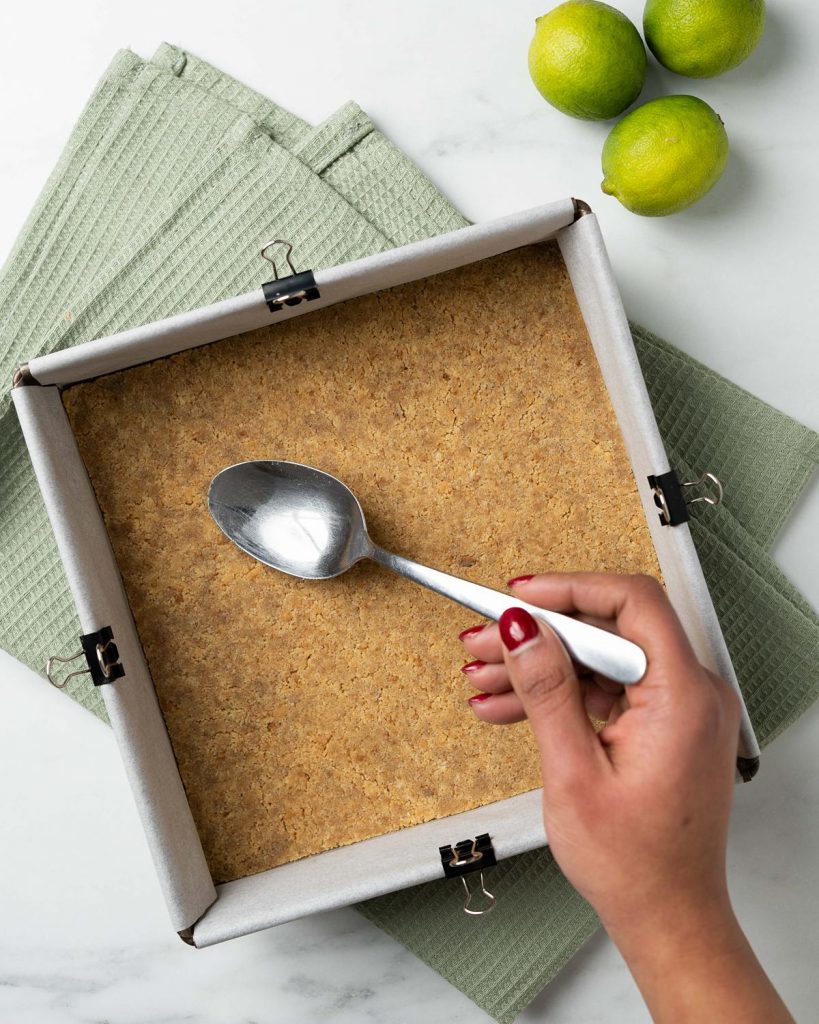
Step 2: Crush the biscuits and mix with the melted butter. Press into an even layer in the bottom of the tin. Here you can either bake or chill whilst making the fudge filling. If baking, bake for 5-6 minutes at 180C/350F. See notes below on the different results between baking and chilling.
Step 3: Place the white chocolate into a large microwave safe bowl and melt it in short bursts, stirring in between, until completely melted.
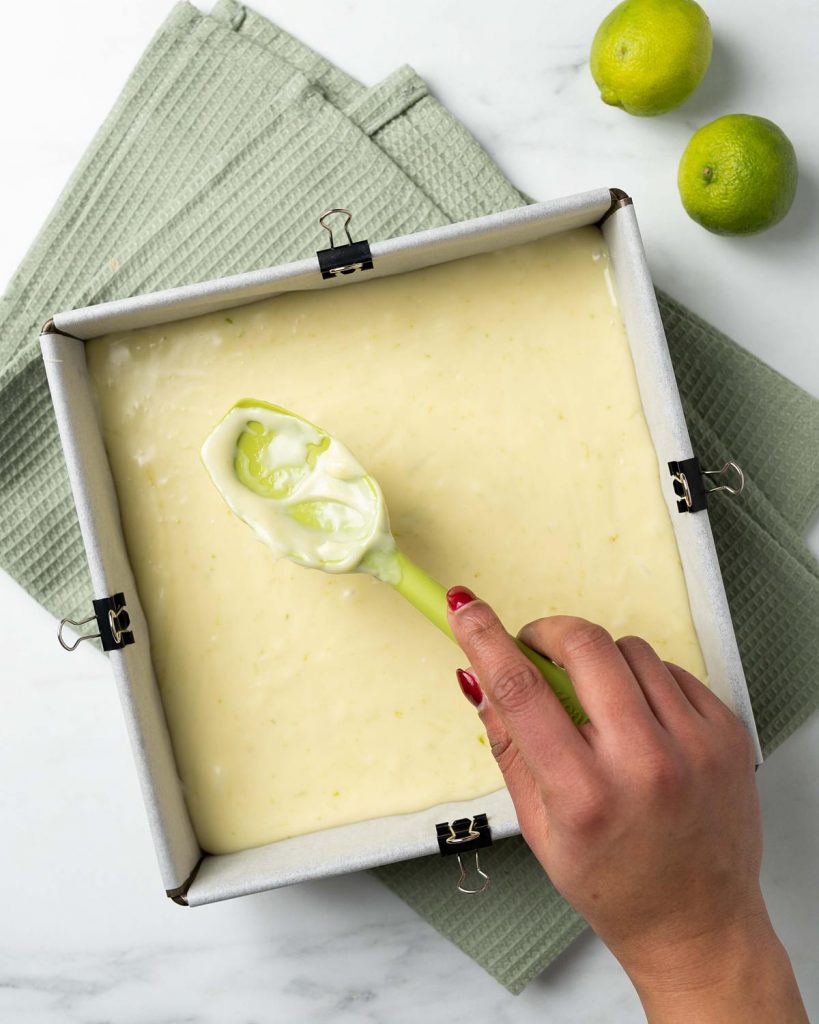
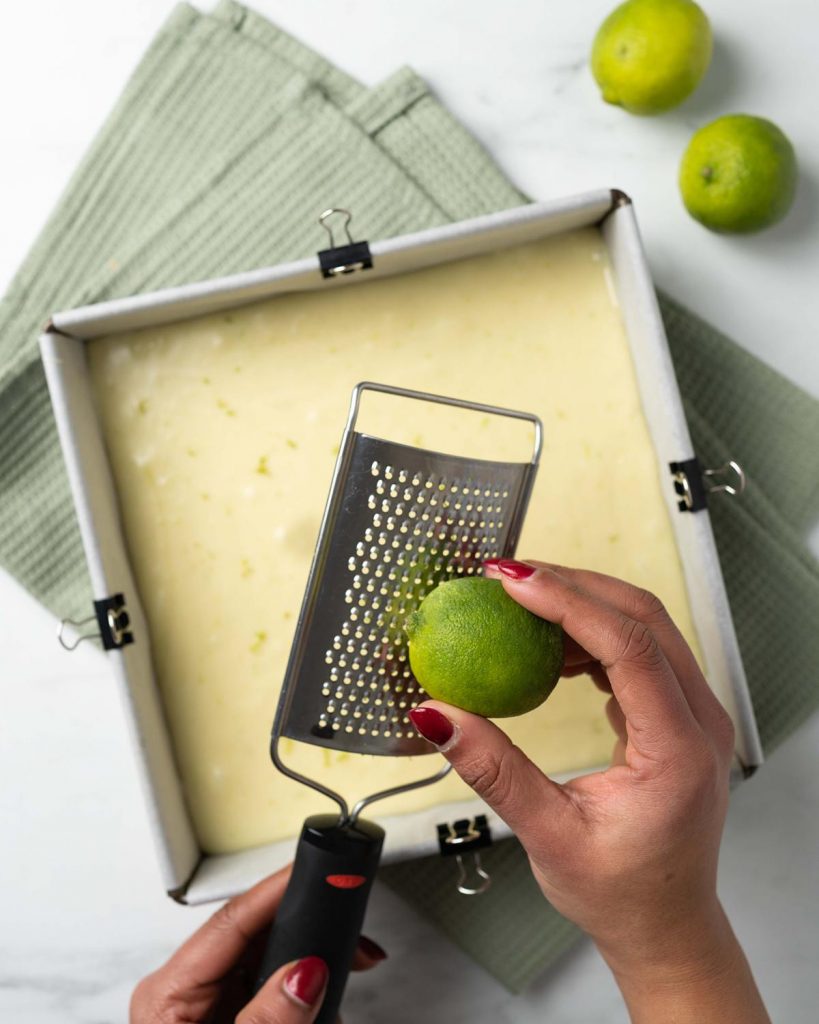
Step 4: Add in the condensed milk and salt, stirring through. The mixture will become thick. Zest in two limes (three if you like it zingy!) and squeeze in the juice of one lime before mixing it all together until smooth.
Step 5: Spoon the filling mixture over the biscuit base and smooth over the top. Zest another lime over the top of the fudge before leaving to set for a few hours.
Step 6: Once the fudge has set, cut it into squares and serve. Enjoy!

How do I line my tin?
There are several ways to line the tin for your fudge. The simplest way is to cut two strips of parchment paper slightly smaller than the width of the tin and place them in a cross shape within the tin, so you have an overhang over all four sides. Make sure to fold along the bottom and side edges so you get nice clean lines when the biscuit base is pushed in.
Can I use evaporated milk instead of condensed milk in this fudge recipe?
No, unfortunately evaporated milk cannot be substituted for condensed milk when making a fudge recipe as it is a completely different ingredient. There is no swap for condensed milk in quick fudge recipes.
Help my fudge didn’t set!
This fudge is softer than most other quick fudge recipes. If you find it did not set, it is likely because too much lime juice was added to the filling.
Does the fudge need to be refrigerated?
I refrigerate the fudge to help it set and make it easier to cut. Once cut, it can be stored in an airtight container at room temperature for a week or for up to three weeks if stored in the fridge.
Can you freeze key lime fudge?
Absolutely! You can freeze it for up to 2 months. Just wrap it up tightly in two layers of cling film and pop into an airtight container. To defrost, thaw the fudge overnight in the fridge before serving.
Is fudge gluten free?
Fudge is normally gluten free, however the biscuits in the base will contain gluten. If you wish to make this gluten free, simply substitute the digestive biscuits for a gluten free alternative.
Key lime fudge FAQs
- Invest in good quality ingredients when making fudge. Since there are so few ingredients used, using a good quality chocolate and condensed milk will make a big difference.
- To crush up the biscuits, either blitz them in a food processor or bash them in a sealable freezer bag using a rolling pin. I do the latter for this recipe, as there is not a lot of bisuits to crush. And it is rather fun!
- Baking the biscuit base is optional. Baking the base will make it set better and be firmer and less crumbly, giving it more of a firm texture. Leaving it unbaked will make it softer when eating, falling apart in a lovely texture with each bite.
- Do not add any additional lime juice to the fudge mixture or it will not set properly for it to be cut. If you want more of a lime flavour, add a few drops of lime extract or additional zest to the filling.
- Allow the key lime pie fudge to chill for at least 3-4 hours in order for it to firm up. I prefer to leave it overnight before cutting into squares.
- To cut the fudge, use a sharp knife always. Place the fudge on a cutting board, then dip your knife in hot water. Wipe it dry and use it to cut the fudge into lovely clean lines. Make sure to redip and wipe the knife between cuts for really clean edges without any smears or smudges.
Troubleshooting
If you have any questions about this key lime fudge recipe, please comment below and I will do my best to help. And do remember: if you enjoy this recipe for key lime fudge, please leave a rating and review below. You could even post a picture on Instagram and tag me when you share it with the world. You already know I would love to see!
More fudge recipes for you to enjoy
Do have a look at the other fudge recipes on my blog too:
Oreo fudge: this fudge is always a hit with everyone who tries it! Creamy, melt in the mouth indulgence with beautiful crunch and texture from the biscuits, people never believe just how easy this fudge is to make!
Strawberries and cream fudge: this one is a take on a quintessentially British favourite. Creamy and delicious, with a lovely strawberry flavour, this will be everyone’s favourite fudge!
Biscoff fudge: if you are a Biscoff fan, you will absolutely adore this fudge! A delightfully smooth and creamy fudge with crunchy Biscoff biscuits all the way through, this one is so simple to make and sure to be a hit!
Happy fudge-making, my friends! x

Recommended equipment I used *
| Baking tin | Digital kitchen scales |
| Measuring spoons | Rolling pin |
| Mixing bowl | Spatula |
| Zester | Juicer |

