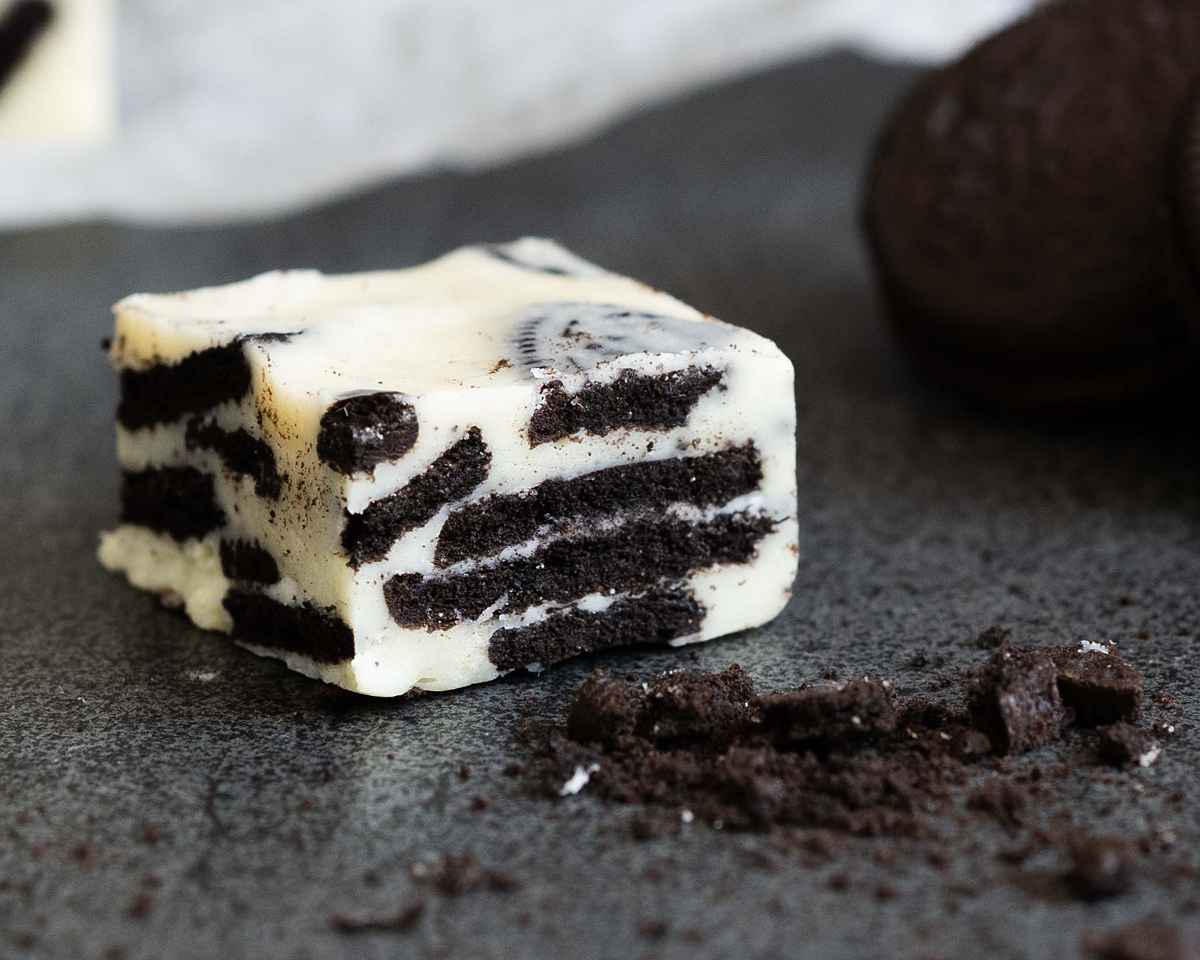
This Oreo fudge recipe is always a hit with everyone who tries it! Creamy, melt in the mouth indulgence with beautiful crunch and texture from the biscuits, people never believe just how easy this fudge is to make!
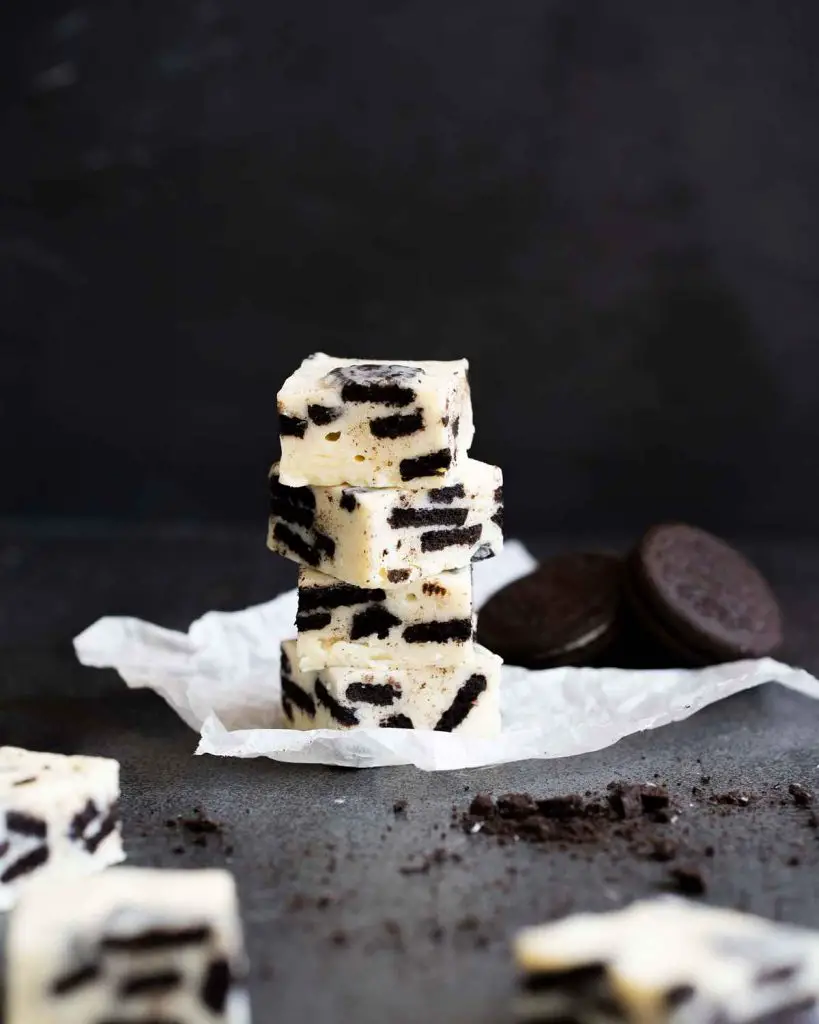
Indulgence without the effort
When you think of making fudge, what do you imagine? Slaving over a hot stove for hours (ok, perhaps a slight exaggeration!)? Constantly stirring a slowly cooking fudge mixture? Endless keeping track of temperatures? And then beating the fudge for ages to keep it smooth as it cools? Guys, this is accurate (well, mostly)… but only for traditional fudge.
Today I want to share with you a recipe that tickles all the right tastebuds with far less effort. How does that sound to you? Quick fudge, as the type I’m sharing today is known, takes just a few minutes to throw together. Once made, all you do is leave it to chill in the fridge before cutting and enjoying it. And just like that, you can have fudge!
What is fudge?
Fudge is basically a dense and soft confection slab. It is known and loved for being smooth and melt in your mouth in texture. The texture of fudge is somewhere between fondant icing and a hard caramel.
How is quick fudge different from traditional fudge?
To make traditional fudge, you would heat up sugar, butter and milk together, which are the basic ingredients for fudge. The mixture is heated to soft ball stage, then beaten whilst cooling to prevent sugar crystals forming. Doing this results in a smooth creamy consistency for the fudge.
Quick fudge does not take as much time to make as traditional fudge. It does not require a thermometer and it does not need beating whilst cooling. All you do is melt together the ingredients, tip the mixture into the prepared tin and leave to set. Job done!
Is fudge the same as Scottish tablet?
No, fudge is much softer and creamier than Scottish tablet. Tablet typically has a brittle, grainy texture. Fudge is softer in texture compared to Scottish tablet which is more of a medium-hard confection.
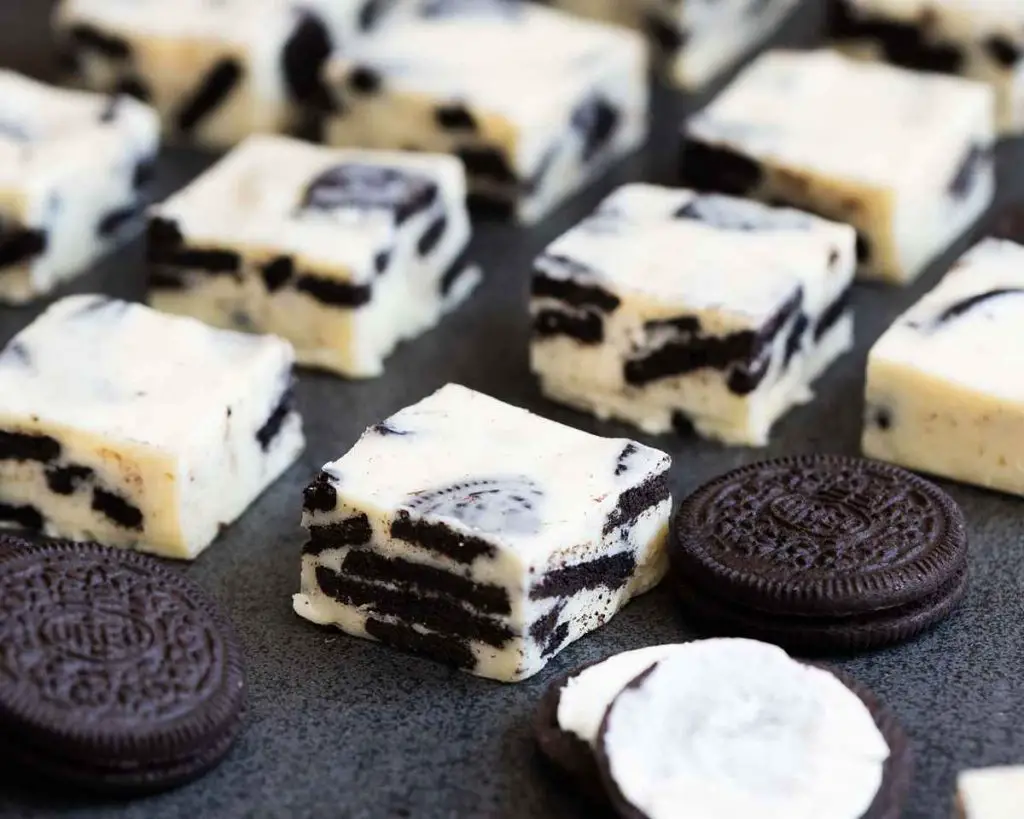
What ingredients do I need to make this Oreo fudge recipe?
- White chocolate: forms the body of the fudge. Use your favourite white chocolate for extra deliciousness.
- Condensed milk: for sweetness, creaminess and all round yumminess! Make sure you use the full fat version, not the lighter one.
- Vanilla: for a delicate flavour.
- Salt: to enhance the flavours in this fudge. A little saltiness makes this fudge incredibly moreish!
- Oreo biscuits: the star of the fudge! If you haven’t Oreos, any cookies n cream type biscuit is good here.
What equipment do I need to make this Oreo fudge recipe?
- Baking tin*: to set the fudge in.
- Parchment paper: for lining the tin.
- Digital kitchen scales*: whilst I do provide cup measurements for all my recipes, I would always recommend using scales to weigh your ingredients out instead. Weighing out your ingredients is much more accurate than measuring by volume, as you do when measuring with cups, and will ensure consistently better results.
- Measuring spoons*: to use for measuring smaller quantities such as tablespoons (tbsp) and teaspoons (tsp), I would definitely recommend getting a set of dedicated measuring spoons to use in baking. This is a far more accurate measurement than using your everyday eating spoons, which can vary greatly in size.
- Mixing bowl*: to melt and mix your ingredients together to make your fudge.
- Spatula*: used for mixing and smoothing over the fudge, as you make it and when transferred into your tin.
How to make Oreo fudge
So after all my talk of how easy it is to make this fudge, do you still have your doubts? Well, I can assure you it really is simple! All you do is combine the ingredients, smoosh into a prepared tin and leave to set. Job done!
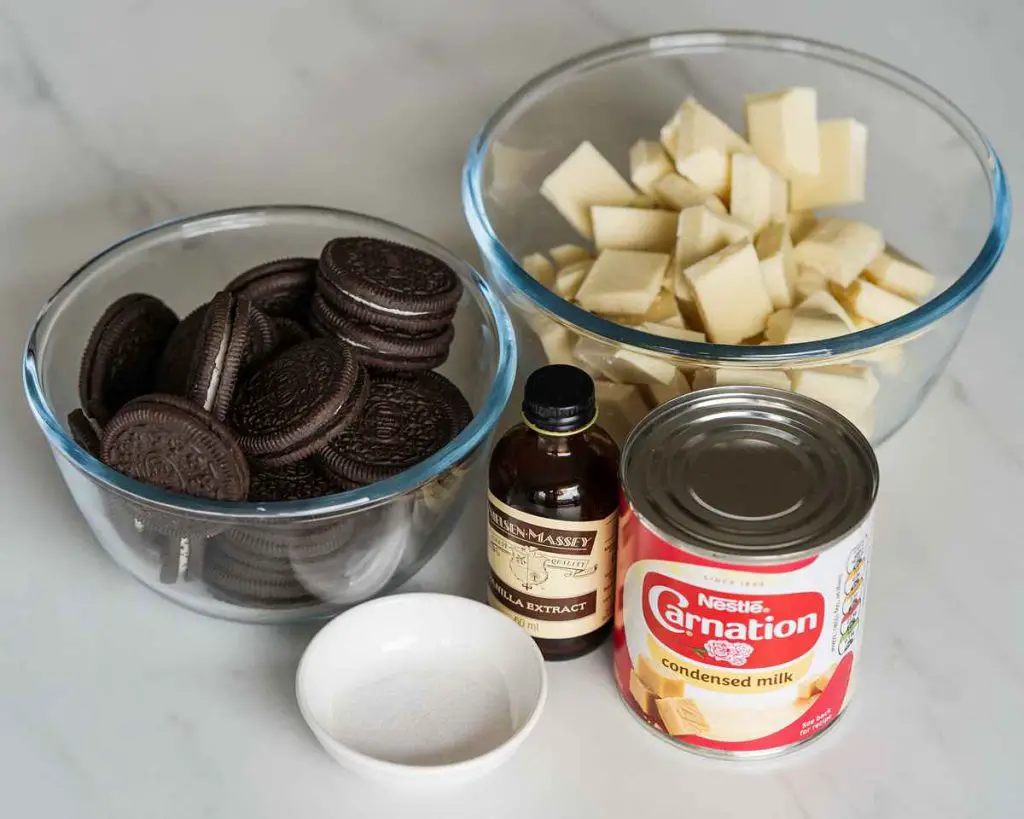
Step 1: Line an 8″ x 8″ tin with baking parchment and set it aside.
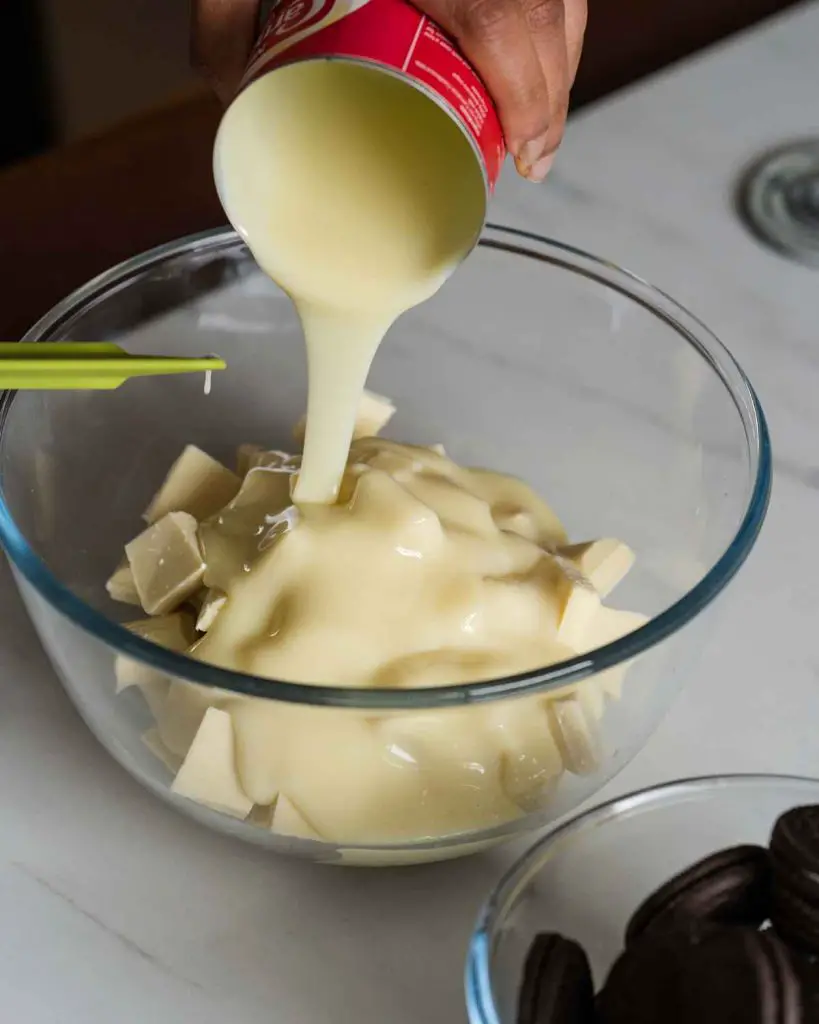
Step 2: Place the white chocolate, condensed milk, vanilla, and salt into a microwave safe bowl. Melt it all together in 10-20 second bursts, making sure to stir in between heatings.

Step 3: Break the biscuits roughly into quarters and tip into the bowl. Fold into the fudge mixture. If the biscuits fall apart a little no need to worry, it all adds to the flavour and charm of the finished fudge!
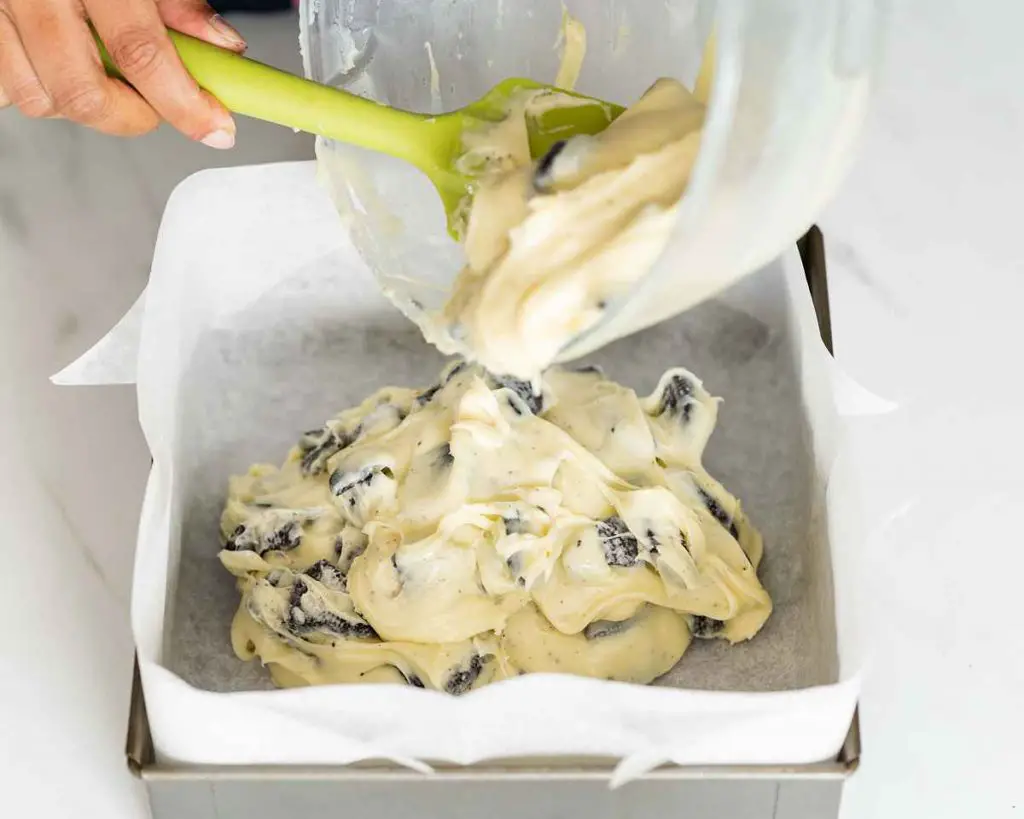
Step 4: Push the fudge into the lined tin, making sure to guide it all the way into the corners and smooth over the top. Pop in the fridge for 3-4 hours to set. Cut into squares to serve. Enjoy!
How do I line my tin?
There are several ways to line the tin for the fudge. The easiest way is to cut two strips of parchment paper slightly smaller than the width of the tin. Place them in a cross shape within the tin, leaving an overhang on all four sides. Fold the paper along the bottom and side edges of the tin to give nice clean lines when the fudge is left in to set.
Can I use evaporated milk instead of condensed milk in this fudge recipe?
No, evaporated milk cannot be substituted for condensed milk when making a quick fudge recipe. There is no swap for condensed milk in quick fudge recipes.
How long does this Oreo fudge last and how do I store it?
This fudge needs to be stored in an airtight container. It will keep for a week at room temperature (if it lasts that long!) If the fudge is stored in the fridge, it will keep for up to three weeks.
Can you freeze fudge?
Absolutely! You can freeze it for up to 2 months. Just wrap it up tightly in two layers of cling film and pop into an airtight container. To defrost, thaw your fudge overnight in the fridge before serving.

Is fudge gluten free?
Yes, a basic quick fudge is gluten free. Please keep in mind however that Oreos do contain gluten, and so you would need an alternative biscuit to make this Oreo fudge recipe gluten free.
Additional tips for making this Oreo fudge recipe
- Invest in good quality ingredients. Since there are so few ingredients used to make it, you will really notice a difference if using a good quality chocolate and condensed milk when making this recipe.
- Preparation is key! Line your tin and break up your biscuits first. Once melted together the fudge starts to set up pretty quick, and so it’s definitely worth being prepared before you begin!
- Chill your fudge for at least 3-4 hours for it to set. I prefer leaving mine overnight.
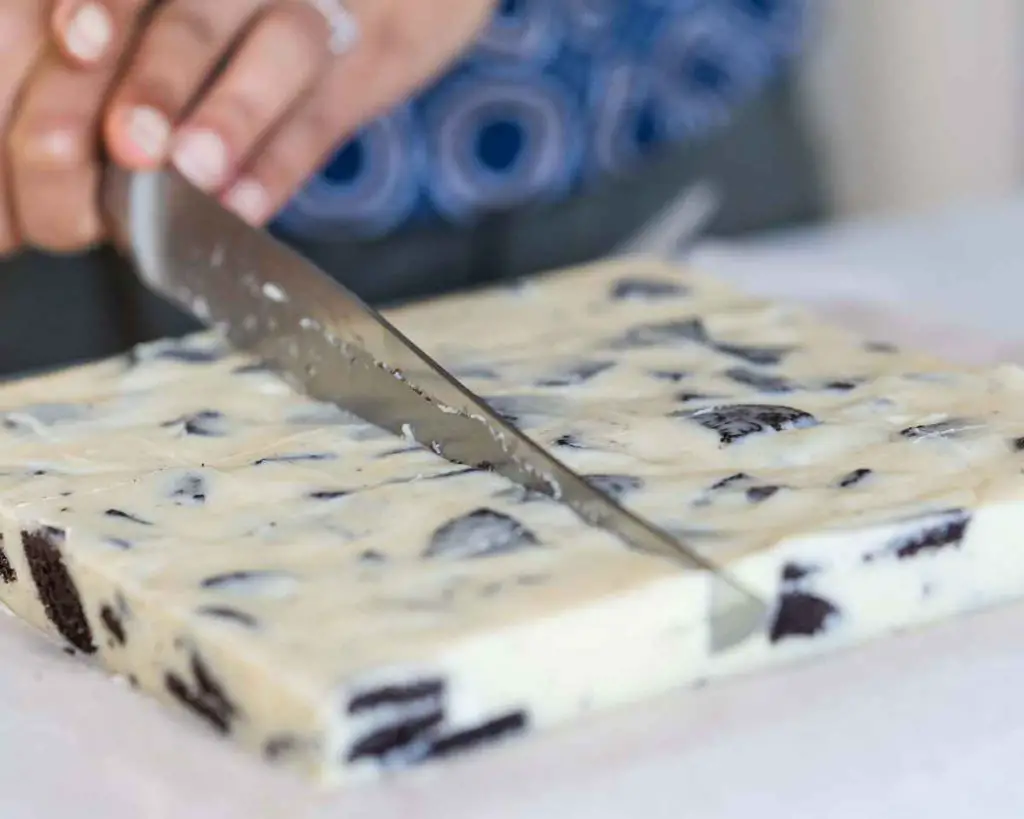
- To cut your fudge, use a sharp knife always. Place your fudge on a steady cutting board. Dip your knife in boiling water and wipe it dry. Use your hot knife to cut your fudge into lovely clean lines. Make sure to redip and wipe the knife between cuts for really clean edges without any crumbs.
Troubleshooting
If you have any other questions about this Oreo fudge recipe, please use the comments below to ask away and I’ll do my best to help! And if you made and enjoyed this, I’d love to hear from you too!
And don’t forget: if you make this recipe for Oreo fudge, please do consider leaving a rating and review below. I would truly love to know how you enjoy making them and it really helps others looking for a recipe too! You could even post a picture on Instagram and tag me when you share it with the world, I’d love to see!
More recipes for you to enjoy
More fudge recipes and Oreo bakes on my blog for you to check out:
Biscoff fudge: if you’re a Biscoff fan, you’ll absolutely adore this fudge! Delightfully smooth and creamy with crunchy Biscoff biscuits all the way through, this fudge is so simple to make and sure to be a hit!
Strawberries and cream fudge: this fudge is a take on a quintessentially British flavour favourite. Creamy and delicious, this one is sure to bring on the flavours of summer!
Oreo brownies: these Oreo stuffed brownies are rich, gooey and beautifully chocolatey. A perfectly decadent treat for all the chocolate, brownie and Oreo fans out there. Deep, dark and wholly irresistible, these brownies are just out of this world to die for!
Happy fudge-making, my friends! x

Recommended equipment and ingredients I used *
| Baking tin | Digital kitchen scales |
| Measuring spoons | Mixing bowl |
| Spatula | Vanilla |
| Oreos | Condensed milk |

Hi Andrea,
as my sun is a great fan of Oreo Cookies I absolutelly had to try this recipe. I had no idea how crazy this fugde tastes :-). This weekand I will try another or your recipes!!!
Hi Irene, I’m so glad to have you here! Delighted you’ve enjoyed the recipe, hope you will enjoy others too! Thanks so much for leaving a comment 😊