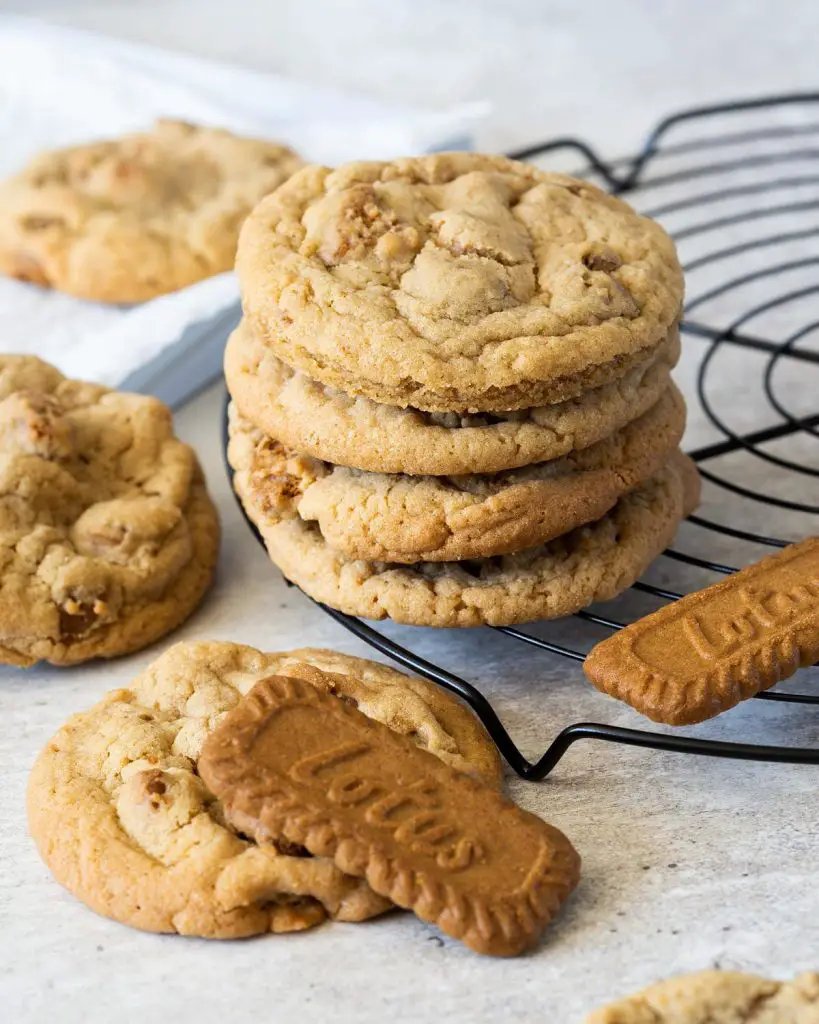
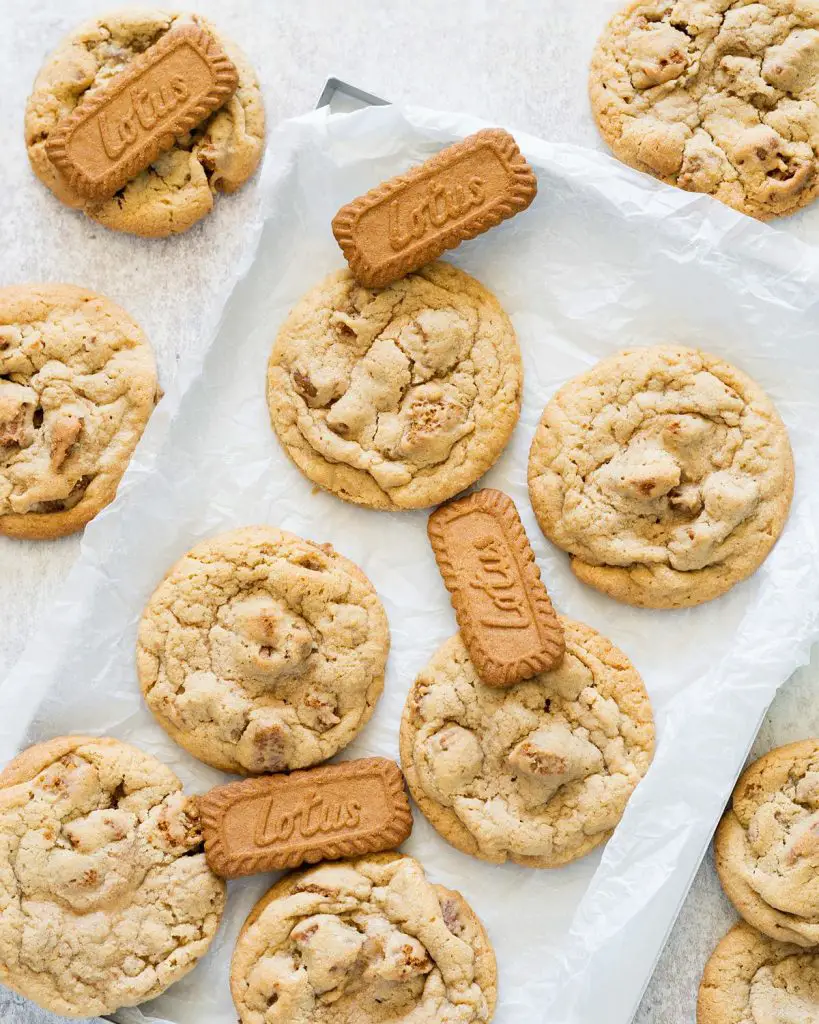
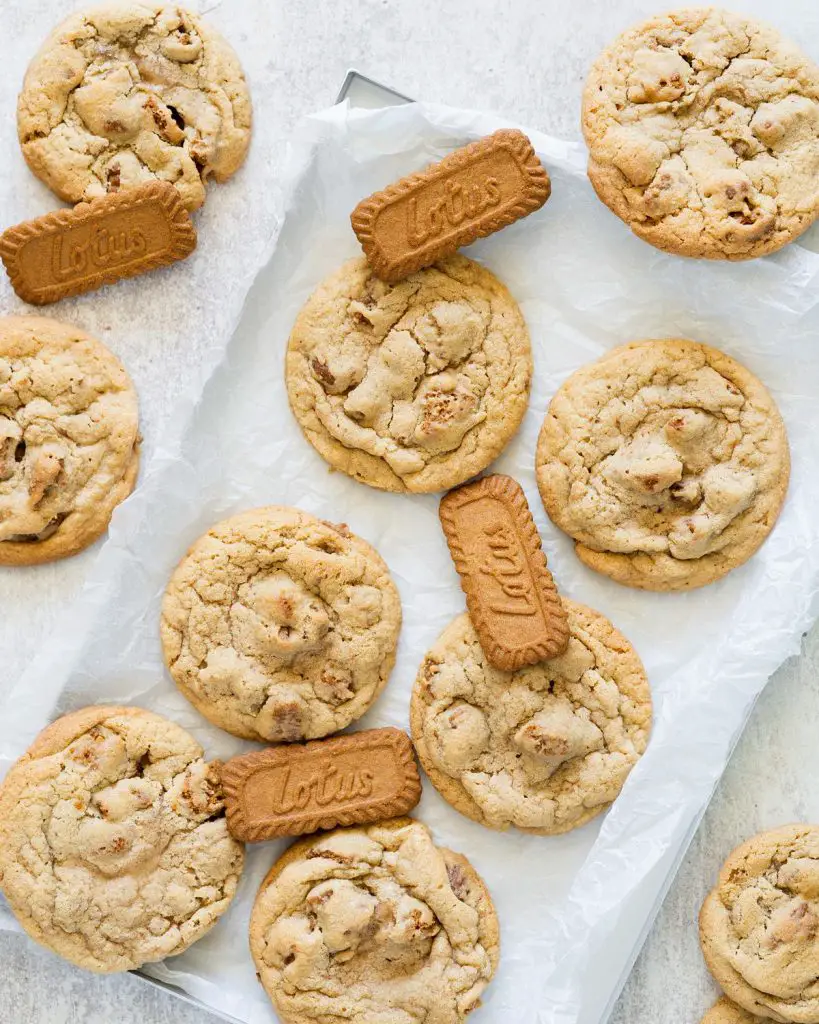
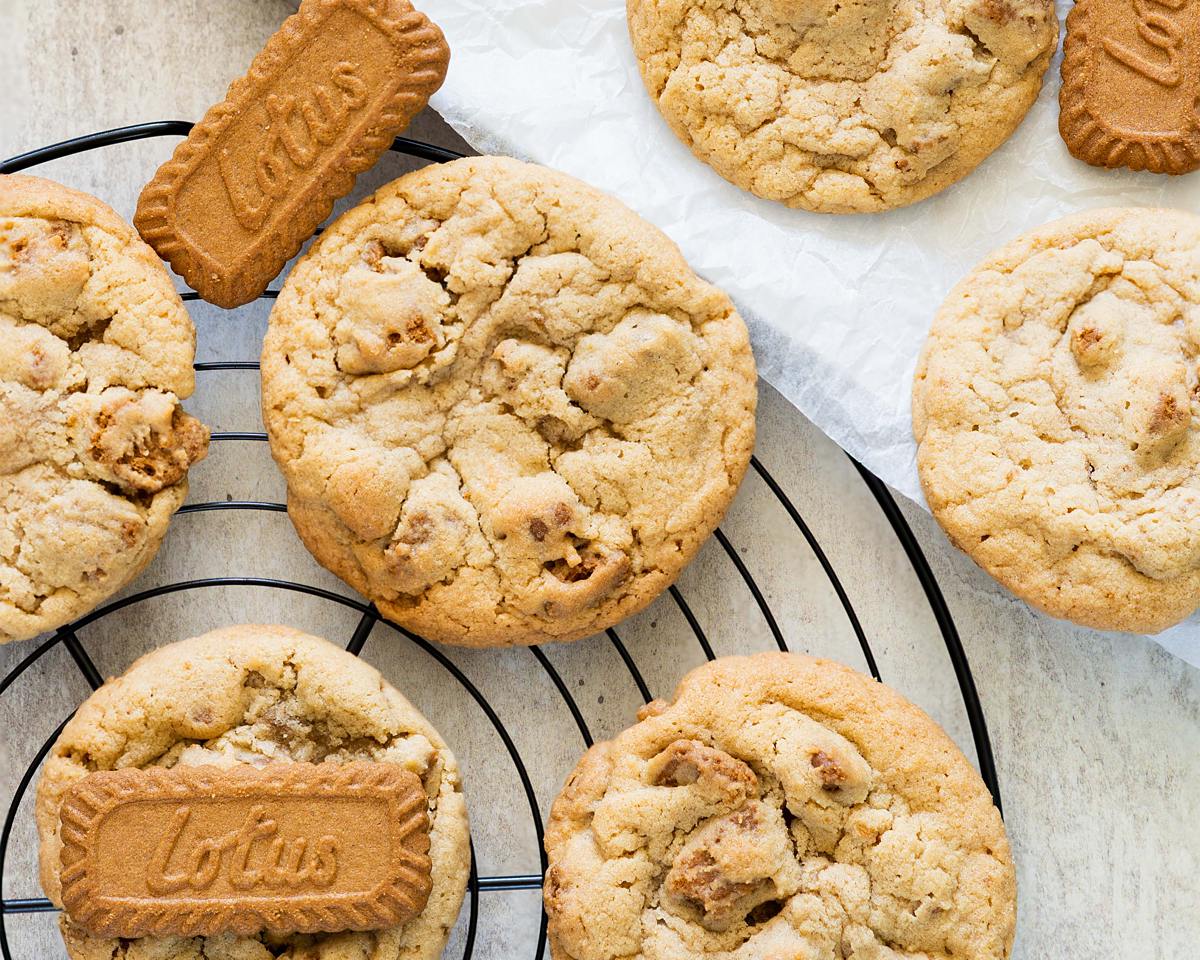
Soft and chewy, these easy to make Biscoff butter cookies are packed with smooth cookie butter spread and extra Biscoff biscuit chunks. Pure Biscoff heaven!
Biscoff obsessed!
OK, I’ll admit it: I have only recently really REALLY discovered Biscoff. And now, honestly, I am totally obsessed! And when I have an obsession with a new flavour (to me), one of my first bakes with it always has to be cookies. So today, I wanted to share with you all my recipe for Biscoff cookie butter cookies.
Yes yes, I know it sounds odd, to use a biscuit in a cookie recipe. I hear ya! But guys, honestly? You really need to give this one a chance. I know it may sound a little odd, but recipes with Biscoff cookies are always amazing!
What is the difference between cookies and biscuits?
Cookies are generally made from a dough that is much softer than biscuit dough. When baked, cookies tend to be softer and chunkier than biscuits, often with a bit of chewiness too which means you can almost “bend” your cookies. Biscuits on the other hand will bake much firmer and will have a more delicate texture to them meaning they can snap or be broken and will not bend. Biscuits tend to be used more often when a filling is required, or if decorating with icing art, but cookies can be “stuffed” resulting in the filling being baked within the cookie itself.
Having said all this, I am well aware the word “biscuits” are used in parts of the world to also mean a tender baked dough similar to what we in the UK call “scones”. They are both made in a very similar way, but served differently.
What ingredients do I need to make these Biscoff cookies?
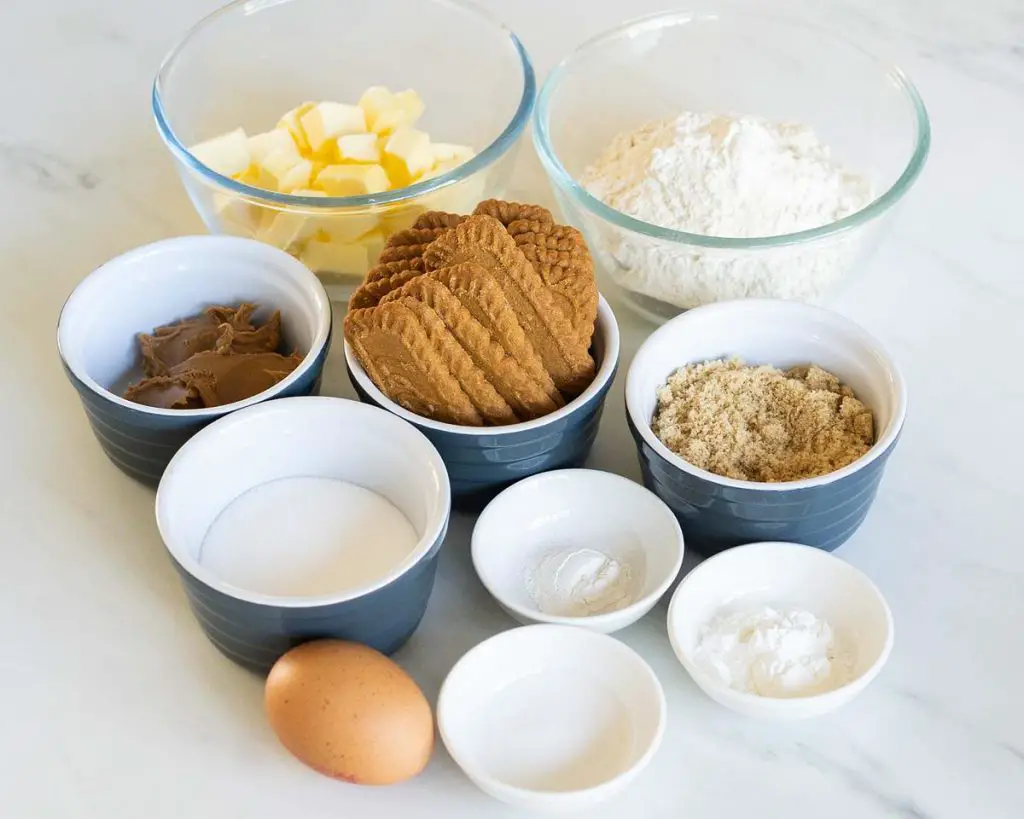
- Unsalted butter: I prefer using unsalted butter so I can control how much salt is in the cookies. For best results, use butter at room temperature when making these cookies.
- Biscoff spread: I used smooth spread for these cookies, as I also add in extra Biscoff biscuits for added texture and flavour too.
- Soft brown sugar: for sweetness, but also chewiness, in these Biscoff cookies.
- Caster sugar: for sweetness, and a little crisp, in the cookies.
- Egg: helps with binding and the structure of the cookies.
- Flour: I use plain (all purpose) flour in my cookies. Other flours will effect the final result of these cookies, so stick with this one.
- Baking powder: the leavening agent in this bake, to give the cookies enough lightness so they bake into irresistible chewy delights.
- Salt: enhances the flavours of the cookies. It will not make the cookies salty, I promise!
- Cornflour/cornstarch: gives a beautiful soft texture perfect in cookies!
- Biscoff biscuits: for extra Biscoff flavour and texture.
What tools do I need to make cookies?
- Baking tray*: to chill and then bake the cookies on. I would recommend at least couple of baking trays so you can have one for chilling the cookie dough and one for baking.
- Digital kitchen scales*: weighing out ingredients means a more accurate bake and better results, so I would always recommend weighing over measuring by volume. However, for those that prefer using cups for measuring ingredients, I do provide this measurement too.
- Measuring spoons*: for measuring smaller quantities such as tablespoons (tbsp) and teaspoons (tsp), a set of dedicated measuring spoons is a must. Definitely recommended over using everyday eating spoons, again as these are more accurate.
- Mixing bowl*: to mix all the ingredients together when making the Biscoff cookies
- Stand mixer*/Electric handheld mixer*: makes cookie making a delight and so so easy!
- Sieve*: to remove lumps from the dry ingredients, helping everything get mixed together evenly.
- Spatula*: helps with mixing the biscuits in gently at the end, and scraping the bowl down so everything is well combined.
- Cooling rack*: useful to place the baking tray when removed from the oven, and then for when the cookies are cooling.
How to make homemade Biscoff butter cookies
Cookies are one of my favourite bakes, mostly because they are just so easy to make! For impatient me, the hardest part is waiting, both for them to chill after mixing and then to cool after baking (though nothing beats still warm cookies!).
Step 1: Line a baking tray with parchment paper and set it aside.
Step 2: In the bowl of a stand mixer or a large mixing bowl, beat together the butter and Biscoff spread until completely combined. Add in both the brown and caster sugars and beat again until the mixture is pale and fluffy. This takes about 4-5 minutes. Crack in the egg and beat again to combine.
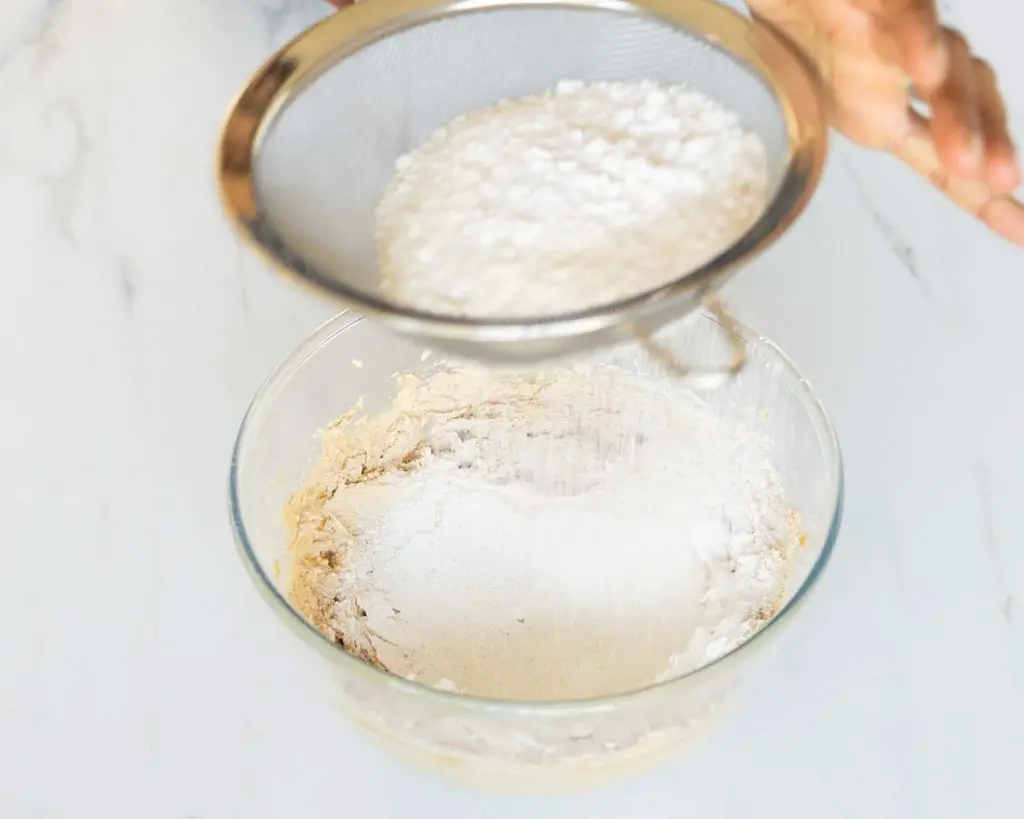
Step 3: Sift the flour, baking powder, salt and cornflour into the mixing bowl. Mix into the Biscoff butter mixture until completely combined.
Step 4: Tip in the broken Biscoff biscuits and fold into the cookie dough carefully so they remain in chunks.
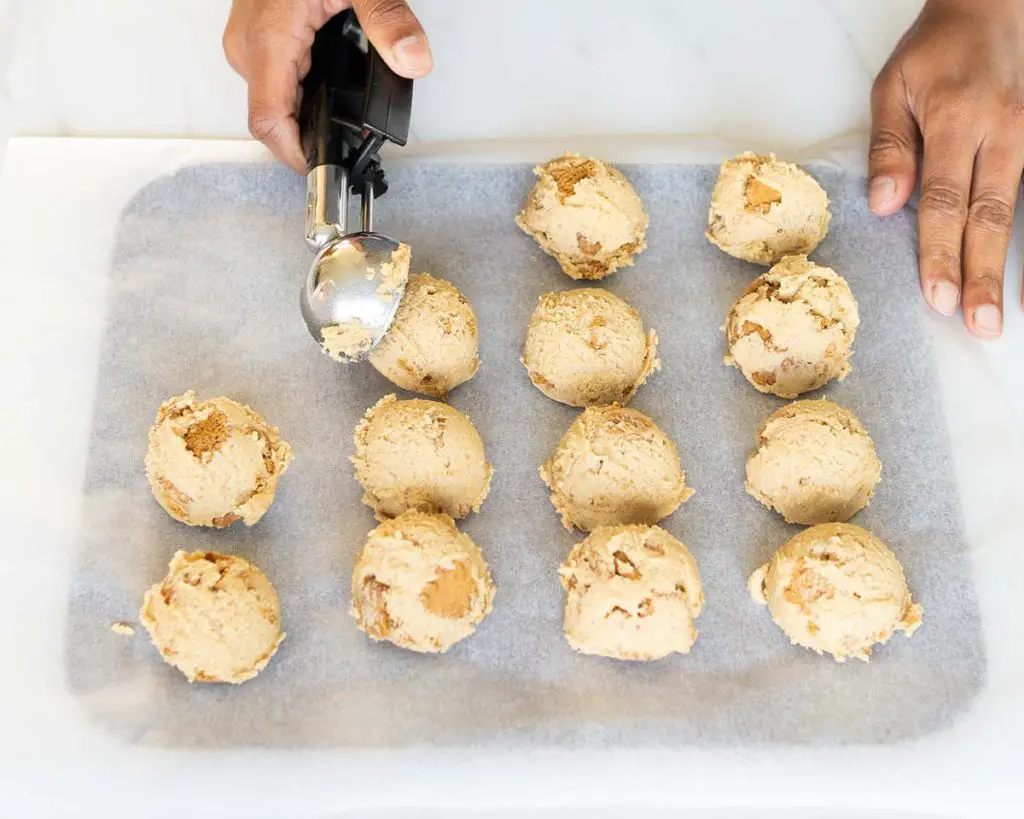
Step 5: Once completely combined, make equally sized balls of dough and place on the prepared baking tray. Place them in the fridge for 30-60 minutes to firm up. The cookie dough balls can be frozen at this stage if needed.
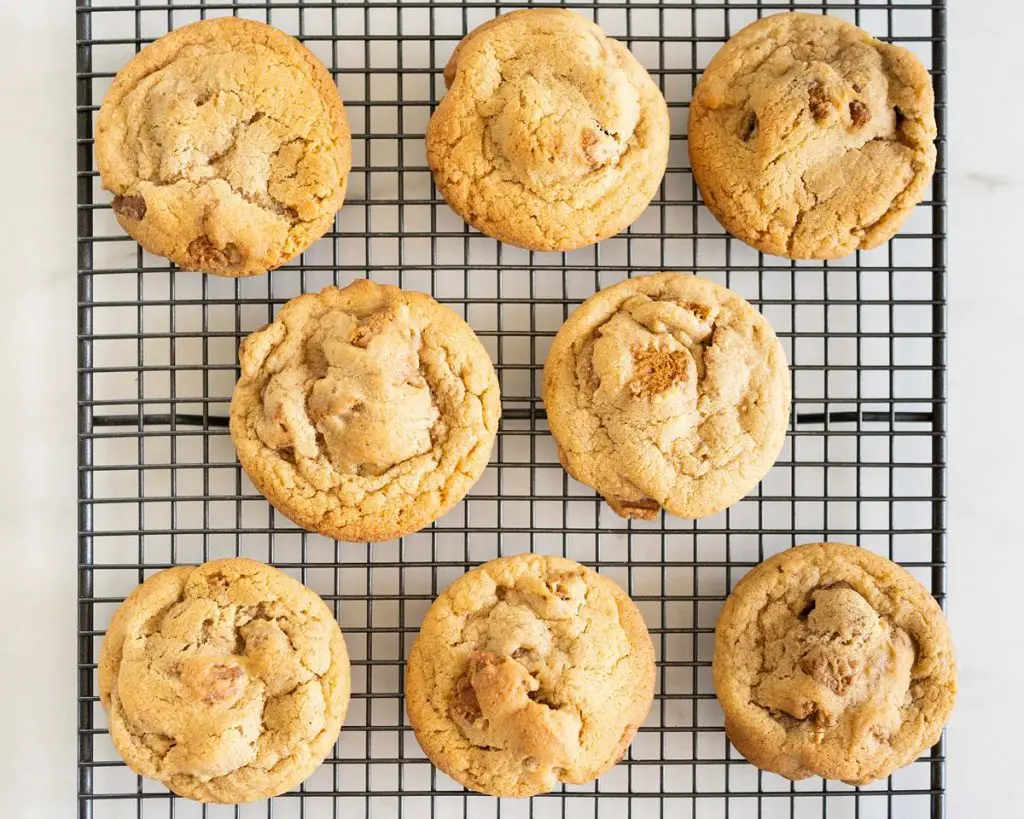
Step 6: When ready to bake, preheat the oven to 150C/300F. Space the cookie dough balls out on a second, lined baking tray, to allow for the cookies to spread. I get five cookies on one baking tray. Bake the cookies for 11-15 minutes until the cookies are baked through and the cracks have made their way to the middle of the cookie. Cool for 5 minutes on the baking tray, then move the cookies to a cooling rack to cool completely. Enjoy!
Cookies FAQ
There are several factors that can affect cookies and how they turn out. Whilst I will try to answer as many questions as I can, please ask if I miss anything you wish to know in the comments below!
Why should I use cornflour (cornstarch) in my cookies?
Cornflour, or cornstarch if you are in the US, gives the cookies a soft consistency that just flour alone cannot achieve, helping to make beautiful chewy cookies. You can swap it out for the same amount of flour if desired, but I promise you will love the result of it in your cookies!
How do I make chewy cookies?
In my experience, I have found I need a mix of white and brown sugar in cookies. The white sugar adds to the crispy nature of the cookies. But its the brown sugar that is key for a wonderfully chewy cookie. The reason for this is molasses in brown sugar. This helps retain more moisture in the cookies, making them thicker, softer and deliciously chewier!
Can I use oil instead of butter in my Biscoff cookies?
Oil and butter are unfortunately not interchangeable in my cookie recipes, since oil does not solidify when chilled as butter does. This means they will spread more when baking, even after chilling, so the final results will be thinner and less chewy cookies.
What if my cookie dough is too soft?
If the Biscoff cookie dough feels too soft, simply chill the dough for 10-15 minutes before separating it into balls. Keep in mind if you did not use block butter in the Biscoff cookies, they will remain soft and not firm up. I always use block butter, not oil or the kind that is spreadable from a tub, in my cookies. Using butter should result in the cookies really firming up in the fridge/freezer when chilled.
How do I know if my Biscoff cookies are done?
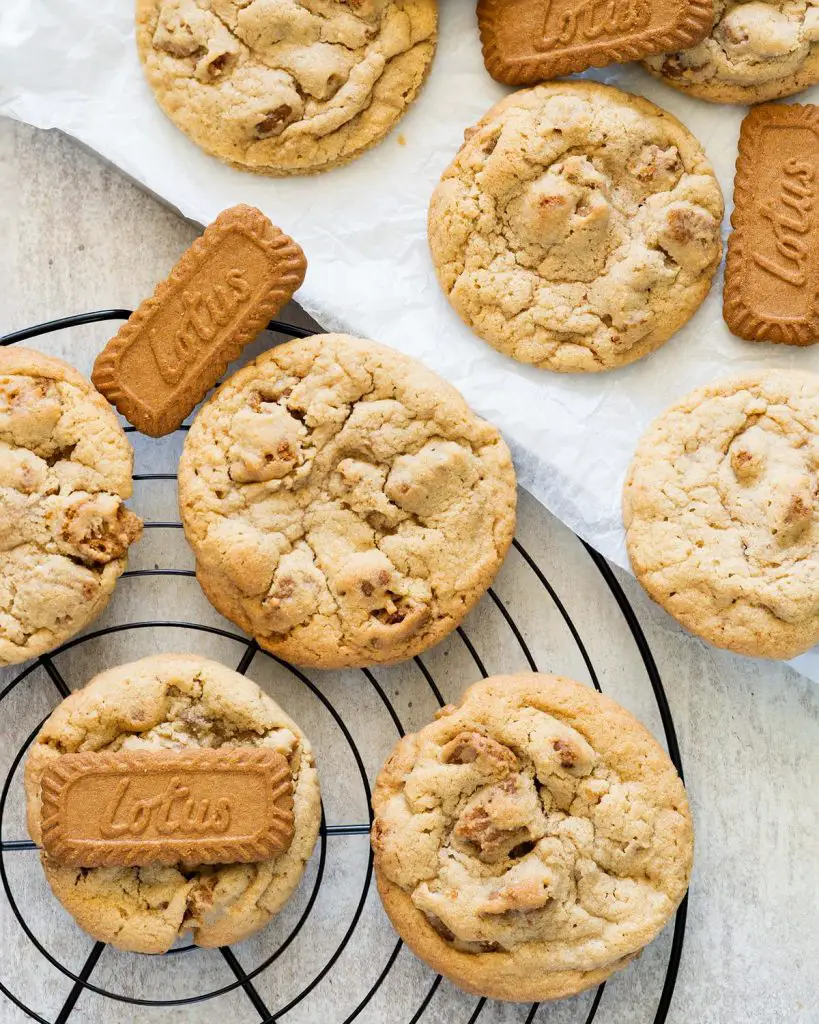
The Biscoff butter cookies are baked if the edges are lightly golden and the cracks on top have only just found their way to the middle of the cookie. When they are removed from the oven, do not move them off the baking tray. Instead, leave them on the tray to firm up for five minutes or so before you transfer them to a cooling rack. This will help your Biscoff spread cookies firm up a little before they are moved, so they will hold their shape better and not bend or break when lifted.
Why did my cookies come out flat?
In my recipes, I always chill my cookie dough before baking the cookies. This allows the butter in the dough to firm up, which helps the cookie hold its shape when baked and not spread out flatter in the oven. A good guide is remembering that the warmer the cookie dough is when put it in the oven, the thinner and flatter the cookies will be once baked. You could even freeze these Speculoos butter cookies instead of just chilling to help them hold their shape better and be thicker after baking.
Why are my cookies cakey?
There are several reasons why cookies might turn out cakey. The most common reason is down to the flour in the recipe. Measuring out too much flour (especially if using volume measures rather than weigh/mass) can result in drier or cakier cookies. It could also be that there was too much egg proportionally in the cookie mixture. Egg can act as a leavening agent and give cookies more rise than we want for the cookies, making them cakey. This is why it is important to use the correct size of egg as stated in the recipe.
Why are my cookies crumbly?
Again, there are many reasons cookies turn out crumbly, but two most likely culprits. It could be that they were baked too long, and so have dried out. Alternatively, it might be that too much flour was used when making the cookie dough, so leading to drier cookies.
How long will these Lotus Biscoff cookies last? And how should I store them?
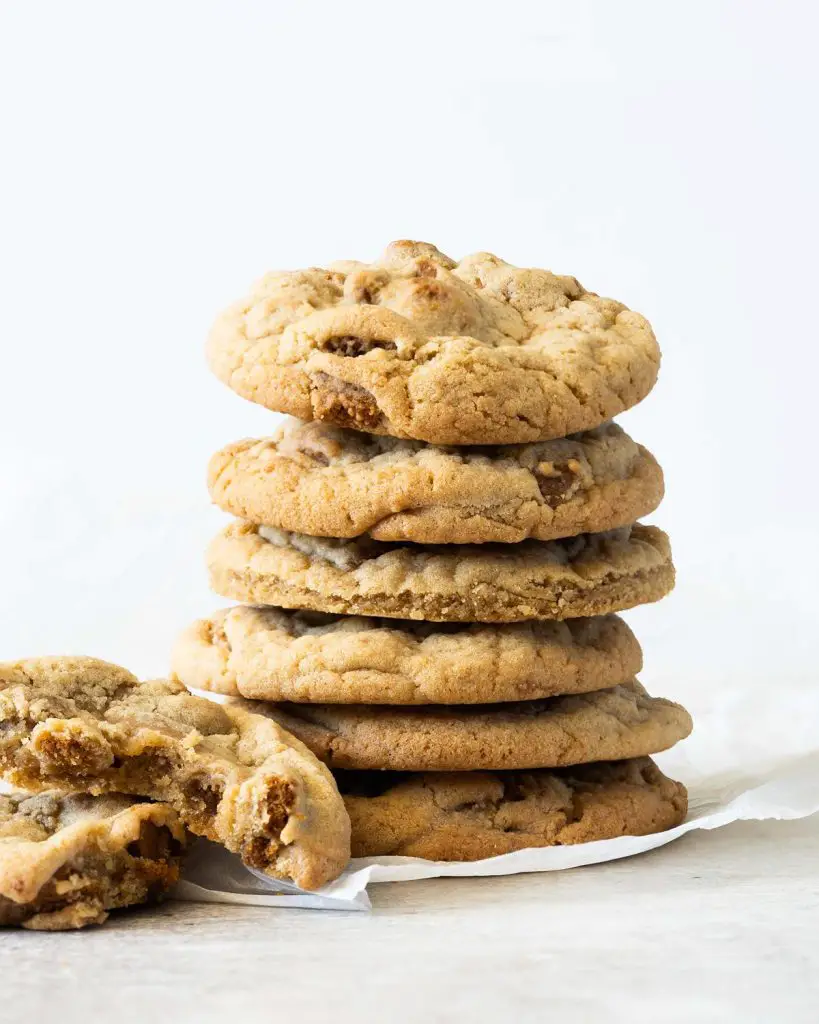
These cookie butter cookies are at their best if enjoyed within 4-5 days from baking, and should be stored in an airtight container.
Can I freeze these Biscoff cookies?
Yes! You can freeze both unbaked and baked cookies.
For unbaked cookies, freeze the cookie dough in individual cookie balls for a couple of hours. Once firm, transfer them into a lidded container suitable for the freezer. These Biscoff cookie dough balls will keep for two months in the freezer.
For baked Biscoff spread cookies, cool completely, then wrap individually tightly in cling film and place in a lidded container before freezing. Again, these will keep for a couple of months in the freezer.
How do I thaw my Biscoff cookies?
If the cookies were frozen as unbaked cookie dough, simply remove the frozen cookie butter cookies and place them on a lined baking tray. Remember to leave about two inches between each cookie for them to spread as they bake. Pop them in a preheated oven straight from frozen, and bake, adding a couple of minutes extra to the baking time.
If the cookies were baked before freezing, they can just be defrosted at room temperature before they are devoured! However, if you want to get the crunchy edges and soft middle, you could pop them on a baking tray (no need to spread out too much, since you are just heating them up again) and reheat in your oven at 180C/350F for about 3-5 minutes. Pop the reheated Biscoff cookies on a cooling rack to firm up for a few minutes before enjoying.
Additional tips for making this Biscoff cookies recipe
- Make sure you have prepared all tools and ingredients before you start mixing. Line the baking tray and get the ingredients out ready to use. And remember to make space in the fridge to chill the cookie dough too. It is so easy to forget something once you start mixing.
- Take time to read through the recipe so you are familiar with what steps come next. Look for details and instructions and stick with the ingredients given as it could affect the results of your final bake.
- Be patient when chilling the cookie dough before baking. This step is really important so the cookies hold their shape and have some thickness to them. If you skip the chill, the cookies will spread a lot more and end up more like biscuits than cookies.
- Once baked, leave the cookies on the baking tray for a few minutes to firm up before moving them to a cooling rack. These few minutes are crucial for the cookies to firm up once out of the oven. If they are moved too soon, they could fall apart and you will end up with a very delicious, Biscoff cookie flavoured mess instead!
Troubleshooting
If you have any other questions about these cookies, please use the comments below to ask away and I will do my best to help. And if you make this recipe for Biscoff cookies, please let me know how you enjoyed them. I would love to hear from you, so please do consider leaving a rating and review below too. You could even post a picture on Instagram and tag me when you share it with the world, I would absolutely love to see!
More cookie recipes for you to enjoy
If you enjoyed these homemade Biscoff cookies, please have a look at these other delicious cookie recipes on my blog too:
The ULTIMATE triple chocolate cookies: deep rich and chewy chocolate cookies cram-packed full of oodles of white, milk, and dark chocolate chips. Pure, unadulterated, indulgent chocolate heaven.
NYC Biscoff cookies: crispy on the outside, delightfully chewy in the middle. These chunky cookies are packed with white chocolate chips and Biscoff biscuits. Perfect cookies for Biscoff lovers everywhere!
Lemon drizzle cookies: if you love lemon drizzle cake, you will adore this cookie version! These soft and chewy lemon drizzle cookies are my husband’s all-time favourite!
Thanks for joining me today, friends! Happy baking! x

Recommended equipment I used *
| Baking tray | Digital kitchen scales |
| Measuring spoons | Mixing bowl |
| Stand mixer/Electric handheld mixer | Sieve |
| Spatula | Cooling rack |

Hi Andrea! I’ve been looking for a good Biscoff cookie recipe, so was thrilled to find yours. Unfortunately, the cookies were a bit less successful than I’d hoped for. I have a pretty good oven, and 300 degrees was not nearly a high enough temp. After 20 minutes, the cookies had not spread and they were under-baked. I cranked the temp up to 350, and they seem to be doing better. I’d say a higher temp is the way to go for these. Anyway, glad to have found your YouTube channel!
Hi Jim! Good to have you here! I’m sorry that was a little low, but glad you found a solution that worked for you. Ovens and oven temperatures can be temperamental, my cookies need low and slow in my own. Really appreciate your feedback, I’m sure there will be others who experience this too. Thanks for commenting and sharing your experience 😊
I’m 10 and I made it I didn’t chill it bc I don’t have time for that good 🍪 x
Hey! Hope you enjoyed making them! 🙂
These cookies were the best cookies I’ve ever made !
Ah, I’m so glad you’ve enjoyed them so much Megan! Thanks so much for taking the time to come back to leave a rating and review! 😊
Hi, are your oven temps for a fan oven or convection? (If for fan then I’ll have to drop the temp by 20 degrees!) Thanks!
All my oven temperatures are for convection ovens not fan forced. Happy baking! 😊
My cookies were yum but were too hard than shop bought ones. Still went down a treat x
I’m sorry to hear they were hard. Next time, bake them for less time (look for the cracks to be just reaching the middle) and remove from the oven but leave on the tray. They will cook further with the heat and be perfect and chewy once cooled in about half hour
Hi Andrea
I am interested in using your recipe. However, I’m wanting to use cookie cutters to make different shaped cookies. If I was to flatten the dough pre-oven, in order to cut out the shapes, would this still work when baking them, or does the mixture need to start off in balls, in order to allow for them spreading out?
Thanks 🙂
Hi Laurie, this specific recipe works for the balls of dough to spread as they bake in the oven. So even flattening the dough and cutting out shapes, it would spread as they bake. As an alternative, you could try baking them then stamping out the shapes as soon as they’re out of the oven, whilst still warm. This way they would be baked and hold the exact shape you cut out. Would that work for you instead? 🙂