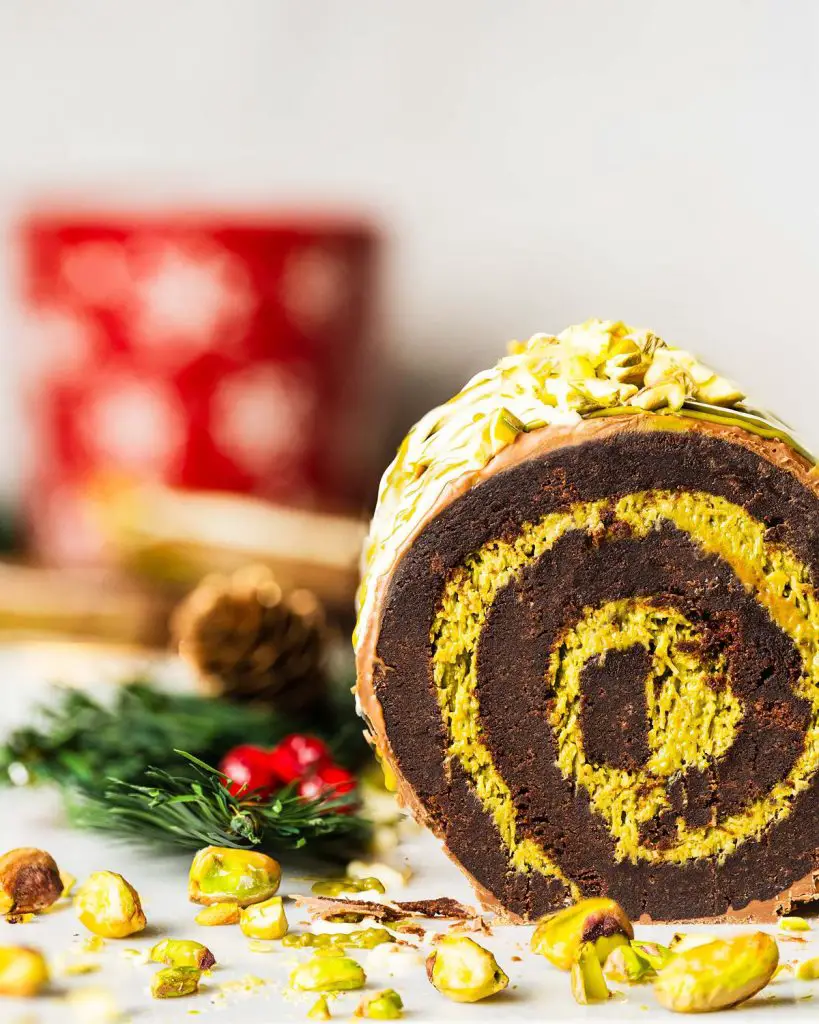
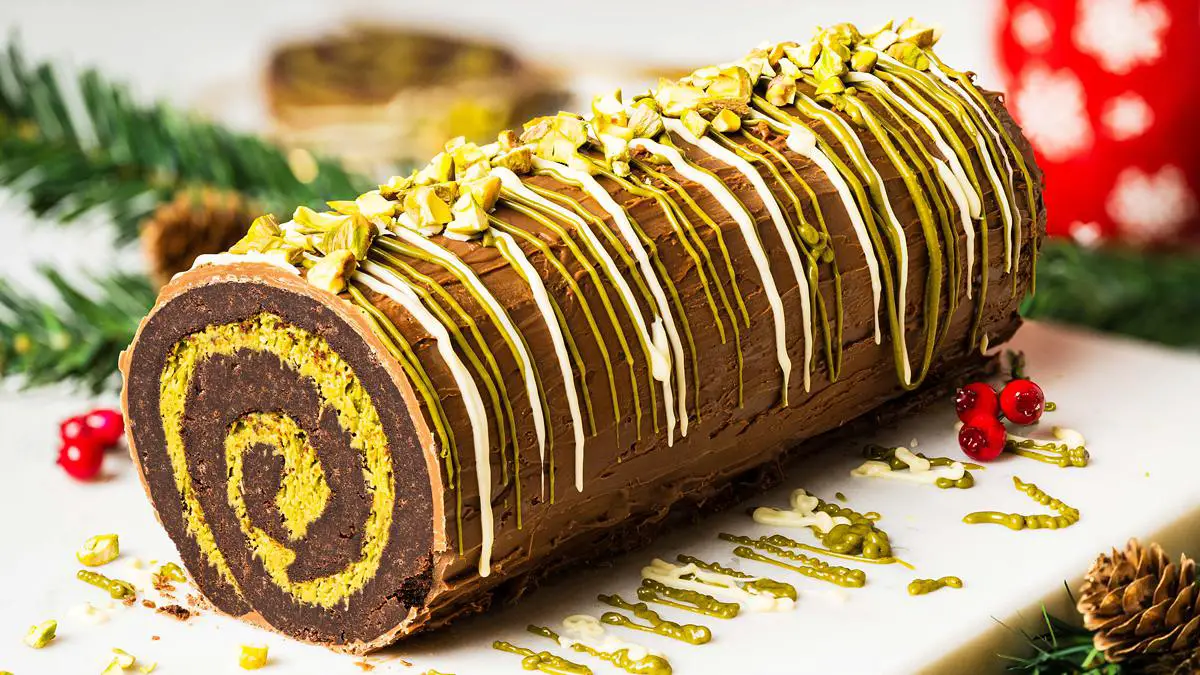
Earlier this year, the keen-eyed foodies amongst you will recall seeing the viral Dubai chocolate bar explode all over social media. After I actually tried the bar itself, I was keen to use the inspiration of chocolate with a crunchy pistachio filling to create a Christmas dessert. And so my Dubai chocolate brownie yule log was born!
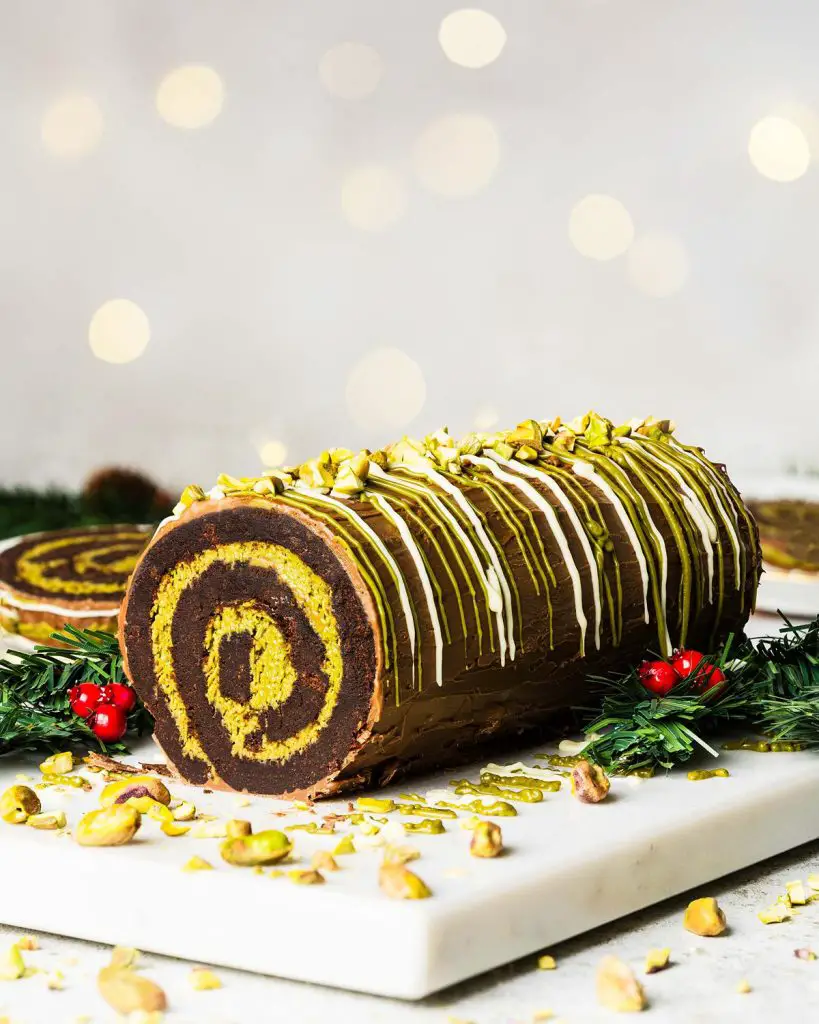
All you need to know about the viral Dubai bar
The chocolate bar has actually been in existence for a few years now, funnily enough. It went viral when a Dubai based food influencer shared a reel about it at the end of last year, peaking in interest over this year.
What’s inside the Dubai chocolate bar?
The viral Dubai chocolate bar consists of a Belgian chocolate casing filled with a pistachio kataifi filling. Kataifi is simply shredded filo pastry, which is cooked until crispy to make the signature crunchy middle of the viral Dubai chocolate. Once cooked, it is mixed with pistachio cream and tahini before being used to fill the bars.
What does the Dubai chocolate bar taste like?
Chocolate and pistachio is a fabulous combination, and the Dubai pistachio chocolate bar certainly lives up to the flavours. A crunchy kataifi pistachio flavoured filling is combined with smooth luxurious Belgian chocolate making this bar entirely irresistible!
What is a yule log cake?
Some centuries ago, yule logs were literal trees that were burned in people’s homes. The were different reasons for this, from blessing a home to warding off evil during the darkest part of the year. Eventually, as people stopped burning whole trees for warmth in their homes, the size of the yule log became smaller and turned more into a table decoration at the festive dining table. It became more an edible centrepiece when the log was hollowed and filled with sweets before finally being made entirely edible and into the Christmas yule log cake we know and enjoy today.
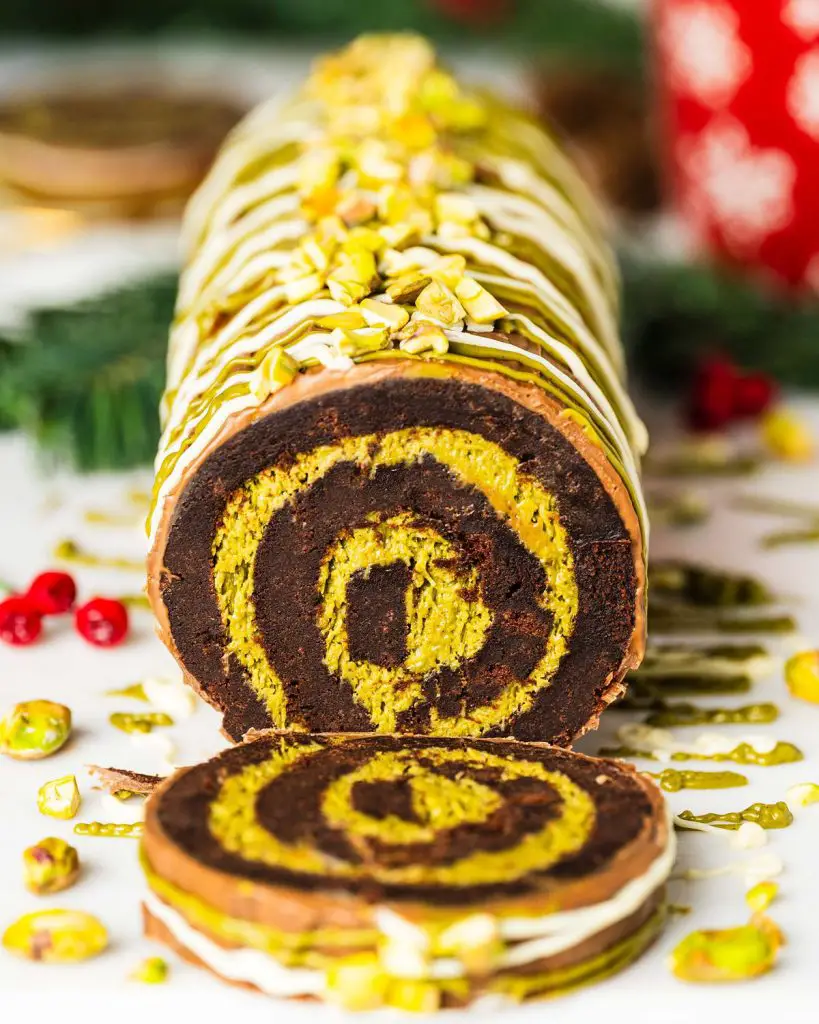
What ingredients do I need to make this Dubai chocolate brownie yule log?
- Unsalted butter: I like to use unsalted butter so I can control how much salt is in the bake.
- Cocoa: essential in the fudgy brownie for all that beautiful chocolatey loveliness!
- Vanilla: for delicious flavour in these simply delicious beauties.
- Caster sugar: for sweetness in the brownie part of this yule log.
- Eggs: helps with the structure and texture of the bake.
- Flour: I use plain/all purpose flour to make these fudgy brownies from scratch. There is no raising agent used in making this bake.
- Salt: enhances the flavours every time. You will not taste it, I promise!
- Kataifi: this is a pastry originating from Greece. It is made from a special pastry dough, and is similar to shredded filo.
- Tahini: a paste made from sesame seeds. Gives the Dubai chocolate bar filling an earthy, nutty flavour.
- Pistachio cream: the star flavour of the brownie yule log filling. Choose a good quality spread for best flavour. See below for my recommendation.
What tools and equipment do I need to make a brownie yule log?
- Baking tin*: you will need an 8”x 8” pan to make the brownies in.
- Parchment paper: to line the baking tin. This stops the brownie from sticking to the pan and makes it so easy to remove from the tin too.
- Digital kitchen scales*: I provide all my measurements in cups too, however I would encourage all bakers to weigh out ingredients when baking. A set of digital kitchen scales is so useful and totally an essential baking tool for me.
- Measuring spoons*: a set of measuring spoons is essential for any baker. This is because these are more accurate than using everyday teaspoons and tablespoons, which can vary greatly in size.
- Mixing bowl*/small mixing bowl* any material of bowl will do: plastic, glass, the choice is yours! The smaller bowl is for the chocolate mixture when making the brownies, so I would recommend a microwave safe one here.
- Whisk*: used to mix together the brownies.
- Spatula*: to use to mix ingredients together towards the end of the brownie making and to get all that delicious mixture in the tin to bake!
- Cling film*: also known as plastic wrap or Saran wrap, I use this to help roll up the Dubai chocolate brownie yule log.
- Swiss roll tin*: to make the yule log in. My tin for this dessert measures 13”x9”.
- Offset spatula*: SUCH a useful tool in making this viral Dubai chocolate brownie yule log! I use it to help me spread the pistachio filling over the brownie mixture and also to spread the chocolate on the outside once rolled.
- Piping bags*: optional, used for the decoration on the chocolate brownie yule log for a neater finish to the drizzle.
How to make brownie yule log
First, make the brownie before smooshing it up and pressing it into the swiss roll tin. Toast the kataifi until dry, lightly golden and crispy before combining with the other filling ingredients and spread over the brownie. Roll up tightly and chill until firm. Finally, melt some chocolate to cover the Dubai chocolate brownie yule log and decorate with additional drizzles, if you wish. Enjoy!
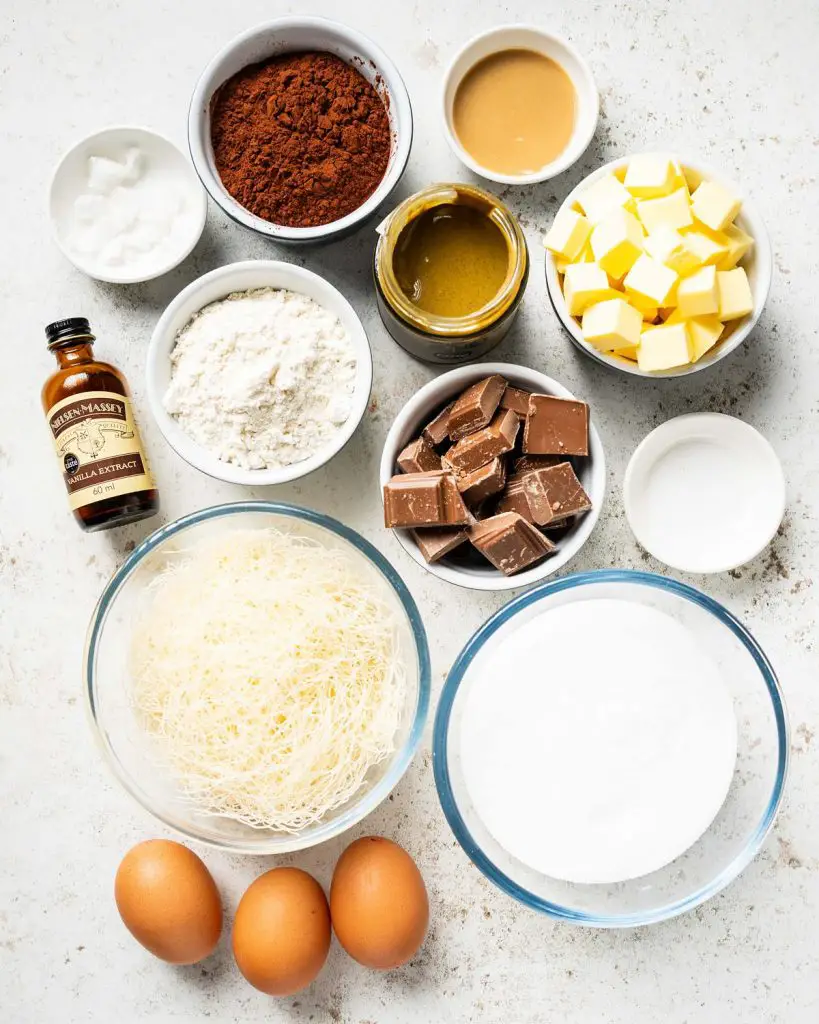
For the brownie
Step 1: Line an 8″ baking tin with parchment paper and set it aside. Preheat the oven to 180C/350F while you make the brownies
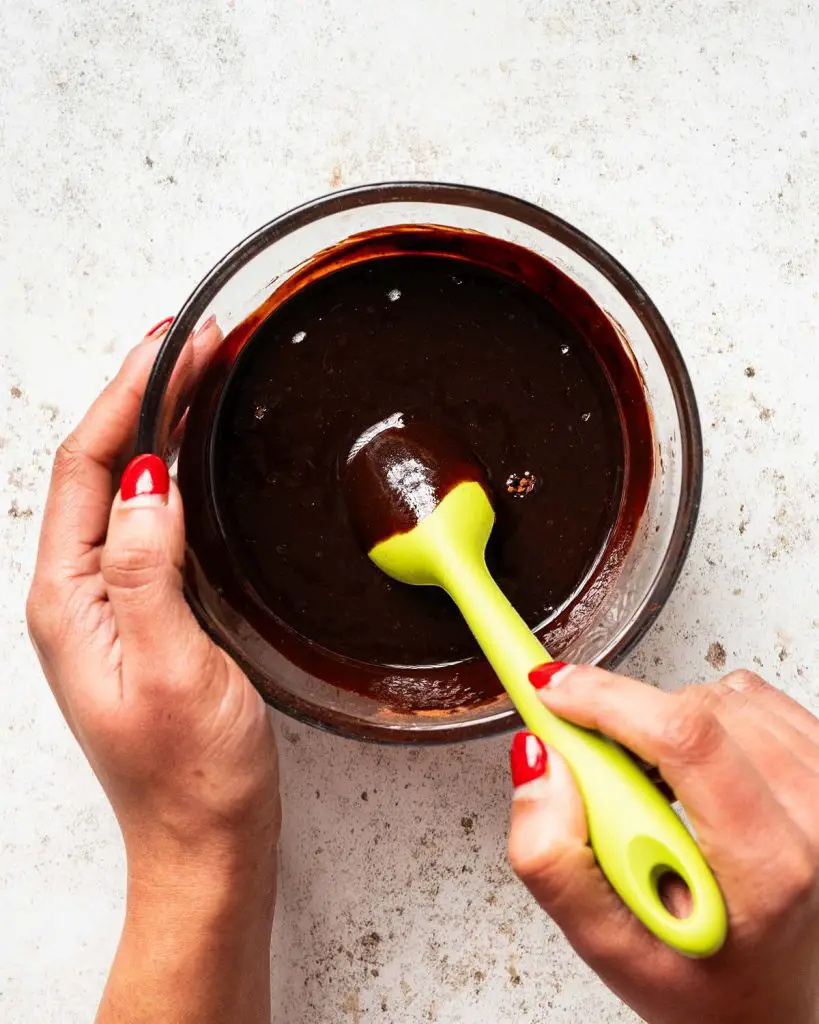
Step 2: Melt the butter in a small bowl. I do this in the microwave in short burst of 10-20 seconds, swirling or stirring in between. Add in the cocoa powder and vanilla and whisk together until silky smooth.
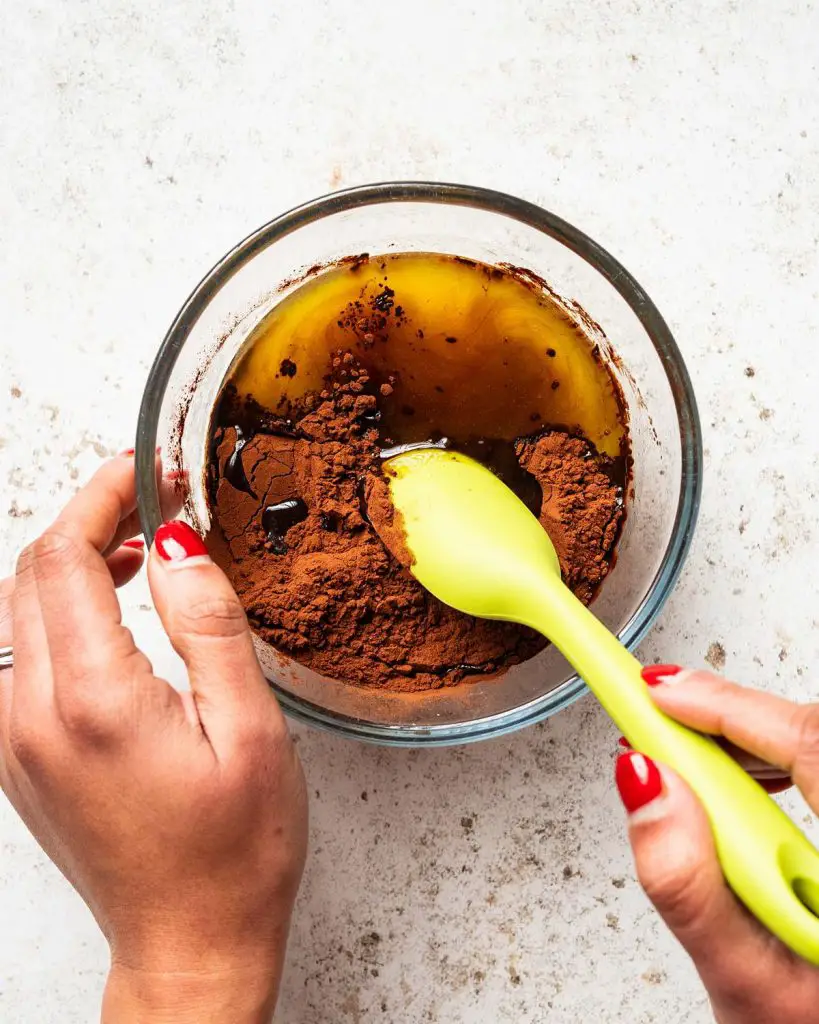
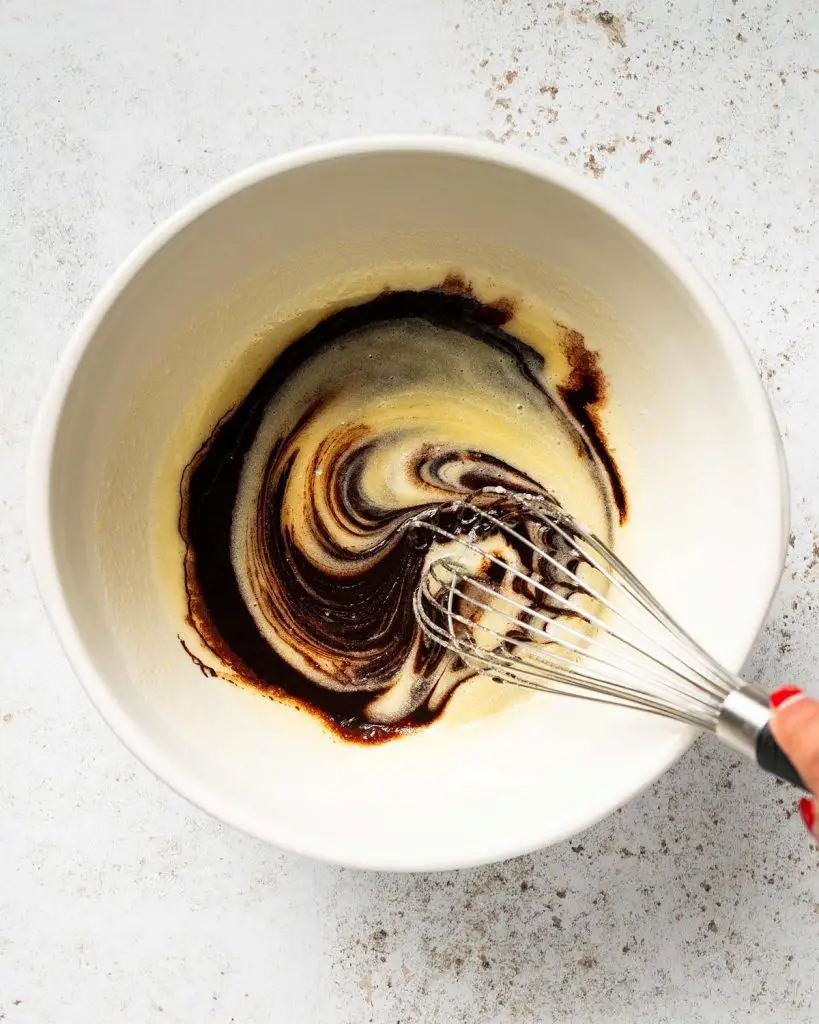
Step 3: In a separate larger bowl, whisk together the eggs and sugar until evenly combined. Slowly drizzle in the chocolate mixture, beating as you go so it is all evenly mixed together.
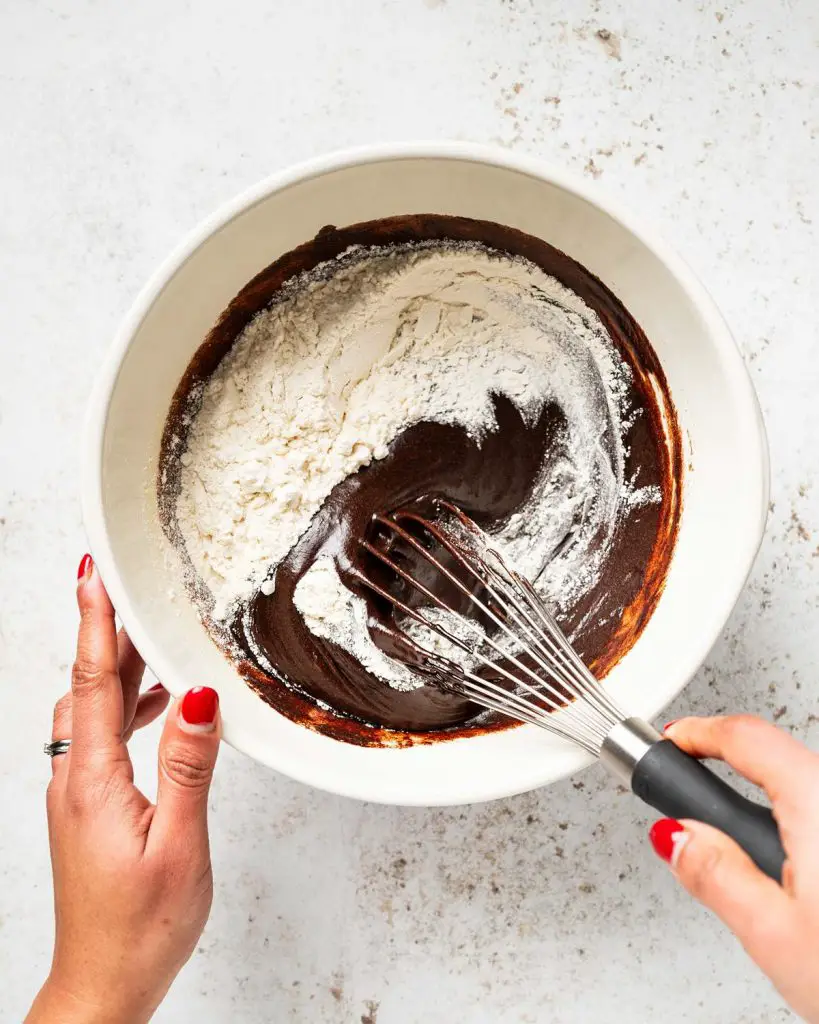
Step 4: Into the mixing bowl, tip in the flour and salt. Fold this into the chocolatey mixture until everything is completely mixed through.
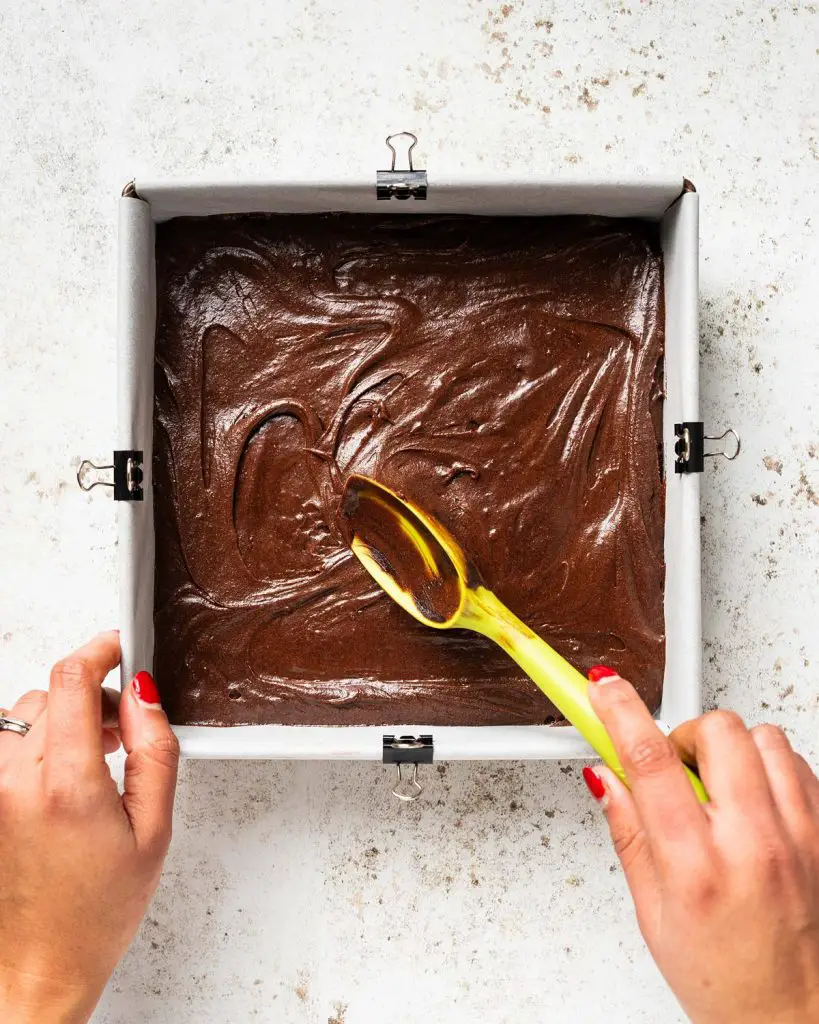
Step 5: Pour the brownie batter into the prepared baking tin and ease it into the corners levelling the top. Bake in the preheated oven for 22-27 minutes the edges feel firm to touch and the middle has the tiniest wobble. It will take more or less time, depending on your oven, but you want them slightly underbaked. For me, my brownies are done around 24 minutes. Leave in the tin to cool for a few minutes before removing from the tin to continue with the recipe.
For the filling
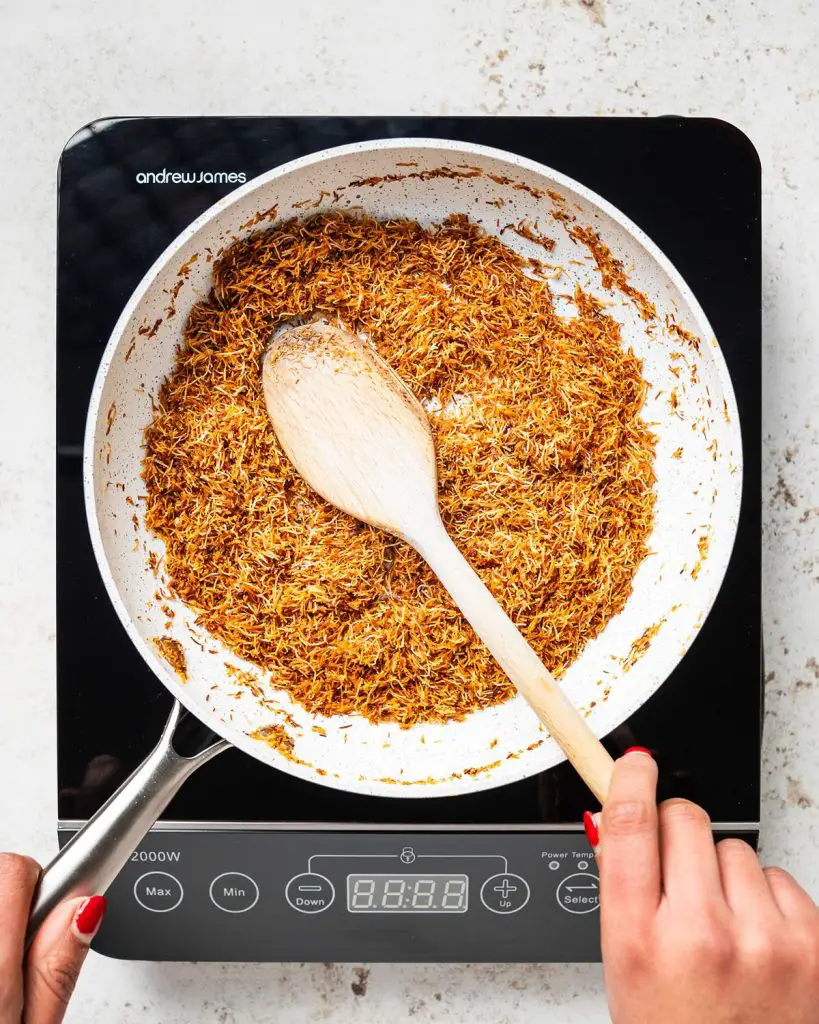
Step 1: While the brownie is baking and cooling, make the filling. Gently melt the butter in a large pan over medium heat. Add in the kataifi and cook, stirring frequently, until it is crisp and evenly golden. This takes me about 10-15 minutes. Set aside to cool slightly.
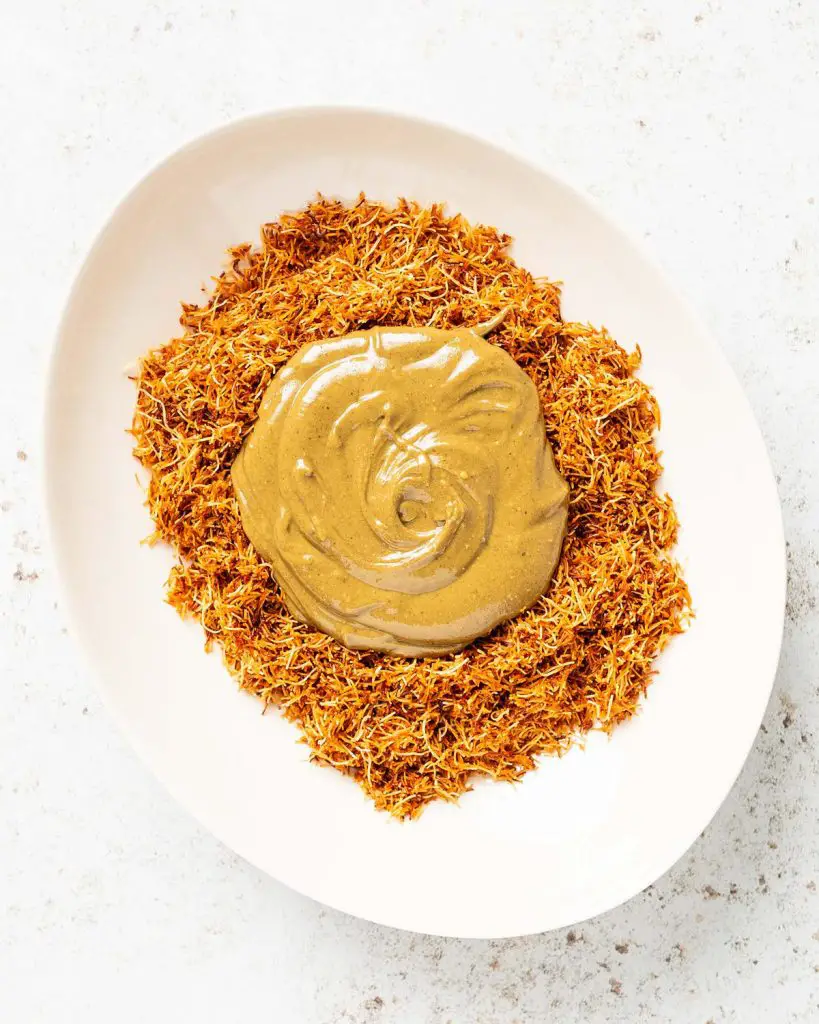
Step 2: In a mixing bowl, combine the tahini and pistachio cream until smooth. Tip in the crispy kataifi and fold everything together until completely combined. Set aside.
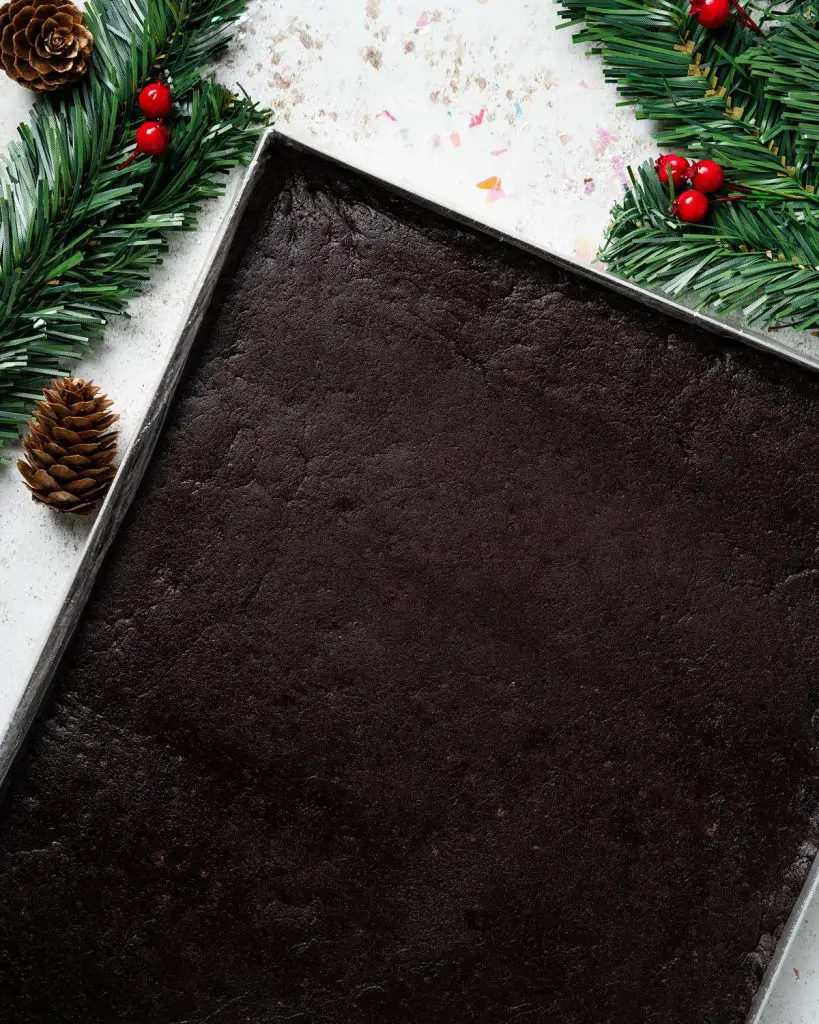
Step 3: Line the swiss roll tin with cling film, making sure to leave plenty of overhang to wrap the roll in. Once the brownie is cool, break and crumble it into a soft squidgy mixture. Press this in an even layer into the swiss roll tin, trying to pinch together any cracks or gaps.
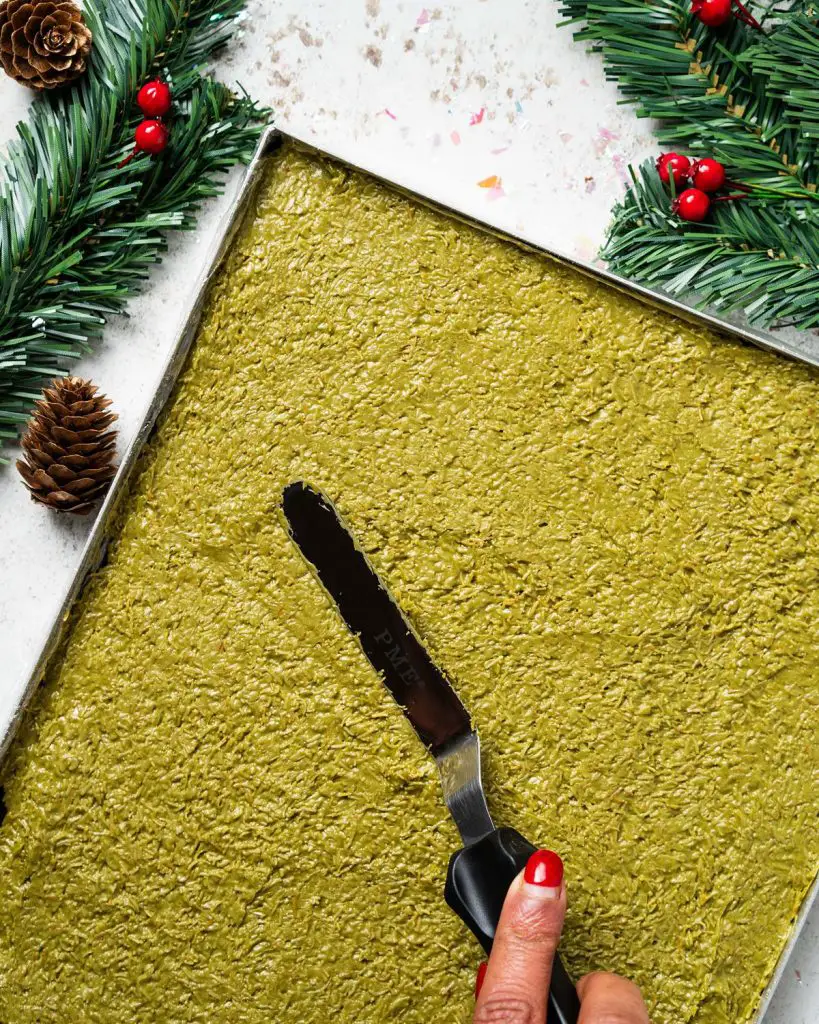
Step 4: Spread the pistachio filling in an even layer all over the brownie layer.
Step 5: Starting at one of the shorter ends and using the cling film to help, roll the brownie mixture into a tight roll. Once fully rolled up, use the extra cling film to hold the roll together. Place in the fridge to chill for at least 3-4 hours.
For the finishing and decoration
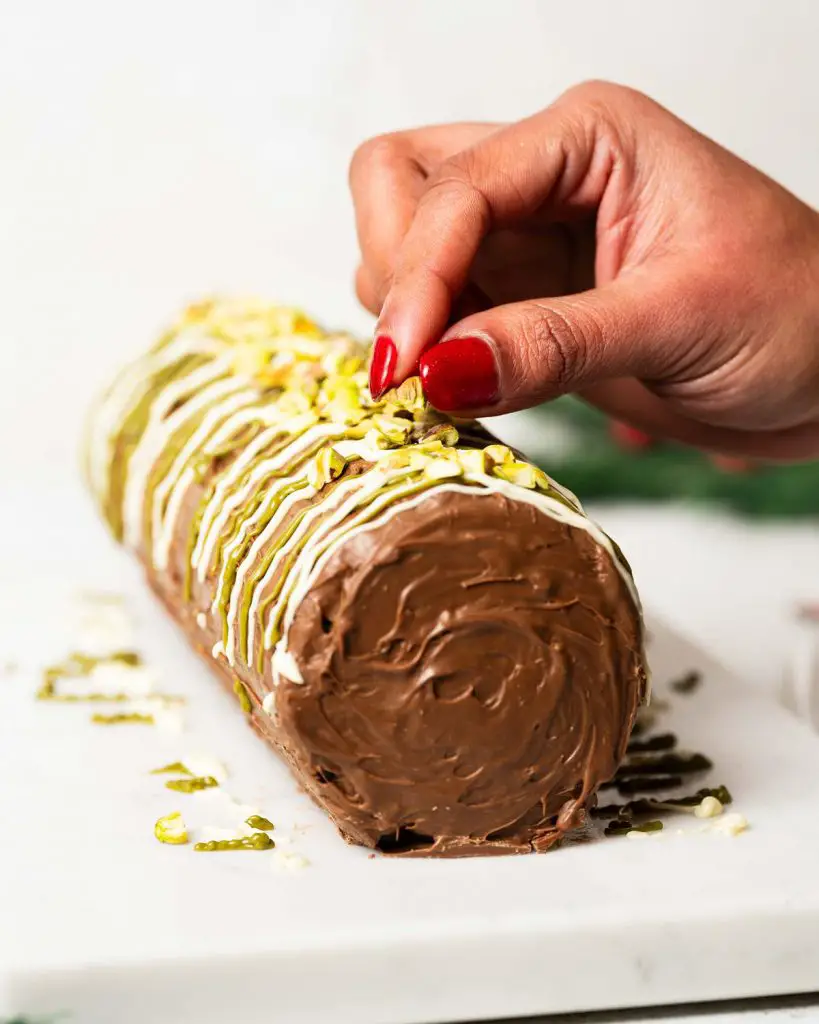
Step 1: Melt the milk chocolate and coconut oil together until melted. I do this in short 10 second bursts in the microwave, stirring in between. Once melted, spread a layer of melted chocolate on a piece of parchment, enough to cover the base of the yule log. Place the chilled log on the chocolate, then use the remaining chocolate to cover all the remaining sides of the yule log.
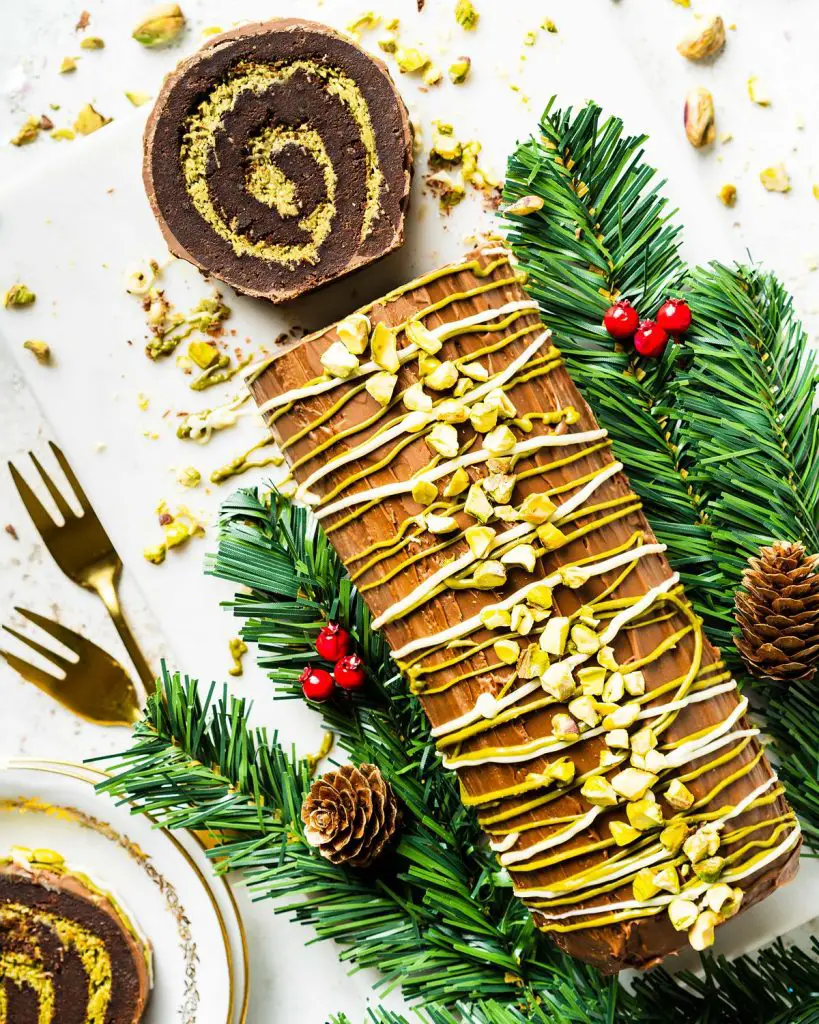
Step 2: Place the pistachio cream and white chocolate into separate bowls and heat gently in the microwave until melted and loose. Drizzle both over the log in any pattern you wish. Sprinkle with additional chopped pistachios to finish and leave to set, about an hour. Enjoy!
What baking tin do you need for chocolate brownies?
Metal tins are best for making this brownies recipe fudgy at home. This is because they distribute heat evenly and ensure an even bake. I would recommend avoiding glass, silicone, or ceramic dishes to make brownies in. Glass dishes absorb heat, leading to burnt or over baked edges on the brownies. Silicone does not conduct heat at all, which means it will take longer to bake the brownies. And ceramic dishes are very similar to glass: they conduct heat well, but can result in over baked brownies.
How do I line a baking tin?
There are many ways to line a square baking tin. The simplest way is to cut two strips of baking parchment marginally smaller than one side of the tin first. Lightly brush the tin all over with melted butter. Then lay the strips of parchment paper in the tin in a cross shape. Press and smooth onto the tin, ensuring the edges and corners are folded to give nice neat edges.
When is the brownie done baking
When do you pull the chewy fudgy brownies out of the oven? This recipe involves actually slightly underbaking the brownies in order to allow them to be more easily “smooshed” so it can be rolled. Personally, I prefer my brownies on the gooey side anyway, but this is definitely the case for this bake. For this chocolate brownie yule log recipe, you will need to bake until a toothpick comes out only slightly smeared with the brownie mixture, as it will continue to bake and firm up as it cools.
How do I store Dubai chocolate brownie yule log?
This chocolate brownie yule log is good to be stored in an airtight container in a cool place. It does not need to be refrigerated once fully assembled. I would recommend consuming the viral Dubai chocolate brownie yule log within four days of making it.
Can you freeze brownie yule log?
If you wanted to freeze this bake you absolutely can. First slice up the log and place wrap each piece individually in a freezer safe bag. You can freeze this yule log for up to three months.
How to defrost Dubai chocolate brownie yule log
When you are ready to enjoy the bake again, defrosting could not be simpler! All you have to do is unwrap the individual pieces (as many as you wish!), and place them on a cooling rack to come to room temperature. How long it takes to defrost will depend entirely on the temperature of the room you are defrosting them in, however it should not take longer than a couple of hours.
Tips for the best chocolate brownies
- Always make sure you have prepared all tools and ingredients before you start mixing: line the baking tin with parchment paper, preheat the oven and get all the ingredients out ready to use. It is easy to get flustered if you feel unprepared!
- This brownie mixture, if the butter cools a lot, is really quite a thick one. No need to be alarmed by this, the brownies will turn out wonderful once baked!
- Remember you want to underbake the brownie by a couple of minutes to make it easier to smoosh it into the tin when making the best brownie yule log. If you wish to test it, a toothpick inserted into the middle of the brownie should come out with a little smear of brownie batter on. Leave to cool 5 minutes in the tin before removing to mush up.
- To squish the brownie after baking, you can definitely do it in a stand mixer with a paddle attachment if you wish. You can also do it entirely by hand, which is rather therapeutic!
- When pressing the brownie into the tin, do most of it with your fingers, but finish it off with something you can roll. I used a small rolling pin, but you could also use a drinking glass or wine bottle too. This compacts the mixture better, giving you an easier pliable brownie to work with.
- Toast the kataifi pastry until it is a beautiful golden colour. Make sure the pan used is large enough, or alternatively cook it in two smaller batches. Making sure the pastry is dry and crispy will give you the perfect texture for the pistachio filling.
- I would definitely recommend using a pistachio cream rather than a pistachio butter. A pistachio butter will contain more natural oils than a cream, giving the finished dessert more of an oily texture. I link to the one I used in the recommended ingredients table below.
- Roll the yule log as tightly as you can, then use the cling film to keep it tightly rolled whilst chilling to maintain its shape.
- If you can, I would recommend rolling and rotating the log during chilling every hour for the first three hours or so. This will help keep the shape of the log better, preventing it from settling on one side and giving less of a rounded/swirl shape.
- Decorate the cake straight from the fridge. This allows the chocolate to set firmly on it as you spread it, giving the log texture I achieved here.
- When cutting the yule log, use a knife that is warm rather than hot. This will help it cut through the outer chocolate layer more easily, reducing the chances of it cracking and breaking.
Troubleshooting
If you have any questions about this chocolate pistachio yule log recipe, please comment below and I will do my best to help. And do remember: if you enjoy this recipe for Dubai chocolate brownie yule log, please leave a rating and review below. You could even post a picture on Instagram and tag me when you share it with the world. You already know I would love to see!
More festive recipes for you to enjoy
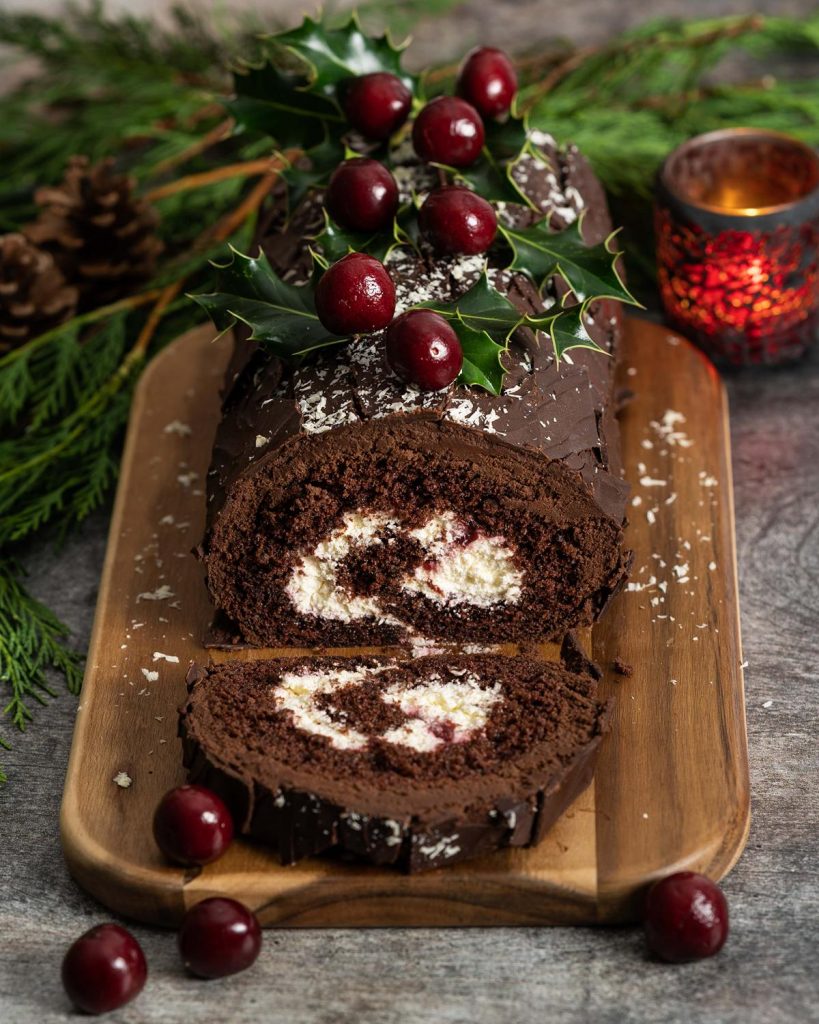
Black forest yule log: The ultimate festive dessert, this is perfect if you want more than a traditional chocolate Bûche de Noël. Laced with kirsch, filled with rich dark cherries and softly whipped kirsch cream, this decadent dessert is the perfect finale to a sumptuous festive feast!
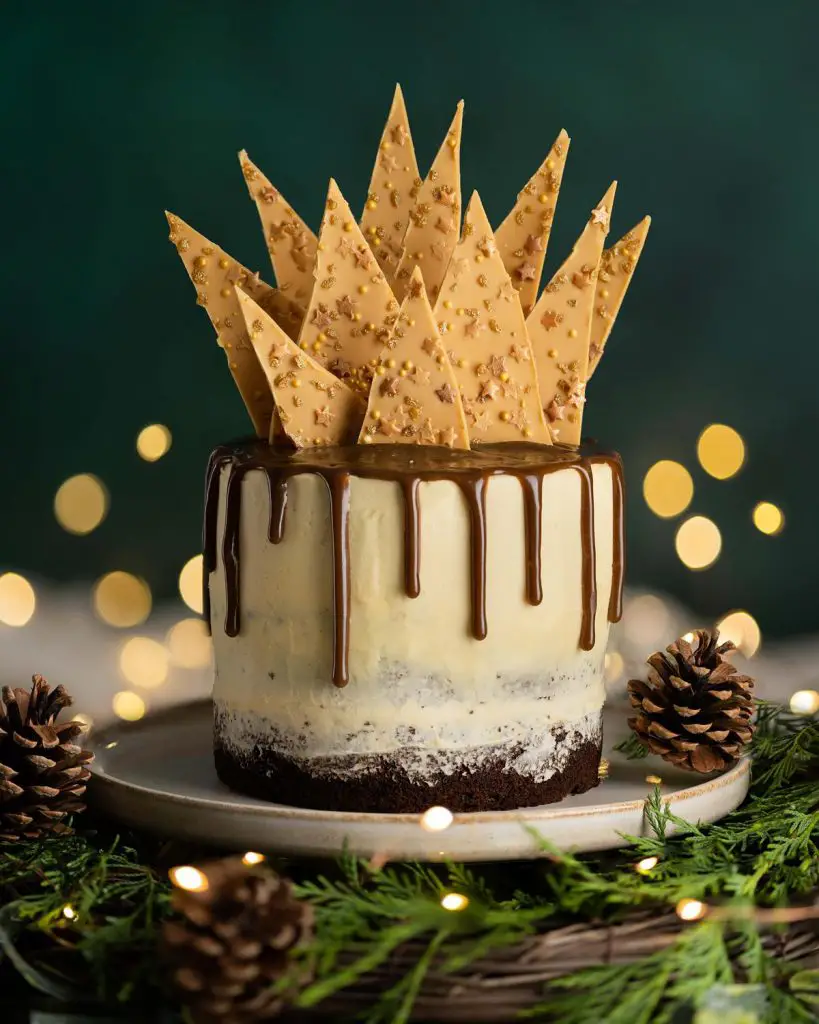
Sticky toffee pudding cake: This beauty combines the best of everyone’s favourite sticky toffee pudding in a cake. Beautiful, rich sticky toffee sponge cake, filled with caramelised white chocolate buttercream and a perfect toffee drip. Topped with absolutely spectacular caramelised white chocolate shards, this bake makes for a truly jaw-dropping celebration cake!
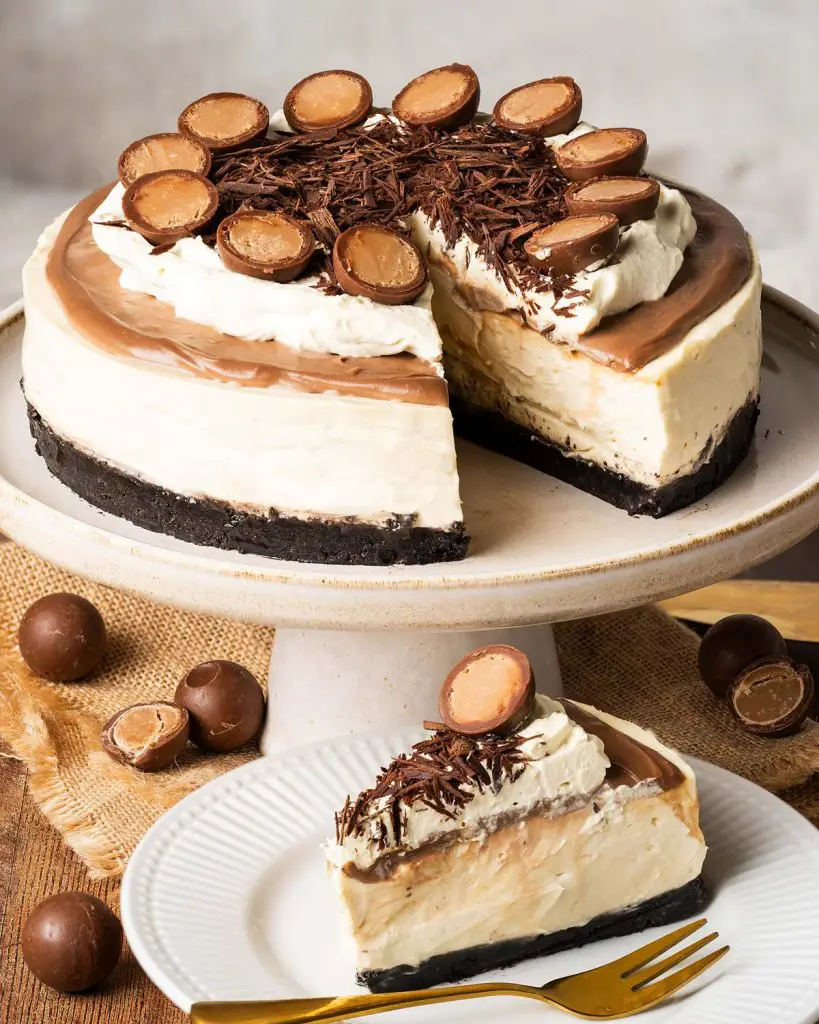
Baileys cheesecake: Calling all my Baileys fans! Join me in indulging in my ultimate Baileys cheesecake: with a dark Oreo base, a creamy Baileys infused cheesecake filling, topped with a boozy Baileys ganache and whipped cream and Baileys truffles. All the Baileys, all the fun!
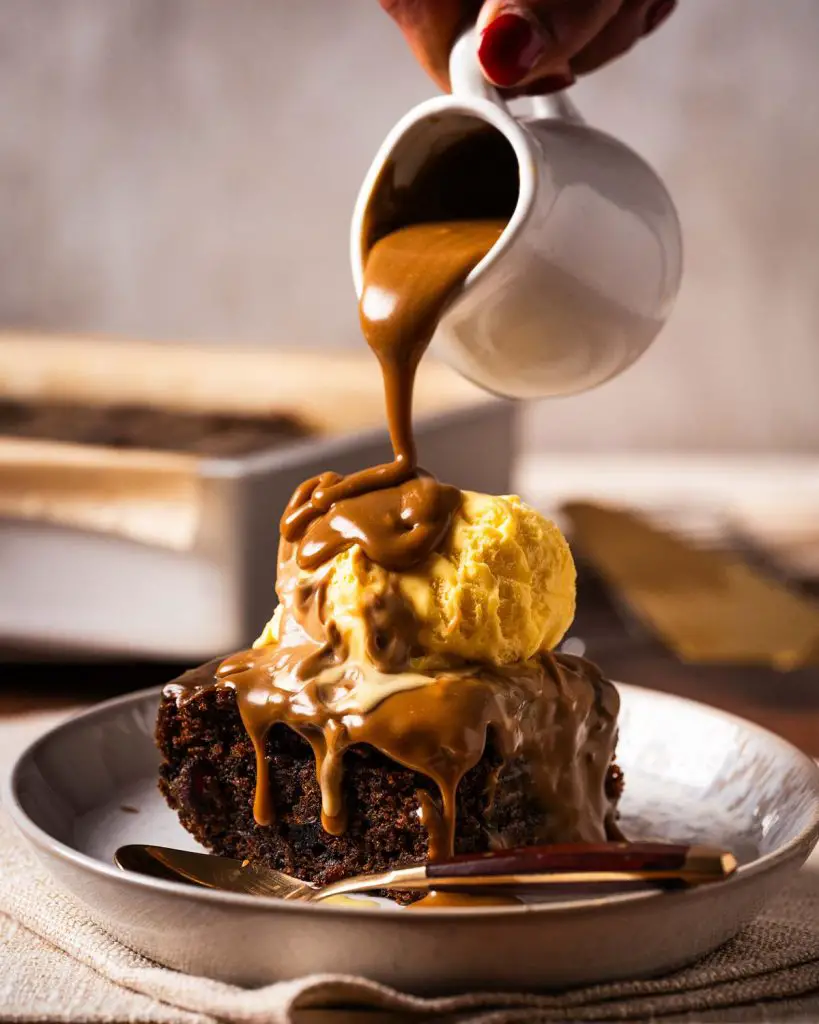
Sticky toffee pudding: Giving all the cosy vibes you could want, this irresistible dessert is packed with dates and topped with a rich sticky toffee pudding sauce. Serve topped with a generous scoop of ice cream or lashings of custard for the ultimate comfort food dessert ever!
Thanks for joining me today, friends! As always, happy baking and Merry Christmas! x
Recommended equipment and ingredients I used *
| Baking tin | Digital kitchen scales |
| Measuring spoons | Mixing bowl/Small mixing bowl |
| Whisk | Spatula |
| Swiss roll tin | Offset spatula |
| Piping bags | Pistachio cream |

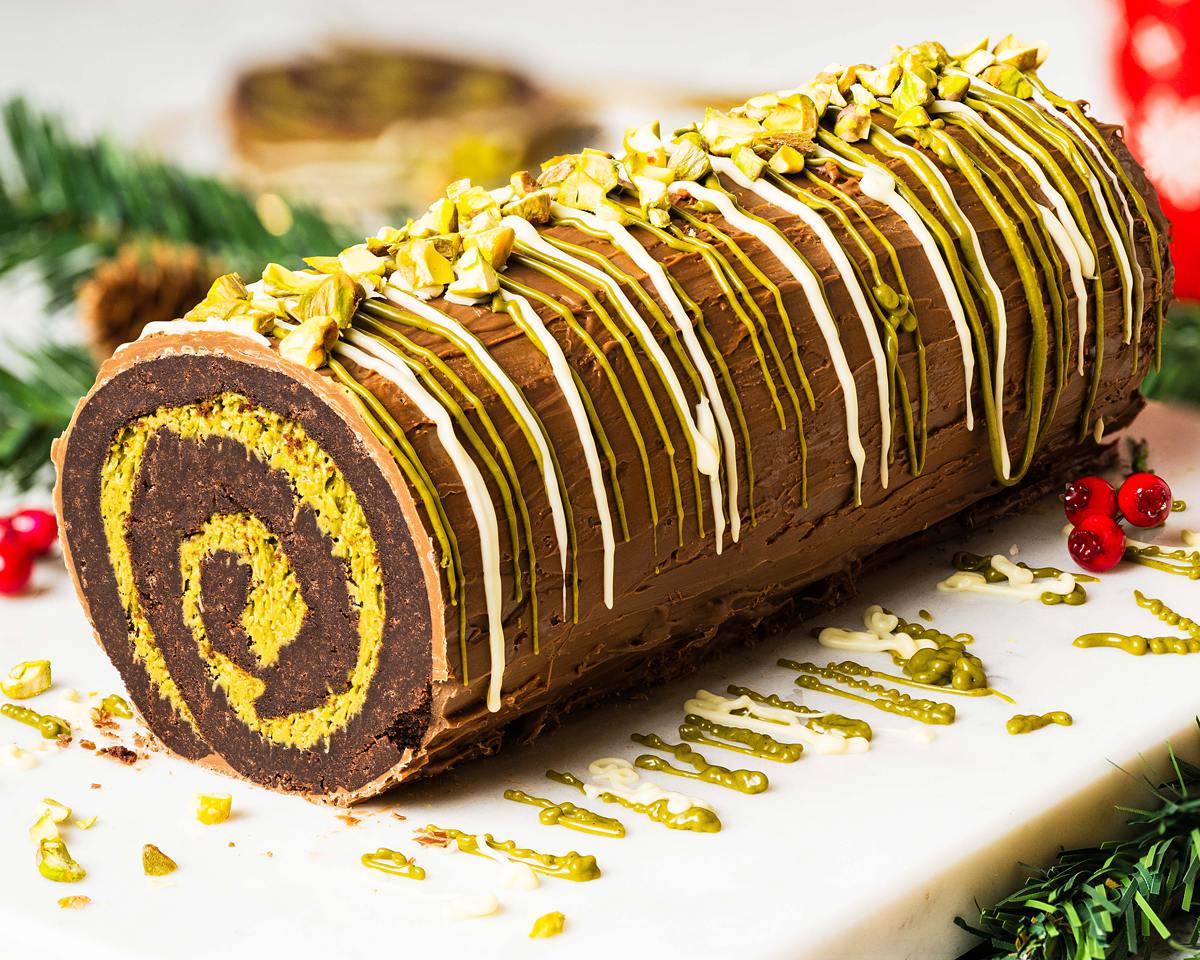
This tasted amazing. What a fab idea using a brownie mixture in place of cake for a Yule log. Loved the taste and texture of the pistachio kataifi filling too. A wow factor dessert to impress guests – not just for Christmas!