


There’s something utterly magical about biting into a shiny red candy apple, isn’t there? That perfect contrast between glossy, sweet coating and crisp, juicy fruit. Whether you’re reliving childhood memories or treating friends and family this autumn, my homemade candy apples makes it so easy to recreate a timeless favourite at home.
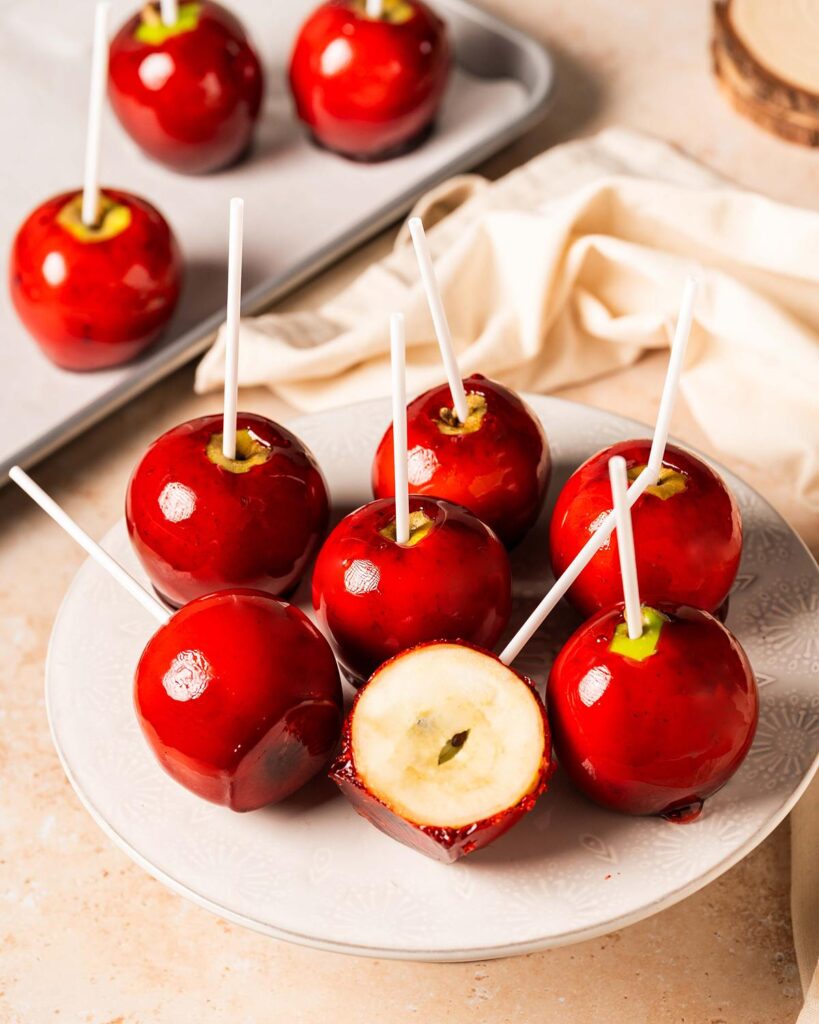
Easy candied apples
OK, sure, candied apples can be tricky to make. There are several things that could go wrong, but they are also easy to avoid if you know to do so! Check out my top tips below for details on how to achieve perfectly smooth and shiny candied apples every single time!
Are candy apples easy to make?
There are certainly a few places you could go wrong and wind up with a hot mess, but I will talk you through each step to help you avoid all the pitfalls! Once you know however, yes absolutely you will find making my homeade candy apples super quick and easy to make!
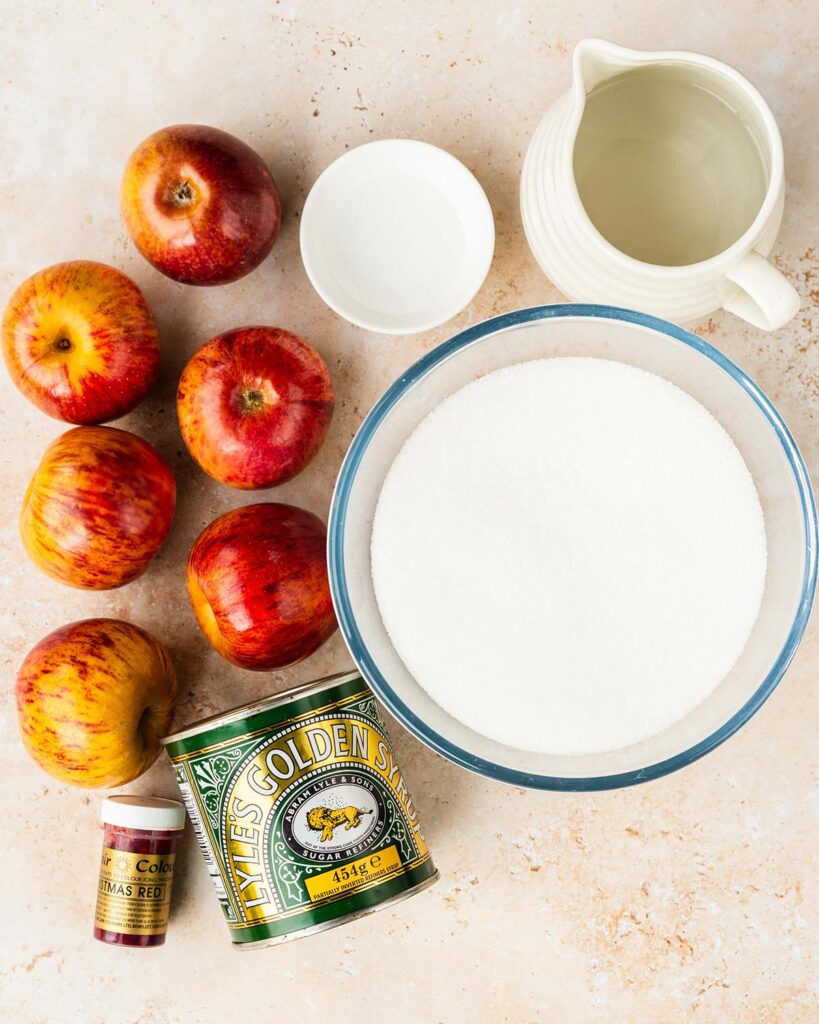
Ingredients for candy apples
- Sugar: an essential ingredient in making these delicious candy apples easy recipe!
- Water: makes dissolving the sugar so much easier!
- White vinegar/lemon juice: helps with dissolving sugar without crystallising.
- Golden syrup: helps stop the sugar from crystallising during the cooking stage, giving you a smooth clear coating on the apples.
- Food colouring: I used red food colouring to make this candy apples recipe. However you could use whatever colour you wish. Pink candy apples? Use a pink colour! Purple candy apples? You know what to do!
- Apples: I like to use more tart apples such as Granny Smiths, as I love the contrast between the apples and the sweet coating, but use whichever you prefer for your homemade candy apple!
Equipment needed to make my candy apples recipe
- Baking tray*: to place the candied apples on once dipped in the sugar mixture.
- Parchment/baking paper: to line the tray in preparation for the apples to set on them after dipping.
- Sticks*: use sturdy sticks to ensure they can support the weight of the fruit. You definitely don’t want them breaking or slipping off the apples during dipping!
- Digital kitchen scales*: my recommended method of measuring ingredients is to weigh them out using grams rather than cups. I do provide cup measures too, if you prefer working with this method.
- Measuring spoons*: for measuring smaller quantities such as tablespoons (tbsp) and teaspoons (tsp). A set of dedicated measuring spoons are far more accurate than using everyday eating spoons, so is a small investment well worth making.
- Saucepan*: to make the candy coating in. Make sure it is large enough to allow you to dip the apples in easily.
- Thermometer*: a very useful tool when making anything with sugar. Essential too to ensure the red candy apples have the perfect hard crack finish.
How to make candy apples recipe
Wash and prep the apples the day before, then dry thoroughly before setting aside. Make the sugar mixture and heat to hard crack before swirling the apples in it and leaving to set. Simples!
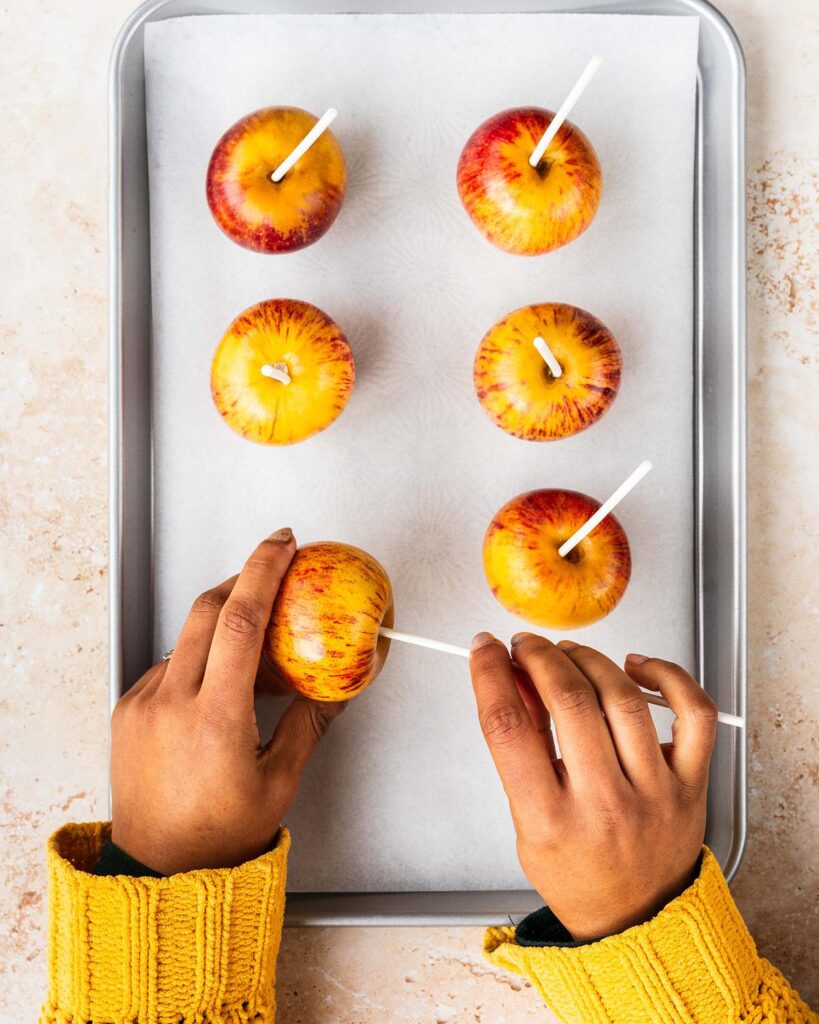
Prepare the apples
Step 1: The day before you want to make the candy apples is when you prepare the apples themselves. First line a baking tray with parchment paper and set it aside.
Step 2: Place the apples in a large bowl and pour over some boiling water. Leave to sit for about 10 seconds, then use a clean kitchen towel, rub the skin of the apples vigorously to remove any wax on the surface. Dry the apples thoroughly, then place on the prepared baking tray. Pop the tray in the fridge for the apples to chill and thoroughly dry out overnight.
Step 3: The following day, remove the apples from the fridge and push a stick most of the way through from the stalk end of each apple. Make sure to dry off any of the juices that come out of the apples so the fruit is completely dry. Place the apples back in the fridge whilst making the sugar coating.
Make the candy coating and get dunking!
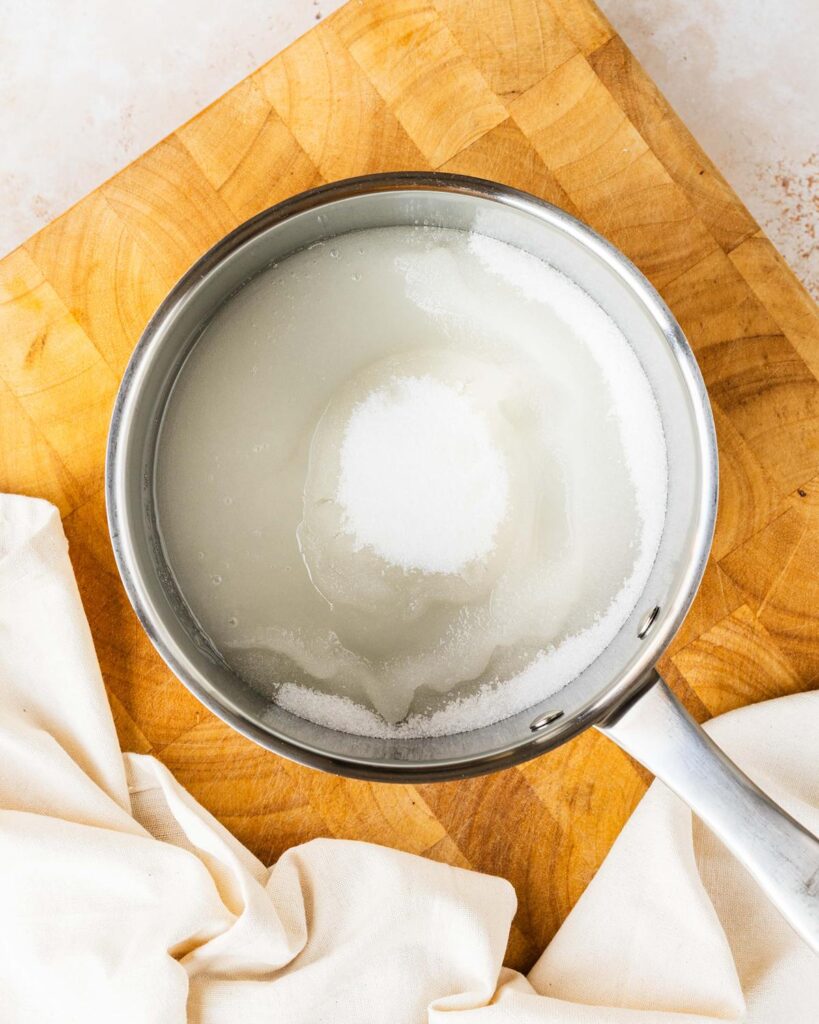
Step 1: Place the sugar, water and vinegar/lemon juice in a large saucepan. Pop the lid on the pan, then place on a medium-low heat to allow the sugar to dissolve. This takes about 10 minutes. Prepare a bowl with water and a pastry brush during this step.
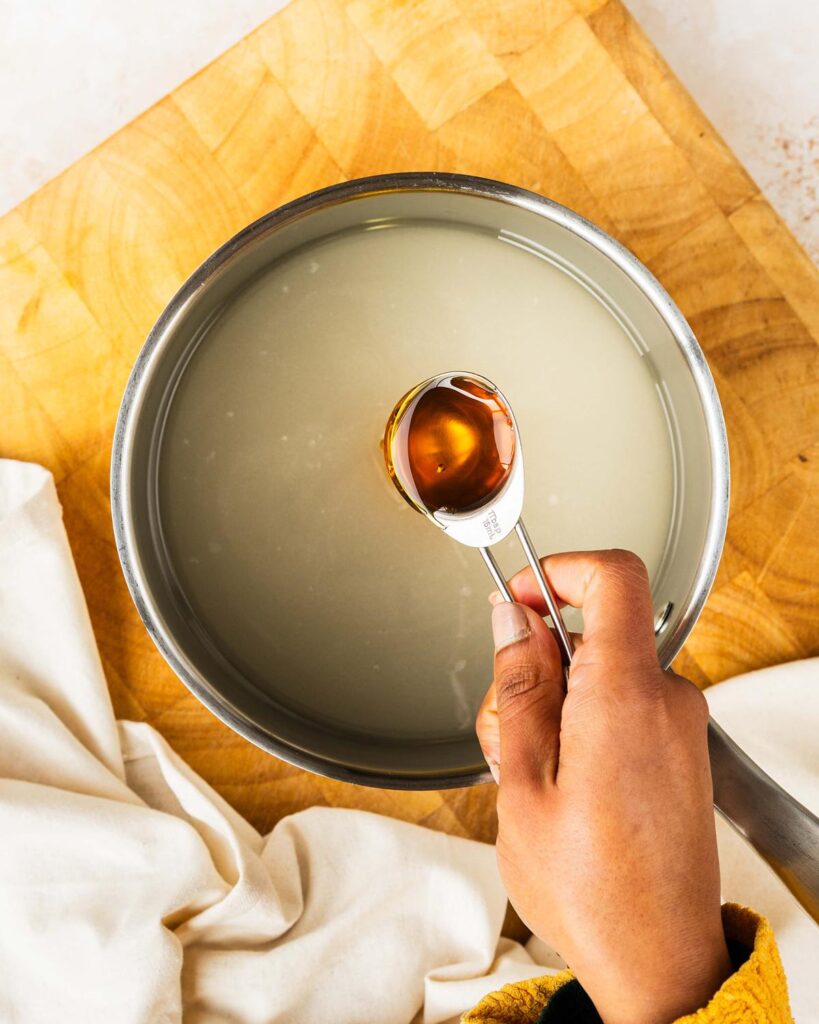
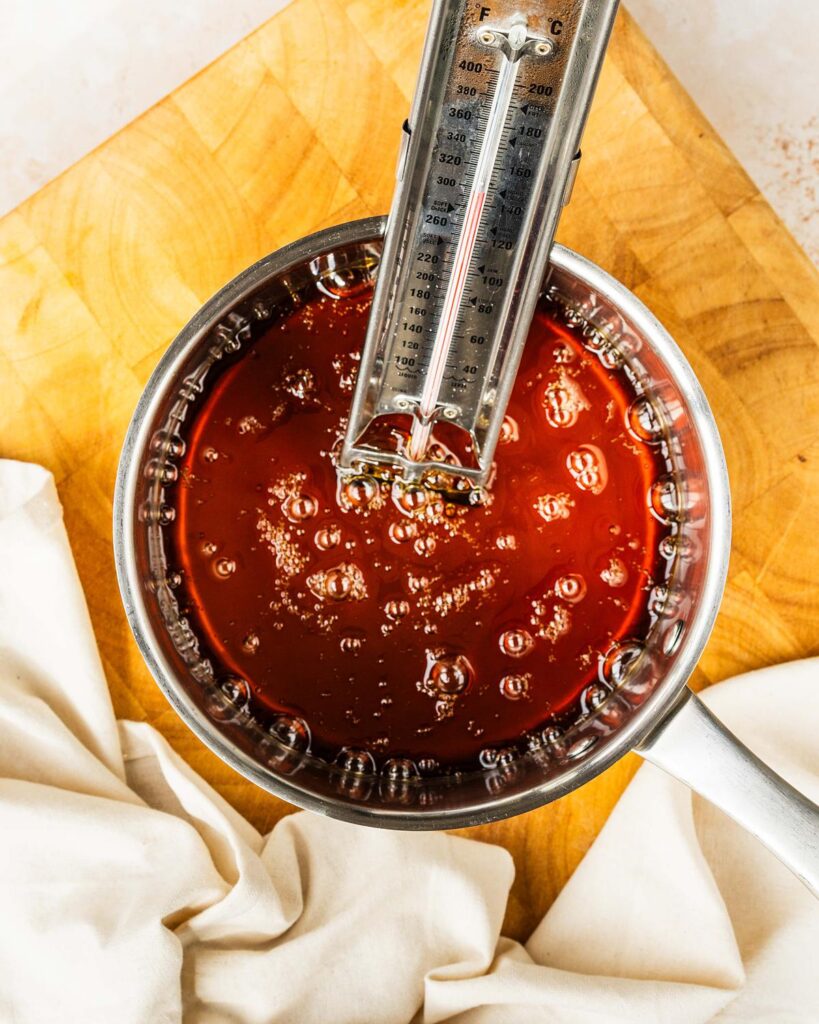
Step 2: Add in the golden syrup, and give it a swirl to mix in, then place the thermometer in the pan. DO NOT STIR after this stage. Turn the head up to a medium-high and let the mixture bubble. If you need to get any bubbled mixture off the sides, dip the brush in some water and brush the sides of the pan, letting the water drip down and wash the sugar back into the pan. Let the mixture heat until it reaches 150C/300F or hard crack on the thermometer.
Step 3: While the sugar mixture is bubbling away, prepare your working area with the apples. Remove the tray with the apples on and keep handy. Place a heat proof mat next to the tray to place the pan on during apple coating.
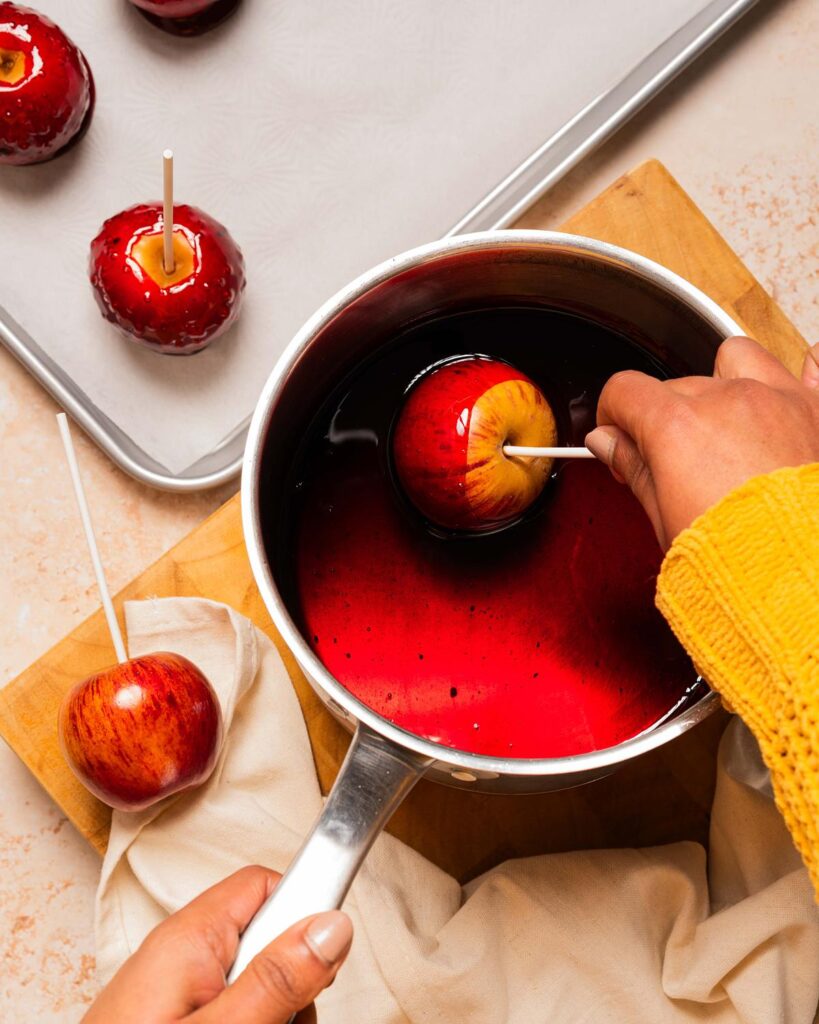
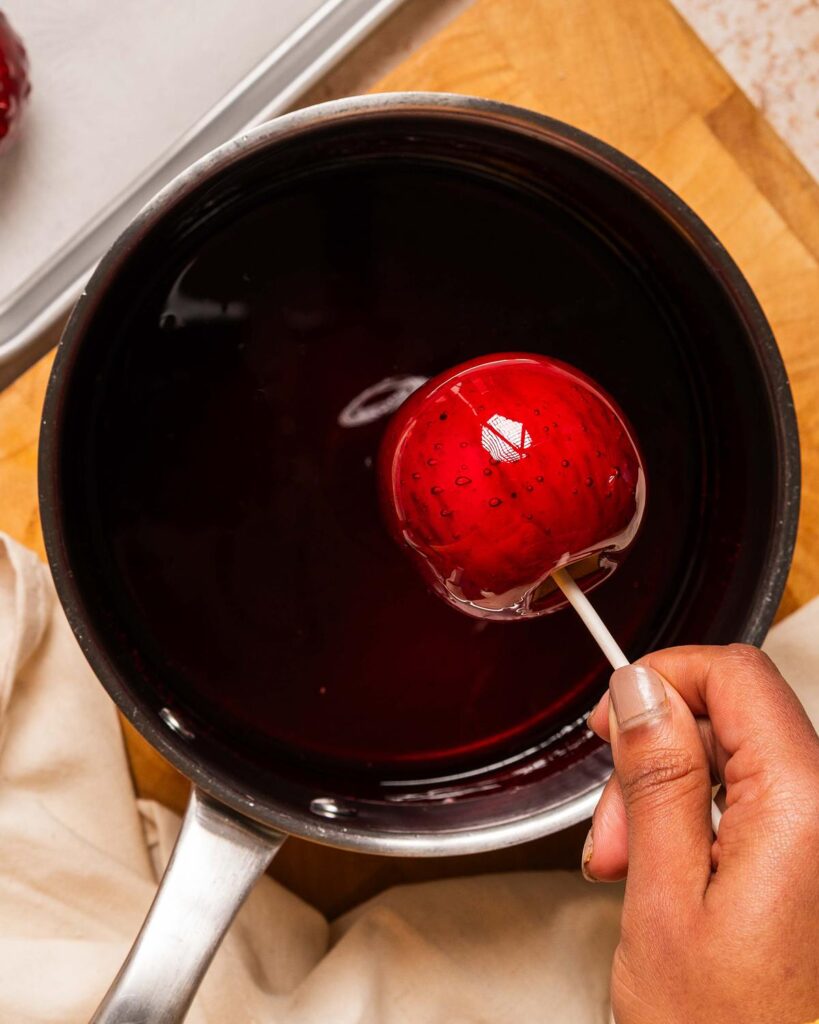
Step 4: Once it has reached hard crack stage, remove from the heat and swirl through the red food colouring. Allow the bubbles to settle for a few minutes, then the fun can begin!
Step 5: Place the pan on the heatproof mat and pick up one of the apples by the stick. Tip the pan to bring the sugar syrup to one corner of the pan, then dip the apple in and twirl it in the mixture until it is entirely covered in sugar. Let the excess drip off, gently smoothing any extra off the bottom of the apple against the rim of the pan. Place the coated apple back on the tray and repeat with the remaining apples. Leave the apples to set for a few minutes after dipping, then enjoy!

What apples are best for candy apples?
I prefer using more tart apples such as Bramley or Granny Smiths. If you prefer a sweet apple, go ahead and use one such as Gala. Whichever apples you do choose to use, ensure they are small enough (and so light enough!) to be able to be lifted and swirled easily by you in the sugar coating.
How to I clean my pan after making candy apples?
Cleaning the pan is easy! Once you are done dipping and swirling, simply fill the pan up with enough water to cover the sugar and bring to a gentle simmer for 5 minutes. The water will dissolve the sugar and everything will wash away easily!
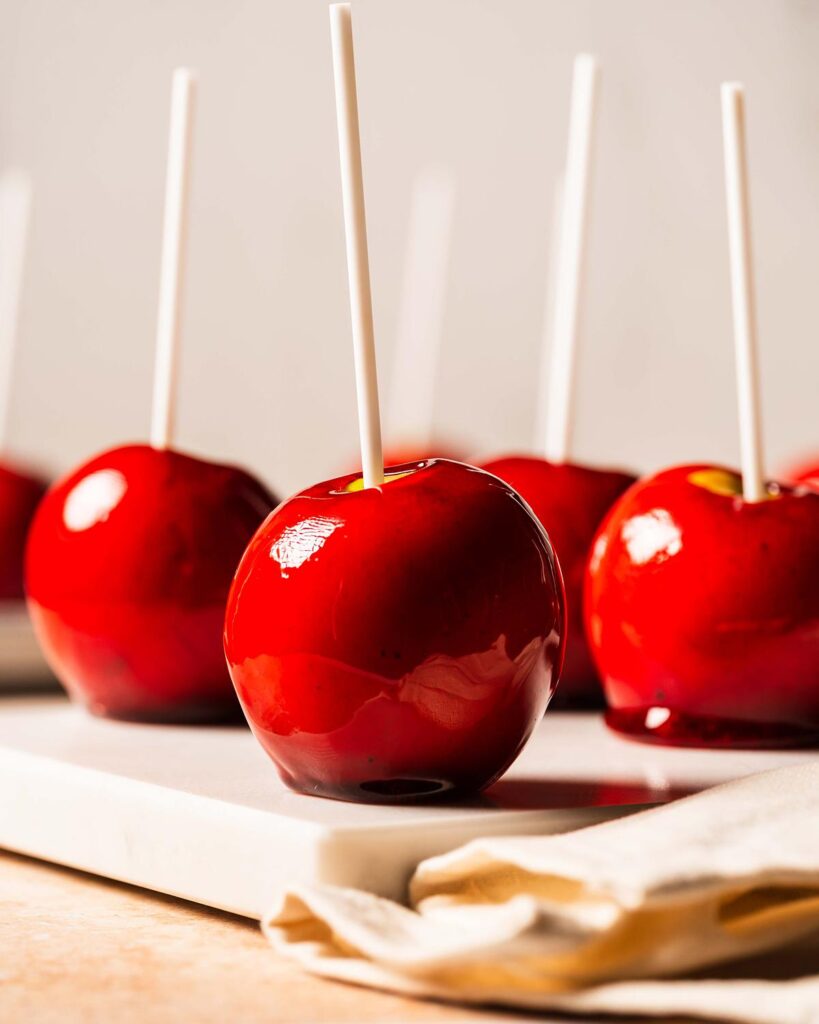
What are your tips to make caramel apples?
- Clean apples are your friend when making any coated apples! This means not just clean, but entirely without any waxy coating or moisture of any sort. Boiling water helps melt the common waxy layer on the outside of store-bought apples. Rubbing them vigorously helps remove all the wax, but don’t be surprised if you notice the apples going a little brown after this step! This is a common result of removing the wax, but it will not affect the apples or the finished results, I promise!
- Dry really thoroughly! Any moisture remaining on the apples will turn to steam once dipped in the sugar, creating bubbles and spoiling the beautiful smooth, glass-like finish. Check the top and bottom, where there are spaces for water to sit unnoticed.
- Ensure the sticks used are really well anchored in the apples. These are what you will be holding when dipping the apples, so really important that they don’t slip!
- Putting the lid on when dissolving the sugar helps with not needing to brush down the sides of the pan as the water drips back down off the lid. This makes dissolving the sugar soooooo much easier than without a lid, trust me!
- Once you start bubbling the sugar mixture, avoid stirring at all costs! Even adding in the extra ingredients, just swirl them through and then brush down the sides with the wet pastry brush and all will be well.
- Remember when dipping the apples that hot sugar can burn badly. Please be very careful and ensure the pan is resting on a secure, flat surface and that you have a good grip on the pan handle as well as the apple stick.
- If the candy mixture gets too cool and thicker, making it harder to coat the apples, just reheat it gently again until it is liquid enough to work with. Remember if you reheat it that you must allow time for the bubbles to dissipate to avoid having bubbles trapped on the apple coating.

Troubleshooting
If you have any other questions about this easy candy apples recipe, please use the comments below to ask away and I will do my best to help. And if you do make this easy recipe for candy apples, please take a moment to leave a rating and review below. I would love to know how you enjoy making it and following along, plus it really helps others looking for a similar recipe too. You could even post a picture on Instagram and tag me when you share it with the world, you know I love seeing all your bakes!
If you love this recipe try these out

Apple pie cookies. These heavenly autumnal cookies have all the joy of apple pies, but in a cookie! Pastry + apple pie filling + lattice top = perfect autumn treat!

My PERFECT easy apple pie: For me, there’s nothing quite like the comfort of a homemade pie. Cosy, warming smells of autumnal baking are utterly irresistible, and this glorious apple pie recipe really is so much easier than you think!
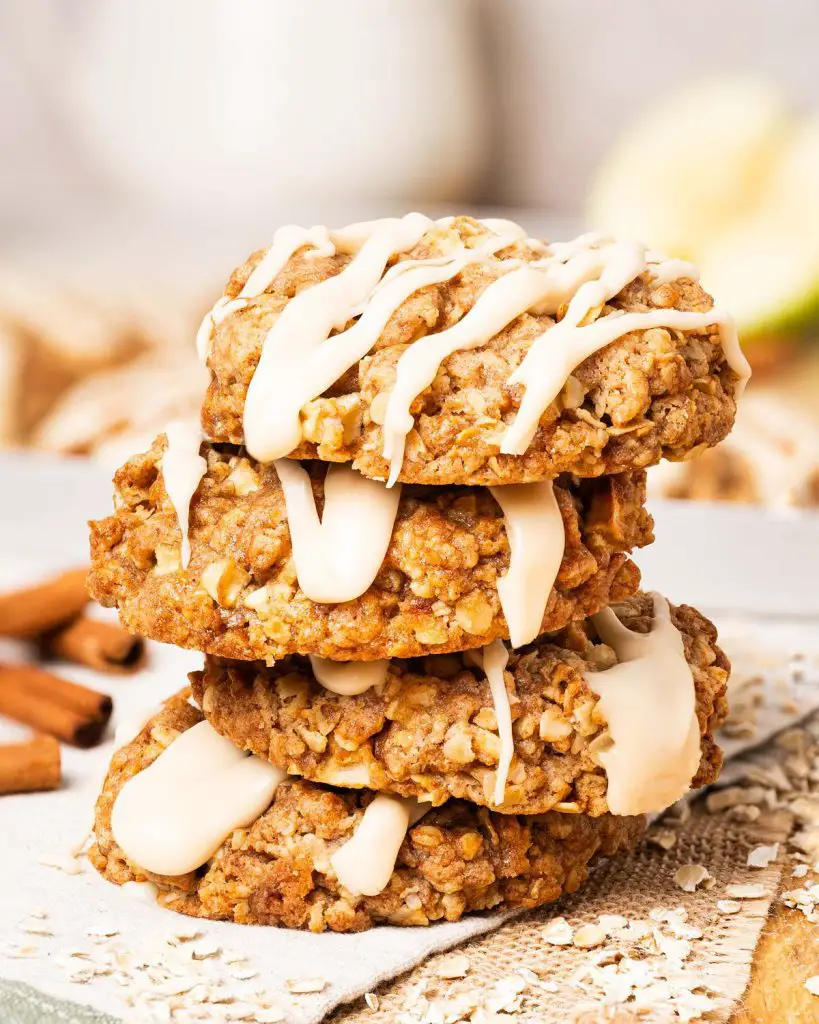
Apple and cinnamon cookies: With crunchy edges, chewy oats and lots of apple and cinnamon flavour all topped with a moreish maple glaze. A perfect cosy seasonal cookie treat!
And that’s all from me for today! Hope you enjoy making these candy apples recipe as much as I enjoy sharing with you. Enjoy my lovelies! x
Recommended equipment I used *
| Baking tray | Sticks |
| Digital kitchen scales | Measuring spoons |
| Saucepan | Thermometer |
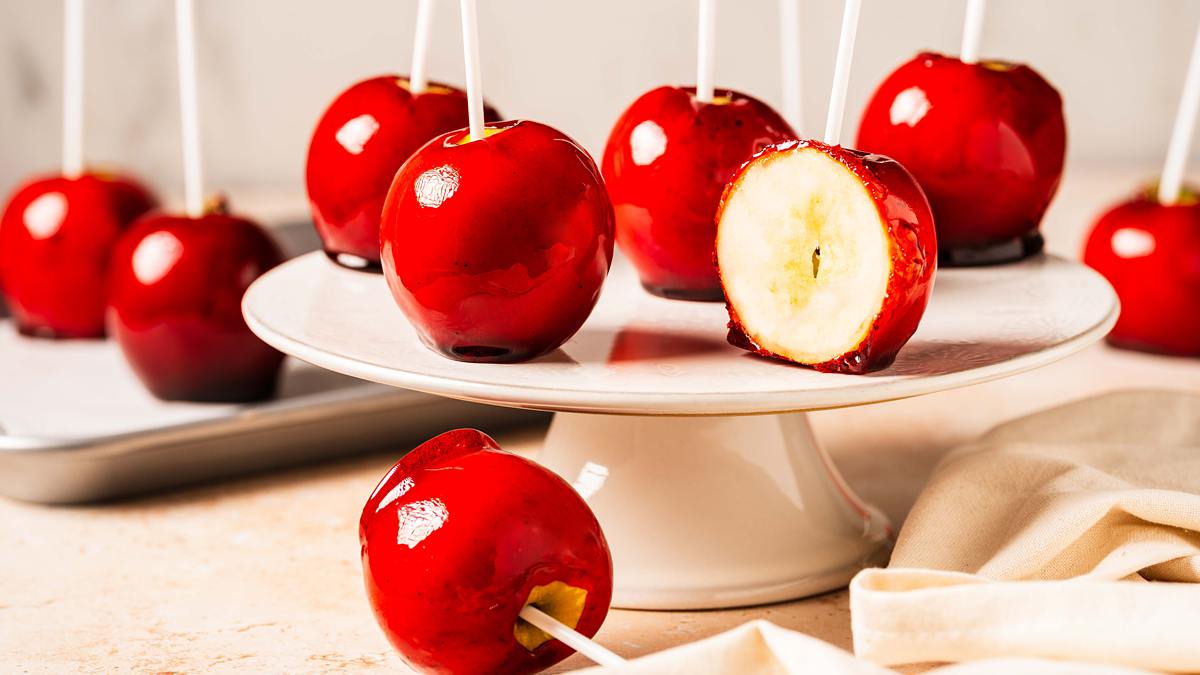
How to Make the BEST Candy Apples
Ingredients
- 400 g (1 ¾ cups) granulated sugar
- 80 ml (¼ cup + 1 tbsp) water
- 0.5 tsp vinegar/lemon juice
- 1.5 tbsp golden syrup
- red food colouring
- 10 small apples
Instructions
Prepare the apples
- The day before you want to make the candy apples is when you prepare the apples themselves. First line a baking tray with parchment paper and set it aside.
- Place the apples in a large bowl and pour over some boiling water. Leave to sit for about 10 seconds, then use a clean kitchen towel, rub the skin of the apples vigorously to remove any wax on the surface. Dry the apples thoroughly, then place on the prepared baking tray. Pop the tray in the fridge for the apples to chill and thoroughly dry out overnight.
- The following day, remove the apples from the fridge and push a stick most of the way through from the stalk end of each apple. Make sure to dry off any of the juices that come out of the apples so the fruit is completely dry. Place the apples back in the fridge whilst making the sugar coating.
Make the candy coating and get dunking!
- Place the sugar, water and vinegar/lemon juice in a large saucepan. Pop the lid on the pan, then place on a medium-low heat to allow the sugar to dissolve. This takes about 10 minutes. Prepare a bowl with water and a pastry brush during this step.
- Add in the golden syrup, and give it a swirl to mix in, then place the thermometer in the pan. DO NOT STIR after this stage. Turn the head up to a medium-high and let the mixture bubble. If you need to get any bubbled mixture off the sides, dip the brush in some water and brush the sides of the pan, letting the water drip down and wash the sugar back into the pan. Let the mixture heat until it reaches 150C/300F or hard crack on the thermometer.
- While the sugar mixture is bubbling away, prepare your working area with the apples. Remove the tray with the apples on and keep handy. Place a heat proof mat next to the tray to place the pan on during apple coating.
- Once it has reached hard crack stage, remove from the heat and swirl through the red food colouring. Allow the bubbles to settle for a few minutes, then the fun can begin!
- Place the pan on the heatproof mat and pick up one of the apples by the stick. Tip the pan to bring the sugar syrup to one corner of the pan, then dip the apple in and twirl it in the mixture until it is entirely covered in sugar. Let the excess drip off, gently smoothing any extra off the bottom of the apple against the rim of the pan. Place the coated apple back on the tray and repeat with the remaining apples. Leave the apples to set for a few minutes after dipping, then enjoy!
OMG, this is the most thorough candy apple guide Ive ever seen! Movers and Bakers really went all out, from the night-before apple prep (boiling water, rubbing vigorously – talk about commitment!) to the very specific no-stir instructions. I especially love the emphasis on anchors for the sticks – you can totally see where this goes wrong in my kitchen! 😂