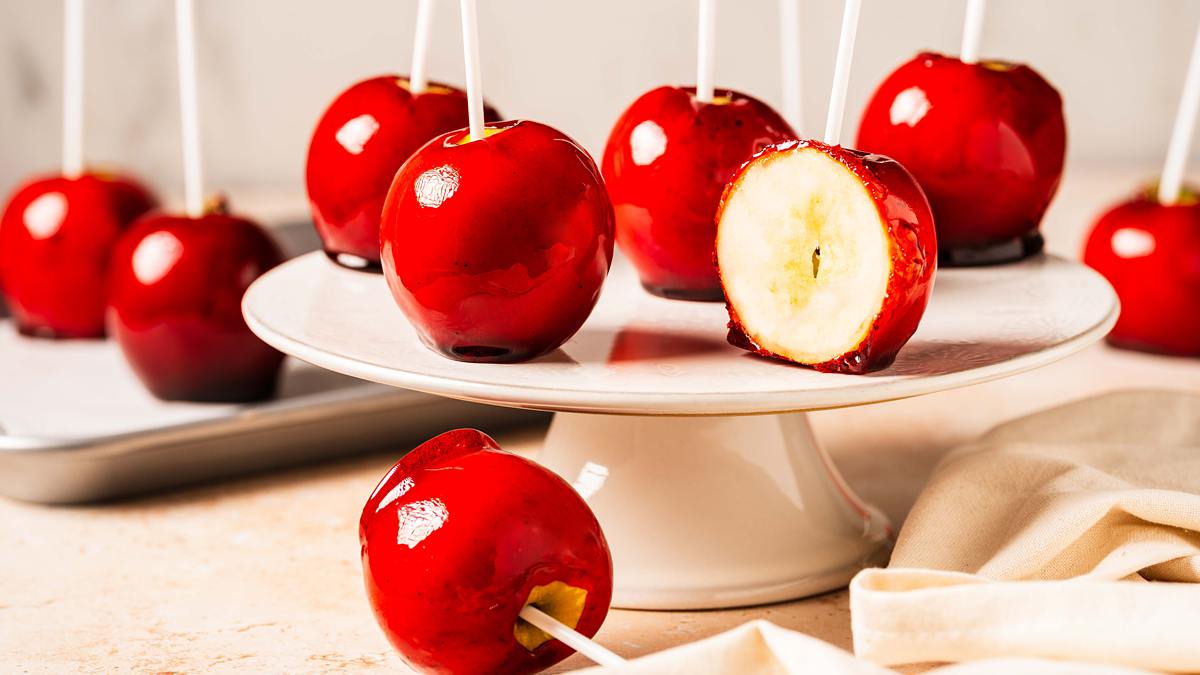
How to Make the BEST Candy Apples
Shiny cracking sugar encasing crisp juicy apples, candy apples are a favourite for good reason!
Ingredients
- 400 g (1 ¾ cups) granulated sugar
- 80 ml (¼ cup + 1 tbsp) water
- 0.5 tsp vinegar/lemon juice
- 1.5 tbsp golden syrup
- red food colouring
- 10 small apples
Instructions
Prepare the apples
- The day before you want to make the candy apples is when you prepare the apples themselves. First line a baking tray with parchment paper and set it aside.
- Place the apples in a large bowl and pour over some boiling water. Leave to sit for about 10 seconds, then use a clean kitchen towel, rub the skin of the apples vigorously to remove any wax on the surface. Dry the apples thoroughly, then place on the prepared baking tray. Pop the tray in the fridge for the apples to chill and thoroughly dry out overnight.
- The following day, remove the apples from the fridge and push a stick most of the way through from the stalk end of each apple. Make sure to dry off any of the juices that come out of the apples so the fruit is completely dry. Place the apples back in the fridge whilst making the sugar coating.
Make the candy coating and get dunking!
- Place the sugar, water and vinegar/lemon juice in a large saucepan. Pop the lid on the pan, then place on a medium-low heat to allow the sugar to dissolve. This takes about 10 minutes. Prepare a bowl with water and a pastry brush during this step.
- Add in the golden syrup, and give it a swirl to mix in, then place the thermometer in the pan. DO NOT STIR after this stage. Turn the head up to a medium-high and let the mixture bubble. If you need to get any bubbled mixture off the sides, dip the brush in some water and brush the sides of the pan, letting the water drip down and wash the sugar back into the pan. Let the mixture heat until it reaches 150C/300F or hard crack on the thermometer.
- While the sugar mixture is bubbling away, prepare your working area with the apples. Remove the tray with the apples on and keep handy. Place a heat proof mat next to the tray to place the pan on during apple coating.
- Once it has reached hard crack stage, remove from the heat and swirl through the red food colouring. Allow the bubbles to settle for a few minutes, then the fun can begin!
- Place the pan on the heatproof mat and pick up one of the apples by the stick. Tip the pan to bring the sugar syrup to one corner of the pan, then dip the apple in and twirl it in the mixture until it is entirely covered in sugar. Let the excess drip off, gently smoothing any extra off the bottom of the apple against the rim of the pan. Place the coated apple back on the tray and repeat with the remaining apples. Leave the apples to set for a few minutes after dipping, then enjoy!
Notes
Nutrition
Calories: 233kcal