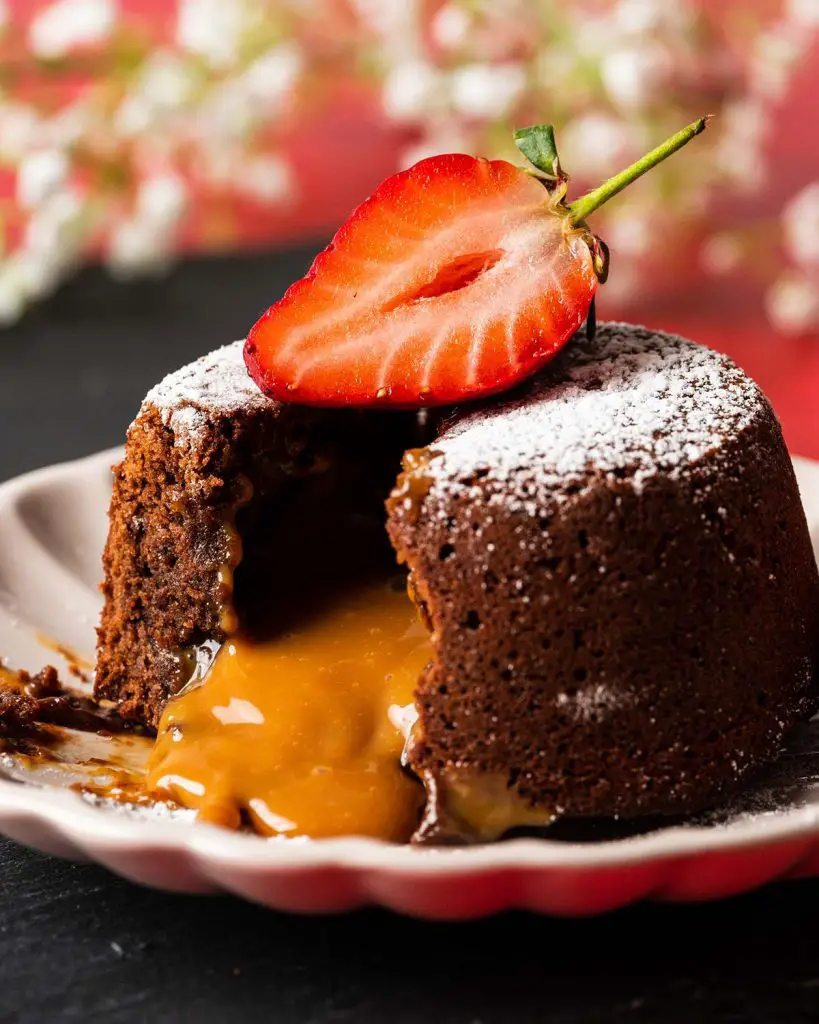
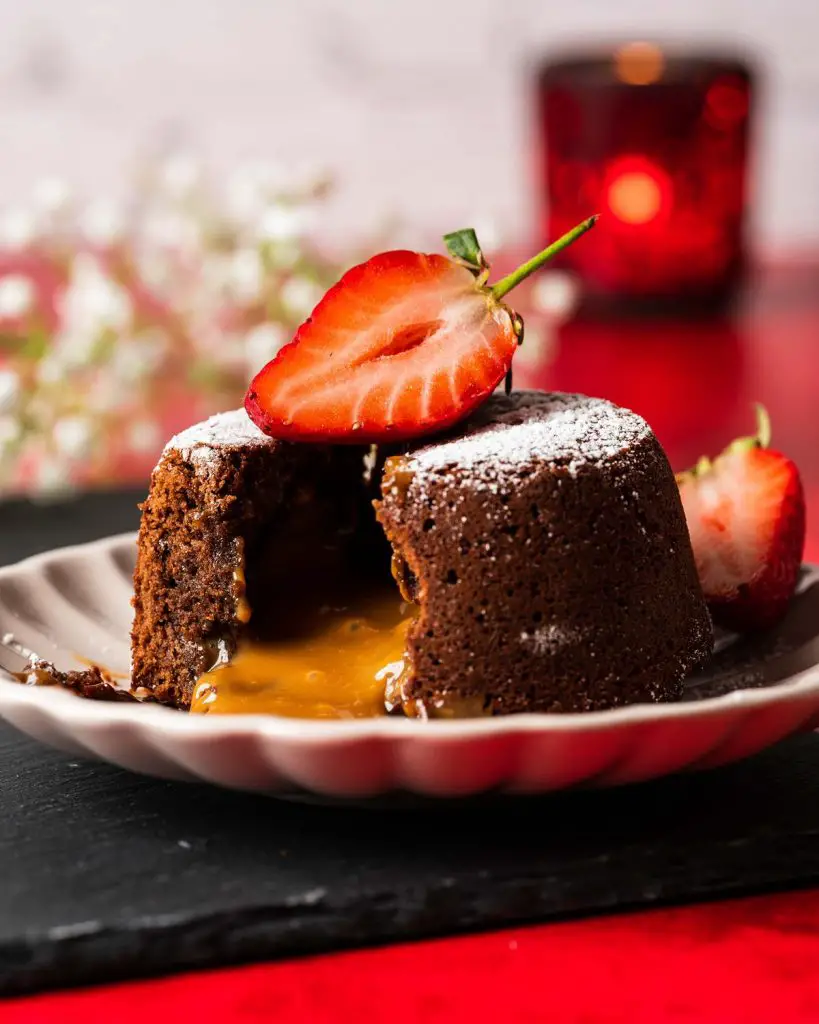
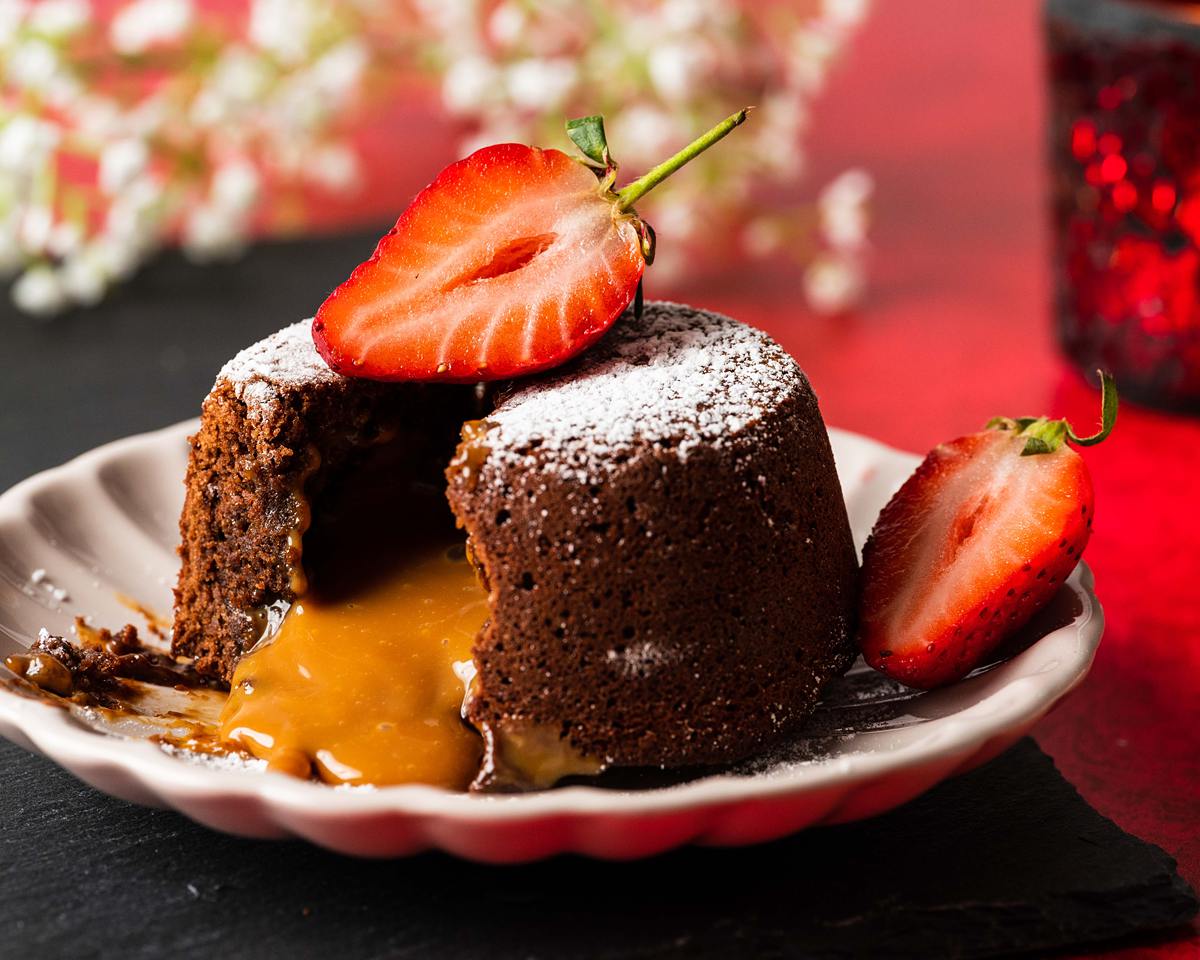
These salted caramel lava cakes are a perfect dessert for entertaining, date night or even for Valentine’s Day! They are a delicious oozing caramel middle (salt it or not, depending on your preferences) encased in a perfect moist chocolate cake. Serve with some fresh strawberries and ice cream or pouring cream for an ultra decadent dessert!
What is a lava cake?
A lava cake, also known as a molten cake, melt-in-the-middle cake or sometimes even a fondant cake, it like baking magic! It basically is a single serving of cake with a melting centre, almost like a sauce that flows out when the cake is cut open. The cake is normally chocolate, and the sauce can be anything from chocolate or caramel to more unusual options such as fruit compote, biscoff or even a nut based sauce! The world is your oyster here, but the most commonly found filling is chocolate.
Is lava cake just undercooked cake?
So there are actually two ways to make lava cake, when making it with a chocolate melting middle. One is using a chocolate ganache in the middle, which will not bake and will always result in a wonderfully molten middle. The other is basically to cook a cake until the middle has reached a temperature to safely pasteurise the eggs, but before the mixture has actually baked and solidified. This second method basically is undercooked cake, but one that is safe to eat whilst still remaining essentially as cake mixture.
Why you will love this caramel lava cake
- Simple to make. The steps involved in making these beautiful chocolate caramel lava cakes are minimal and super simple. A little melting, a little beating and a little folding before bringing together and baking.
- Easy to find ingredients. All the ingredients used to make this delightful chocolate caramel dessert are easily found in any grocery stores, and I even make it simpler by using store bought caramel.
- Adaptable recipe. This recipe is to make a salted caramel molten lava cake. However, if you wish you can omit the salt, making it a simple caramel without salt. You could also easily substitute a Lindt chocolate ball in the middle of the cake instead of the caramel for a chocolate oozy filling too!
- No stress entertaining. My favourite thing about making these, is that they can be prepared ahead of time and popped into the fridge until you want to bake them. Bake before serving, and plate up with a scoop of ice cream and decorate with sliced strawberries. Heavenly!
What are the ingredients in a chocolate lava cake?
- Caramel: you can use homemade caramel, of course. I used tinned caramel in this chocolate molten cake recipe, just for ease and convenience.
- Flakey sea salt: essential for the filling in these salted caramel lava cakes.
- Unsalted butter: I like to use unsalted butter so I can control how much salt is in my caramel chocolate lava cake.
- Dark chocolate: melted and added to the cake mixture to give a deep chocolatey flavour to the bake.
- Eggs: adds structure and stability to the molten caramel cakes.
- Sugar: gives sweetness to the chocolate cake in this bake.
- Vanilla: for delicious flavour.
- Flour: I use plain/all purpose flour to make these lava caramel cake.
What equipment do I need to make these caramel lava cakes?
- Pudding basins*: individual sized tins to make these lava cake salted caramel in.
- Digital kitchen scales*: I always recommend using digital kitchen scales to weigh ingredients out over using a volume based measuring system, as cups. Weighing out the ingredients is much more accurate than measuring by volume, and will ensure better results every time. Hence I would definitely take the plunge if you have not already.
- Measuring spoons*: for measuring smaller quantities such as tablespoons (tbsp) and teaspoons (tsp), a set of dedicated measuring spoons is a must! These are far more accurate than everyday eating spoons, and are really easy to get hold of too.
- Small bowls*: to mix together the salted caramel filling as well as to melt the chocolate and butter in.
- Mixing bowl*: used to mix all the ingredients together to make the caramel lava cakes.
- Handheld electric mixer*: investing in a good electric mixer is a brilliant help with all mixing, and will make creating these lava cakes easy a total breeze!
- Sieve*: to remove lumps from the dry ingredients, ensuring everything gets mixed together evenly.
- Spatula*: to help with mixing ingredients and scraping the mixing bowl down.
How to make salted caramel lava cakes
This dessert looks really impressive, but is actually so much easier to make than anyone anticipates! It comes together in a few steps and is brilliant to make ahead of when you want to serve!
Step 1: Preheat the oven to 220C/425F. Place a baking tray on the middle shelf. Butter the pudding basins and line the bases with a parchment circle. Set aside.
Step 2: In a small bowl, mix together caramel and flakey sea salt.
Step 3: In a separate small bowl, melt dark chocolate and butter until smooth and silky. I do this in the microwave in 10-20 second bursts, stirring in between. Leave to cool a few minutes.
Step 4: In a large bowl, beat eggs and sugar together until doubled in size. The mixture will have turned thicker and pale with the beaters leaving a trail in the mixture.
Step 5: With the beater on low, drizzle in the cooled chocolate mixture and vanilla until combined. Sift in the flour, then gently fold together.
Step 6: Place two tablespoons of cake mixture into each pudding basin, making a well in the middle. Fill each well generously with the salted caramel then top each basin equally with the remaining chocolate mixture.
Step 7: Place the pudding basins on the baking tray in the preheated oven and bake for 9-10 minutes until the top of the cakes have cracked and are fairly firm to touch. Remove from the oven and leave to stand for a few minutes. Run a knife round the edge to loosen the cakes from the moulds, then turn out onto a serving plate. Dust with icing sugar, decorate with sliced strawberries and serve with a scoop of ice cream or some pouring cream. Enjoy!
How do I prepare my pudding basins?
To prepare the basins when making the salted caramel lava cake, simply lightly grease the whole inside of the basin, and line the base of each with a circle of parchment paper. This is purely to help with easy releasing of the baked cakes The pudding basins are now ready to be used!
What if I do not have pudding basins?
If you do not have pudding basins, you can make these caramel lava cakes in ramekins or even in a large cupcake or muffin tin. Just remember to butter and line both as the recipe says to do with the pudding basins. This is just to make it easier to remove the cakes once baked.
Do you have to eat lava cakes right away?
Lava cakes are best enjoyed freshly baked, as the cake will remain moist and soft and the caramel filling will be warm and gooey. It goes perfectly with a cold accompaniment, such as ice cream or cream, the contrast of the warm dessert with the cool accompaniment is perfection!
How to store these salted caramel lava cakes
I would always recommend eating them as soon as they have baked. However, if you wish to make them in advance, simply place the pudding basins with the prepared cake mixture filled into them in the fridge for up to a day before baking.
I absolutely love these as a dessert for entertaining, because they are brilliant to be made in advance and make a really impressive warm dessert at the end of a meal!
Tips for making salted caramel lava cakes
- Butter the pudding basins lightly, making sure that they are completely buttered in a light layer. This allows for easy release of the lava cake caramel after they have been baked. I push the parchment circle in after buttering the basin, then push it in so it sticks to the bottom of the basin.
- You can melt the chocolate and butter either in the microwave as I do, or over a pan of gently simmering water. Melt together until just combined, then leave to cool whilst you continue with the rest of the recipe.
- If you are not a fan of salted caramel, simply omit the flakey sea salt from the recipe. This part of the recipe is really down to personal preference and how salty you like it to be.
- Beat the eggs until the are really pale with tiny bubbles. It will look almost like a light foam when ready: thick and luxurious in texture, and really airy.
- When placing the components into the basins ahead of baking the chocolate caramel lava cake, I like to push a little of the cake mixture up the sides of each basin too. This not only ensures the cake mixture encases the caramel, but also that I then have a decent well to fill with caramel for each molten caramel lava cake.
- Once out of the oven, leave the cakes to cool slightly and firm up in the basins for a few minutes. When you are ready to serve, carefully run a knife around the edge of the cake to ensure it has not stuck to the basin. Invert the serving plate over the basin, then flip over so the basin is upside down on the plate. Lift the basin and the chocolate and caramel fondant cake should slip out easily.
Troubleshooting
If you have any questions about this salted caramel lava cake recipe, please comment below and I will do my best to help. And do remember: if you enjoy this recipe for molten caramel cake, please leave a rating and review below. You could even post a picture on Instagram and tag me when you share it with the world. You already know I would love to see!
More recipes from my blog for you to enjoy
If you enjoyed this caramel lava cake recipe, please do have a look at these recipes I think you will love too!
Salted caramel blondies: Calling all salted caramel fans, this one’s for you! These delicious white chocolate blondies, made with salted caramel, white chocolate chips and hazelnuts for crunch. Topped with more white chocolate chips, hazelnuts and a salted caramel swirl for a truly beautiful bake everyone is sure to love!
Banoffee cupcakes: These banoffee cupcakes takes all the different elements of the iconic banoffee pie and puts it in a cupcake! A biscuit base is followed by a light and fluffy banana cupcake with a hidden caramel centre. The caramel buttercream swirl is sprinkled with grated dark chocolate and drizzled with even more delicious caramel. Perfect for banoffee pie lovers everywhere!
Chocolate chip skillet cookie: A beautiful chocolate chip cookie with a crisp outside and a soft chewy middle, absolutely packed with melting chocolate chips. Serve still warm in the skillet with a generous scoop of ice cream. Welcome to complete and utter cookie heaven!
Thanks for joining me today, my friends. Hope you enjoy these amazing caramel lava cakes, and happy baking! x
Recommended equipment I used *
| Pudding basins | Digital kitchen scales |
| Measuring spoons | Small bowl |
| Mixing bowl | Handheld electric mixer |
| Sieve | Spatula |
Salted Caramel Lava Cakes
Ingredients
- 100 g (¼ cup + 1 tbsp) caramel
- 0.25 tsp flakey sea salt
- 55 g (¼ cup) unsalted butter
- 85 g (½ cup + 2 tbsp) dark chocolate
- 2 large eggs
- 75 g (¼ cup + 2 tbsp) caster sugar
- 0.5 tsp vanilla
- 70 g (½ cup) plain (all purpose) flour
Instructions
- Preheat the oven to 220C/425F. Place a baking tray on the middle shelf. Butter the pudding basins and line the bases with a parchment circle. Set aside.
- In a small bowl, mix together caramel and flakey sea salt.
- In a separate small bowl, melt dark chocolate and butter until smooth and silky. I do this in the microwave in 10-20 second bursts, stirring in between. Leave to cool a few minutes.
- In a large bowl, beat eggs and sugar together until doubled in size. The mixture will have turned thicker and pale with the beaters leaving a trail in the mixture.
- With the beater on low, drizzle in the cooled chocolate mixture and vanilla until combined. Sift in the flour, then gently fold together.
- Place two tablespoons of cake mixture into each pudding basin, making a well in the middle. Fill each well generously with the salted caramel then top each basin equally with the remaining chocolate mixture.
- Place the pudding basins on the baking tray in the preheated oven and bake for 9-10 minutes until the top of the cakes have cracked and are fairly firm to touch. Remove from the oven and leave to stand for a few minutes. Run a knife round the edge to loosen the cakes from the moulds, then turn out onto a serving plate. Dust with icing sugar, decorate with sliced strawberries and serve with a scoop of ice cream or some pouring cream. Enjoy!