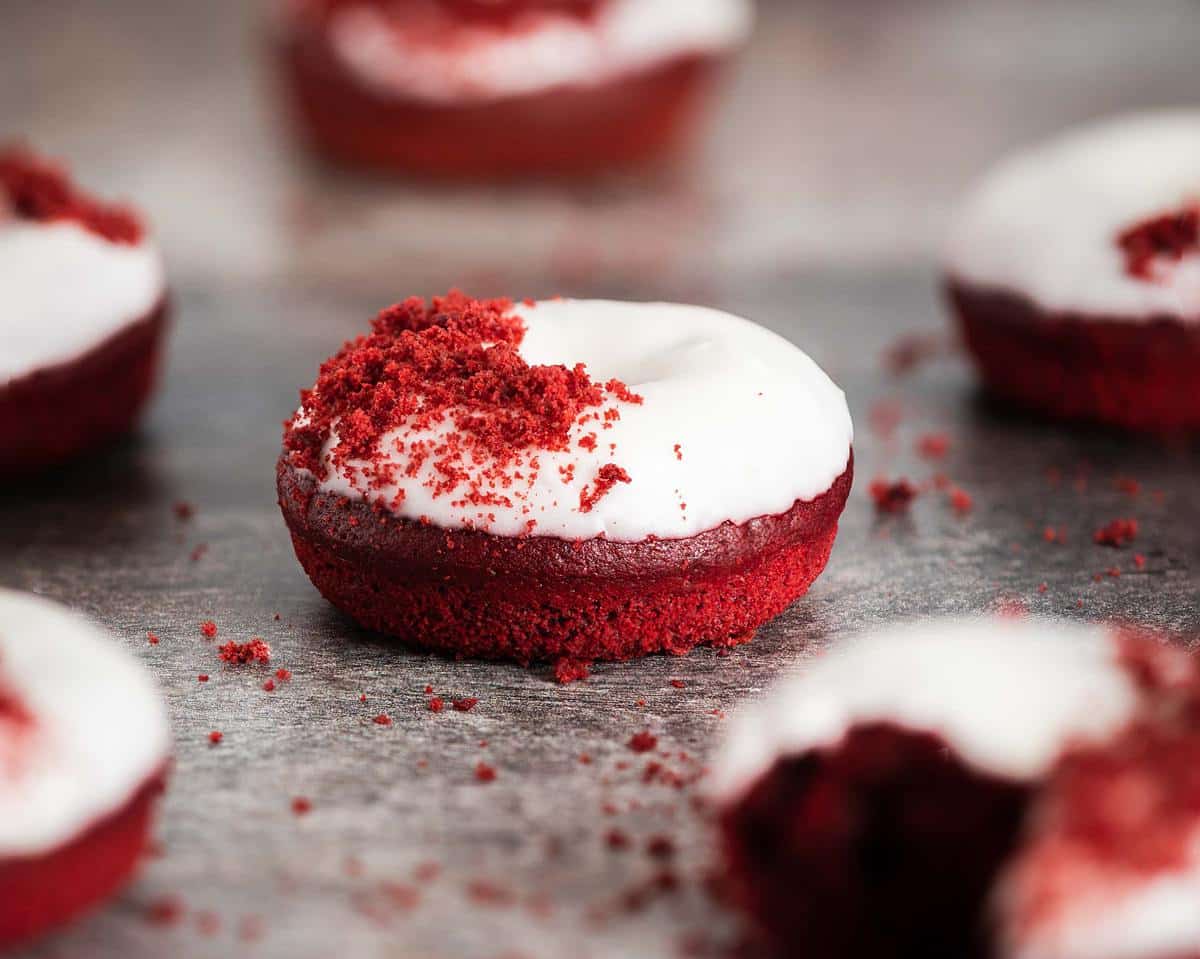
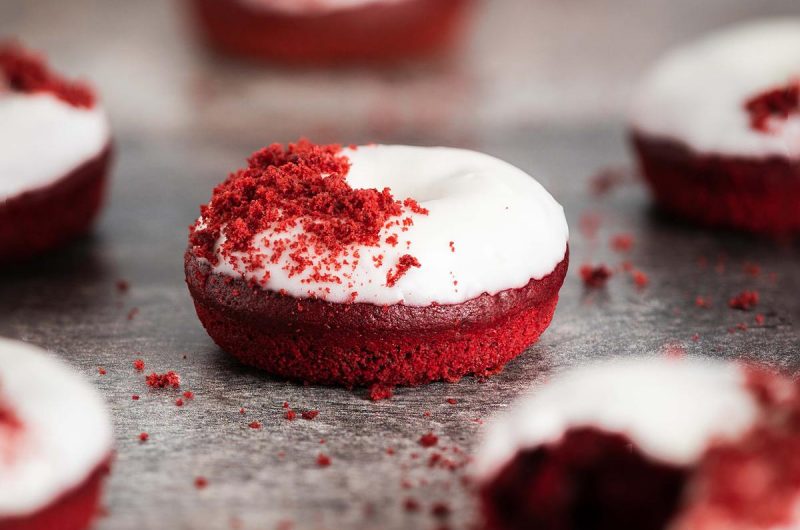
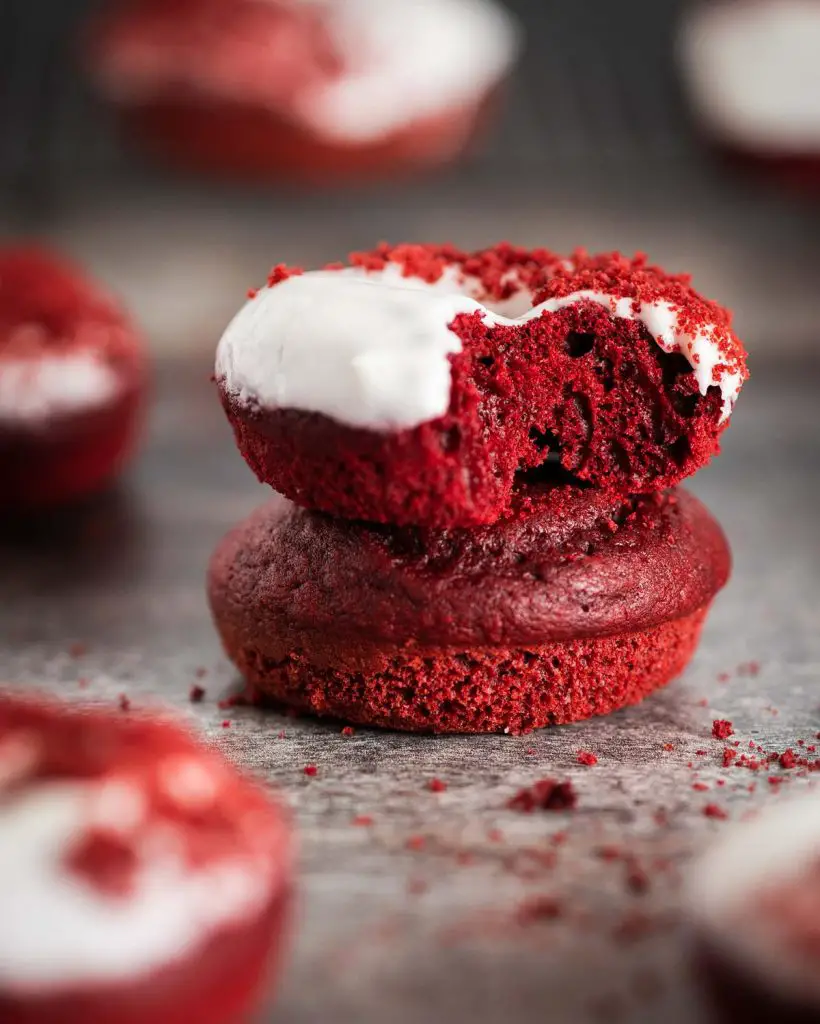
Calling all donut fans, you NEED to try these red velvet donuts! Wonderfully soft, cakey donuts topped with a smooth cream cheese glaze, these donuts will definitely hit the spot! And, the best part is these donuts can be made and enjoyed in under an hour!
Seeing red (velvet)
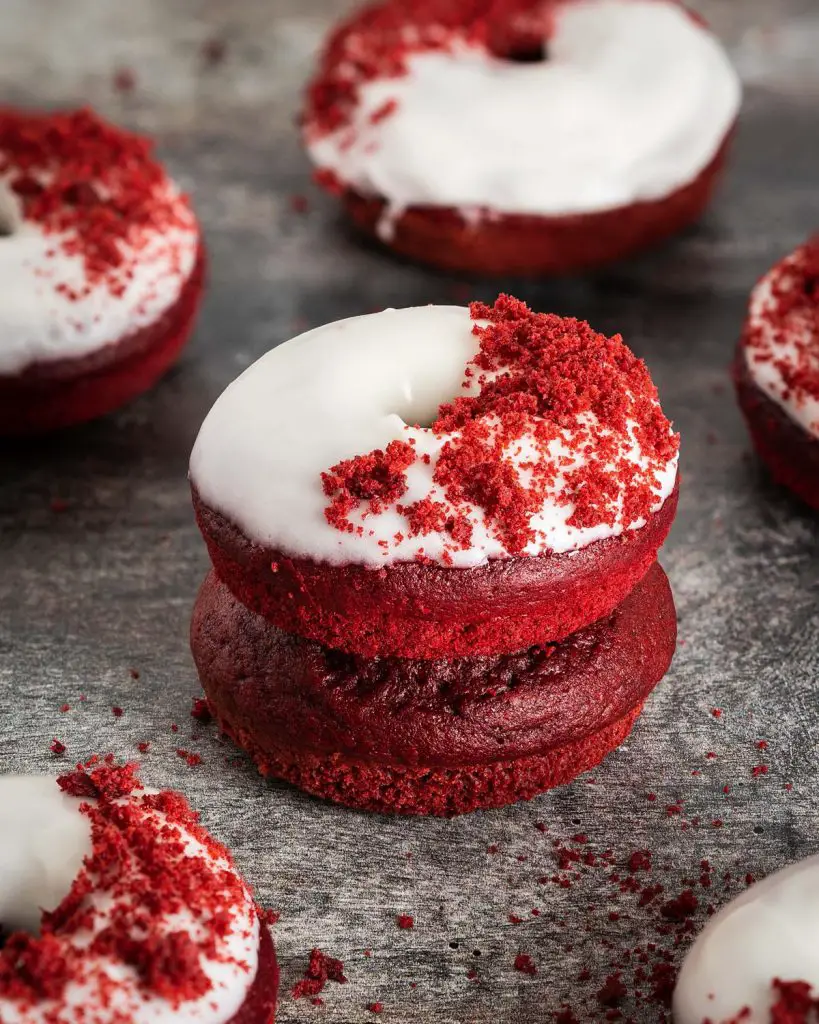
There is something so beautiful about red velvet. The combination of vanilla and chocolate and the stunning red of the donuts makes the whole thing so utterly irresistible. And the cream cheese glaze! I honestly could not say whether the cake is my favourite or the tangy icing. Put them together, and surely they are a match made in heaven!
Now, before we get into the red velvet donuts recipe, I need to clarify for the purists out there: these donuts are not made the traditional way of red velvet, involving the inclusion of vinegar in the recipe. I tried it, and just did not care either for the texture or the flavour of it. So, instead, I have stuck to the chocolate and vanilla flavours of red velvet, along with cream cheese icing/glaze, but done away with the vinegar element. Honestly though, these donuts are so good, you will not want to miss them!
What ingredients do I need to make these red velvet donuts?
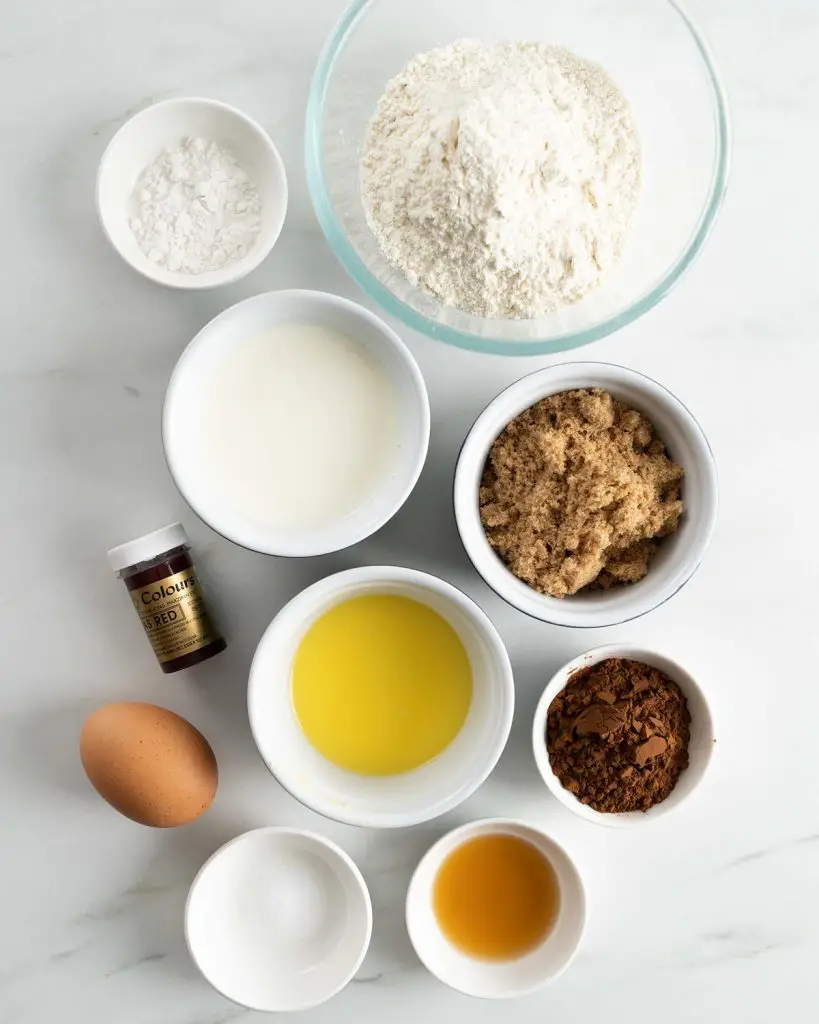
- Flour: this recipe uses plain (all purpose) flour. I prefer using plain flour so I can control the amount of raising agent in the bake.
- Cocoa: gives a gentle cocoa flavour to these red velvet donuts.
- Soft light brown sugar: this adds sweetness but also a little extra moisture to the bake.
- Baking powder: the leavening agent in this bake and essential for a light and fluffy donut!
- Salt: enhances the flavour of the red velvet cake donut. You will not taste it, don’t worry!
- Milk: one half of the ingredients, for this recipe, required to make the buttermilk. Adds to the liquid requirement of the recipe. Also used in the cream cheese glaze.
- Yogurt: the other half required for the buttermilk. Adds to liquid needs for these donuts, but also makes for tender soft red velvet donuts.
- Melted butter: this is the fat content of the recipe. Butter helps keep the bake moist and trap air during baking, leading to a fluffier bake.
- Vanilla: purely for flavour. Yum!
- Egg: for rise and structure in the donuts.
- Red food colouring: to give the trademark red colour to these red velvet donuts.
- Cream cheese: used to make the cream cheese glaze. Gives a wonderful, tangy flavour to contrast with the soft and sweet donuts.
- Icing/powdered sugar: the finer granules dissolve better to help make a smooth and not grainy cream cheese glaze for this red velvet donut recipe.
What equipment do I need to make baked donuts?
- Donut pan*: I use a six hole donut pan to make these donuts red velvet.
- Digital kitchen scales*: I provide all my measurements in cups, however I would encourage all bakers to weigh out ingredients when baking. A set of digital kitchen scales is so useful and totally an essential baking tool for me.
- Measuring spoons*: a set of dedicated measuring spoons is essential for any baker. This is because these are more accurate than using everyday teaspoons and tablespoons, which can vary greatly in size.
- Pastry brush*: to brush the donut pan before filling with donut cake mixture.
- Mixing bowl*: any bowl large enough will do, plastic, glass, the choice is yours!
- Sieve*: to remove larger clumps of ingredients and aerate the dry ingredients.
- Jug*: for mixing together the wet ingredients before adding to the dry.
- Whisk*: to mix together the dry ingredients and wet ingredients before combining to make the red velvet donuts. Also used when making the cream cheese glaze
- Spatula*: to use to mix ingredients together when combining wet and dry.
- Piping bag*: totally optional, but I find it much easier (and neater!) to pipe my donut mixture into my pans over spooning it in.
- Small bowl*: for making the cream cheese glaze to top the red velvet donuts.
How to make red velvet donuts
If you have made baked donuts before, these will be super easy to make! Simply make the donut mixture and bake. Then, whilst the donuts cool, make the cream cheese glaze for red velvet donuts. Dunk the donuts, add on the optional sprinkle of red velvet crumbs and dig in!
For the donuts
Step 1: Brush the donut pan with some melted butter and set it aside. Preheat the oven to 180C/350F whilst making the donut mixture.
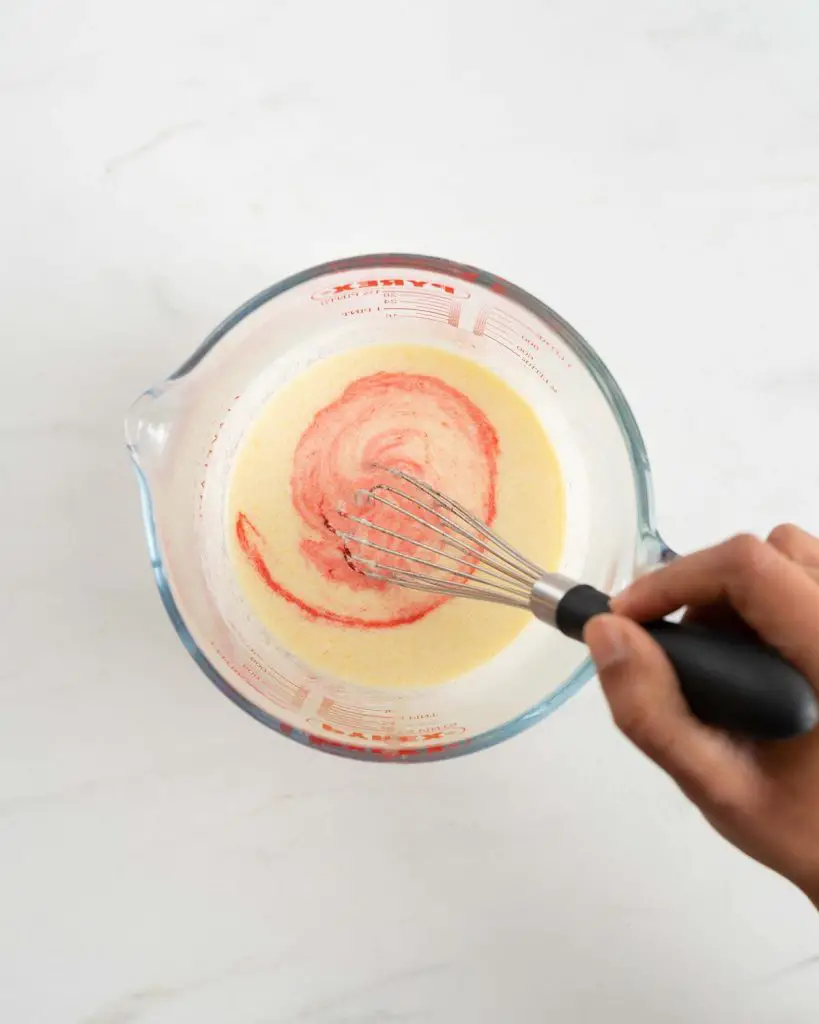
Step 2: Mix together the milk and yogurt in a small bowl or jug until smooth. Add in the egg and vanilla, mixing. Drizzle in the melted butter whilst whisking to prevent the butter solidifying on contact with the cold liquids. Add in the food colouring and mix until evenly coloured. Set aside.
Step 3: In a separate, large bowl, sift together the plain (all purpose) flour, cocoa powder, baking powder and salt. Add the brown sugar to the bowl and give it a quick mix together.
Step 4: Tip the wet ingredients into the bowl with the dry ingredients. Mix through until just combined and smooth. Transfer the mixture into a piping bag, if using.
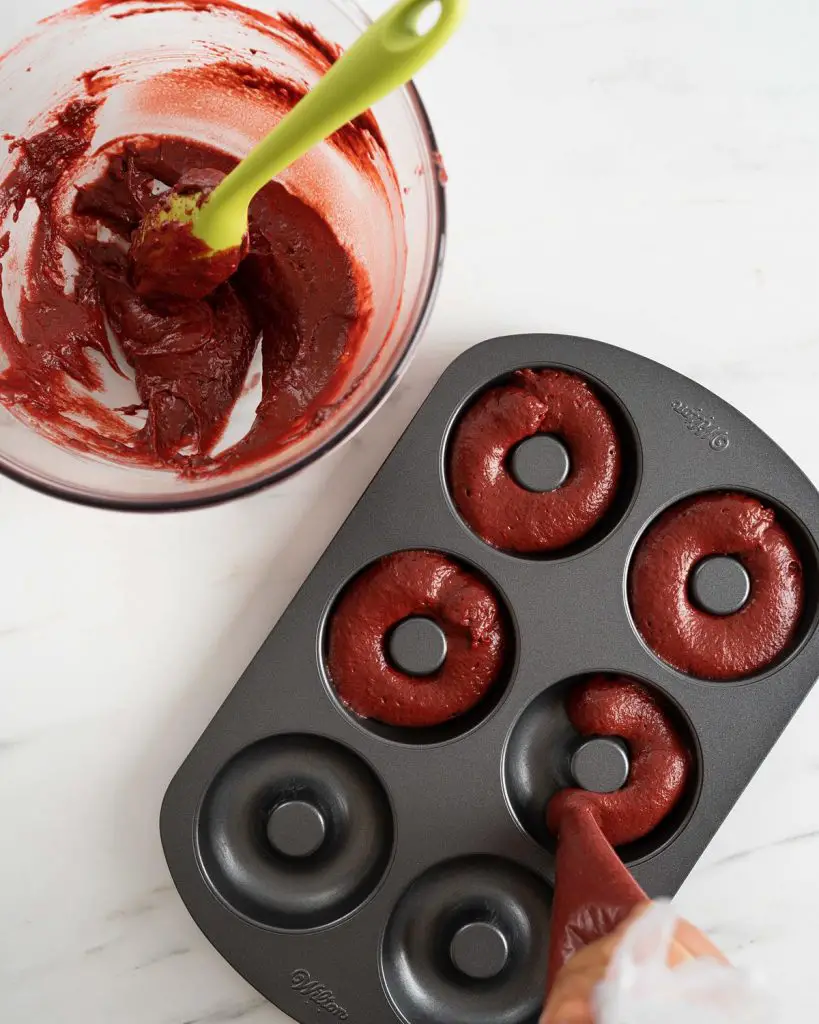
Step 5: Spoon or pipe the mixture into the donut pan, making sure it is no more than ⅔ full. Bake in the preheated oven for 9-10 minutes until springy to touch and a skewer comes out clean. Cool for a few minutes in the pan, then gently remove and leave on a wire rack to cool completely before glazing and decorating.
For the cream cheese glaze
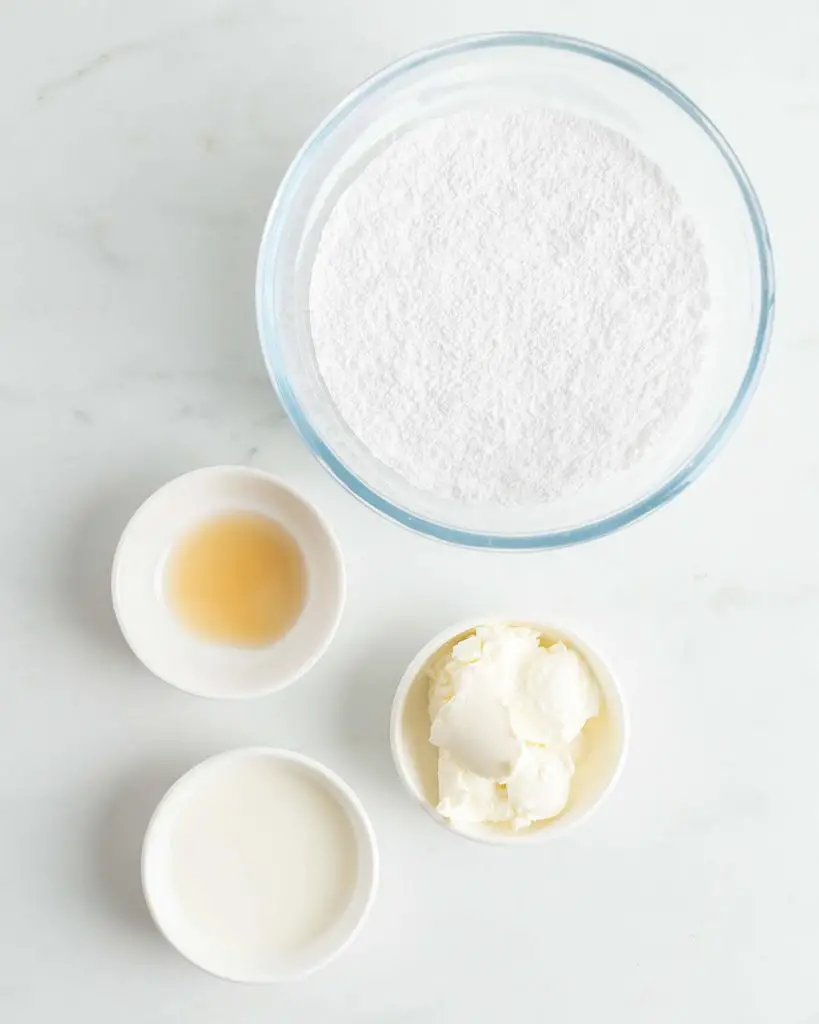
Step 1: Place the cream cheese, milk, vanilla and icing (powdered) sugar into a small bowl and whisk to combine until smooth and thick. Add more milk, depending on how thick you like the glaze. I prefer it quite thick, so it sets on the donuts, but if you prefer it to drip off, add a little more milk.
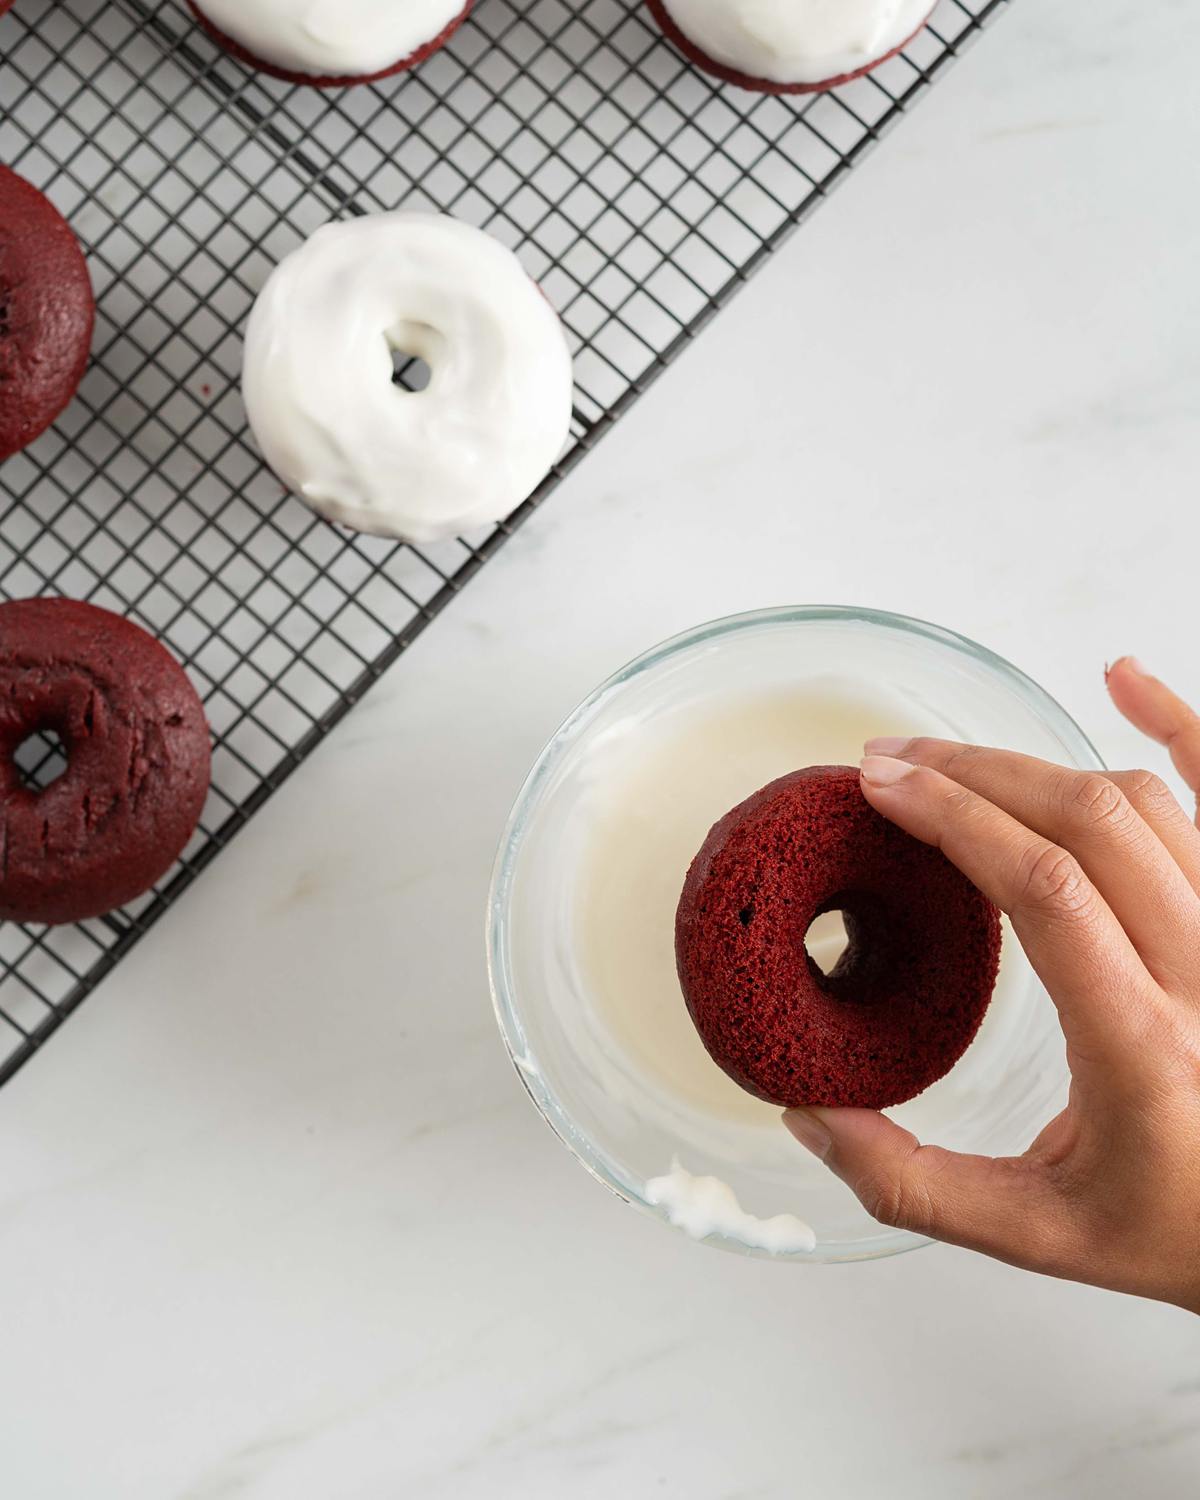
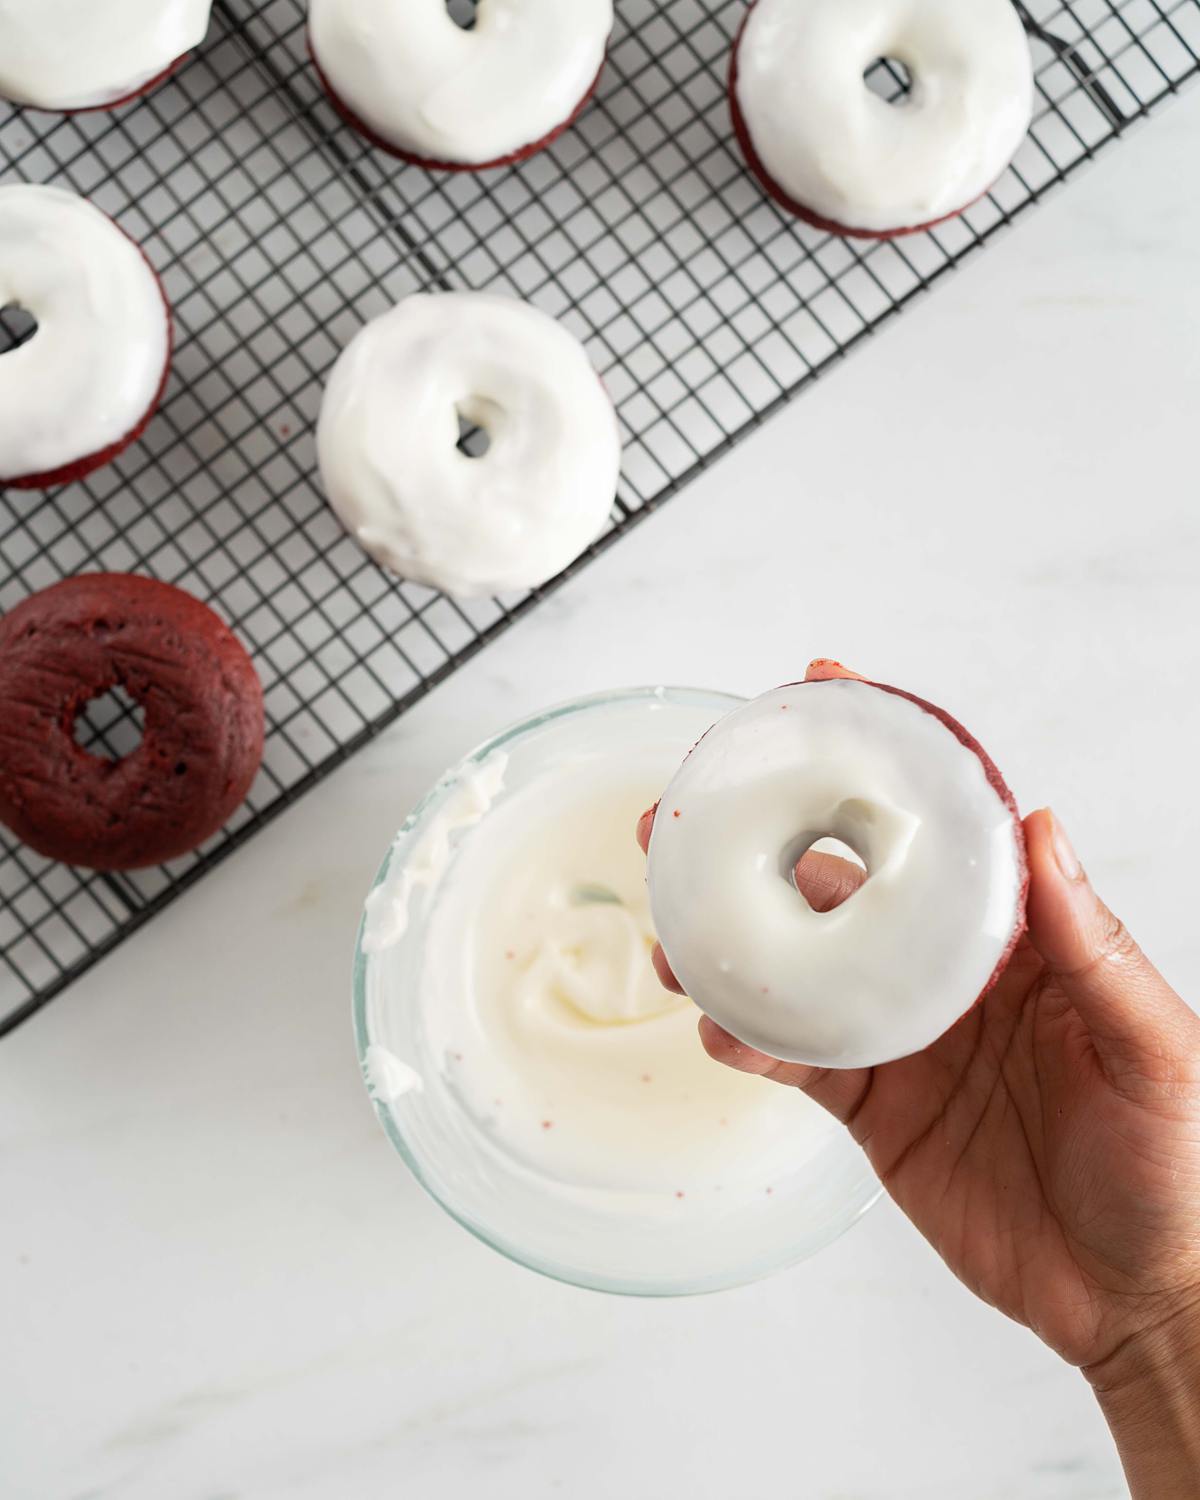
Step 2: Carefully dip the top of each cooled red velvet donut into the cream cheese glaze, then place on a wire rack to settle and firm up slightly.
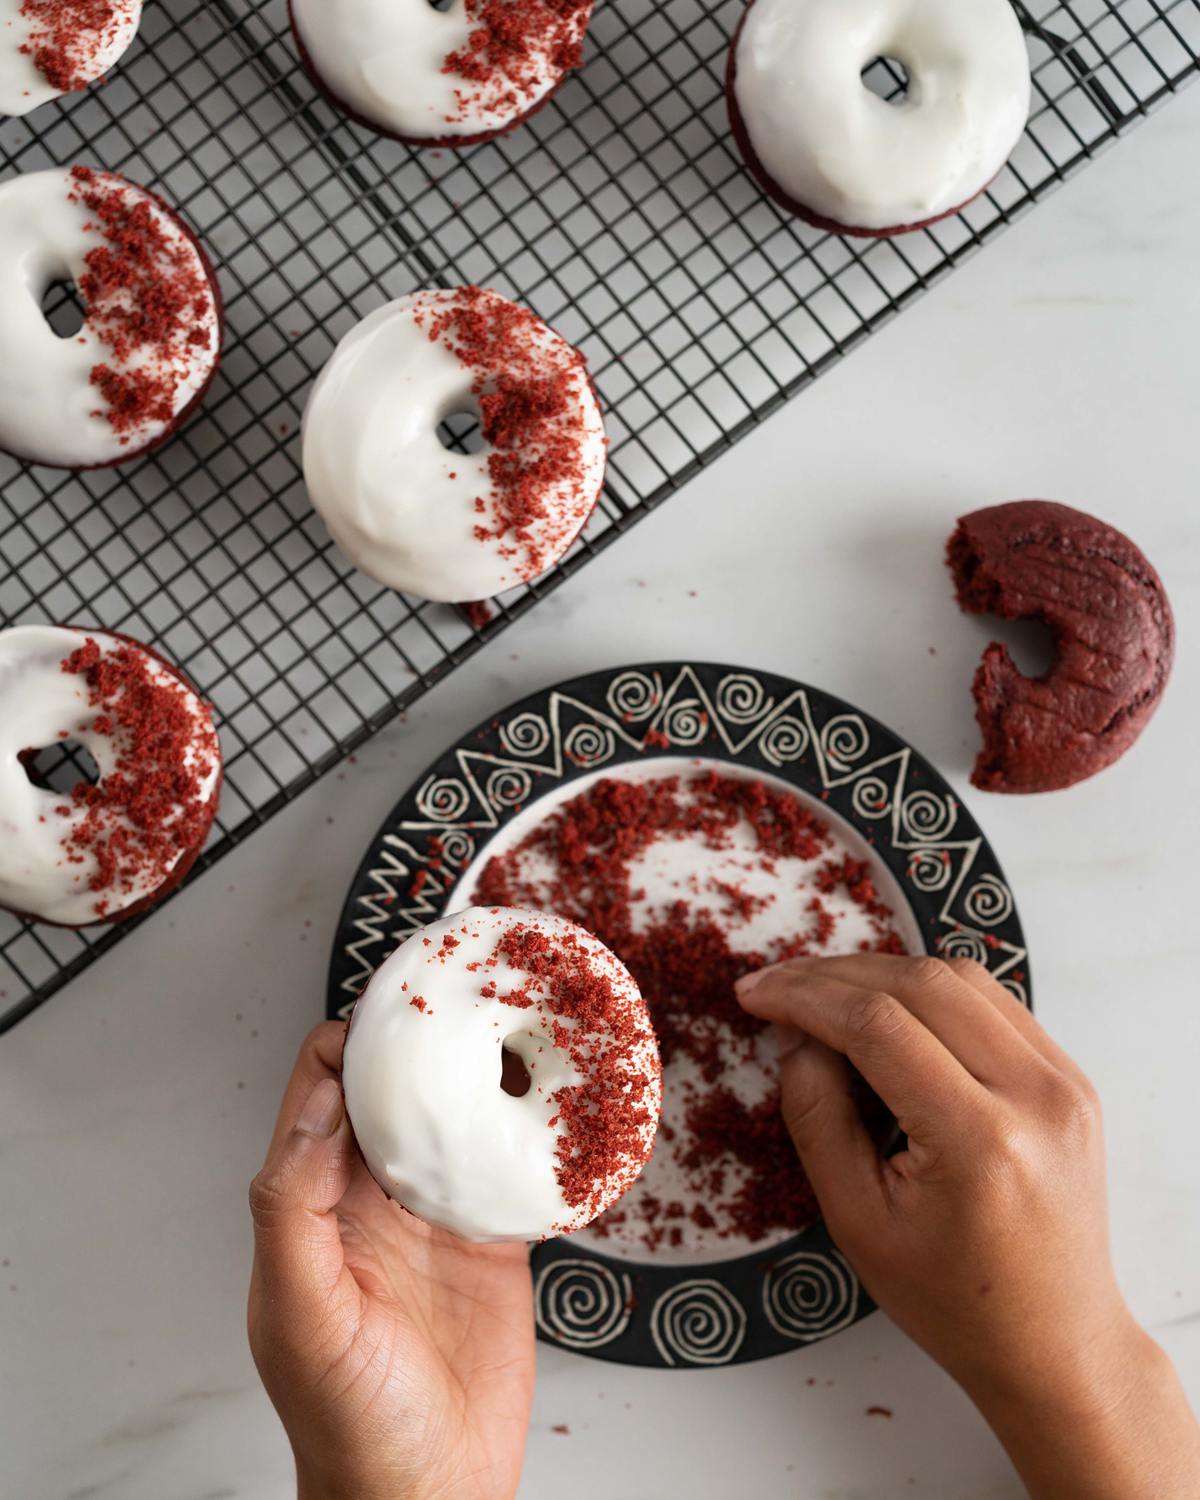
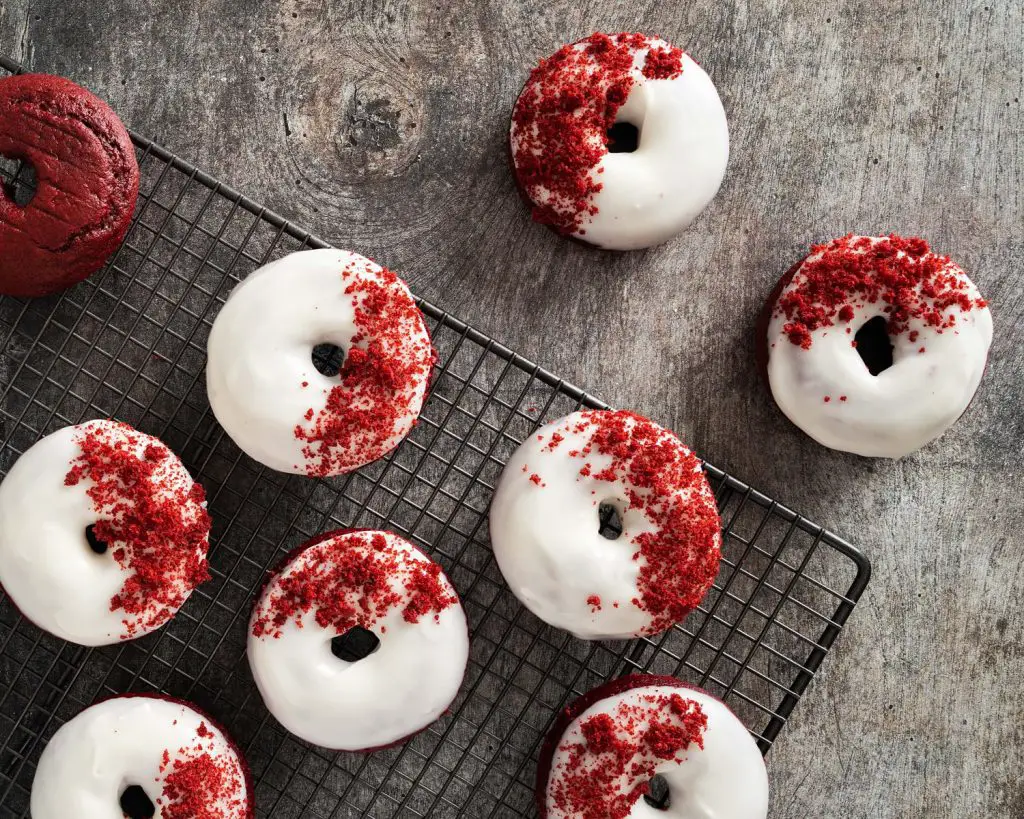
Step 3: Optional: if you wish, you can crumble up part of one of the donuts to sprinkle over the top of the rest. If you wish to keep all the donuts, decorate simply with the glaze or use any other sprinkles you wish to instead. Enjoy!
How do you remove the donuts from the tin?
Once you have removed the donut pan from the oven, let it sit on a cooling rack for 2-3 minutes. Then, very gently, use a (rounded) knife to gently ease the donuts to make sure they are loosened from the pan. If the pan was lightly greased before baking, they should release from the tin easily.
How long do these red velvet donuts last? How do I store baked donuts?
These donuts will last 2-3 days if stored in a cool place and in an airtight container. However, these red velvet donuts are best enjoyed on the day they are made.
Can you freeze donuts?
Absolutely! Freeze donuts before you glaze or decorate them for best results. Donuts can be frozen for up to two months. Keep reading for how to freeze the donuts.
How to freeze donuts
I would recommend not decorating the donuts before freezing, but doing it after they have been defrosted instead. Wrap each donut snugly in cling film (plastic wrap), and place in an airtight container. Place the container in the freezer and freeze for up to two months.
How to thaw donuts
When you want to enjoy the frozen donuts again, simply remove them from the freezer and the packaging. Place on a cooling rack, brushing off any ice crystals, and leave to thaw for a few hours. That’s it!
Can I make these donuts gluten free and dairy free?
Yes! You can substitute the plain (all purpose) flour for a gluten free flour blend. For dairy free options similarly use a plant based milk, yogurt, butter and cream cheese. Also make sure to grease the tins with a dairy free butter.
Additional tips for making this easy red velvet donuts recipe
- If you have not got yogurt to make the buttermilk, you can easily make it another way! For this recipe, simply stir together 125ml room temperature whole milk with 1 tbsp lemon juice. Leave to sit for 15 minutes, then use in place of the yogurt/milk mixture in this recipe.
- I would recommend using a gel food colour in this recipe. Gel food colours give a much stronger colour than liquid colours do, and they do not affect the flavour as much either.
- When combining the wet and dry ingredients together, do not over mix. Stir only until combined, then transfer to the pan and bake.
- Use cream cheese at room temperature, as it will help it mix with the other ingredients more easily.
- A small whisk or fork is best to mix the glaze together, to ensure all the ingredients are well combined and smooth.
- Add extra milk a few drops at a time to achieve the glaze consistency you prefer. I like my glaze quite thick, but do add more milk to make it thinner if this is your preference.
- I gather any crumbs from my donut tins to sprinkle on top of the donuts. If you prefer, you can leave the glaze plain or decorate with different sprinkles instead.
Troubleshooting
If you have any questions about this, please comment below and I will do my best to help. And do remember: if you enjoy this recipe for red velvet donuts, please leave a rating and review below. You could even post a picture on Instagram and tag me when you share it with the world. You already know I would love to see!
More recipes from my blog for you to enjoy
If you enjoyed these donuts, please do have a look at these recipes I think you will love too!
Chocolate fudge donuts: Moist, rich and light, these chocolate cake doughnuts are topped with a silky smooth incredible chocolate fudge glaze. To top it off, they are decorated with a white chocolate drizzle and chocolate curls. Pure chocolate heaven!
Brownie donuts: Brownie donuts, aka bronuts, are rich and chocolatey, squidgy and fudgy, with a deep chocolate glaze everyone will love. If you are a brownie fan and love donuts too, then this one is most definitely for you!
Red velvet cake (eggless): You will love this rich and moist eggless red velvet cake recipe. It has three layers of beautiful decadent red velvet sponge with a smooth and totally irresistible cream cheese icing. This is one showstopper of a cake you will not want to miss!
Thanks so much for joining me today, my friends. Happy baking! x
Recommended equipment I used *
| Donut pan | Digital kitchen scales |
| Measuring spoons | Pastry brush |
| Mixing bowl/Small bowl | Sieve |
| Jug | Whisk |
| Spatula | Piping bag |

