Summertime for me starts with strawberry season. As a family, we love going strawberry picking, then coming home with a glut of beautiful fresh berries and enjoying them. Of course I have to make something with them too, and what better in time for summer than my strawberry ripple ice cream!
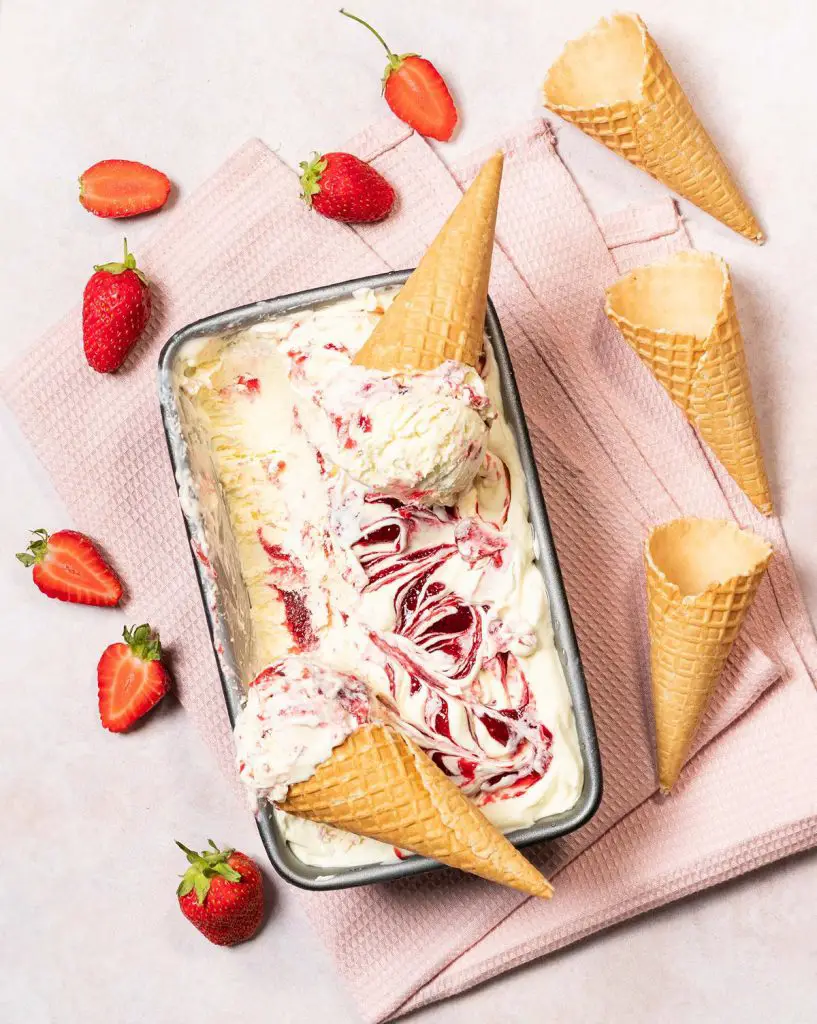
Keeping my summer cool with fruity ice cream
Ice cream is a natural (not forgetting to mention delicious!) way to keep cool over hot summer months. And what could be better than adding fresh summer fruit in to make it extra summery and wonderfully refreshing? The method of making a ripple ice cream as I have done here can be used with a variety of other summer fruit too. Try it with raspberries, blackberries, blueberries or a mix of all the berries!
What is no churn ice cream?
No churn ice cream is made without the use of an ice cream maker machine. Ice cream makers churn or mix the ice cream mixture whilst chilling it, resulting in a smooth crystal free ice cream like those bought in stores. A no churn ice cream does not use such a machine at all. Instead, the ice cream it is mixed together and simply popped in the freezer to chill and set before scooping and serving. Despite the richer and creamier texture, I find this method is so simple and convenient so it is always a winner!
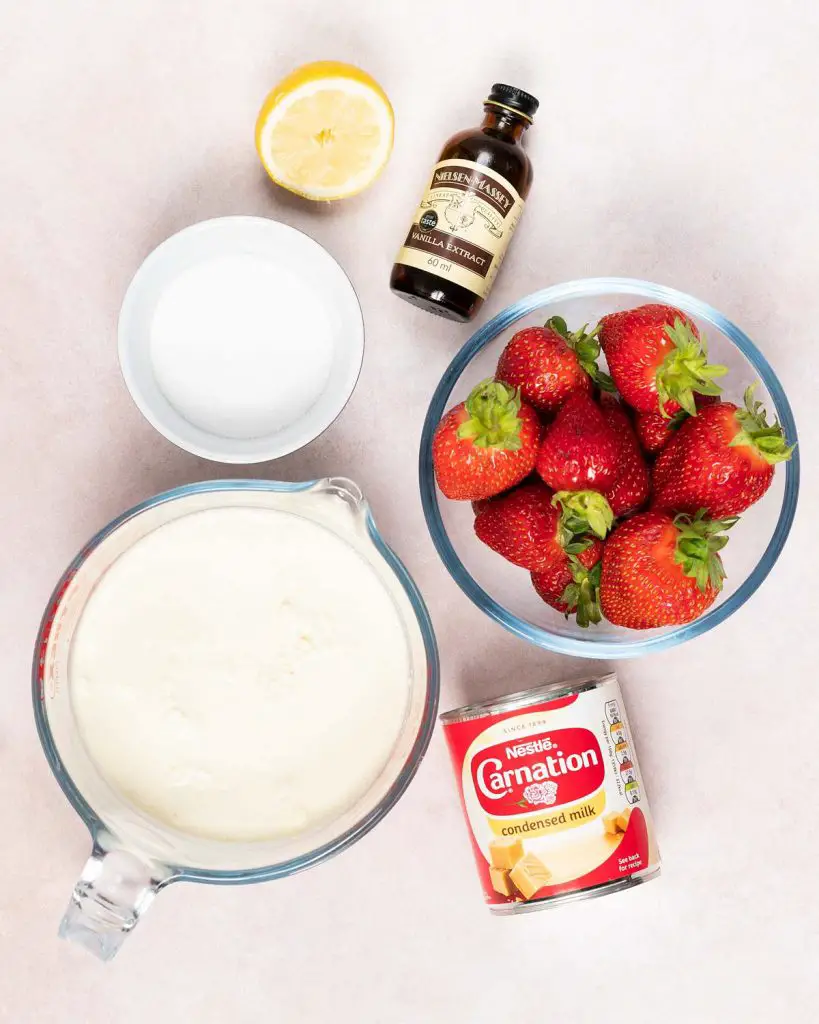
Strawberry ice cream ingredients
- Strawberries: the star of this ice cream! The fruit is cooked down until it breaks down and thickens almost to a jam before being swirled into the no churn ice cream.
- Caster sugar: for sweetness in the strawberry coulis swirled into the ice cream ripple.
- Lemon juice: keeps the vibrant colour of the strawberries and gives a lovely gentle tangy to the strawberry ripple.
- Double cream: also known as heavy cream or even whipping cream, this ingredient cannot be replaced with milk or another alternative.
- Condensed milk: this thick milk acts as a sweetener and softens the strawberry and cream ice cream, allowing for easier scooping.
- Vanilla: gives a subtle additional flavour to the ice cream, and also helps soften it slightly to make it easier to scoop.
What equipment do I need to make strawberry ripple ice cream?
- Digital kitchen scales*: I provide all my measurements in cups too, however I would encourage all bakers to weigh out ingredients when baking. A set of digital kitchen scales is so useful and totally an essential baking tool for me.
- Measuring spoons*: a set of measuring spoons is essential for any baker. This is because these are more accurate than using everyday teaspoons and tablespoons, which can vary greatly in size.
- Small saucepan*: to make and cook down the strawberry sauce when making this strawberry ice cream recipe.
- Hand blender*: used to blend up the strawberries when making the coulis. This is an optional extra, I just prefer the sauce to be completely smooth.
- Mixing bowl*: to beat all the ingredients together until thick before putting together this beautiful strawberry ice cream ripple!
- Handheld electric mixer*: a useful tool to make life easier in the kitchen! You can, of course, make this whole recipe entirely by hand. However, it would give your arm quite the workout to do so!
- Spatula*: useful to help make sure nothing has been missed and not mixed in. Also useful to scrape down the bowl out when transferring the vanilla ice cream mixture to the container for freezing.
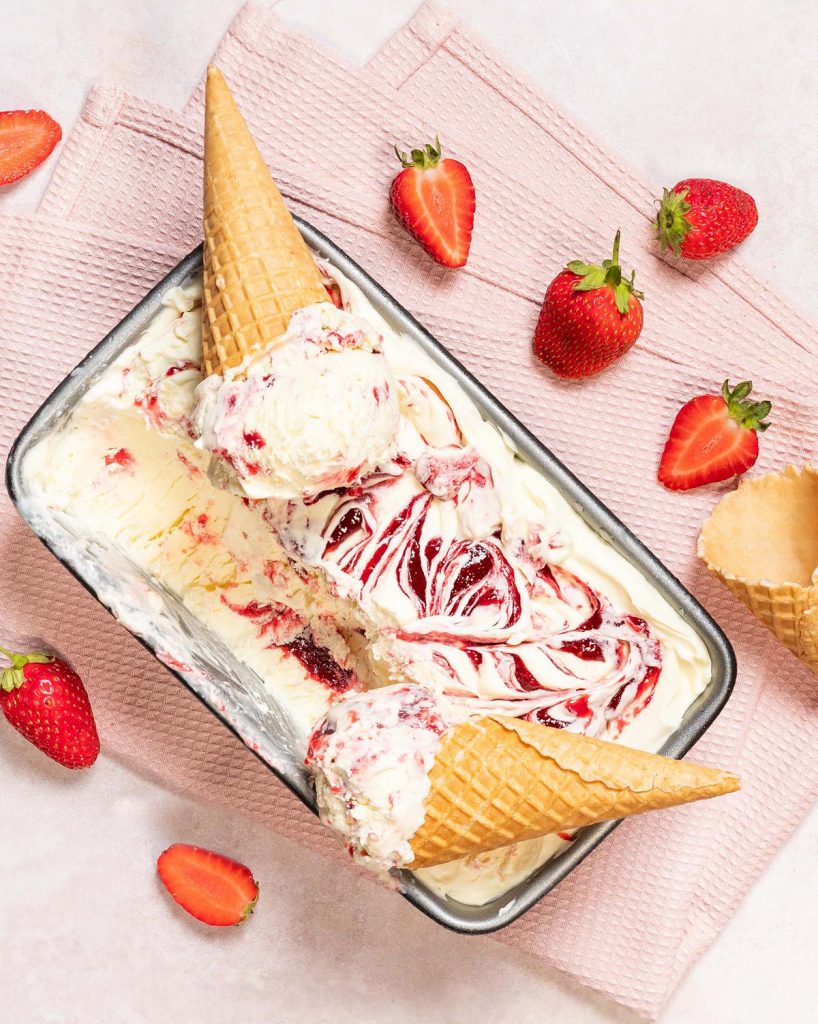
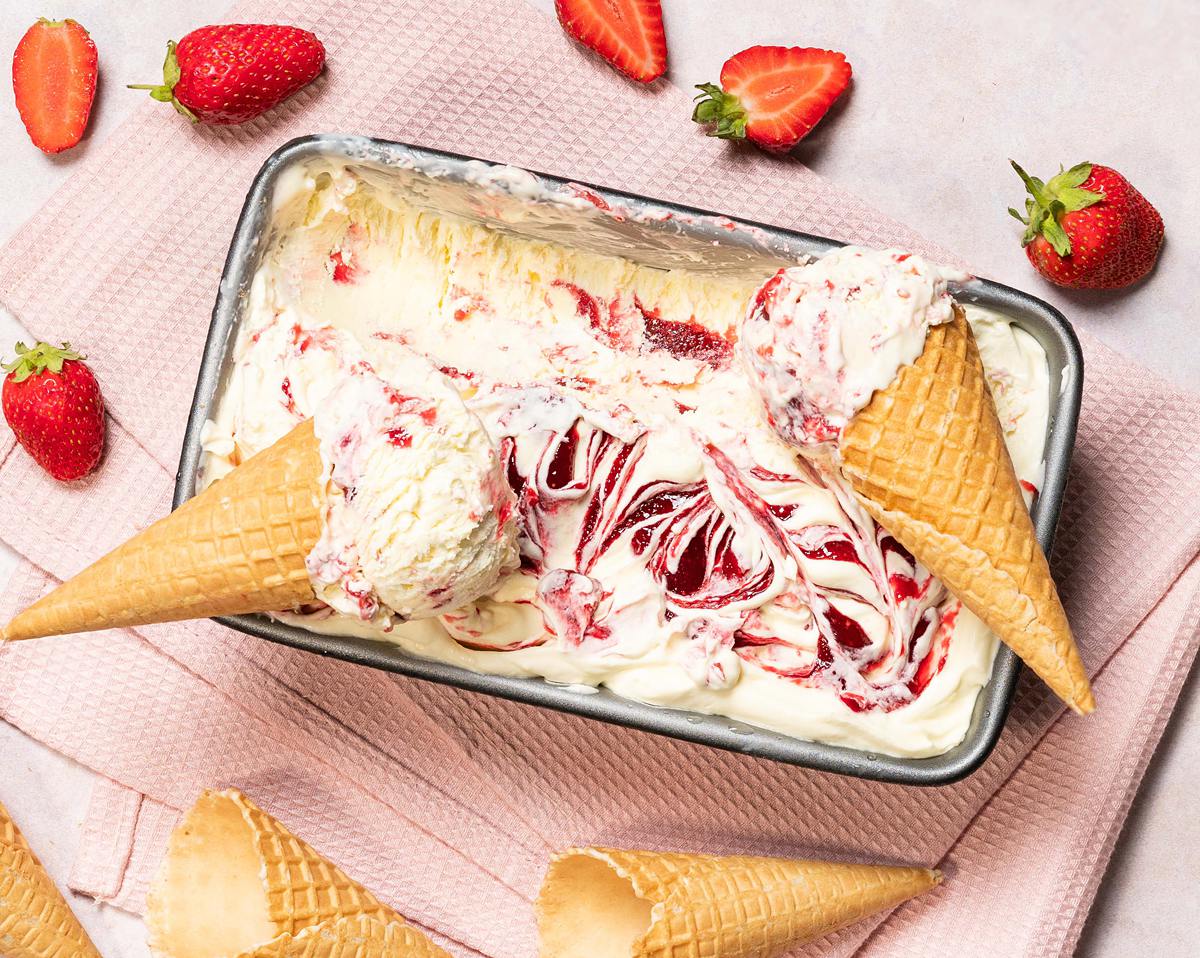
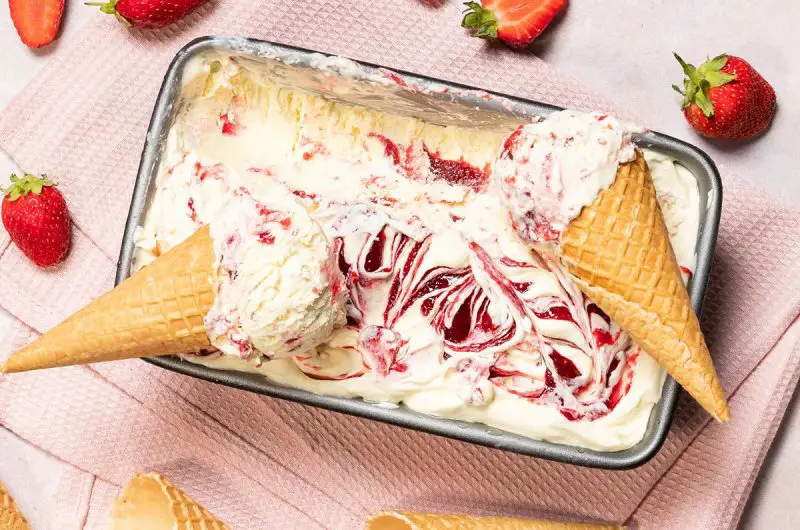
- Storage container with lid*: to store the strawberry ripple ice cream in when in the freezer. I use a loaf tin in my images here, only because it looks pretty, but I would normally use a lidded container instead.
How to make easy homemade strawberry ripple ice cream
There are two elements to make for this ice cream: the strawberry coulis for the ripple and the ice cream itself. Then simply swirl the two together and freeze until set, et voila! One of the easiest desserts to make, this homemade no churn ice cream is the best summertime ice cream you will try!
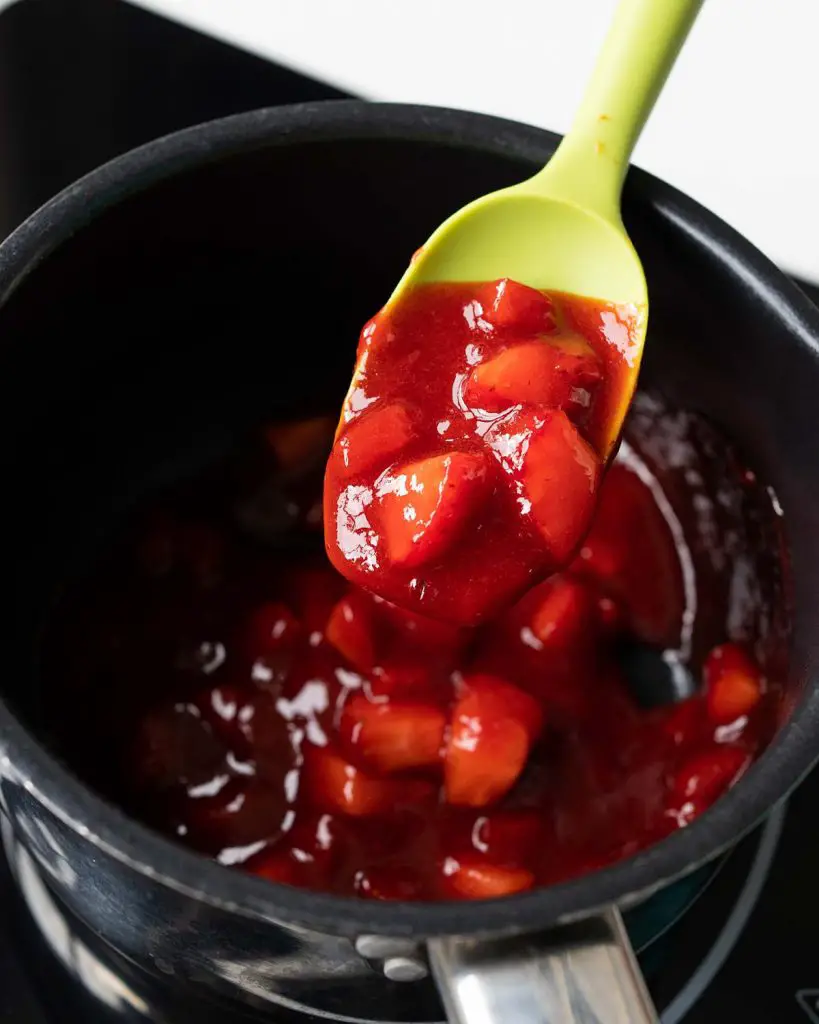
Making the strawberry coulis and sauce
Step 1: First, make the strawberry reduction. Place the strawberries, lemon juice and sugar into a saucepan and heat on medium-low. Use a potato masher or fork to press the fruit to help break it down quicker.
Step 2: Once the sugar has dissolved and the fruit has broken down, keep cooking it until it becomes jammy, thick and smooth. This takes me about twenty minutes of cooking time. When ready, the mixture will fall thickly from the spatula.
Step 3: Transfer the strawberry mixture to a container and leave to cool completely. I pop mine in the fridge for quicker cooling time.
Making the ice cream
Step 1: Pour the double cream, condensed milk and vanilla into a large mixing bowl. Beat the mixture using an electric hand whisk until it turns thick and stands in firm peaks when the beater is lifted. This takes me about 4-5 minutes with my hand held electric mixer.
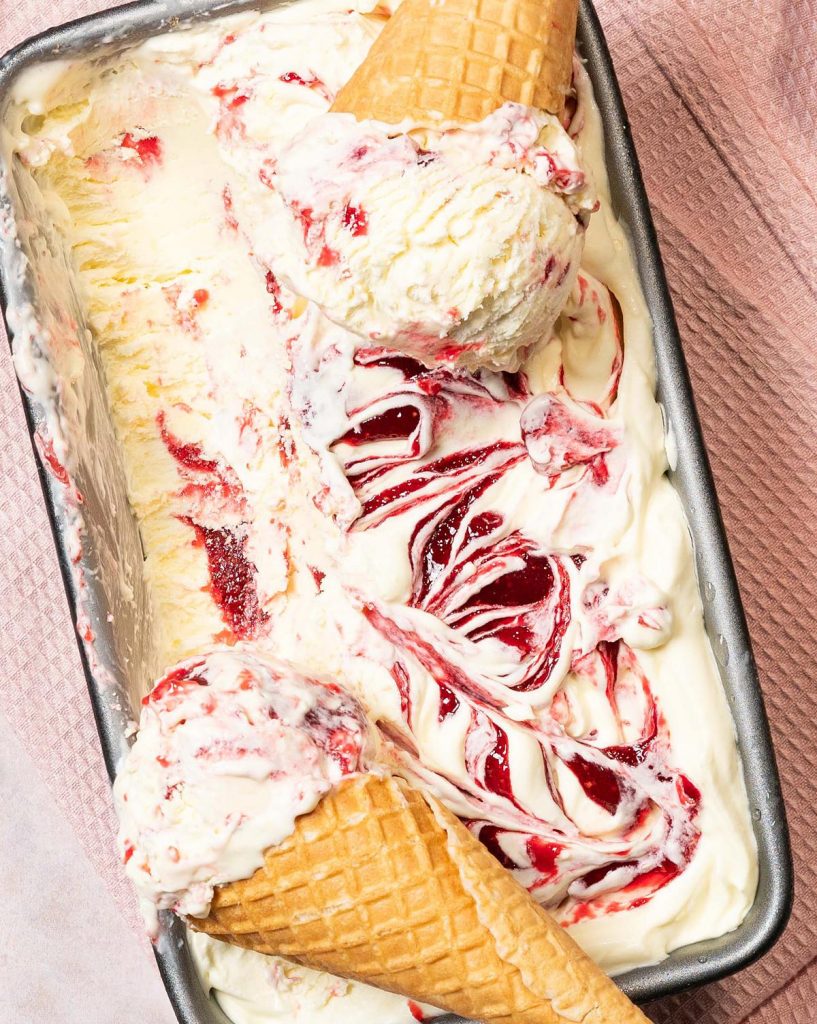
Step 2: Tip about a third of the ice cream mixture into the freezer safe container and spread out over the base. Spoon dollops of the strawberry mixture on top and swirl in using a knife or a skewer.
Step 3: Repeat the ice cream and strawberry layers two more times, finishing with strawberry dollops on top swirled into the ice cream layer.
Step 4: Pop the lid on the container and place in the freezer for at least six hours or overnight. When you are ready to indulge, make sure to remove the container from the freezer a few minutes before scooping for it to soften slightly. Enjoy!
Can I use evaporated milk instead of condensed milk to make this strawberry ripple ice cream?
No, condensed milk is different to evaporated milk, and one will not substitute the other in this recipe. You cannot use evaporated milk to make no churn ice cream.
Can single or whipping cream be used instead of double cream to make no churn ice cream? Can you use heavy cream or whipping cream?
In order for this ice cream to set, you must use a cream that will thicken to stiff peaks when whisked. Here in the UK, this means using double cream or whipping cream and not single cream. As a guide, always use a cream that has 35% or more fat content.
Can you use frozen strawberries for this ice cream?
Yes absolutely! Cook the strawberries from frozen, following the same steps to reduce the strawberry mixture and continue with the rest of the recipe for strawberry ripple ice cream as written.
Storing homemade strawberry ripple ice cream
I used a 2lb loaf tin, just to make it look pretty for my pictures on my blog. However, I would advise using a lidded container to store this strawberry ripple ice cream in the freezer. I link to the one I normally use for my easy strawberry ice cream no churn below.
How long will homemade strawberry ripple ice cream last?
This easy ripple ice cream no churn recipe can be kept in the freezer and enjoyed for up to three weeks. I will be seriously impressed if it is not eaten sooner though!
Can this ice cream be made gluten free and dairy free?
The strawberry ripple ice cream itself is naturally gluten free, so there is no need to substitute anything there. In terms of making this recipe dairy free, I have not personally come across a perfect alternative for dairy free double cream that will whip up to stiff peaks. I do know many people have had success with the brand Elmlea here in the UK. I have not tried it myself so cannot vouch for whether it will work or not. Remember too you will need to substitute the condensed milk for a dairy free version.
If you do try making this dairy free, I would love to hear from you, please leave me a comment below.
Additional tips for making this easy no churn strawberry ripple ice cream
- When making the strawberry coulis/reduction, you can blend the mixture using an immersion blender if you wish. This will simply break down the fruit into a liquid quicker to get it reduced down. However it should break down well enough without this step too.
- Using vanilla in making no churn ice cream helps make it a little softer, and so easier to scoop.
- Ensure the cream used will whip to stiff peaks when making this ice cream. If you use something that will not whip up, you will end up with a tasty but rather runny mess!
- Always keep the cream in the fridge to keep it cold right until you are ready to use it. This helps the cream whip up a lot quicker, and gives wonderfully soft whipped peaks to the cream.
- Remove the ice cream from the freezer a few minutes before you want to enjoy it. Dip the ice cream scoop or spoon in a mug of boiling water before scooping. Dry it off then scoop the ice cream. This warming of the utensil helps it glide through the ice cream, making it a whole lot easier to create perfectly beautiful scoops of ice cream! Dip and wipe down the tool between scoops to give clean scoops of strawberry ripple ice cream every time.
Troubleshooting
If you have any questions about this strawberry ripple ice cream, please comment below and I will do my best to help. And if you enjoy this recipe for strawberry ice cream without ice cream maker, please leave a rating and review below. You could even post a picture on Instagram and tag me when you share it with the world. You already know I would love to see!
Other no churn ice creams made with condensed milk
Pineapple coconut ice cream: If you like piña colada, without getting caught in the rain, then this ice cream is the one for you! Bring the tropical vibes to your home with this smooth and creamy pineapple coconut ice cream. A perfect dessert for warm summer days!
Mango ice cream: My tropical mango kulfi is creamy and dreamy, a perfect summertime treat, and incredibly easy to make! This no-churn mango ice cream recipe uses just four ingredients and is ready to be chilled in a flash!
Oreo ice cream: Warm summer months call for easy desserts. And what could be easier than a no churn ice cream? This homemade Oreo ice cream is a cookie lovers delight, made with just four ingredients. The ultimate summertime dessert!
Thanks for joining me today, my friends. Hope you enjoy making and sharing this beautifully summery dessert! x
Recommended equipment I used to make this ice cream *
| Digital kitchen scales | Measuring spoons |
| Small saucepan | Hand blender |
| Mixing bowl | Handheld electric mixer |
| Spatula | Storage container with lid |

Great recipe to work with. It’s simple and absolutely delicious