
If you’re looking for a baked doughnuts recipe, you’re in the right place! These doughnuts are light and fluffy, and so simple to make. Plus, they are yeast-free and require zero kneading, which means no waiting time for dough to prove, no shaping of your dough and absolutely no deep frying. In fact, you could be enjoying some delicious baked doughnuts in under an hour! I don’t know about you, but I call that a definite win!
Everyone loves a good doughnut!
Personally, I believe everyone should have a handful of basic recipes to hand, which is why I started my Baking Basics series. This baked doughnuts recipe is perfect to add to this series as it’s a delicious no fuss recipe, but still allows you plenty of creative license with flavouring and decorating them.
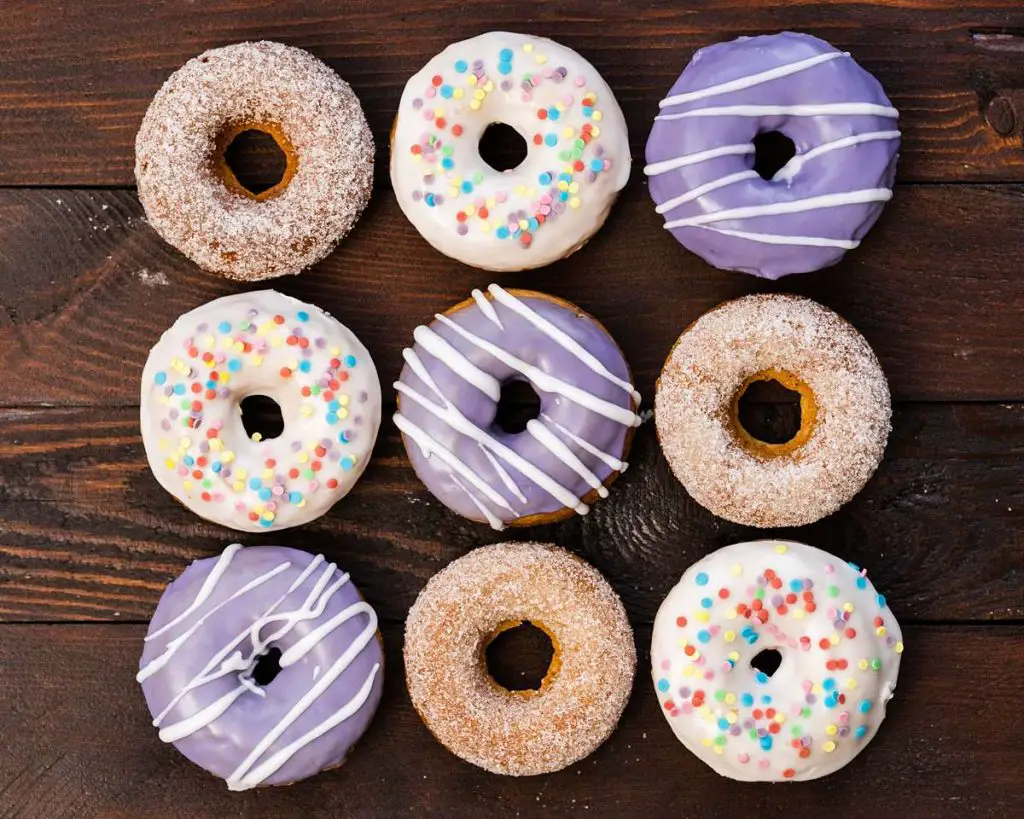
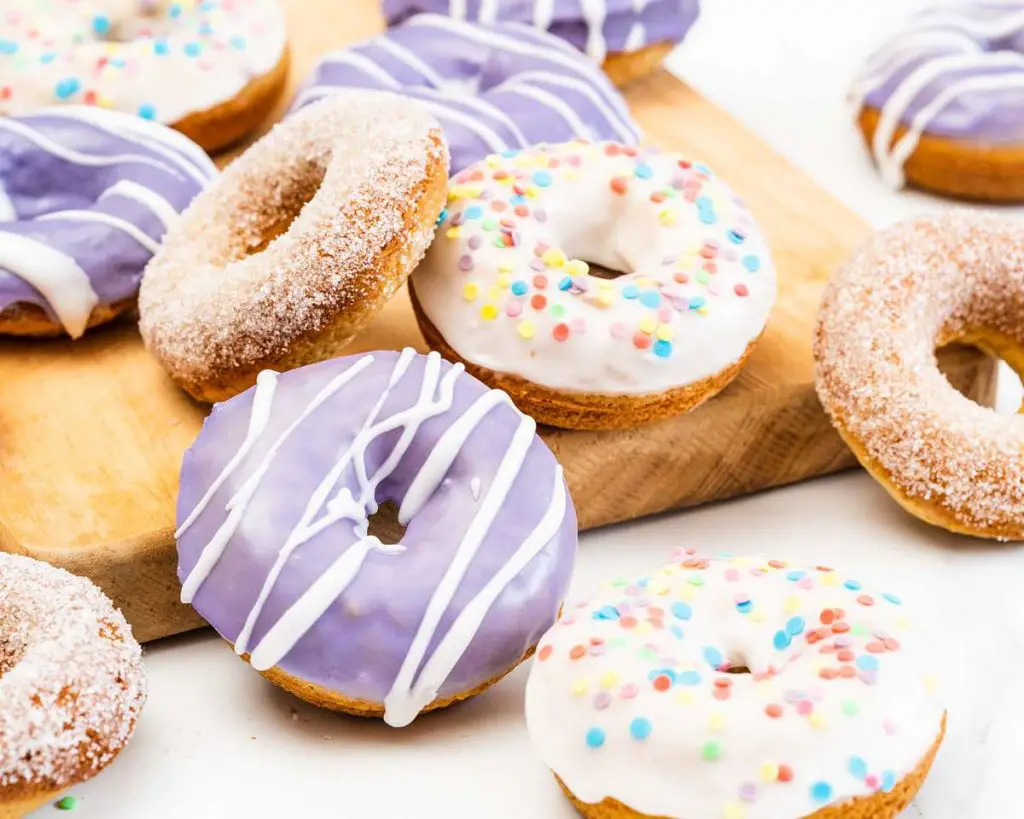
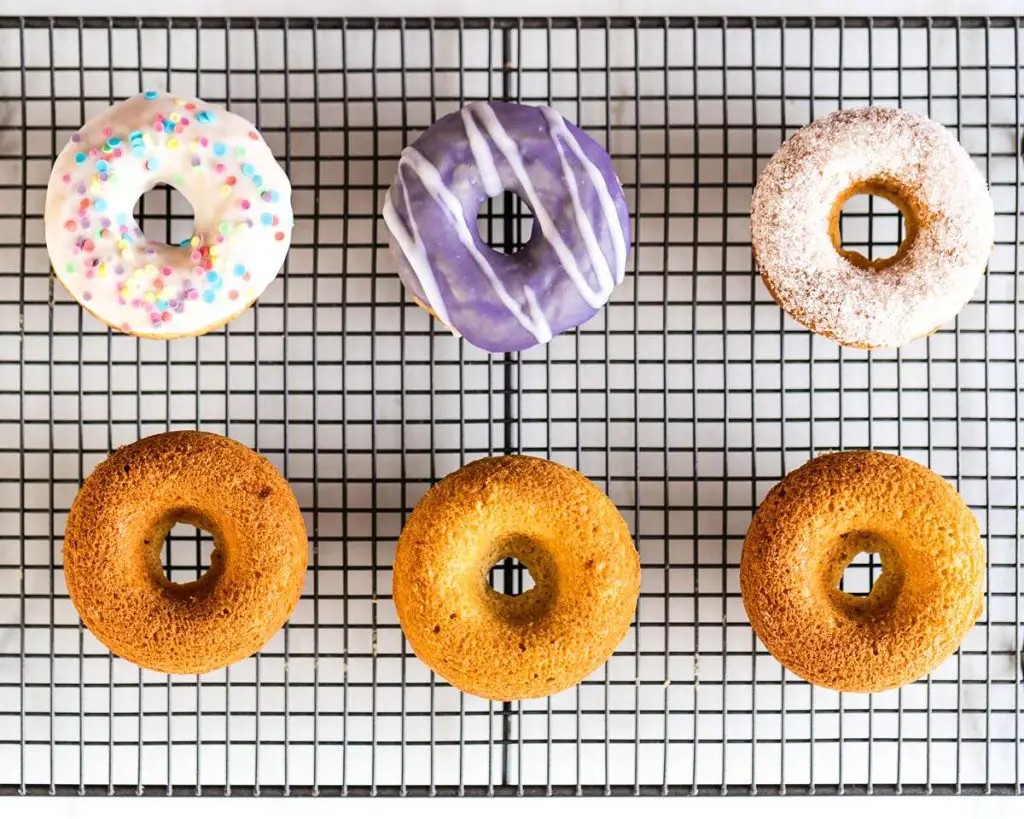
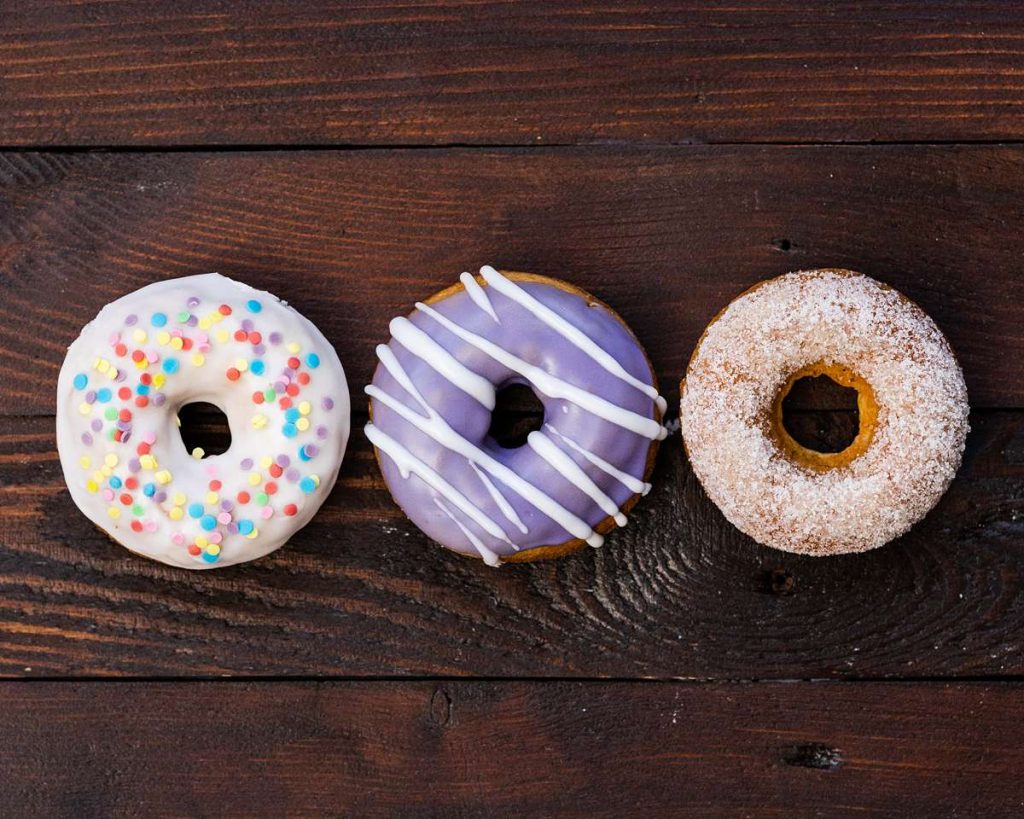
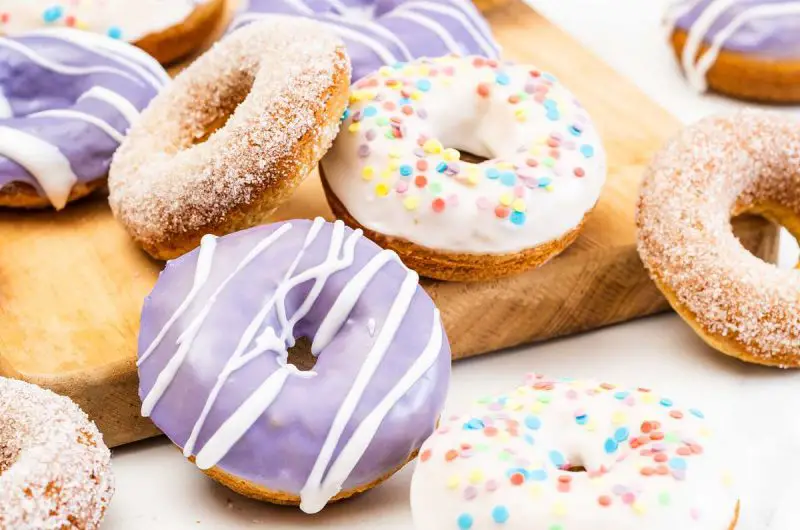
Don’t fret though, if being creative with topping your doughnuts isn’t your forte, I’m also sharing three different ways you can decorate yours too: sugar doughnuts, sprinkles and glazed. Keep reading for all my top tips too!
What ingredients do I need to make these baked doughnuts?
- Flour: this recipe uses plain flour (all purpose if you’re in the US). If you wanted to use whole wheat flour, I wouldn’t recommend a straight substitute but 50/50 whole wheat and white flour instead
- Brown sugar: this adds sweetness to the doughnuts along with additional moisture and a caramelised flavour.
- Baking powder/bicarbonate of soda: these are the leavening agents in this bake.
- Salt: salt enhances the flavour of your bake. You won’t taste it, don’t worry!
- Milk: adds to the liquid requirements of this doughnut recipe.
- Egg: gives structure to your bake and helps with the rise of it too.
- Vanilla: purely for flavour. Yum!
- Melted butter: this is the fat content of the recipe. Butter helps keep your bake moist and trap air during baking, leading to a fluffier bake.
- Granulated sugar: the larger granules in this sugar will give your doughnuts that wonderful sugar crunch.
- Icing/powdered sugar: used in the icing/glaze. Better than other sugar options as it dissolves more easily making for smoother glaze for your doughnuts!
- Sprinkles: because doughnuts with sprinkles are such fun!
- Food colouring: to colour your glaze. You can leave it uncoloured (white) if you wish too of course.
What equipment do I need to make baked doughnuts?
- Doughnut pan*: you will need a 6 hold doughnuts pan to make baked doughnuts.
- Pastry brush*: for brushing your doughnut pan with melted butter before baking.
- Digital kitchen scales*: my recommended method of measuring ingredients is to weigh them out using grams rather than cups. I do, however, provide cup measures too, if you prefer working with this method.
- Measuring spoons*: for measuring smaller quantities such as tablespoons (tbsp) and teaspoons (tsp). A set of dedicated measuring spoons are far more accurate than using everyday eating spoons, so is a small investment well worth making.
- Mixing bowl*: any bowl large enough will do, plastic, glass, the choice is yours!
- Sieve*: to remove larger clumps of ingredients and aerate your dry ingredients.
- Jug*: for mixing together your wet ingredients before adding to your dry.
- Whisk*: totally optional, but good to aerating your dry ingredients.
- Spatula*: to use to mix ingredients together
- Piping bags*: I use a piping bag to fill my doughnut pan with the batter as I find this easier and less messy. You can, of course, just spoon it in too, piping is totally optional!
- Small bowls*: to use as part of glazing/decorating your doughnuts.
How to make homemade baked doughnuts
This doughnut recipe uses simple ingredients you probably already have at home. The mixture doesn’t take long to come together, so you can be enjoying some delicious baked doughnuts in record time!
Step 1: Brush your doughnut pan with some melted butter and set it aside. Preheat your oven to 180C/350F while you make your doughnut mixture.
Step 2: Into a large mixing bowl, sift in the flour, baking powder, bicarbonate of soda and salt. Add in the brown sugar. Whisk it all lightly to combine, then set aside.
Step 3: In a separate bowl, or ideally a jug, tip in the milk, egg and vanilla and whisk together. Gradually add in 4 tbsp of melted butter, whisking as you go so your butter doesn’t solidify when it hits the cold ingredients in the jug. Pour your wet ingredients into the bowl with your dry ingredients and mix together until just combined.
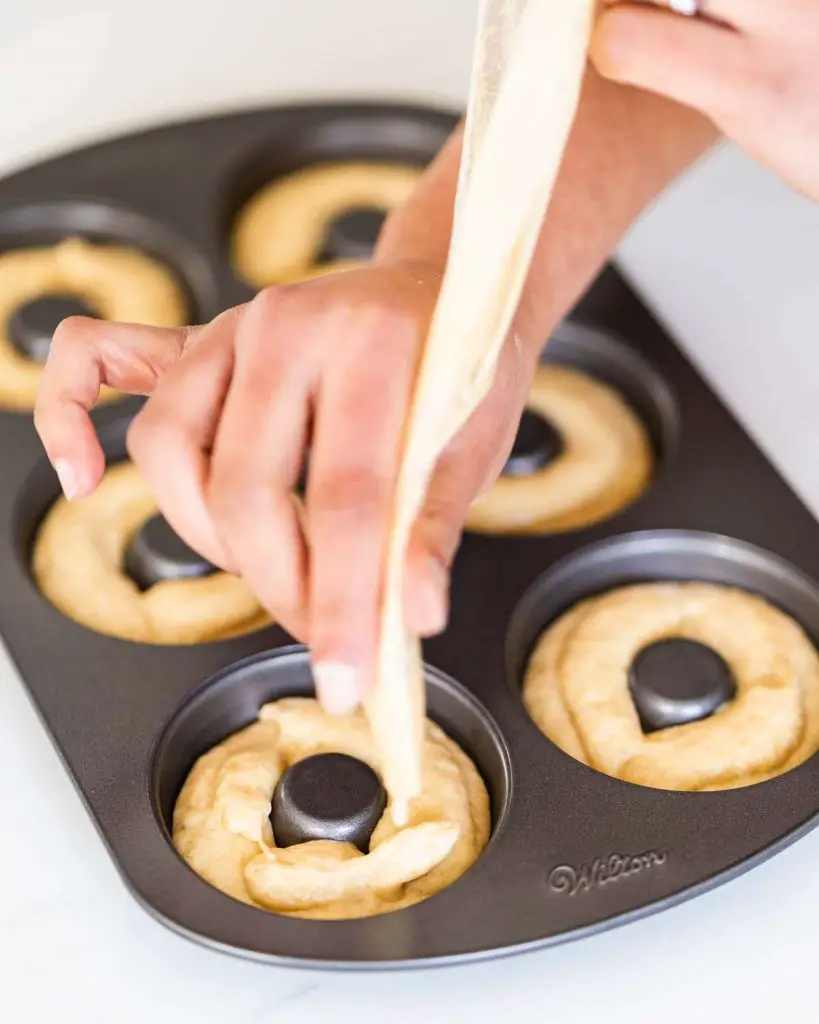
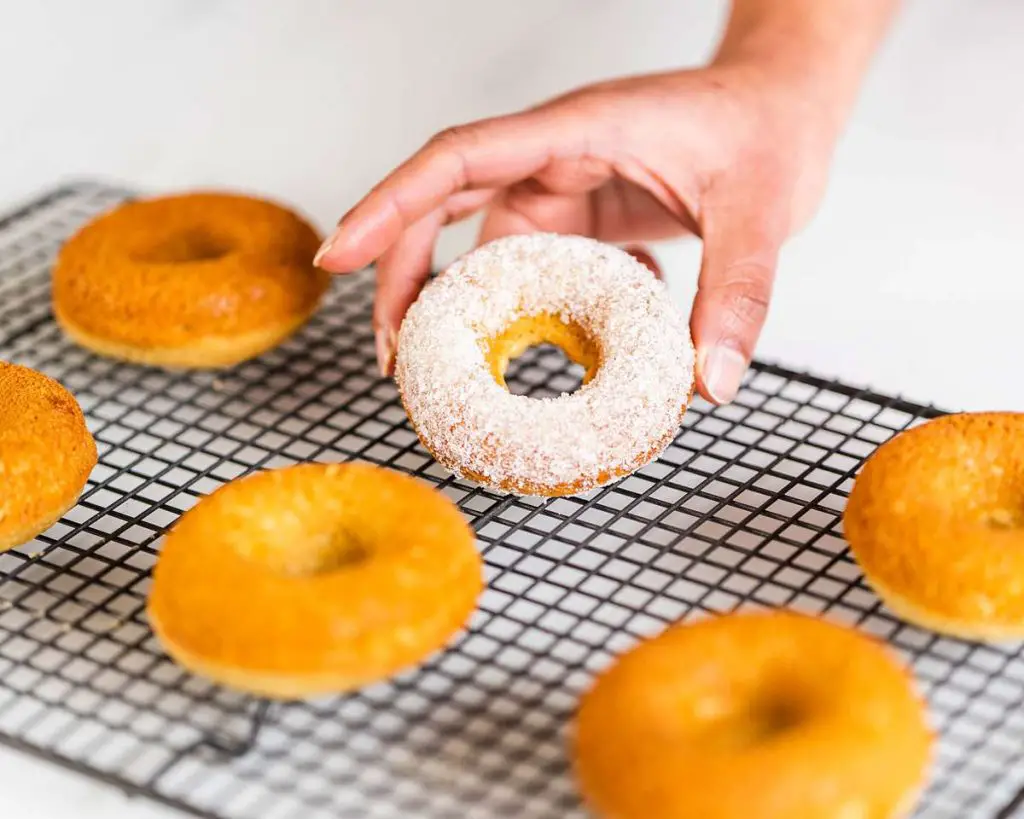
Step 4: Transfer your doughnut batter to a piping bag and fill your doughnut pan no more than ⅔ full. This is important as if you fill it more, your donut will rise and close up whilst baking, so it won’t be a ring shape any longer. Bake in your preheated oven for 9-10 minutes until a skewer comes out clean and your doughnuts are springy to touch. Cool in the pan for a couple of minutes, then carefully loosen and transfer to a wire rack to cool while you prepare your toppings.
Step 5: For sugared doughnuts, brush your cooled doughnuts with some melted butter (you can do one side or all over) and toss in granulated sugar until completely coated.
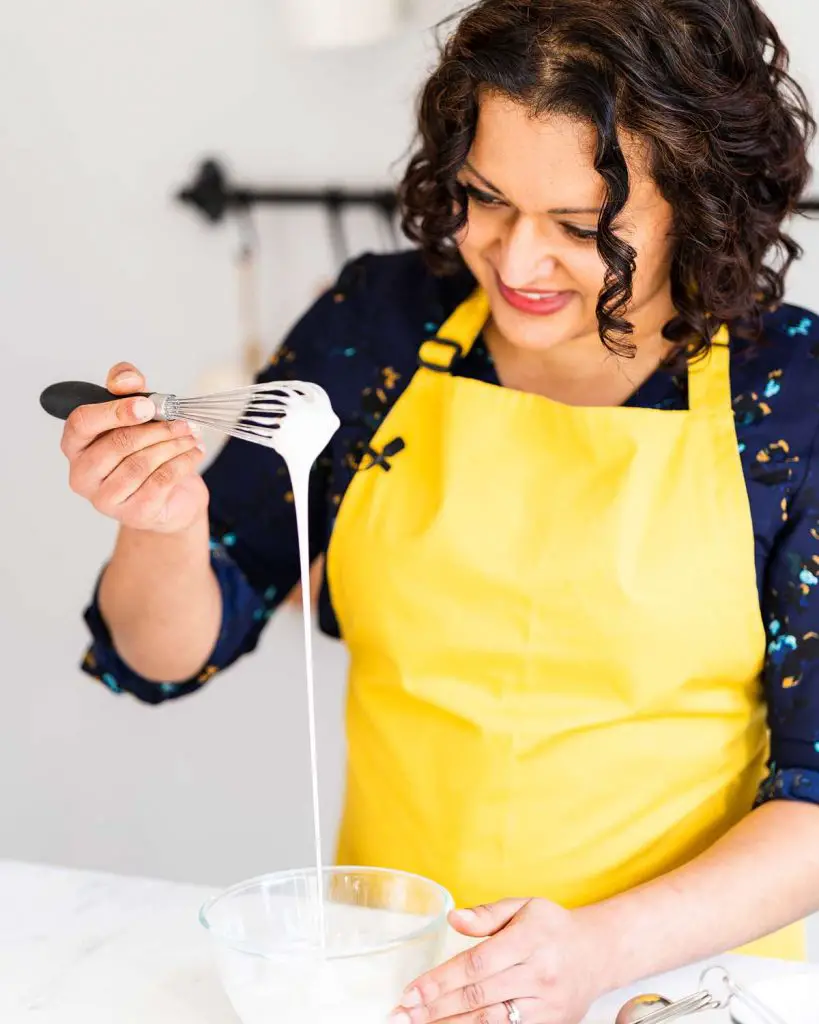
Step 6: To make your glaze, add 2tsp milk to your icing sugar and mix to form a thick glaze, adding more milk until you achieve the consistency you want. I like my glaze to have the consistency of extra thick cream, so I get a decent covering on my doughnuts, but add more milk if you prefer a thinner glaze.
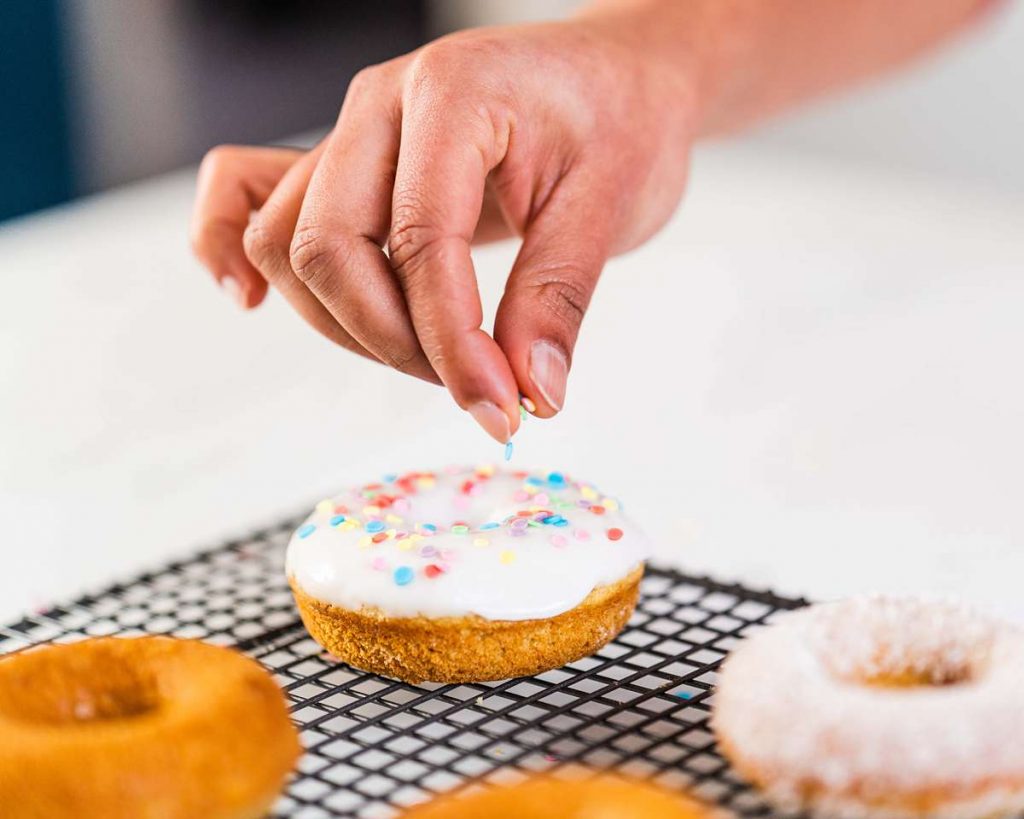
Step 7: For sprinkle doughnuts, dip your doughnuts in your glaze, letting it drip back in the bowl before you set down. You can then scatter the sprinkles over your glaze or fully dunk your doughnut, glaze side down, into a bowl of sprinkles. Leave on your cooling rack to set.
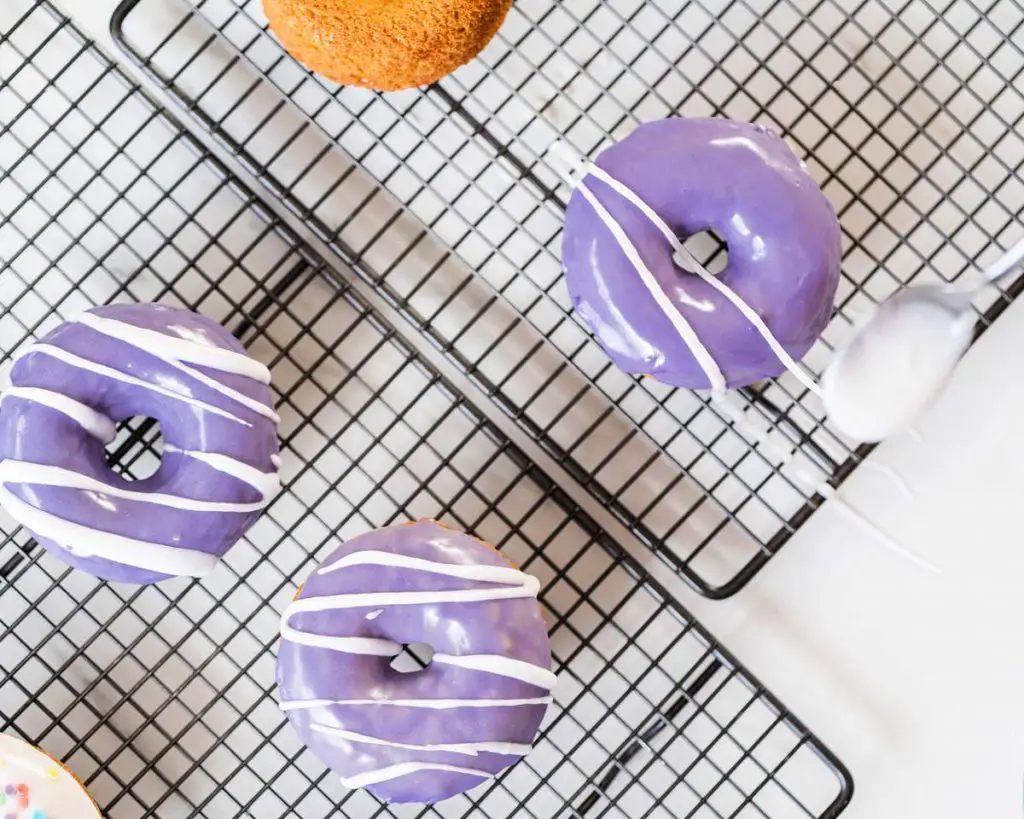
Step 8: If you want to do multiple colours of glaze, split your white glaze into as many bowls as you wish. Here, I split mine in two, coloured one purple and left the other white. Dip your doughnut as before into one glaze, allow to drip off a little, then place on your cooling rack. Leave the glaze to set for a few minutes until a slight crust forms. Using a different colour, drizzle a pattern over the doughnut. It shouldn’t blend in but sit neatly on top of your original colour, thanks to the crust. Leave to set.
How do you remove the doughnuts from the tin?
Once you’ve removed your doughnut pan from the oven, let it sit on your cooling rack for 2-3 minutes. Then, very gently, use a (rounded) knife to gently ease the doughnuts to make sure they’re loosened from the pan. If you greased your pan before baking, they should easily pop out.
How long do these doughnuts last and how do I store baked doughnuts?
These doughnuts will last 2-3 days if stored in a cool place and in an airtight container. However, they are best enjoyed on the day they are made.
Can you freeze doughnuts?
Absolutely! Freeze your doughnuts before you glaze or decorate them for best results, and freeze for up to two months. Keep reading for how to freeze your doughnuts.
How to freeze doughnuts
I would recommend not decorating your doughnuts before freezing, but doing it once you have defrosted them instead. I use a large (sealable) food or freezer bag to freeze mine. Cut two pieces of parchment slightly smaller than your bag, then slide one into the bottom of your bag. Place your doughnuts, in one layer, on the paper and top with the second piece of paper. Gently push as much air out of the bag as possible and seal almost all the way. Using a straw, carefully slip it into the unsealed part of your bag and use it to suck the remaining air out of the bag. This will make it look like it’s shrinking and make the paper contract against the doughnuts. This is exactly what should happen. Once you’ve got as much air out as you can, seal the bag and lay it flat in your freezer.
How to thaw your doughnuts
When you want to enjoy your frozen doughnuts again, just thaw them in the fridge overnight, then bring them out of the fridge about 30 minutes before decorating to come to room temperature. If you are short on time (or you forget to pop them in the fridge!), you can warm the doughnuts in short bursts directly in the microwave, but this can run the risk of drying them out, so I wouldn’t recommend this unless you’re desperate!
Can I make these doughnuts gluten free and dairy free?
Yes! You can substitute your plain/all purpose flour for a gluten free flour, but do add an additional ¼ tsp Xanthan gum for a better texture. For dairy free options similarly use a plant based milk and butter. Also make sure to grease your tins with dairy free butter.
Additional tips for making this doughnuts recipe
- Make sure you’ve prepared your tools before you start mixing: grease your pan and preheat your oven. It’s easy to forget once you start mixing!
- Leave your doughnuts to cool completely before decorating. They don’t take long, maybe 20 minutes or so. Doing it sooner could result in them breaking or crumbling as you dip them in your glaze.
- When dipping your doughnuts in the glaze, first make sure your glaze isn’t too thick to risk pulling and breaking your doughnuts. I find it easiest to pop it in face down, wiggle it a little on the surface of the glaze, then very gently twist it to get it up off the glaze. Do use a blunt knife to help you lift it if needed, then just smooth the glaze over if required.
- I’ve given you three ideas here for how you can decorate your doughnuts. However, you can be creative too: use different sprinkles, popping candy, nuts or even freeze dried fruit! The options are limitless!

Troubleshooting
If you have any other questions about this recipe, please use the comments below to ask away and I’ll do my best to help! And if you made and enjoyed this, I’d love to hear from you too!
And don’t forget: if you make this recipe for baked donuts, please do consider leaving a rating and review below, I would love to know how you enjoy making them! You could even post a picture on Instagram and tag me when you share it with the world!
More doughnut recipes to enjoy
Don’t forget too to check out these other delicious doughnuts recipes on my blog:
Oreo doughnuts: if you’re looking for the best baked oreo donuts, you’ve found them! Cakey soft donuts topped with a tangy glaze, utterly delicious!
Chocolate fudge doughnuts: my chocolate fudge donuts are a chocaholic’s dream! Moist chocolate donuts, fudgy chocolate glaze and more chocolate to decorate. Yum!
Lemon blueberry doughnuts: fluffy lemon donuts, pops of blueberry and a stunning blueberry glaze make these donuts a real showstopper!
Happy baking, my friends! x
Recommended equipment and ingredients I used *
| Doughnut pan | Pastry brush |
| Digital kitchen scales | Measuring spoons |
| Mixing bowl/Small bowls | Sieve |
| Jug | Whisk |
| Spatula | Piping bags |
Baked Doughnuts Recipe
9
servings20
minutes10
minutes159
kcal30
minutesQuick and easy, no yeast, no kneading. Sugared, sprinkled, glazed you pick!
Keep the screen of your device on
Ingredients
- For the doughnuts
150 g (¾ cup + 3 tbsp) plain (all purpose) flour
65 g (¼ cup + 1 tbsp) soft light brown sugar
0.5 tsp baking powder
0.5 tsp bicarbonate of soda (baking soda)
0.5 tsp salt
1 large egg
80 ml (⅓ cup) milk
4 tbsp melted unsalted butter, plus extra for your pan
1 tsp vanilla
- For decorating
melted butter
granulated sugar
150-200 g (1 – 1 ½ cup) icing (powdered) sugar
1-3 tbsp milk
sprinkles
food colouring (I used Wilton violet)
Directions
- Brush your doughnut pan with some melted butter and set it aside. Preheat your oven to 180C/350F while you make your doughnut mixture.
- Into a large mixing bowl, sift in the flour, baking powder, bicarbonate of soda and salt. Add in the brown sugar. Whisk it all lightly to combine, then set aside.
- In a separate bowl, or ideally a jug, tip in the milk, egg and vanilla and whisk together. Gradually add in 4 tbsp of melted butter, whisking as you go so your butter doesn’t solidify when it hits the cold ingredients in the jug. Pour your wet ingredients into the bowl with your dry ingredients and mix together until just combined.
- Transfer your doughnut batter to a piping bag and fill your donut pan no more than ⅔ full. This is important as if you fill it more, your donut will rise and close up whilst baking, so it won’t be a ring shape any longer. Bake in your preheated oven for 9-10 minutes until a skewer comes out clean and your doughnuts are springy to touch. Cool in the pan for a couple of minutes, then carefully loosen and transfer to a wire rack to cool while you prepare your toppings.
- For sugared doughnuts, brush your cooled doughnuts with some melted butter (you can do one side or all over) and toss in granulated sugar until completely coated.
- To make your glaze, add 2tsp milk to your icing sugar and mix to form a thick glaze, adding more milk until you achieve the consistency you want. I like my glaze to have the consistency of extra thick cream, so I get a decent covering on my doughnuts, but add more milk if you prefer a thinner glaze.
- For sprinkle doughnuts, dip your doughnuts in your glaze, letting it drip back in the bowl before you set down. You can then scatter the sprinkles over your glaze or fully dunk your doughnut, glaze side down, into a bowl of sprinkles. Leave on your cooling rack to set.
- If you want to do multiple colours of glaze, split your white glaze into as many bowls as you wish. Here, I split mine in two, coloured one purple and left the other white. Dip your doughnut as before into one glaze, allow to drip off a little, then place on your cooling rack. Leave the glaze to set for a few minutes until a slight crust forms. Using a different colour, drizzle a pattern over the doughnut. It shouldn’t blend in but sit neatly on top of your original colour, thanks to the crust. Leave to set.
This recipe made amazing donuts. I didn’t have anything suitable except for a muffin tray, so I baked them in that and then piped jam inside and coated with sugar. I don’t think I’ve ever tasted better donuts. Incredibly moreish.
Love the creativity of baking in a muffin tin and filling with jam! So glad you enjoyed them 🙂
Amazing donuts
Thanks Sarah, so pleased you enjoyed them!
It was very good, I made 10 donuts. I would recommend this recipe
Thanks for your review May! So glad you enjoyed them! 🙂
I didnt have anything apart from a muffin tray, so i used that. mine didnt end up tasting like donuts more like cupcakes/muffins. but still really tasty <3
Hi Amelia, so glad you liked them! These were meant to be cake-y donuts, not bread-y ones, so I’m glad they tasted as they were meant to! So pleased to you enjoyed them 🙂
Lovely doughnuts! We made mini doughnuts and the kids decorated some in chocolate and sprinkles and other with royal icing. Great recipe and texture was just right.
Thank you
I just tried this baked doughnut recipe, and they turned out amazing! I can’t wait to experiment with different toppings next time.
They turned out amazing!
Great recipe
I love that they’re healthier than fried versions but still beautiful and delicious.