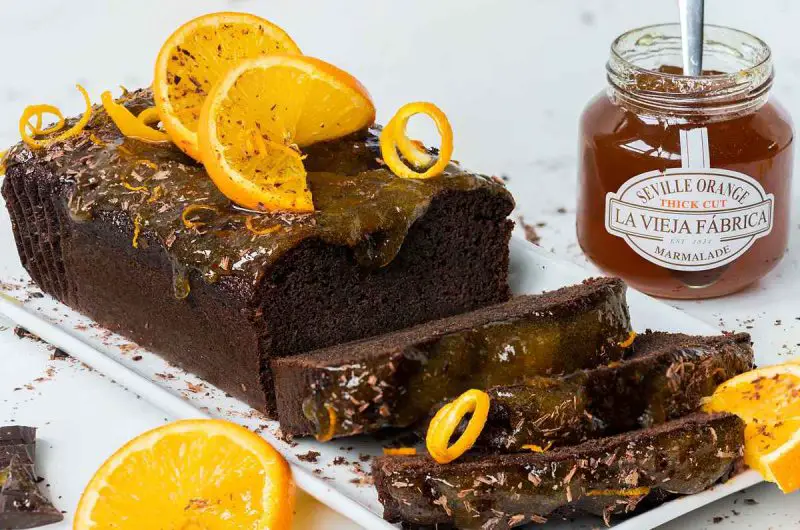
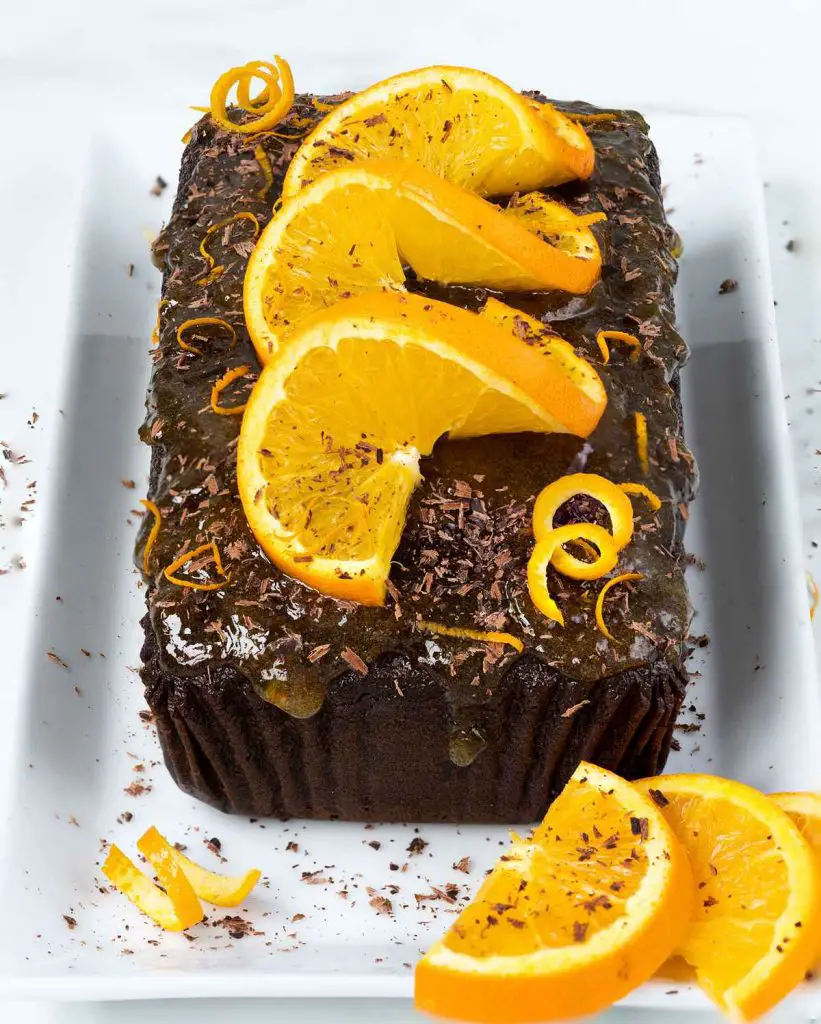
My recipe for orange chocolate cake is moist, light and fluffy, with a deep chocolate flavour and is topped with a generous tangy marmalade glaze for extra orange joy. If you’re a fan of chocolate orange, this is not one to miss!
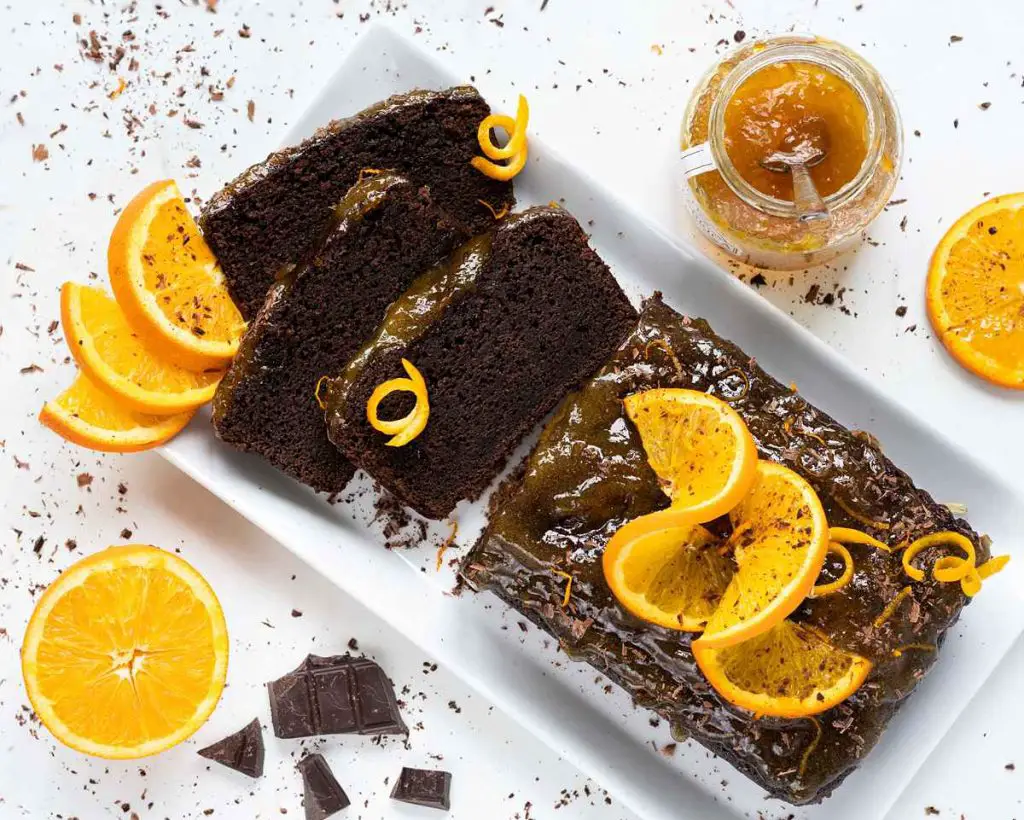
Calling all chocolate orange fans!
Are you a fan of Terry’s chocolate orange? Well, first of all, please let me welcome you with open arms: you are in brilliant company! I’m a HUUUUUUGE fan of anything chocolate, but the orange and chocolate combination has a special place in my heart. So much so, I’ve shared a few bakes starring these flavours with you in the past. Check out the links at the end of this post for the recipes.
Back to this chocolate orange cake recipe. Given my love for chocolate orange, I thought it was high time I share with you a cake version with these flavours in. And so here we are! Now, the consideration for this cake is this: I use no actual chocolate orange by Terry’s, but give this cake all the flavour using cocoa and real orange (both the zest and the juice). The great thing about doing it this way means I never have to go hunting for those little beautiful chocolate delights, I can just make it with ingredients I normally have at home. Bonus!
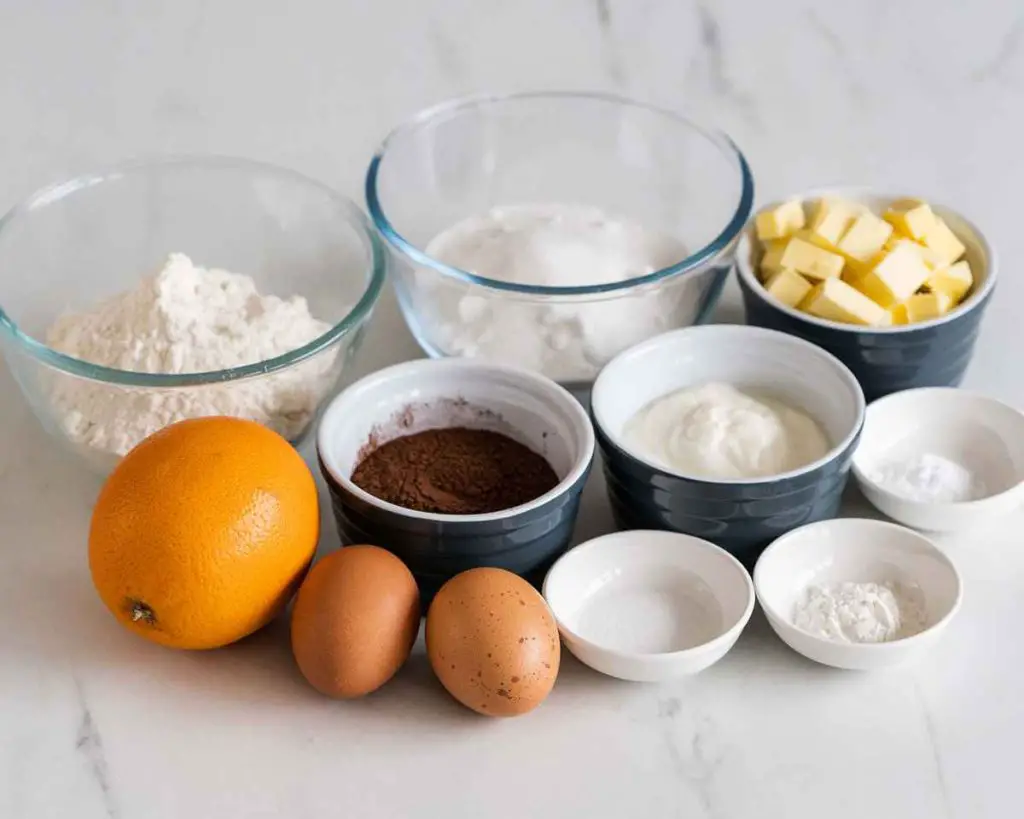
What ingredients do I need to make this orange chocolate cake?
- Caster sugar: for sweetness.
- Orange: we will use both the zest and the juice of an orange for all the flavour we can get in this cake!
- Unsalted butter: I always use unsalted butter in my baking, as it allows me full control of the salt in the bake. For best results, use butter at room temperature.
- Flour: I use plain flour for this cake as it allows me to have control of the amount rising agent used in my bake.
- Cocoa powder: for all the chocolate flavour!
- Baking powder/bicarbonate of soda: just for a little bit of help with rising for this loaf cake.
- Salt: to enhance the flavours in this bake. Don’t worry, you certainly won’t taste it!
- Eggs: helps with the structure of the cake. Use at room temperature.
- Yogurt: keeps the cake moist and tender. Pull out of the fridge and bring to room temperature before using.
- Marmalade: the crowning glory of this stunning cake!
What equipment do I need to make a loaf cake recipe?
- Loaf tin*: to bake your cake in.
- Loaf tin liners*: for lining your tin. You can use parchment paper too, if you wish, but I find liners are a much easier option.
- Digital kitchen scales*: whilst I do provide cup measurements for all my recipes, I always recommend using scales to weigh your ingredients out instead. Weighing out your ingredients is much more accurate than measuring by volume, as you do when measuring with cups, and will ensure better results. Digital scales are now relatively inexpensive and widely available so I would recommend them to everyone!
- Measuring spoons*: for measuring smaller quantites such as tablespoons (tbsp) and teaspoons (tsp). I would definitely recommend getting a set of dedicated measuring spoons to use in baking. This is a far more accurate measurement than using your normal eating spoons, which can vary greatly in size.
- Mixing bowl*: to combine your ingredients in when making your cake batter.
- Sieve*: to remove lumps from your dry ingredients, ensuring it all mixes together evenly.
- Zester*: for getting all that lovely orange zest into your cake!
- Juicer*: makes squeezing the juice from your orange a doddle!
- Electric hand mixer*: I would highly recommend investing in a good electric mixer. For this recipe, I use a hand held electric mixer which is a great help with your baking. This recipe can, of course, be done entirely by hand, but your bicep will get quite the workout for it! Having these tools makes it much easier, not to mention quicker, to do your baking.
- Jug*: to mix together the wet ingredients before combining with the dry mixture.
- Spatula*: for mixing and smoothing the cake batter, plus scraping down the bowls during mixing to ensure all ingredients are combined.
- Whisk*: for loosening your marmalade so it’s lovely and smooth before spreading.
- Small mixing bowl*: just a little one needed, to warm your marmalade in.
How to make chocolate cake with orange glaze
This cake is actually relatively easy to bring together, there are just a couple of steps along the way. First, we need to make the loaf itself, then bring the marmalade glaze together and finally your optional orange twists and grated chocolate garnishes.
For the loaf cake:
Step 1: Line your 2lb loaf tin with parchment paper or a loaf tin liner and set it aside. If using parchment paper, I would recommend lightly buttering your tin to help your parchment stick to the tin, making it easier to pour in your cake mixture. Preheat your oven to 180C/350F while you make your cake batter.
Step 2: In a large mixing bowl, tip in your sugar, then zest in the orange. Give it all a good mix to combine the orange oils and zest flavours into your sugar. Then add in your butter and beat together until light and fluffy.

Step 3: Sift in your flour, cocoa powder, baking powder, bicarbonate of soda (baking soda) and salt. Beat it all together until your mixture resembles damp sand and is fully combined.
Step 4: In a jug, mix together your eggs and yogurt, then pour your wet ingredients into your cocoa mixture in two parts, mixing well between each addition, and remembering to scrape your bowl down in between. Squeeze in the juice from your orange and beat again to combine. Scrape down your bowl once more, taking care to check the very bottom of your bowl, then beat for one final time on high for 30 seconds. Tip your beautiful chocolatey cake mixture into your prepared pan (I won’t judge if some of it “accidentally” ends up in your mouth at this stage! 😘).
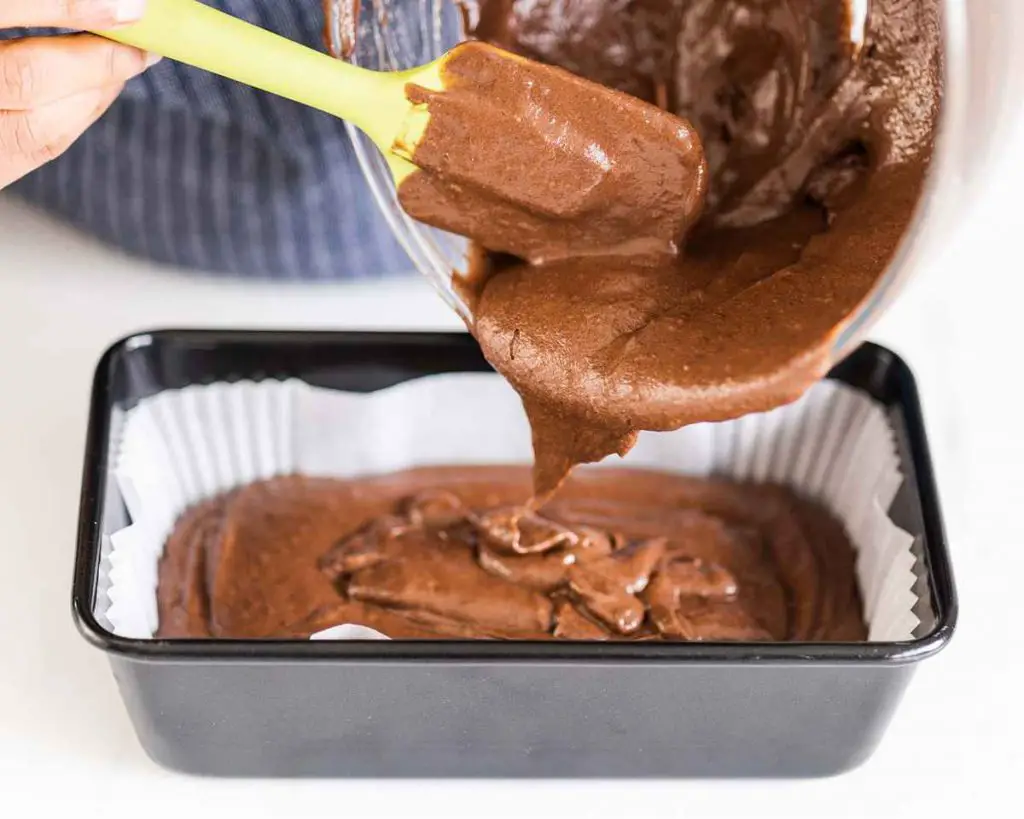
Step 5: Bake your cake in your hot oven for 50-60 minutes, until a wooden skewer comes out clean or with a few moist crumbs. Mine takes 55 minutes to bake, but every oven is different so I would suggest checking your cake at 50 minutes. If you feel the top of the cake is browning too quickly, simply loosely cover the tin with some foil to stop the outside browning before the middle has a chance to cook. Leave to cool completely in the tin.
For the decoration:
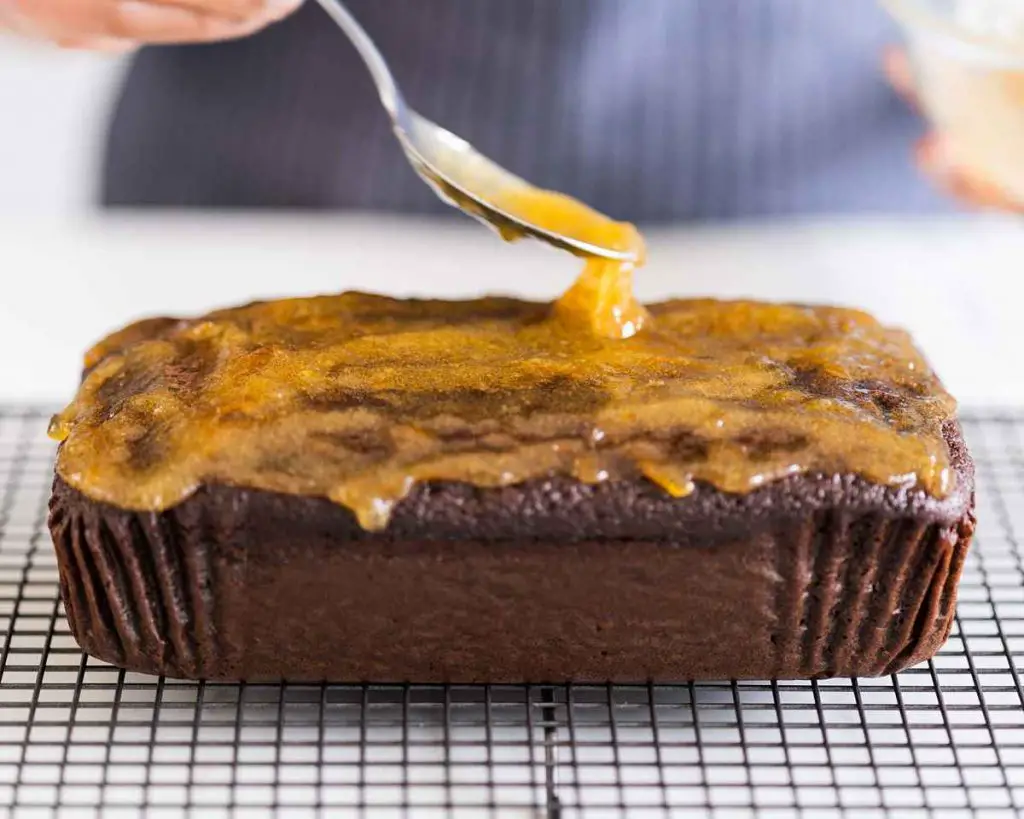
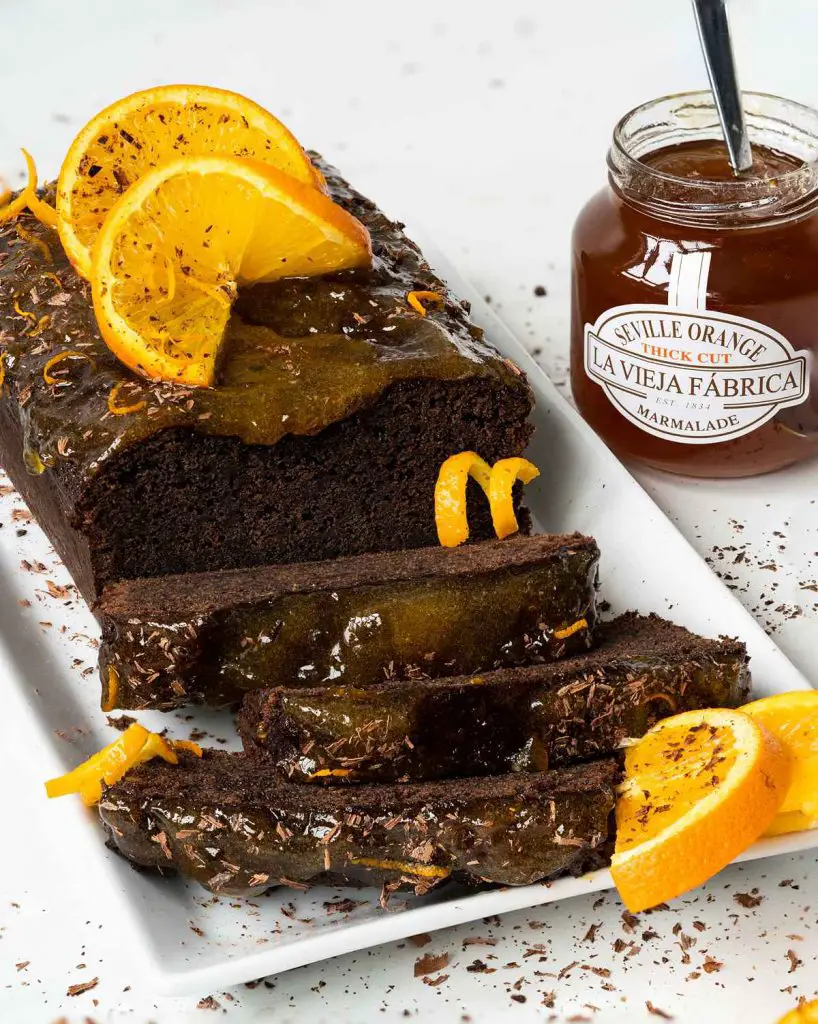
Step 1: Once your cake is cool, it’s time for some yummy marmalade! Simply gently warm your favourite marmalade (either on the hob or in the microwave) until just warm to touch, and stir until smooth and to remove any lumps. Remove your cake from the tin, discard your parchment/loaf liner and place the cake on your serving plate. Smother your cake with lashings of marmalade then decorate with additional chocolate shavings (why ever not?!) and orange curls if desired. Enjoy!
How do I line my loaf tin with parchment paper?
If you don’t have any liners for your loaf tin, you can make your own. Simply cut two strips of parchment paper slightly smaller in width than the length and width of your tin, then push into your lightly greased tin making sure they’re right into the edges. Do make sure you’ve left yourself some overhang on the edges too as this will make it much easier to lift your cake out of the tin once baked. Fill with your cake mixture and bake as per the recipe.
How do I know when my orange chocolate cake is done?
You can tell your chocolate & orange cake is done because it will be firm on top and risen. It will also feel springy when lightly pressed. I would also suggest using a toothpick or wooden skewer (I find wooden is better than using a metal skewer), poked into the middle of the cake: you should have nothing, or just a couple of small crumbs, come out sticking to this if your loaf is baked. If you find your cake is browning too much on top before it’s baked, simply cover it loosely with some foil to stop the top browning further whilst the middle bakes more.
How long does this orange chocolate cake last and how do I store it?
This cake should be stored in an airtight container and will be fine kept at room temperature for 2-3 days.
Can you freeze this chocolate loaf cake?
Absolutely! Most loaf cakes will freeze well for up to three months.
How to freeze your chocolate loaf cake
I would recommend freezing this cake without the marmalade on top (far too messy!). Once baked, leave the cake to cool completely. When your cake is cool, remove from the tin and wrap it tightly with two layers of cling film (plastic wrap), leaving the parchment your loaf was baked in around the cake. Then wrap snugly in a layer of foil and freeze.
How to thaw your loaf cake
This cake will thaw fairly quickly. Depending on the temperature of your room, it can normally be completely thawed in 4-5 hours. To thaw your chocolate cake, remove the foil and both layers of cling film and place on a cooling rack, brushing off any ice crystals as you do. Once your cake has thawed, remove the lining paper and decorate with your marmalade glaze and toppings. Store in an airtight container as before.
Can I make this chocolate & orange loaf cake gluten free too?
Absolutely! You can substitute your plain/all purpose flour for a gluten free flour, but do add an additional ¼ tsp Xanthan gum if you can tolerate it. For dairy free options, please substitute with a dairy free butter (not a spread, the block type instead), milk and yogurt.
Additional tips for making this chocolate orange cake recipe
- Make sure you’ve prepared your tools and ingredients before you start mixing: line your loaf tin, preheat your oven and get your ingredients out ready to use. It’s easy to forget something once you get going!
- Take time to read through the whole recipe so you are familiar with each step of the process. Don’t skip details and instructions given as it could affect the results of your final bake.
- Get some loaf tin liners! Honestly, I used to line my loaf tins using parchment I would cut up myself, but it can be such a hassle! Having the liners are so easy, it makes prep for making any loaf cake a breeze!
- Make sure you use butter, milk and yogurt at room temperature. This helps them blend better with the other ingredients, making for a better bake!
- Do zest your fruit directly into your mixing bowl. This only adds to the flavour, as you won’t just get the zest but also any of the flavourful oils that come off the orange too.
- Do open your oven only minimally when checking for doneness of your cake: repeatedly opening the oven door will release the heat and steam from the oven, which will affect your cake’s baking, rise and baking time. Only open if you have to, no more!
- To make the orange curls, simply cut slices of your orange, then make a slit from one edge into the middle of your slice. Twist each cut end in opposite directions and lay carefully on top of your cake.

Troubleshooting
If you have any other questions about this chocolate orange cake recipe, please use the comments below to ask away and I’ll do my best to help! And if you made and enjoyed this, I’d love to hear from you too!
And don’t forget: if you make this recipe for orange chocolate cake, please do consider leaving a rating and review below, I would love to know how you enjoy making it and it really helps others looking for a loaf cake recipe too! You could even post a picture on Instagram and tag me when you share it with the world, I’d love to see! 😊
More recipes for you to enjoy
Don’t forget to check out these other loaf cake recipes and chocolate orange bakes on my blog too:
Rose pistachio and cardamom loaf cake (eggless): this cake was inspired by the stunning smells and flavours of India. Earthy pistachio, fragrant cardamom, and floral rose come together in this eggless bake create an incredible stunning cake that is truly out of this world. This cake isn’t fully vegan, but is eggless so can easily be adapted to being vegan too 😊
Vegan lemon drizzle loaf cake: this cake is totally and utterly delightful! It is all the things you want in a good lemon cake! It’s light, it’s fluffy, it’s packed with plenty of lemon flavour. And it contains no eggs or dairy produce.
Chocolate orange shortbread: this shortbread is beautiful and buttery, bursting with vibrant orange zest and rich dark chocolate. So good, you won’t be able to stop at just one, and absolutely perfect with a cup of coffee!
Chocolate orange cookies: this delicious chocolate orange cookies recipe delivers a chewy, gooey and absolutely heavenly cookie! Perfect crisp edges and a soft middle make these a cookie lover’s delight!
And that’s all from me for today! Happy baking, my friends! x

Recommended equipment and ingredients I used *
| Loaf tin | Loaf tin liners |
| Digital kitchen scales | Measuring spoons |
| Mixing bowl/Small mixing bowl | Sieve |
| Zester | Juicer |
| Hand mixer | Jug |
| Spatula | Whisk |


