
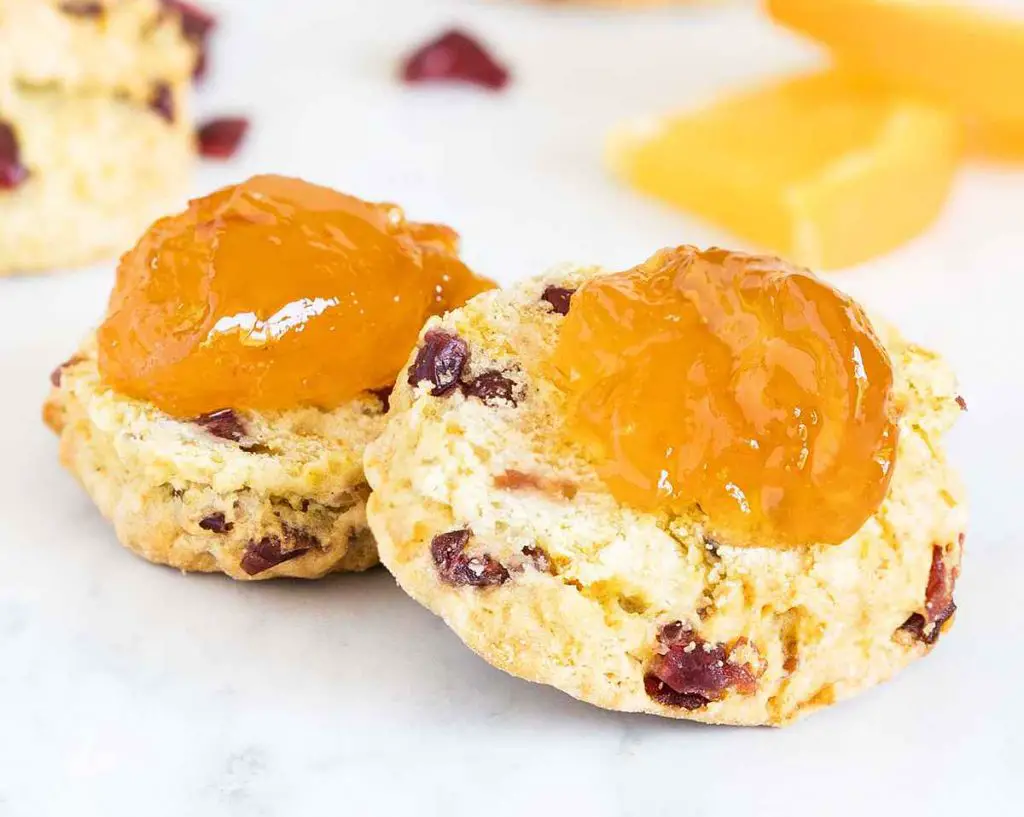
My cranberry and orange scones are a twist on my traditional fruit scones, beautiful and vibrant with the addition of these gorgeous flavours. This fool-proof recipe will give you perfect scones every time. I actually just enjoy these warm with lashings of butter, but you can enjoy them with marmalade and clotted cream too.

Perfect scones, perfect flavours
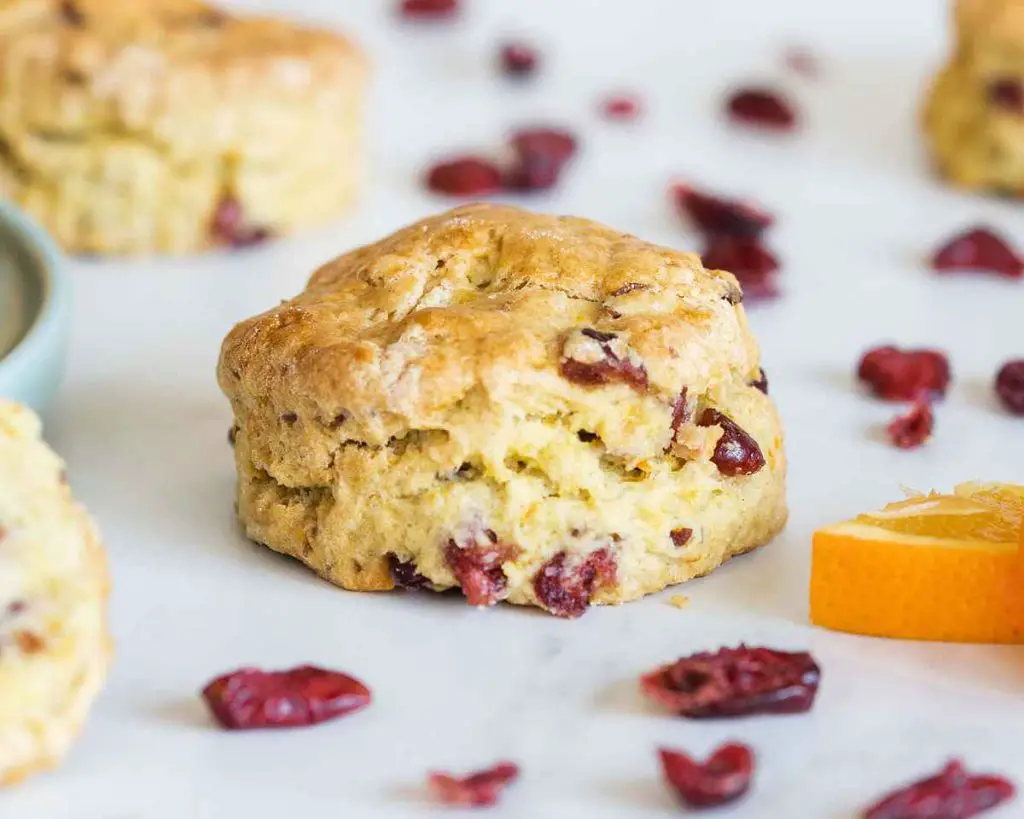
Beautiful, firm and golden on the outside but still soft and light on the inside, these fragrant fruit scones with buttermilk are so tender and delicious. And coupled with the amazing flavours of orange and cranberry, it’s easy to see why I’ve been a little obsessed with these cranberry and orange scones recently. Don’t forget if you love these flavours too, I also shared with you some shortbread with these amazing flavours too!
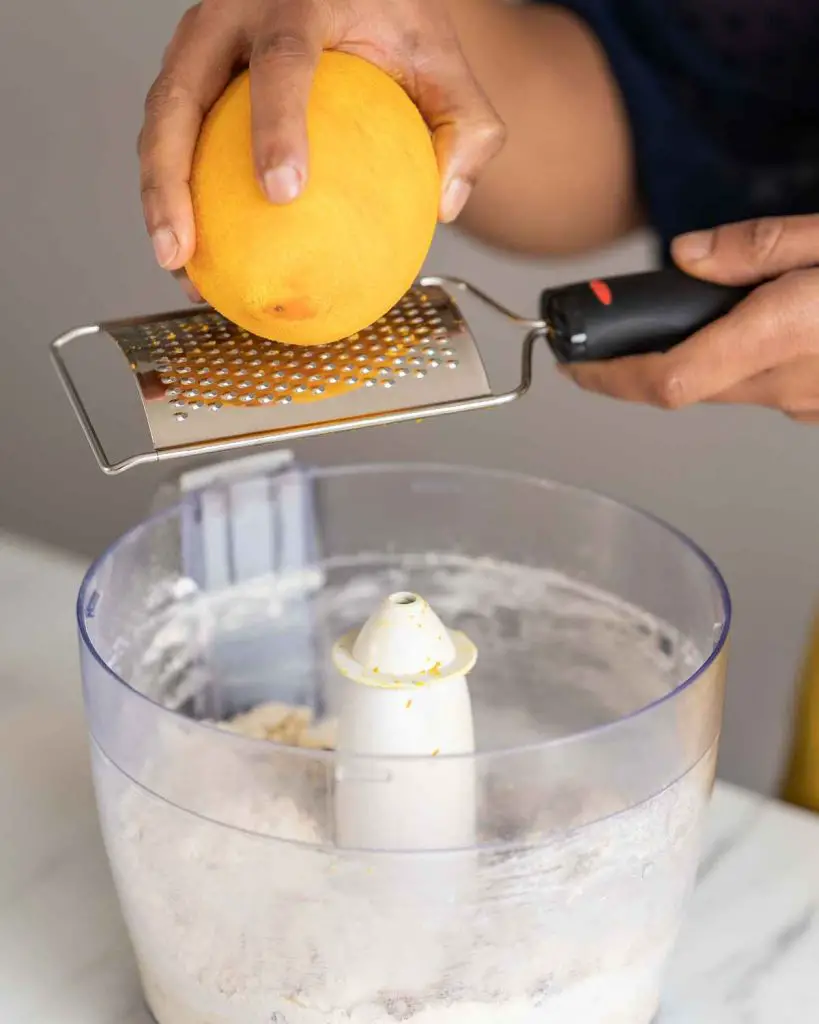
As if that wasn’t enough, they are just so damn easy! I prefer to make these in my trusty food processor, purely for ease and speed. But you can absolutely make them with a pastry cutter or even the good ol’ fashioned way and get your hands properly stuck in!
A lot of recipes I’ve come across use milk to make scones. I actually prefer to use buttermilk, as I’ve done with my fruit scones, so that’s what I’ve done again here, and it doesn’t disappoint!
How to make cranberry and orange scones
Scones are not at all hard to make. But there are a few things to remember, as this will help keep your scones from being tough or not rising properly.
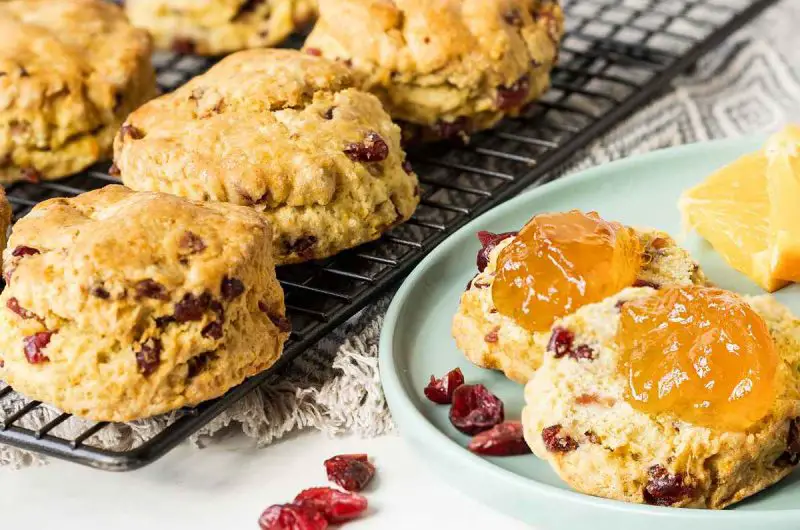
Different ways to enjoy your cranberry and orange scones
And there you have it! All that remains now is to work out how you’ll enjoy your scones. Will you enjoy them warm from the oven with lashing of butter (my favourite!), or cool and split before being topped with marmalade or clotted cream (or both!)? To be honest, they’re all pretty good! 😊
Thanks for joining me today, my friends. Happy baking!
Recommended equipment and ingredients I used *
| Food processor | Zester |
| Cutters | Pastry brush |
Cranberry and Orange Scones
9-10
servings10
minutes17
minutes30
minutesTender cranberry and orange scones, perfect anytime!
Keep the screen of your device on
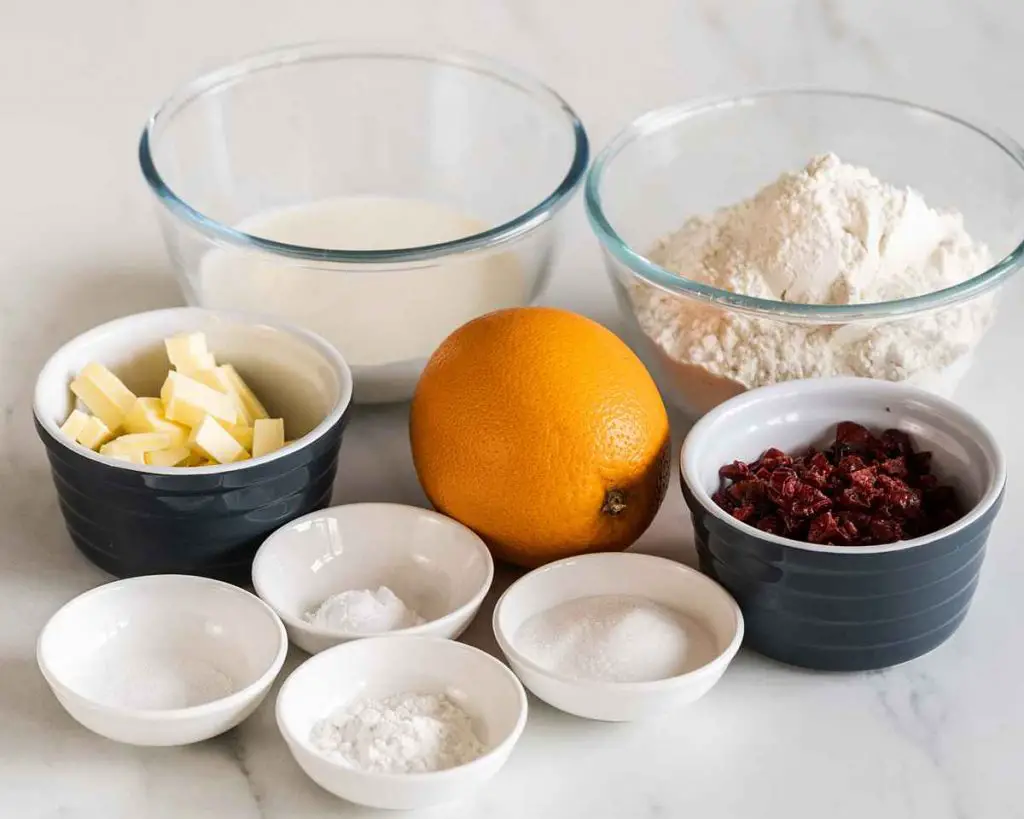
Ingredients
250 g (1½ cups + 1 tbsp) plain (all-purpose) flour
1 tsp baking powder
0.5 tsp bicarbonate of soda (baking soda)
0.25 tsp salt
1 tbsp (generous) caster sugar
55 g (¼ cup) COLD unsalted butter, cubed
75 g (½ cup) dried cranberries, roughly chopped if desired
150 ml (½ cup + 2 tbsp) buttermilk
1 orange, zest only (plus a little juice if required)
milk, for brushing your scones before baking
Directions
- Preheat your oven to 190C/375F. Line a baking tray with parchment paper and set aside.
- In a large bowl, mix together your sugar and orange zest (see note below), then sift in your flour, baking powder, bicarb, salt and caster sugar. Add in the cold cubed butter and rub/blend in until your mixture resembles breadcrumbs. Pour in the buttermilk and mix until your dough just comes together (see note below), adding in a few drops of orange juice if needed.
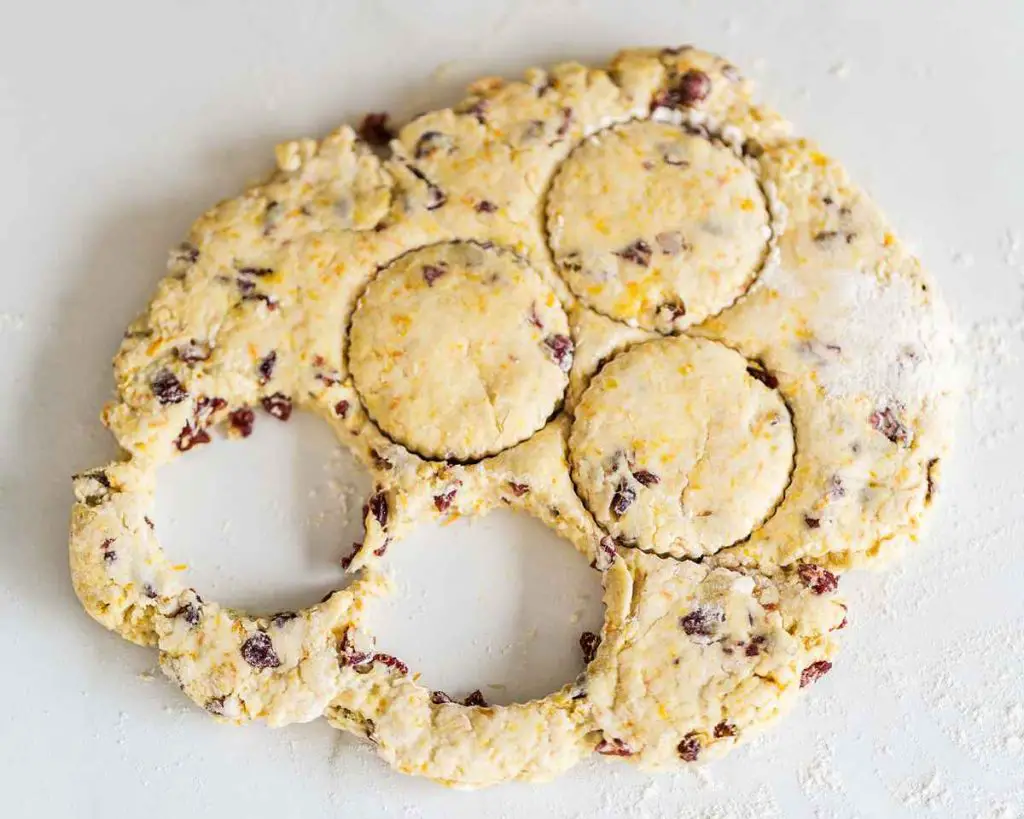
- Tip your dough out onto a lightly floured surface. DO NOT KNEAD!! Instead, just push your dough together into one large shape, then flatten with your hands until about 1″ thick. Using a floured cutter tool, press it into the dough (see note below), stamping out as many as you can before you smoosh the dough back together and flatten again to repeat and use the rest of your dough up.
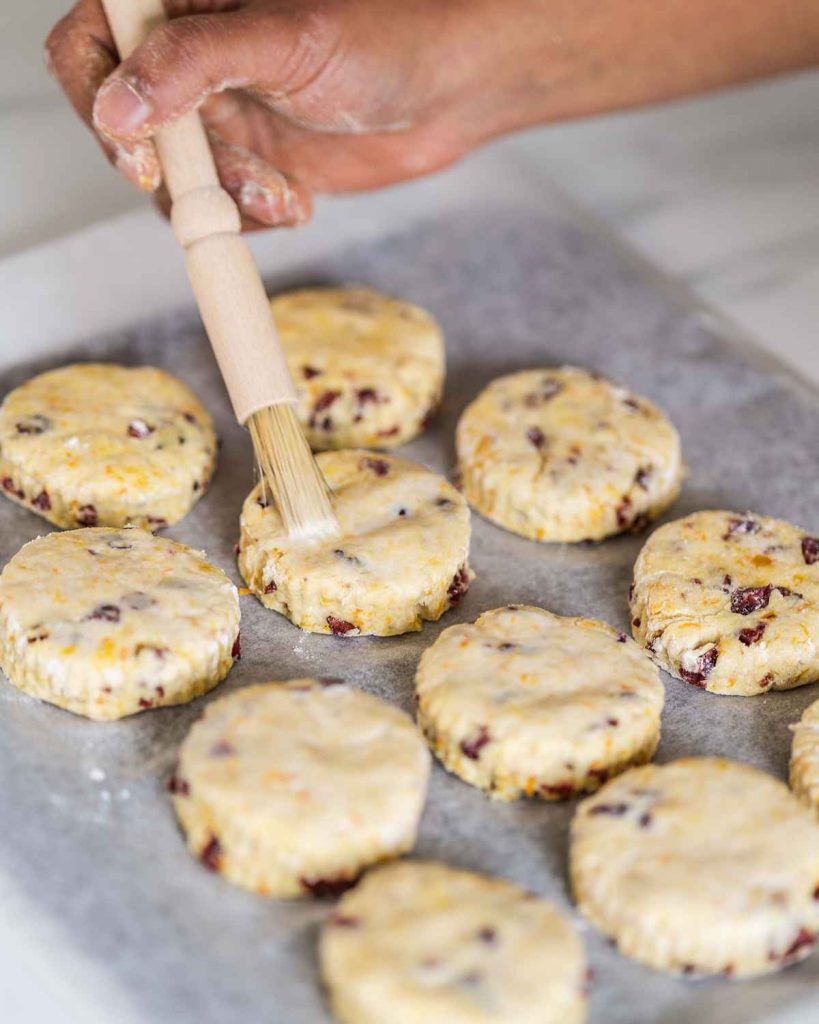
- Place your cut out scones onto your prepared baking tray, pushing any fruit sticking out back into the scone so it doesn’t burn. I place mine fairly close together, but you can space them out too if you wish (see note). Carefully brush the top only (see note) of each scone with a little milk and bake for 17-20 minutes, turning to brown evenly for the last couple of minutes if needed. Cool for a minute on the tray, then transfer to a wire rack to cool completely. Enjoy!
Recipe Video
Notes
- When mixing your dough together, you want it to be soft and slightly sticky but not soggy. If you need a bit more liquid than the buttermilk offers, add a splash of milk to help bring your dough together. It should not be completely mixed when you tip it out, so you do the last bit by hand 😊
- It is really important you don’t twist your cutter when you stamp out your scone shapes. Twisting the cutter seals the sides of your scone, hindering the rise and beautiful shape you can achieve. Straight down and back up again is perfect, making sure to flour your cutter in between each cut.
- Put your cut out scones close together to bake and achieve softer scones. Spacing them further apart will result in more browned and crisper scones, so go with what you prefer!
- Another important step is brushing only the tops of your scones with milk. If you use too much milk and it drips down the sides, it can hinder the rise of your scones, so you’ll end up with lopsided rising on your scones!
Hi, you forgot to mention when you add the cranberries.