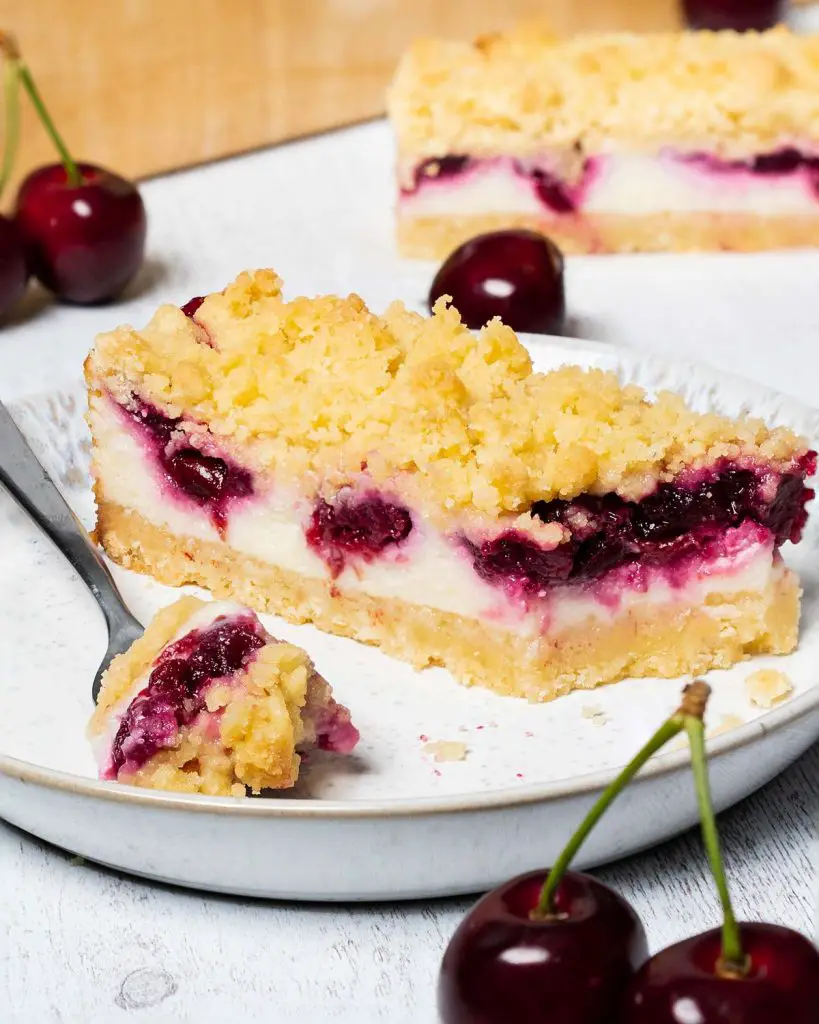
Calling all cherry fans and cheesecake lovers! These cherry cheesecake bars are especially for you! A beautiful buttery shortbread base, silky smooth vanilla cheesecake, delicious homemade cherry pie filling and a topping of more shortbread crumble. Absolutely heaven in a slice!
Making the most of seasonal abundance
Cherry season is relatively short here in the UK, lasting just a couple of months. And when cherries are in season, our whole family loves to make the most of it! Of course they are enjoyed on their own or with a selection of other seasonal joys. But sometimes I also do take a fancy to baking something with them too!
A slice of heaven: irresistible cherry cheesecake bars!
Now I absolutely adore cheesecake of all sorts, whether no bake cheesecake or the baked counterpart. And putting different flavours in with cheesecakes is naturally a must do! These delightful cream cheese cherry bars are so good and so versatile! Cut them into smaller sized squares for a perfect picnic treat with the whole family. Or keep them in longer, bar shapes and serve for a delicious and slightly different dessert at your next dinner party. Everyone loves these beauties, and it is easy to see why!
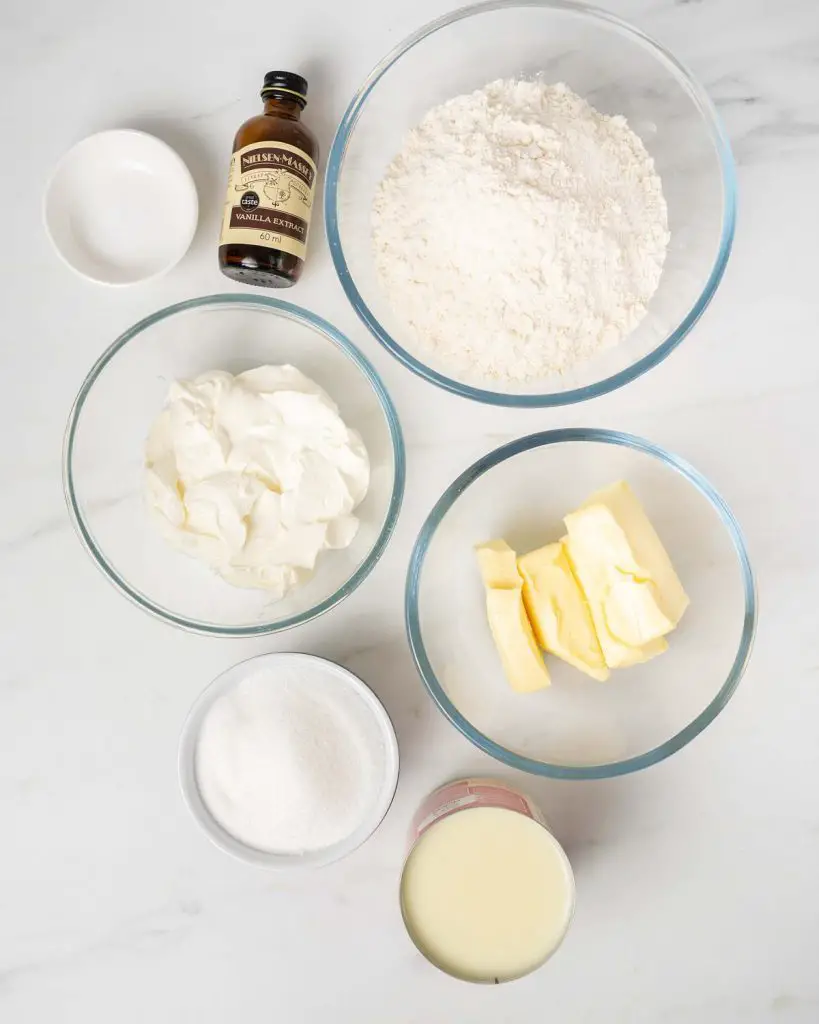
Ingredients for the cherry cheesecake bars
- Cherries: a key flavour in this bake. I used frozen cherries for ease, but fresh cherries would work too. Just add a little more water if using fresh fruit.
- Sugar: used to sweeten both the shortbread mixture and the cherry filling.
- Salt: enhances the flavours in the base and the filling. You will not taste it, I promise!
- Lemon juice: added to the cherry filling to give a little tang, but also to help keep the vibrant colour of the fruit from browning when cooking.
- Cornflour/cornstarch: helps to thicken the cherry filling mixture giving a silky, luxurious filling for the baked cherry cheesecake.
- Unsalted butter: I like to use unsalted butter so I can control how much salt is in the base. For best results, use butter at room temperature
- Flour: I use plain/all purpose flour to make the cherry cheesecake bars.
- Vanilla: for delicious flavour in the best cherry cheesecake recipe ever!
- Cream cheese: make sure to use a full fat cream cheese when making this recipe, as this is part of what helps the filling set firmly.
- Condensed milk: provides sweetness and a wonderful silkiness to the baked cherry cheesecake recipe. This stuff is like magic in this bake, sweetening the cheesecake mixture and acting as an egg would in setting when baked. Plus, I love this stuff, I could just eat it with a spoon!
Equipment required for these sour cherry cheesecake bars
- Digital kitchen scales*: I provide all my measurements in cups too, however I would encourage all bakers to weigh out ingredients using weighing scales when baking. A set of digital kitchen scales is so useful and totally an essential baking tool for me.
- Measuring spoons*: a set of measuring spoons is essential for any baker. This is because these are more accurate than using everyday teaspoons and tablespoons, which can vary greatly in size.
- Saucepan*: for cooking the cherry filling in before it is baked with the cheesecake base and filling.
- Mixing bowl*: used to make the shortbread base and topping as well as the cheesecake mixture in this baked cherry cheesecake recipe.
- Handheld electric mixer*: a useful tool to make life easier in the kitchen! You can, of course, make this whole recipe entirely by hand. However, I find using a handheld mixer gives the cheesecake a better, smoother consistency.
- Baking tin*: you will need a 8” x 8” pan for these cherry cheesecake bars. One with a loose bottom makes it much easier to lift the bake out when ready.
How to make cherry cheesecake bars
There are a few different elements to this bake, but they are all easy to do and come together into a stunning dessert! The cherry filling is made first, and whilst chilling the base and cheesecake are prepared. Finally the whole thing is assembled and baked before it is chilled and sliced to serve!

For the cherry filling
Step 1: Tip the cherries, sugar, salt and 50ml water into a saucepan. Bring to a gentle boil and cook for 4-5 minutes.
Step 2: In a small bowl, mix together the lemon juice, cornflour and 20ml water until smooth. Add this to the saucepan with the cherries.
Step 3: Cook the cherry filling mixture for a few minutes until thickened and beautifully silky. Remove from the heat and cool completely before using.
For the shortbread base and topping
Step 1: Line an 8″ square loose bottomed tin with parchment paper and set it aside whilst preparing the cheesecake. Preheat the oven to 180C/350F.
Step 2: Add all the ingredients for the shortbread into a mixing bowl. Rub it all together using your fingertips until there are no larger lumps of butter. You will have a mixture that resembles damp sand and holds together when squeezed.
Step 3: Tip about ⅔ the shortbread mixture into the base of the prepared tin. Press it down into an even layer. Bake in the hot oven for 15 minutes until golden.

For the cheesecake filling
Step 1: While the base is baking, make the cheesecake filling. Place the cream cheese in a clean mixing bowl and beat to soften. Mix in the vanilla, then gradually beat the condensed milk into the cream cheese until smooth and totally combined.
Step 2: Once the base has baked remove it from the oven. Immediately, pour the cheesecake mixture over the base, making sure it spreads into the corners. Place dollops of the cherry filling all over the top of the cheesecake in an even layer. Finally, sprinkle the leftover ⅓ of the shortbread mixture over the cherry filling.
Step 3: Return the tin to the oven and bake for 30-35 minutes. The topping will be golden and there will be the tiniest jiggle to the middle of the cheesecake. Remove from the oven and cool completely in the tin, then chill in the fridge for a few hours or overnight. Once chilled and set, cut into bars and serve. Enjoy!
How do I line a square tin?
The easiest way to line a square tin is to cut two strips of parchment paper as wide as the width of the tin. Place each strip in the tin to form a cross, pressing into the corners to crease. If it does not sit quite within the tin, don’t worry: once the mini egg cookie dough has been pressed into the tin, it will all be fine.
How do I know when the cherry cheesecake bars are baked?
The whole thing is baked when the topping is a light golden colour. If you wibble the tin a little, the middle will still have a little jiggle to it too. It will continue to bake and firm up once out of the oven in the residual heat. Additionally, it will set firm once cooled and chilled.
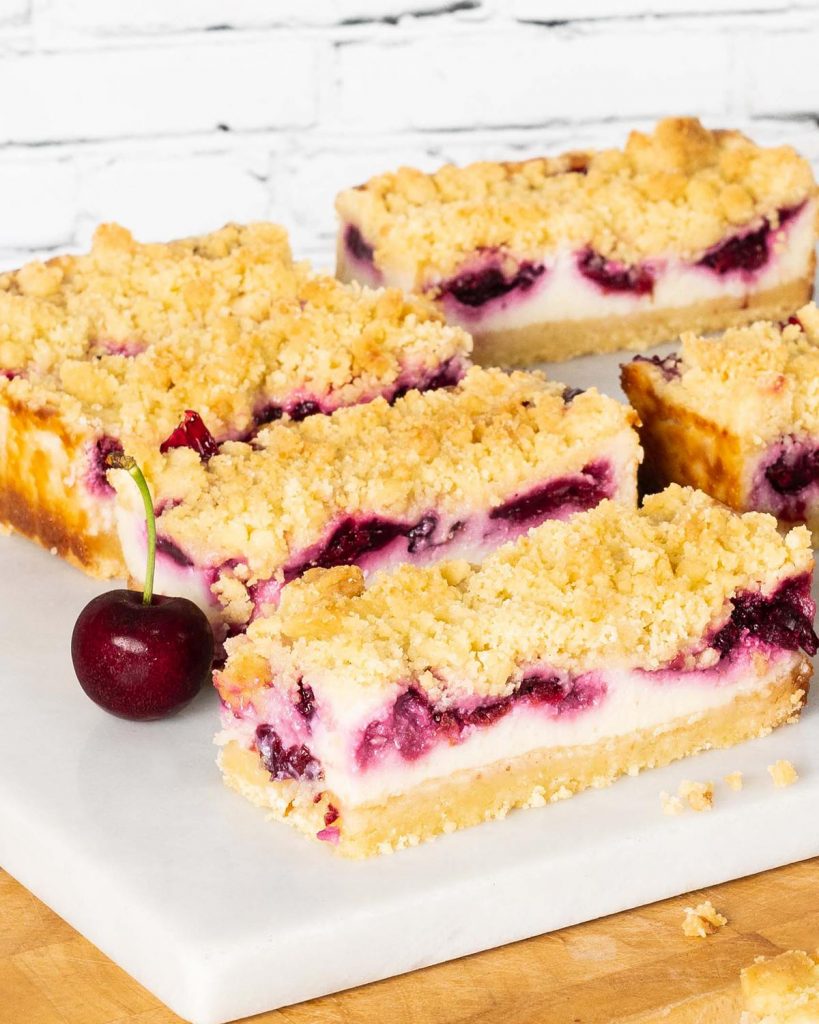
How to cut and store sour cherry cheesecake bars
Ensure the whole bake is completely cool before cutting into it. I actually like to chill it overnight too, to allow the middle to set and firm up sufficiently before it is cut. Use a really sharp knife when slicing, to help cut through the biscuity base too.
These cherry cheesecake bars should be stored in an airtight container in the fridge. I like to bring them a little to room temperature before serving, but they are just as nice straight from the fridge. They will keep for up to a week.
Can I use other fruit instead of cherries?
Absolutely! I used cherries as a seasonal variation in these bars, but you could easily use other fruit too! Please keep in mind that using berries will result in a more jam like fruit filling as the fruit breaks down, changing the texture of the finished bars. However, I think most fruit would work beautifully in this, just adjust the sugar content depending on the fruit used.
Tips for making cheesecake bars
- Make the cherry filling before anything else as this needs to cool down before being used in the bake. I also use this cherry filling when making homemade cherry pie too, with my sweet shortcrust pastry recipe.
- If you wish, you can substitute the homemade cherry filling for a shop bought version instead.
- When making the cheesecake, it is really important to make sure the cheese has been softened before adding in the other ingredients. This will ensure the filling is smooth and not lumpy.
- As you place the final top layer of shortbread crumble on the cherry filling, try squeezing some of it into clumps between your fingers before putting on top. This will give more texture to the topping as it bakes in the clumps.
- Leave to cool completely, ideally chilling too, before attempting to cut this up. The bar is likely to still be soft in the middle once out of the oven, so cooling allows it to firm up and not fall apart when cut.
- I cut my bars into rectangular shapes. But this could quite easily be cut into smaller squares too, if you prefer the smaller portion sizes.
Troubleshooting
If you have any questions about these cherry cheesecake bars, please comment below and I will do my best to help. And do remember: if you enjoy this recipe for cherry cheesecake bars, please leave a rating and review below. You could even post a picture on Instagram and tag me when you share it with the world. You already know I would love to see!
Other amazing cheesecake recipes
If you enjoy cheesecake, do have a look at my other cheesecake recipes too!
Mini no bake strawberry cheesecakes: My mini no bake strawberry cheesecakes have a crunchy biscuit base and a smooth creamy vanilla cheesecake filling, all finished with a homemade strawberry topping. These showstopping desserts are the perfect end to a meal with friends, and are sure to delight!
Rhubarb cheesecake: Make the most of yummy rhubarb with a delicious no bake rhubarb cheesecake. A buttery digestive biscuit crust topped with smooth creamy vanilla cheesecake, layered and swirled with a rich rhubarb compote. A simple but wonderful dessert for any occasion!
Toffee apple cheesecake: My toffee apple cheesecake is packed with the beautiful flavours of toffee, cinnamon and apples in the decadent comfort food that is cheesecake. Perfect for a weekend treat or a dinner party with friends!
Thanks for joining me today, my friends. Hope you enjoy these yummy cherry cheesecake bars as much as my family does! As always, happy baking! x
Recommended equipment I used *
| Digital kitchen scales | Measuring spoons |
| Saucepan | Mixing bowl |
| Handheld electric mixer | Baking tin |

Cherry Cheesecake Bars
Ingredients
For the cherry filling
- 300 g (1 ¾ cups + 3 tbsp) cherries (I used frozen)
- 75 g (¼ cup + 1 tbsp) granulated sugar
- 0.125 tsp salt
- 50 ml (3 tbsp + 1 tsp) water
- 1 tsp lemon juice
- 1.5 tbsp cornflour
- 20 ml (1 tbsp + 1 tsp) water
For the shortbread base and topping
- 220 g (1 cup) unsalted butter
- 340 g (2 ¼ cups + 3 tbsp) plain (all purpose) flour
- 200 g (¾ cup + 2 tbsp) granulated sugar
- 0.25 tsp salt
- 1 tsp vanilla
For the cheesecake filling
- 230 g (1 cup) full fat cream cheese
- 397 g (14oz) condensed milk
- 0.5 tsp vanilla
Instructions
For the cherry filling
- Tip the cherries, sugar, salt and 50ml water into a saucepan. Bring to a gentle boil and cook for 4-5 minutes.
- In a small bowl, mix together the lemon juice, cornflour and 20ml water until smooth. Add this to the saucepan with the cherries.
- Cook the cherry filling mixture for a few minutes until thickened and beautifully silky. Remove from the heat and cool completely before using.
For the shortbread base and topping
- Line an 8" square loose bottomed tin with parchment paper and set it aside whilst preparing the cheesecake. Preheat the oven to 180C/350F.
- Add all the ingredients for the shortbread into a mixing bowl. Rub it all together using your fingertips until there are no larger lumps of butter. You will have a mixture that resembles damp sand and holds together when squeezed.
- Tip about ⅔ the shortbread mixture into the base of the prepared tin. Press it down into an even layer. Bake in the hot oven for 15 minutes until golden.
For the cheesecake filling
- While the base is baking, make the cheesecake filling. Place the cream cheese in a clean mixing bowl and beat to soften. Mix in the vanilla, then gradually beat the condensed milk into the cream cheese until smooth and totally combined.
- Once the base has baked remove it from the oven. Immediately, pour the cheesecake mixture over the base, making sure it spreads into the corners. Place dollops of the cherry filling all over the top of the cheesecake in an even layer. Finally, sprinkle the leftover ⅓ of the shortbread mixture over the cherry filling.
- Return the tin to the oven and bake for 30-35 minutes. The topping will be golden and there will be the tiniest jiggle to the middle of the cheesecake. Remove from the oven and cool completely in the tin, then chill in the fridge for a few hours or overnight. Once chilled and set, cut into bars and serve. Enjoy!