
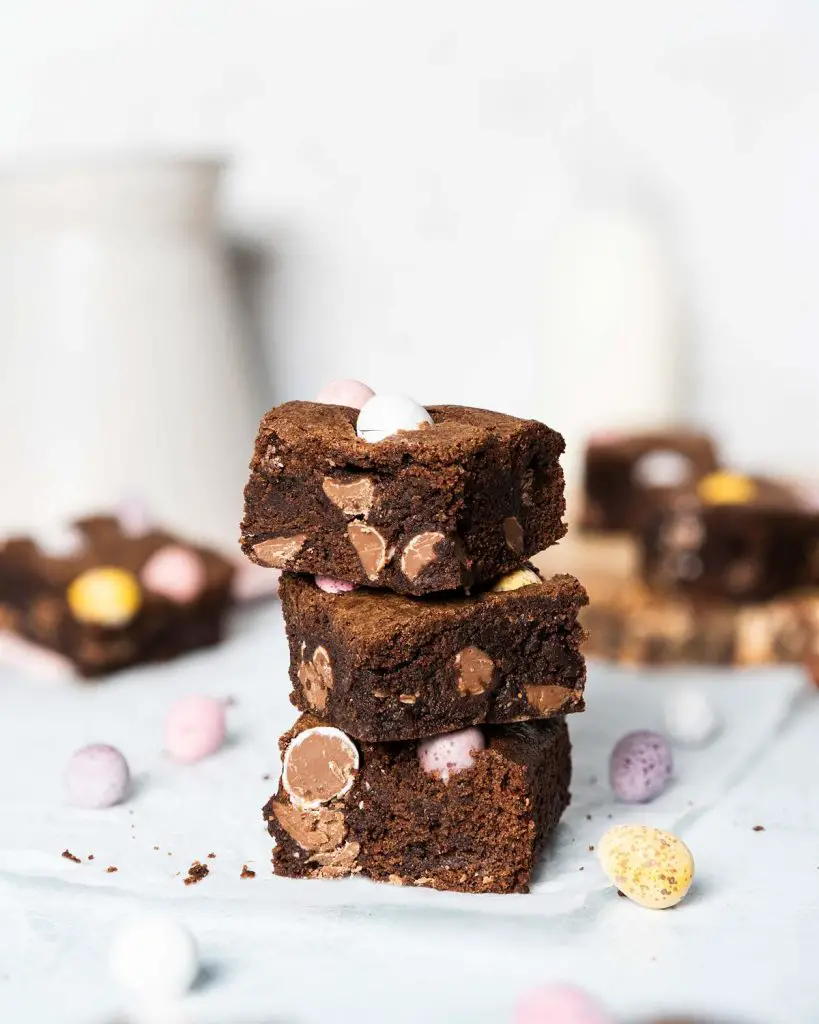
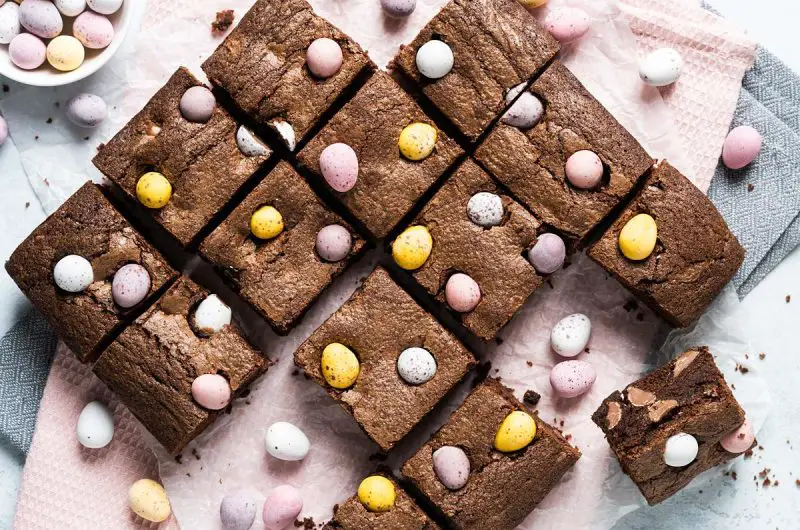
Rich chocolatey brownies filled and topped with delightfully crunchy mini eggs. These Easter homemade mini egg brownies are a seasonal treat you definitely will not want to miss!
Plenty of chocolate for everyone!
It’s Easter egg hunts season for the kids! I often find we have plenty of mini eggs and all sorts of other Easter themed chocolates in the house. As with others, I am sure my children would have no problems in demolishing the lot! Sometimes however, we also enjoy getting creative with our stash. Enter my mini egg brownies: these are PERFECT if you fancy a bit of a change to munching through bags of mini eggs. Although I must admit, that is a pretty good way to enjoy them too!
How do you like your mini egg brownies?
There are so many preferences for brownies out there: fudgy, chewy, cakey, firm, gooey… the list is endless! And honestly, one brownie recipe just cannot satisfy everyone! Personally, I prefer my brownies more fudgy or chewy. I like the dense texture of it, rather than a cakey one others prefer. For me, the perfect brownie is chewy and rich and wonderfully dense in texture.
As a little side note, brownies are made with a lot less flour than a cake or a cookie. This is what helps give it that chewy gorgeous texture, so don’t fret when you see the proportions of flour to all your other ingredients is substantially less! Trust the process, it works I promise!
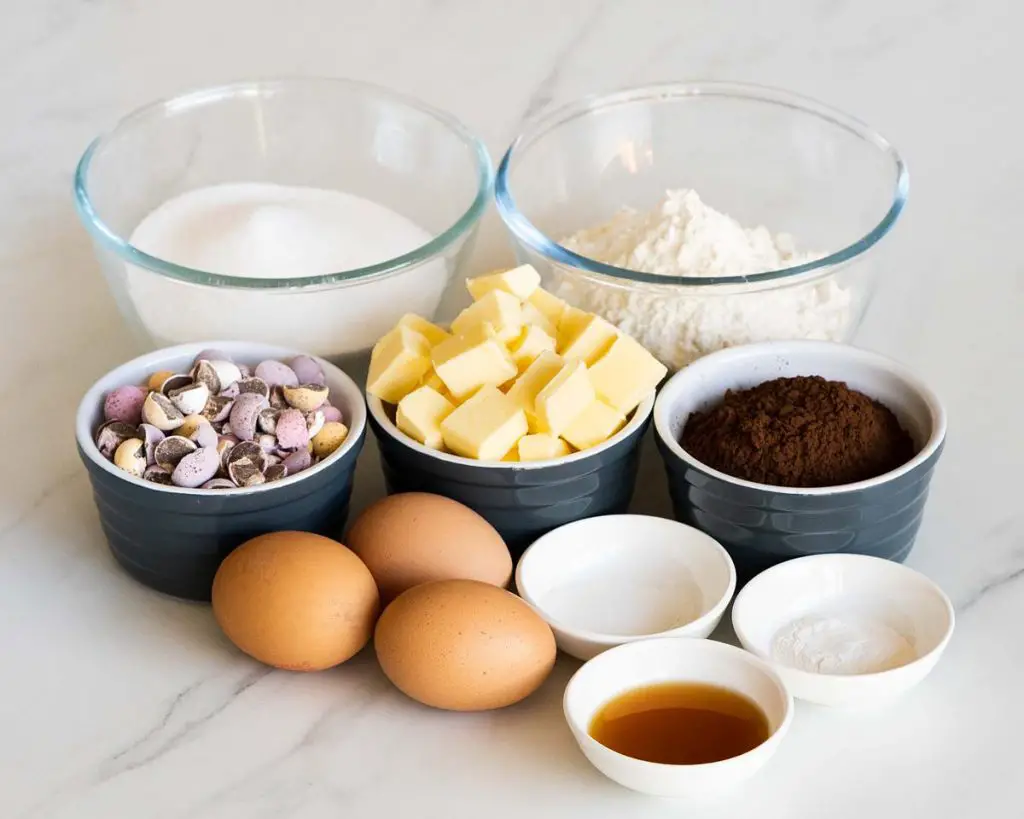
What ingredients do I need to make mini egg brownies?
- Butter: I like to use unsalted butter so I can control how much salt is in the bake.
- Cocoa: essential in a brownie for all that beautiful chocolatey loveliness!
- Caster sugar: for sweetness in your bake. Brownies and blondies use a lot of sugar, so no need to be alarmed when measuring it out!
- Eggs: helps with the structure of the brownies.
- Vanilla: purely for beautiful flavour.
- Flour: this recipe uses plain flour. Using plain flour helps me control how much rise I allow my brownies to have. This allows me to get the perfect chewy texture.
- Baking powder: gives just a little extra lightness to the brownies so they are not too dense once baked.
- Salt: enhances the flavour of your bake. You will not taste it, don’t worry!
- Mini eggs: the star of this bake, definitely not one you want to swap out!
What tools and equipment do I need to make brownies?
- Baking tin*: you will need an 8”x 8” pan to make these brownies. One with a loose bottom is my preference.
- Parchment paper: to line the baking tin. This stops the brownie from sticking to the pan and makes it loads easier to remove from the tin too.
- Digital kitchen scales*: I provide all my measurements in cups too, however I would encourage all bakers to weigh out ingredients when baking. A set of digital kitchen scales is so useful and totally an essential baking tool for me.
- Measuring spoons*: a set of measuring spoons is essential for any baker. This is because these are more accurate than using everyday teaspoons and tablespoons, which can vary greatly in size.
- Sieve*: to remove lumps from the dry ingredients, helping make sure everything is mixed together evenly.
- Mixing bowl*/small mixing bowl* any bowl large enough will do: plastic, glass, the choice is yours! The smaller bowl is for the chocolate mixture at the start of the recipe.
- Handheld electric mixer*: a useful tool to make life easier in the kitchen! You can, of course, make this whole recipe entirely by hand. But it will be quite the workout for your arm!
- Spatula*: to use to mix ingredients together towards the end of the method. You do not want to beat it and risk deflating the batter, so folding is best.
- Rolling pin*: the fun way to break up the mini eggs!
How to make mini egg brownies
These brownies are dense and chewy, packed with lots of broken mini eggs within the brownie and on top. They come together in super quick time too, the only bit you need some patience for is the cooling time!
Step 1: Line an 8″ baking tin with parchment paper and set it aside. Preheat the oven to 180C/350F while you make the brownies
Step 2: Place 200g of the mini eggs into a large sealable food bag and seal it. Using a rolling pin, bash the mini eggs until they have all broken into chunks. Have fun with this bit!
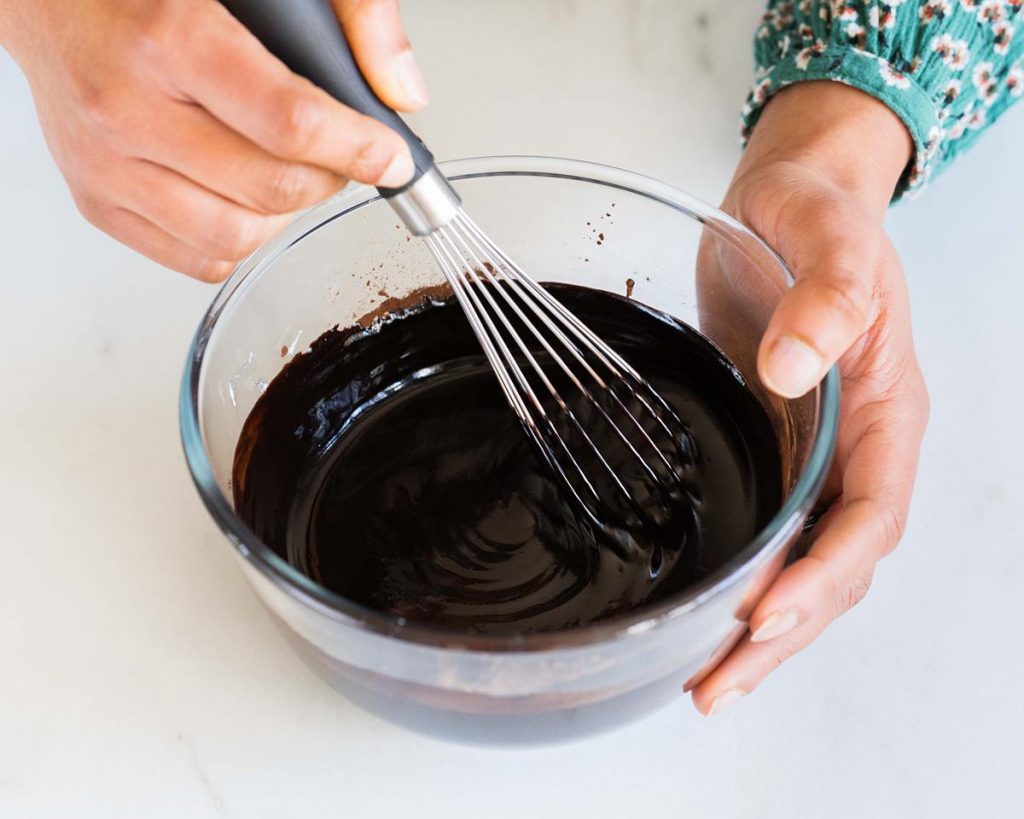
Step 3: Melt the butter in a small bowl. I do this in the microwave in short burst of 10-20 seconds, swirling or stirring in between. Add in the cocoa powder and whisk it together until silky smooth. Set aside to cool slightly.
Step 4: In a separate larger bowl, whisk together the eggs and sugar for about five minutes until really pale and at least double in size. Slowly drizzle in the cooled chocolate mixture, beating as you go so it is all evenly mixed together. Add in the vanilla and stir in.
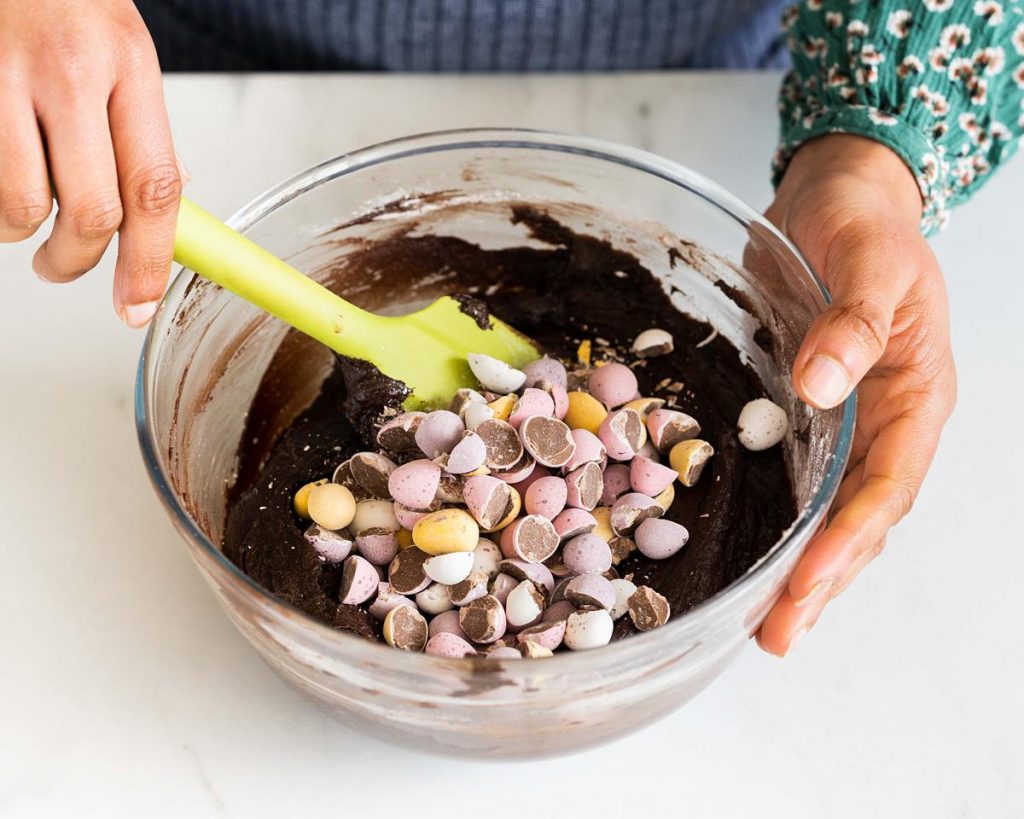
Step 5: Into the mixing bowl, sift in the flour, baking powder and salt. Fold this into the chocolatey mixture rather than whisking so you keep the volume added to the batter. Finally, tip in the crushed mini eggs and fold through.
Step 6: Pour the brownie batter into the prepared baking tin and push it into the corners and level the top. Bake in the preheated oven for 25-35 minutes the edges feel firm to touch and the middle has the tiniest wobble.
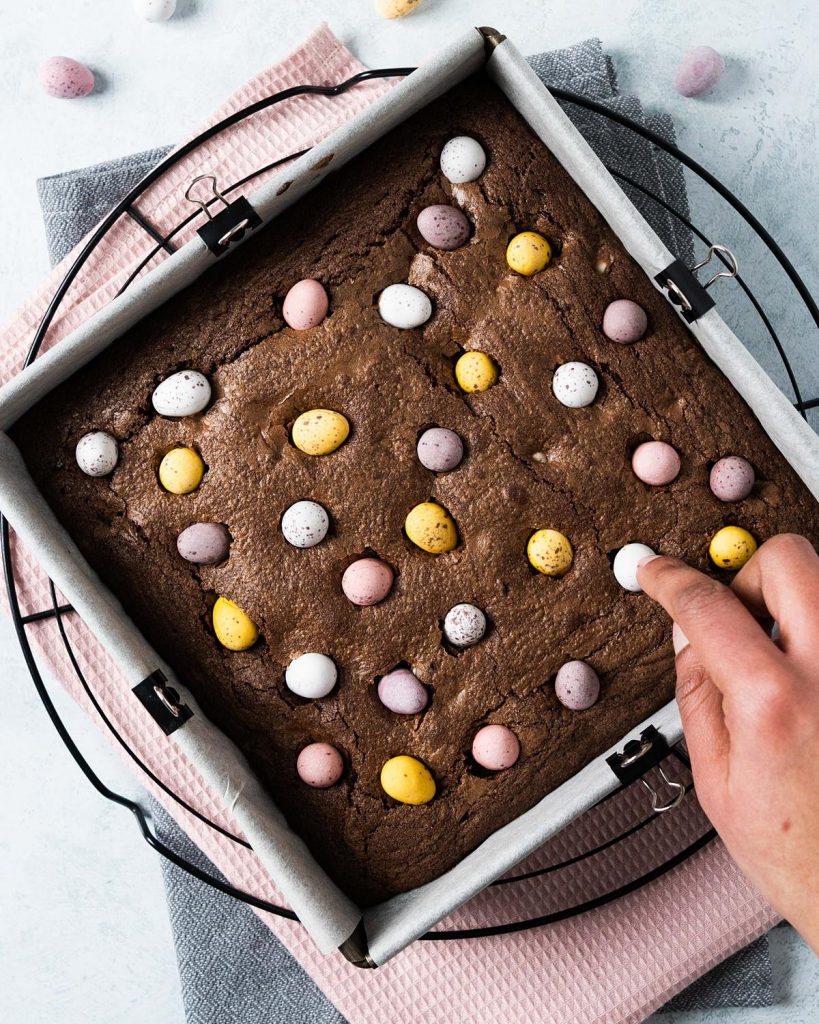
Step 7: Remove from the oven and immediately push the remaining mini eggs into the top. Leave the brownie in the tin to cool completely before cutting into squares. Enjoy!
What baking tin do you need for chocolate brownies?
Metal tins are best for making the mini egg brownies at home. This is because they distribute heat evenly and ensure an even bake. I would recommend avoiding glass, silicone, or ceramic dishes to make brownies in. Glass dishes absorb heat, leading to burnt or over baked edges on the brownies. Silicone does not conduct heat at all, which means it will take longer to bake the brownies. And ceramic dishes are very similar to glass: they conduct heat well, but can result in over baked brownies.
How do I line a baking tin?
There are many ways to line a square baking tin. The simplest way is to cut two strips of baking parchment slightly smaller than one side of the tin first. Lightly brush the tin all over with melted butter. Then lay the strips of parchment paper in the tin in a cross shape. Press and smooth onto the tin, ensuring the edges and corners are folded to give nice neat edges.
How to know when brownies are done?
When do you pull mini egg brownies out of the oven? Too soon and you will end up with an underbaked runny mess. Too late and you end up with a well baked chocolatey slab that is hard and potentially too difficult to eat. So here are my top tips, including things to look for, to help you decide when your brownies are done:
- You want to make sure the brownies are completely firm all around the edges. I don’t mean hard as a rock, but firm enough to hold its own pressed. It should feel like the baked texture of a cake, but only along the edges. I sometimes find I need to turn my tin in the oven, depending on how evenly it is baking. This is just to ensure all sides are equally baked.
- If you wiggle the tin, it should not look like a crust floating on top of a pool of brownie batter. In other words, it should not jiggle around. Instead, remove the mini egg brownie from the oven when it has a crust on top and feels a little fudgy and soft when gently pressed. If it does look or feel more liquid-like in the middle, simply leave it in the oven for a few more minutes and test again.
- Skewer tests are not the best with brownies. This is because testing the middle using the skewer/crumb test will inevitably leave you with over baked edges and brownies. If you really do wish to use a skewer, test the brownie about 1″ in from the edge of the tin. If it comes out clean or with a few damp crumbs, you are good to go!
What is the best way to cut brownies?
Leaving the brownies to cool completely before cutting them is the best way to get lovely neat brownie pieces. Brownies are normally slightly underbaked when removed from the oven. So leaving it to cool completely allows just a little more firming from residual heat.
When cutting the cooled brownies, always remember to use a sharp knife. Dip the knife in hot water and wipe it down before cutting. Repeat this process, dipping and drying the knife, in between eat cut for really clean cut lines when cutting brownies.
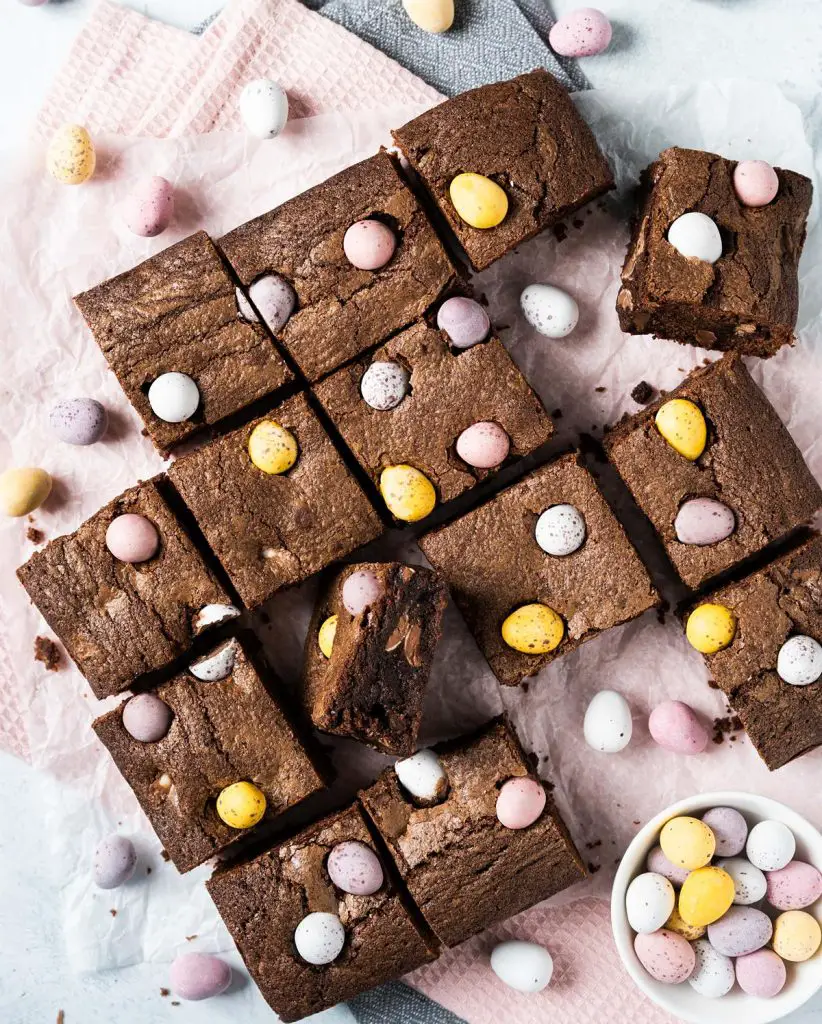
I like to cut my brownies (when baked in an 8″ square) into sixteen pieces, so 4×4. For me, these brownies are perfect at this size, as they are rich and chunky and just the right amount. However, I do know that many people enjoy more than less, so do decide what size you cut depending on your preferences.
How long do mini eggs brownies last? How do I store my brownies?
These mini egg brownies will keep for up to 4 days once baked. They should be stored in an airtight container, in a cool place away from direct sunlight.
Can I freeze brownies?
Yes, absolutely you can! Read on for how to freeze brownies.
How to freeze brownies
If you wanted to freeze these brownies, make sure they are completely cool. Slice them up and double wrap each piece individually and securely in cling film. You can freeze these mini egg brownies for up to three months.
How to defrost brownies
When you are ready to enjoy your brownies again, defrosting could not be simpler! All you have to do is unwrap the brownie pieces (as many as you wish!), and place them on a cooling rack to come to room temperature. How long it takes to defrost will depend entirely on the temperature of the room you are defrosting them in. If you are impatient however, you can microwave them for about 30 seconds to speed up the process.
Can I make these mini egg brownies gluten free and dairy free?
Yes absolutely! You can substitute plain/all purpose flour for a suitable gluten free alternative in this recipe. Whilst the the brownies in this recipe can themselves be made dairy free, mini eggs are not dairy free, so you will need to find a suitable dairy free alternative.
Additional tips for making this mini egg brownies recipe
- Always make sure you have prepared all tools and ingredients before you start mixing: line the baking tin with parchment paper, preheat the oven and get all the ingredients out ready to use. It is easy to get flustered if you feel unprepared!
- This brownie mixture is really quite a thick one. No need to be alarmed by this, the brownies will turn out wonderful once baked!
- Feel free to add in some extra chocolate chips or nuts to the brownie mixture when you add in the mini eggs, if you wish. I like these to be purely mini eggs, but if you wanted the additional texture, go for it!
- Pushing the extra mini eggs in the top of the brownie helps them keep their colour better, and reduces the chance of them cracking when being baked. This makes for an overall prettier brownie top, so you can enjoy the colours of the mini eggs!
- I have to stress: make sure the whole brownie is COMPLETELY COOL before you cut it. And use a sharp knife to help you get through the crust more easily.
Share the social love!
Made this mini egg brownies recipe? I would absolutely love to see them! Please share your bakes with me over on Instagram @movers_bakers as there is honestly nothing that makes me happier than seeing your creations using my recipes! And if you loved this recipe, please do leave a rating and a comment below. Happy Easter baking!
More mini egg themed recipes for you to enjoy
Please do check out these other irresistible mini egg recipes on my blog:
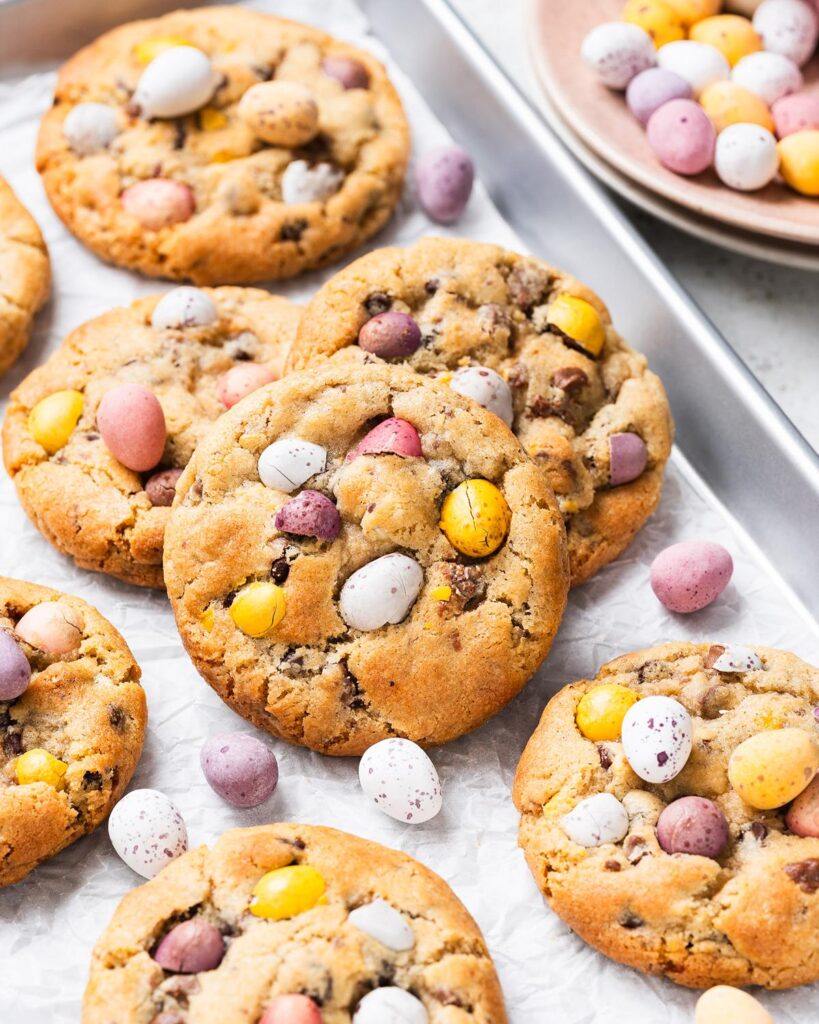
Mini egg cookies: Gorgeous chewy cookies with a wonderful crispy crust. Plenty of gooey and melty chocolate chips. And lots and lots of mini eggs too. Easter does not get much better with mini eggs!

Mini egg cupcakes: These cupcakes are a perfect balance of rich chocolatey cupcakes, soft and light vanilla buttercream ruffle, and delicious mini eggs. If you are looking for an Easter themed cupcake that everyone will enjoy, look no further: you have just found it!
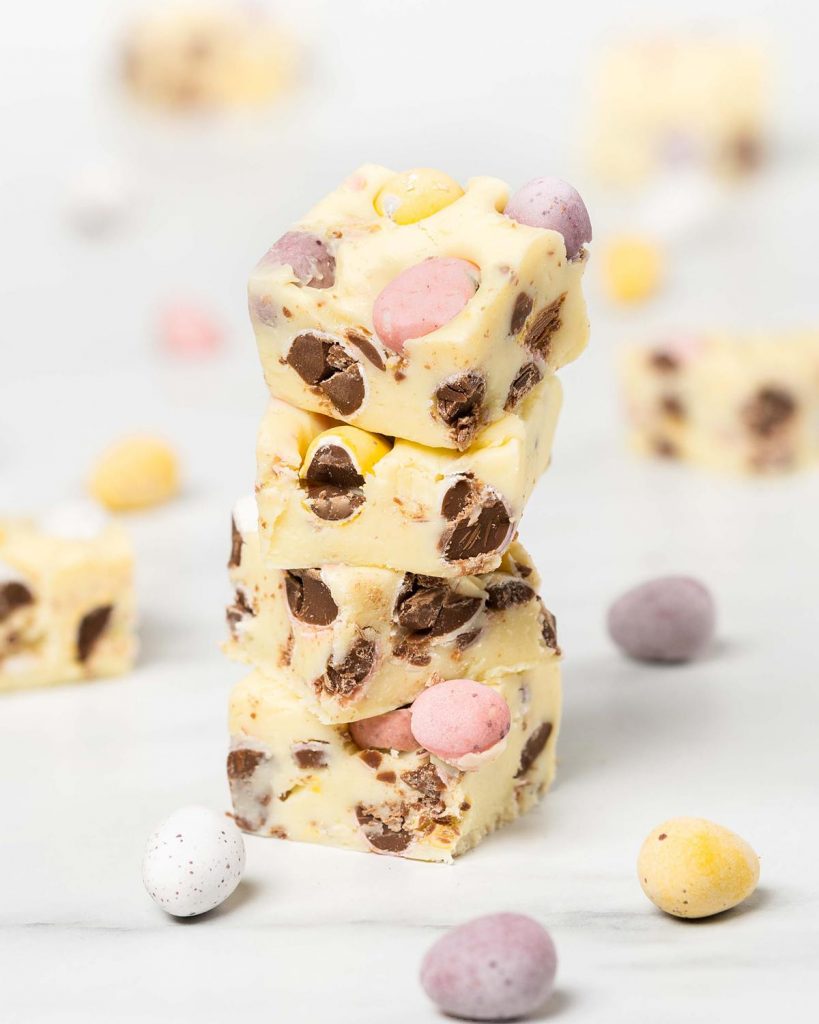
Mini egg fudge: This is a perfect, decadent Easter treat! It’s creamy, melt-in-the-mouth and so smooth, with a delightfully beautiful sugar-coated crunch from the yummy mini eggs. The easiest thing you will make this Easter!
Thanks for joining me today, my friends! Happy Easter and happy baking! x
Recommended equipment and ingredients I used *
| Baking tin | Digital kitchen scales |
| Measuring spoons | Sieve |
| Mixing bowl/small mixing bowl | Handheld electric mixer |
| Spatula | Rolling pin |
Mini Egg Brownies
16
servings10
minutes30
minutes300
kcal1
hour30
minutes2
hours10
minutesChewy and fudgy brownies packed with crisp mini eggs. A perfect Easter bake!
Keep the screen of your device on
Ingredients
170 g (¾ cup) unsalted butter, melted
75 g (½ cup + 3 tbsp) cocoa powder
285 g (1¼ cups + 3 tbsp) caster sugar
3 large eggs
2 tsp vanilla
150 g (¾ cup + 3 tbsp) plain (all purpose) flour
0.75 tsp baking powder
0.5 tsp salt
280 g (1 ¼ cups + 2 tbsp) mini eggs
Directions
- Line an 8″ baking tin with parchment paper and set it aside. Preheat the oven to 180C/350F while you make the brownies
- Place 200g (1 cup) of the mini eggs into a large sealable food bag and seal it. Using a rolling pin, bash the mini eggs until they have all broken into chunks. Have fun with this bit!
- Melt the butter in a small bowl. I do this in the microwave in short burst of 10-20 seconds, swirling or stirring in between. Add in the cocoa powder and whisk it together until silky smooth. Set aside to cool slightly.
- In a separate larger bowl, whisk together the eggs and sugar for about five minutes until really pale and at least double in size. Slowly drizzle in the cooled chocolate mixture, beating as you go so it is all evenly mixed together. Add in the vanilla and stir in.
- Into the mixing bowl, sift in the flour, baking powder and salt. Fold this into the chocolatey mixture rather than whisking so you keep the volume added to the batter. Finally, tip in the crushed mini eggs and fold through.
- Pour the brownie batter into the prepared baking tin and push it into the corners and level the top. Bake in the preheated oven for 25-35 minutes the edges feel firm to touch and the middle has the tiniest wobble.
- Remove from the oven and immediately push the remaining mini eggs into the top. Leave the brownie in the tin to cool completely before cutting into squares. Enjoy!
Recipe Video
Notes
- Always make sure you have prepared all tools and ingredients before you start mixing: line the baking tin with parchment paper, preheat the oven and get all the ingredients out ready to use. It is easy to get flustered if you feel unprepared!
- This brownie mixture is really quite a thick one. No need to be alarmed by this, the brownies will turn out wonderful once baked!
- Feel free to add in some extra chocolate chips or nuts to the brownie mixture when you add in the mini eggs, if you wish. I like these to be purely mini eggs, but if you wanted the additional texture, go for it!
- Pushing the extra mini eggs in the top of the brownie helps them keep their colour better, and reduces the chance of them cracking when being baked. This makes for an overall prettier brownie top, so you can enjoy the colours of the mini eggs!
- I have to stress: make sure the whole brownie is COMPLETELY COOL before you cut it. And use a sharp knife to help you get through the crust more easily.