
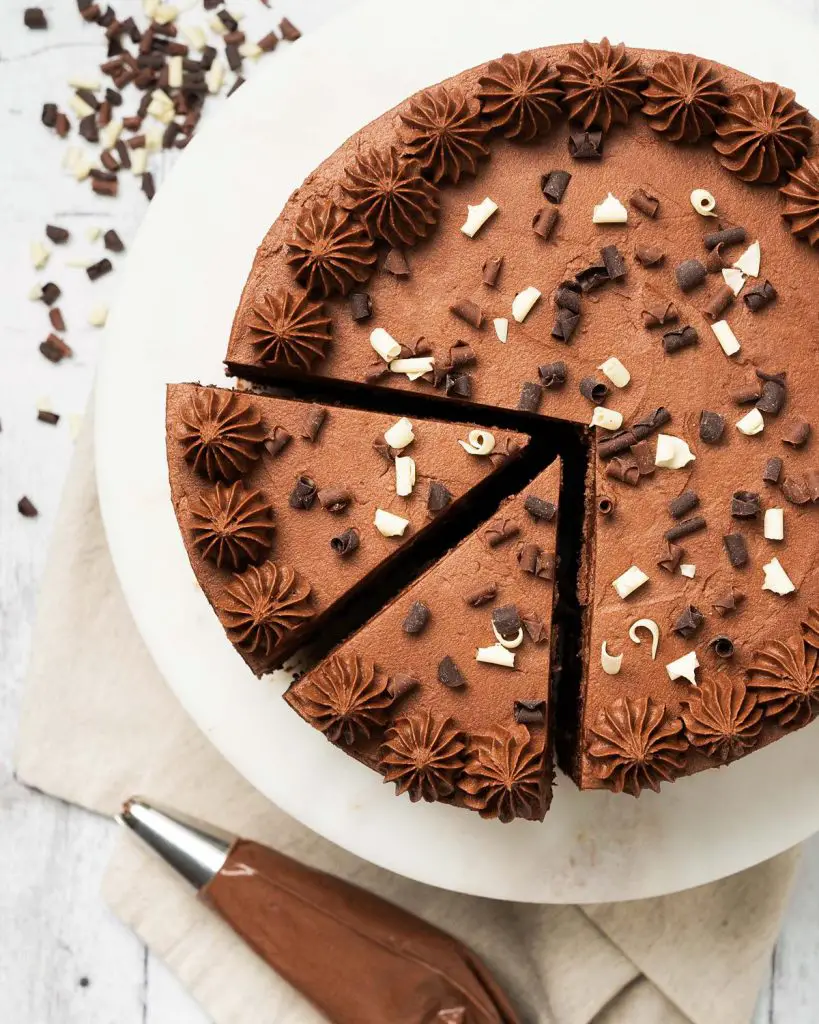
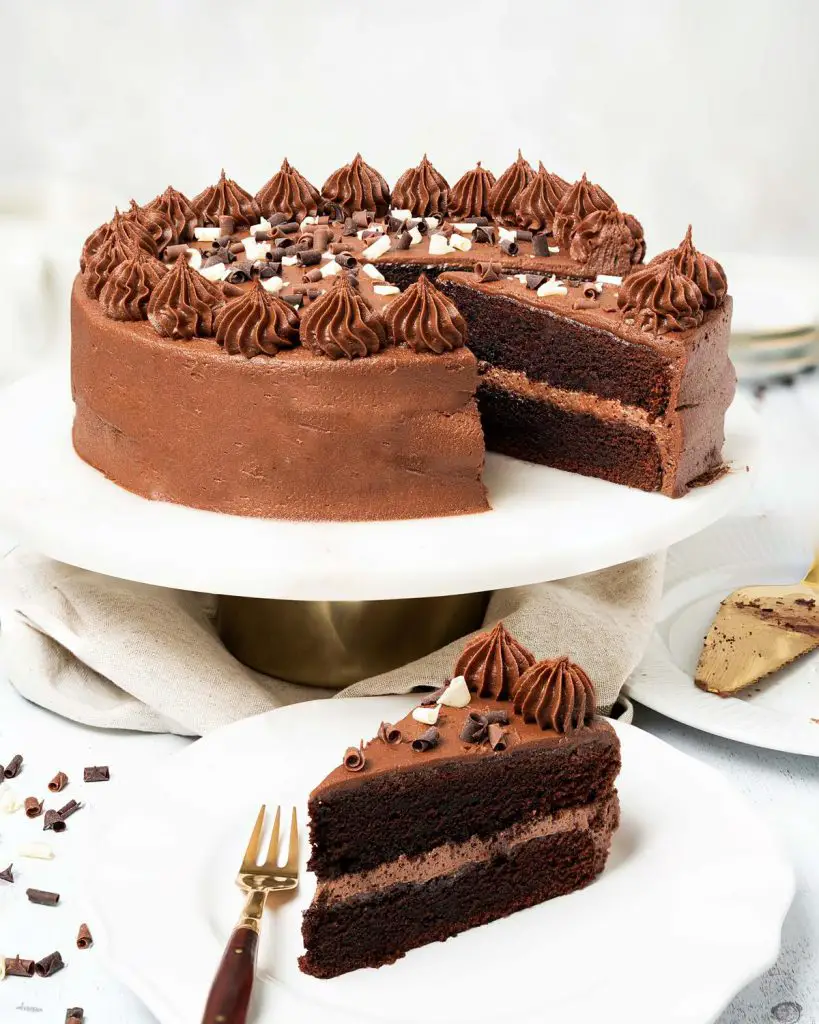
You will love this rich and moist eggless chocolate cake recipe. It has two layers of beautiful decadent eggless chocolate sponge cake with a smooth and totally irresistible but so simple to make chocolate buttercream frosting. This is one showstopper of a cake you will not want to miss!
Get your chocolate fix
Are you absolutely obsessed with chocolate too? I could literally drink the stuff like others drink coffee or water. And, let it be known, I am not fussy about which chocolate: white, milk or dark, they all get my vote!
Finding an eggless chocolate cake, for me, that is moist and rich and remains that way after a day or two has been a lot of trial and error! I am really fussy when it comes to my chocolate cakes, and so many let me down for being too dry or not chocolatey enough. But friends, today all that changes, because I am sharing a foolproof recipe!
Why I love this eggless chocolate cake recipe so much
- No unusual ingredients: using ingredients you are likely to have in your home makes this egg free chocolate cake recipe even better with its simplicity!
- Easy to make: this recipe is so so easy and yields perfect results every single time. Find it hard to believe me? Bake it for yourself and find out!
- Moist cake: using cocoa powder in bakes can often result in a drier result. Not with my recipe, this one will give you a perfectly moist chocolate cake result every time.
- Less is more: I actually make less icing for this chocolate cake than a lot of other recipes do. I find too much frosting can be overkill, detracting from the cake itself, so I have adapted my recipe to suit my preferences. If you like more buttercream than I do, please feel free to double the amount of icing you make and use on the finished cake!
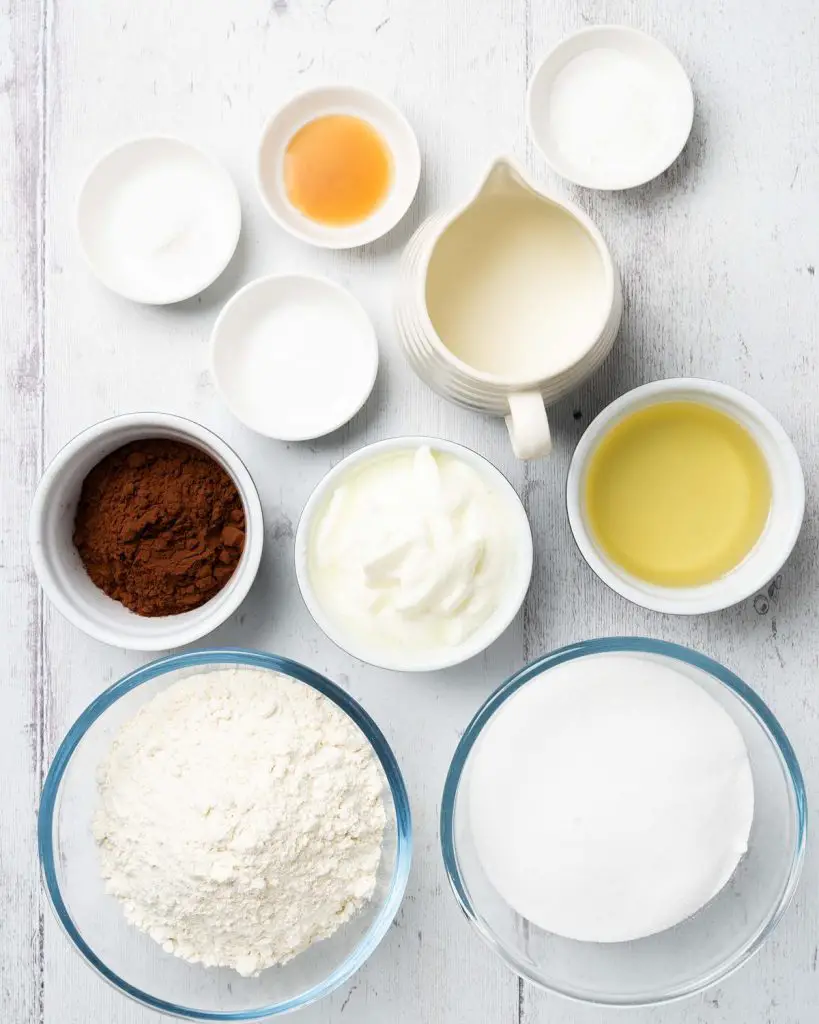
What ingredients do I need to make this eggless chocolate cake?
- Flour: I use plain flour to make this chocolate cake. I prefer this here as I can control the amount of rise in my cakes better.
- Cocoa powder: for delicious chocolate flavour in both the cake and buttercream.
- Baking powder/bicarbonate of soda (baking soda): the leavening agents in this bake, for rise and lightness.
- Salt: enhances the flavour of the bake, but it will not be so much that you taste it in the cake.
- Caster sugar: for sweetness in the eggless cake.
- Oil: I use vegetable oil in this recipe to help keep the bake super moist and tender.
- Milk: the liquid content needed in this recipe, both in the cake and to help achieve the right consistency for the buttercream.
- Yogurt: keeps the chocolate cake moist and tender.
- Vanilla: for delicious flavour, enhances the sweetness in this delicious dessert. Used in both the cake and the buttercream.
- Butter: I use unsalted butter, so I can control the amount of salt in the chocolate frosting.
- Icing sugar: used to sweeten the silky smooth icing on this cake.
What tools do I need to make this chocolate eggless cake?
- Cake tins*: to bake the cakes in. I use two separate tins to make this two layer cake, rather than baking as one and slicing in half. I find this way guarantees me better baked cakes.
- Parchment/baking paper: to line the tin before baking the cake in it.
- Digital kitchen scales*: my recommended method of measuring ingredients is to weigh them out using grams rather than cups. I do provide cup measures too, if you prefer working with this method.
- Measuring spoons*: for measuring smaller quantities such as tablespoons (tbsp) and teaspoons (tsp). A set of dedicated measuring spoons are far more accurate than using everyday eating spoons, so is a small investment well worth making.
- Stand mixer*/Handheld electric mixer*: both useful tools to make life easier in the kitchen. You can, of course, make this whole recipe entirely by hand. But it will be quite the workout for your arm!
- Sieve*: to sift your dry ingredients before mixing in. This is important to remove lumps from the ingredients, helping ensure good incorporation of everything together.
- Spatula*: to scrape down the bowl with as you add ingredients, ensuring everything mixes together thoroughly.
- Jug*: I use a jug to mix together my wet ingredients separately before adding in with the dry ingredients.
- Mixing bowl*: in which to make the irresistible chocolate frosting!
- Piping bag*: used for decorating the cake.
- Nozzle*: used to pipe the finishing details of buttercream on top of the cake for a pretty finish.
- Offset spatula*: to help spread your icing over your cake smoothly and evenly.
How to make eggless chocolate cake
As with making any cake, first make and bake the cake layers. Once they are completely cool, make the icing before levelling (if needed), filling and decorating the cake before you dig in!
Making the cake
Step 1: Preheat the oven to 180C/350F. Grease and line two 8″ cake tins, then set these aside whilst making the cake.
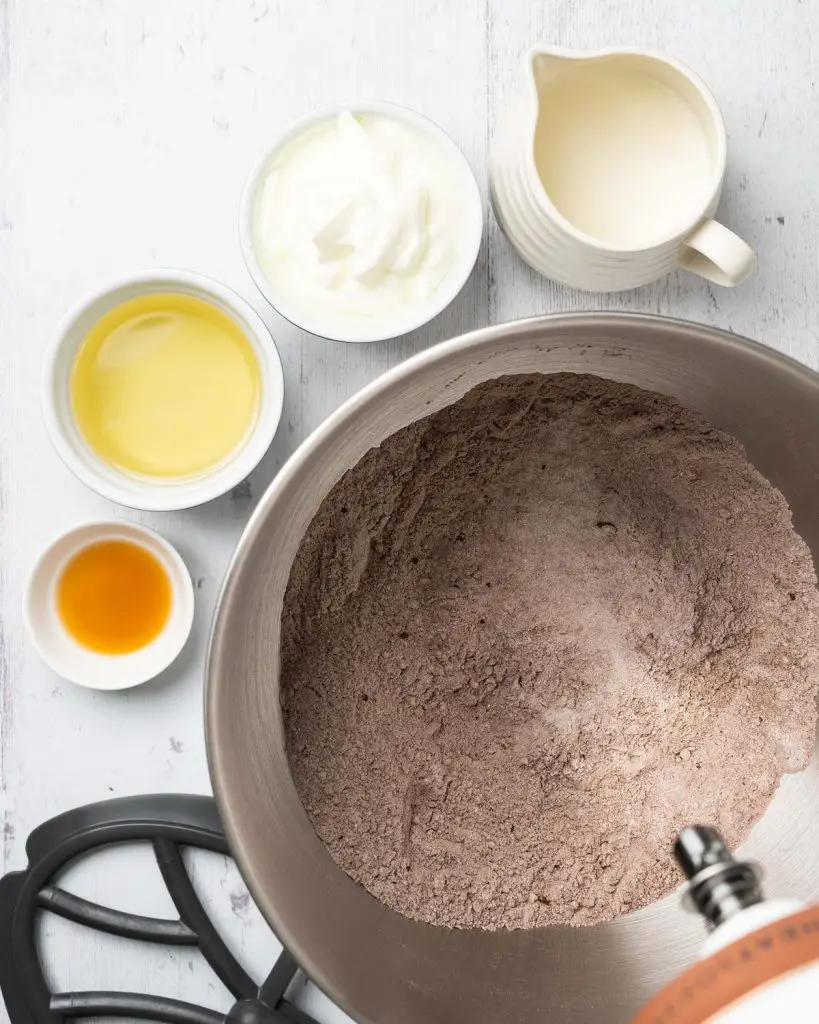
Step 2: In a large mixing bowl, sieve together the flour, cocoa powder, caster sugar, baking powder, bicarbonate of soda and salt. Give it a quick whisk, then set this bowl aside.
Step 3: Separately (I like to use a large jug, but another bowl will be perfect too), mix together the oil, yogurt, milk and vanilla until totally combined.
Step 4: Tip the wet mix into the bowl with the dry ingredients and beat it all together. The mixture will be quite thick. This is perfect, just make sure it is all mixed through at this stage.
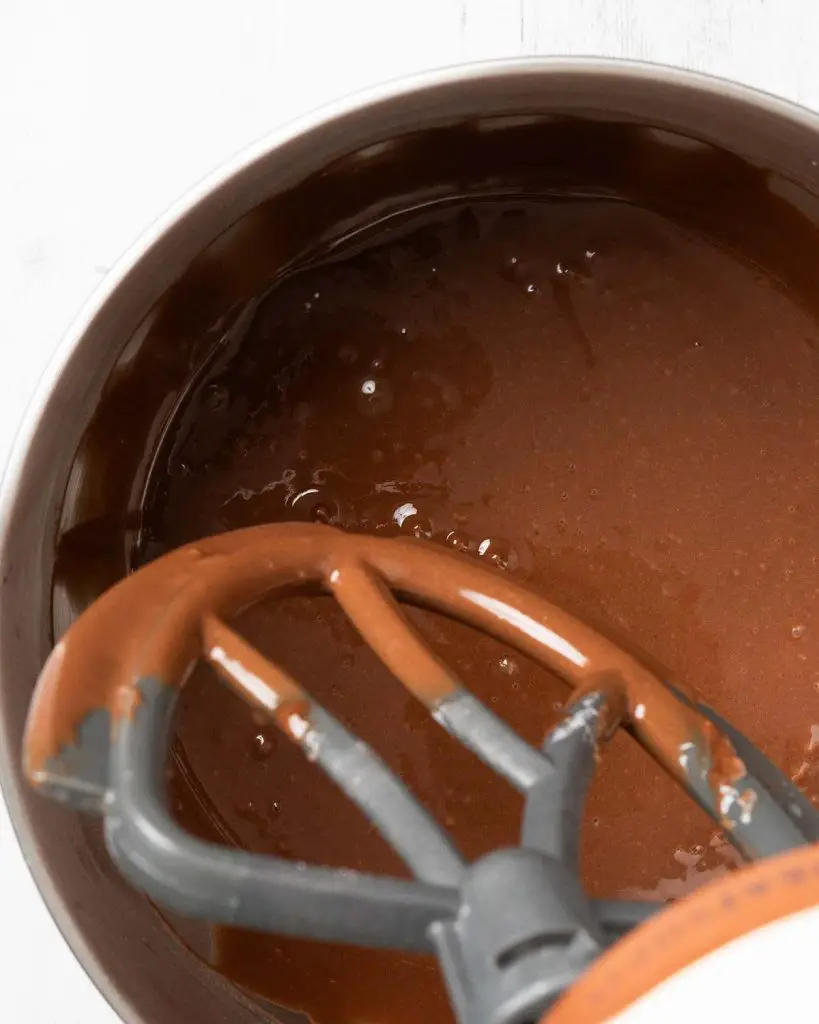
Step 5: With the mixer running on a low setting, drizzle the hot water in and mix it all in until the cake mixture is silky smooth and shiny. It will be fairly runny in consistency.
Step 6: Divide the mixture between the two tins and bake in the hot oven for 25-30 minutes until the cakes have shrunk from the sides slightly and are springy to touch. A wooden skewer inserted into the cakes will come out clean or with a couple of moist crumbs. Leave to cool for five minutes in the tins, then turn out onto a cooling rack to cool completely.
For the chocolate buttercream
Step 1: Beat the butter with an electric mixer until pale and creamy. This will take about 4-5 minutes.
Step 2: Add in half the icing sugar and beat in slowly until incorporated and smooth.
Step 3: Tip in the cocoa powder and vanilla and mix. Make sure to scrape down the sides to ensure everything is evenly combined.
Step 4: Add in the second half of the icing sugar and mix in slowly to prevent a sugar cloud. Mix in a few teaspoons of milk to form a smooth spreadable frosting if required, then beat until lighter and fluffy.
Step 5: Using a spatula or the paddle attachment, mix the buttercream on a low setting to smooth out any air bubbles and make the buttercream smooth and easily spreadable. This step is optional, but will give you a nicer finish to your cake.
Assembling the cake
Step 1: Level the cakes, if required. These off cuts are yours to enjoy as perks of the chef, or can be made into cake pops if you wish too!
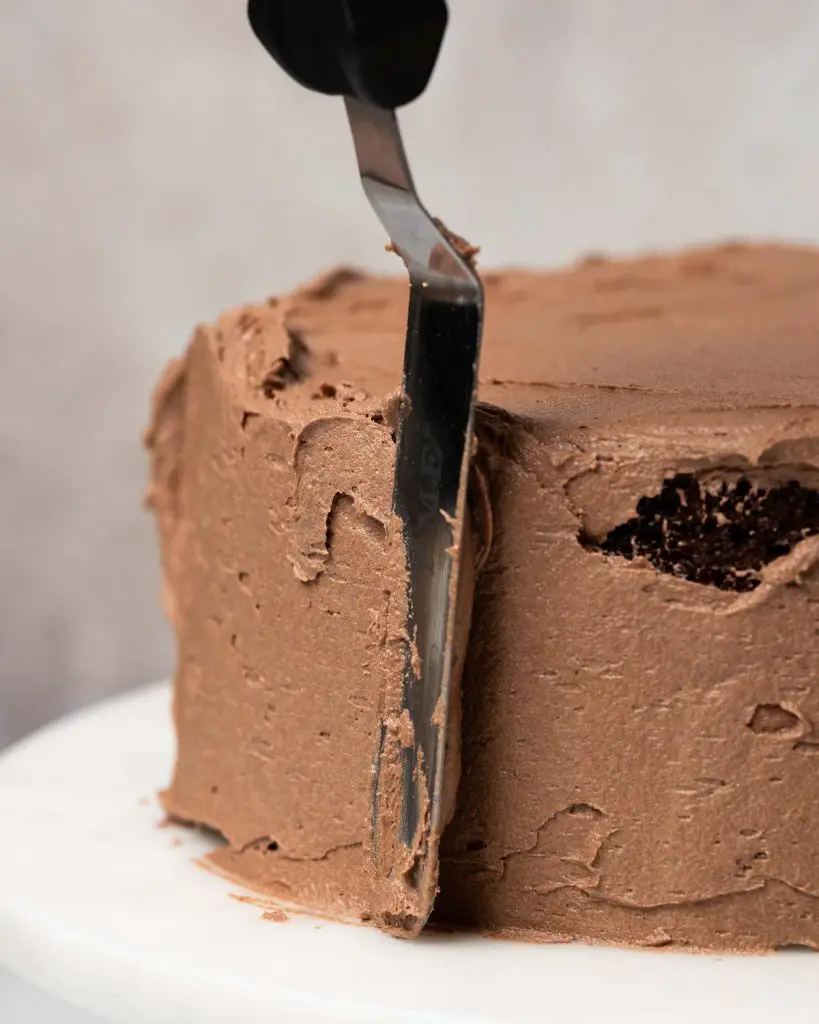
Step 2: Place a little splodge of buttercream on a cake plate or stand, then place the first cake over it, pressing down gently. This bit of buttercream will help the cake not slide around on the plate. Place a couple of generous dollops of buttercream over the cake, spreading into an even layer. Top with the second cake, then use most of the remaining buttercream to cover the top and sides of the whole cake.
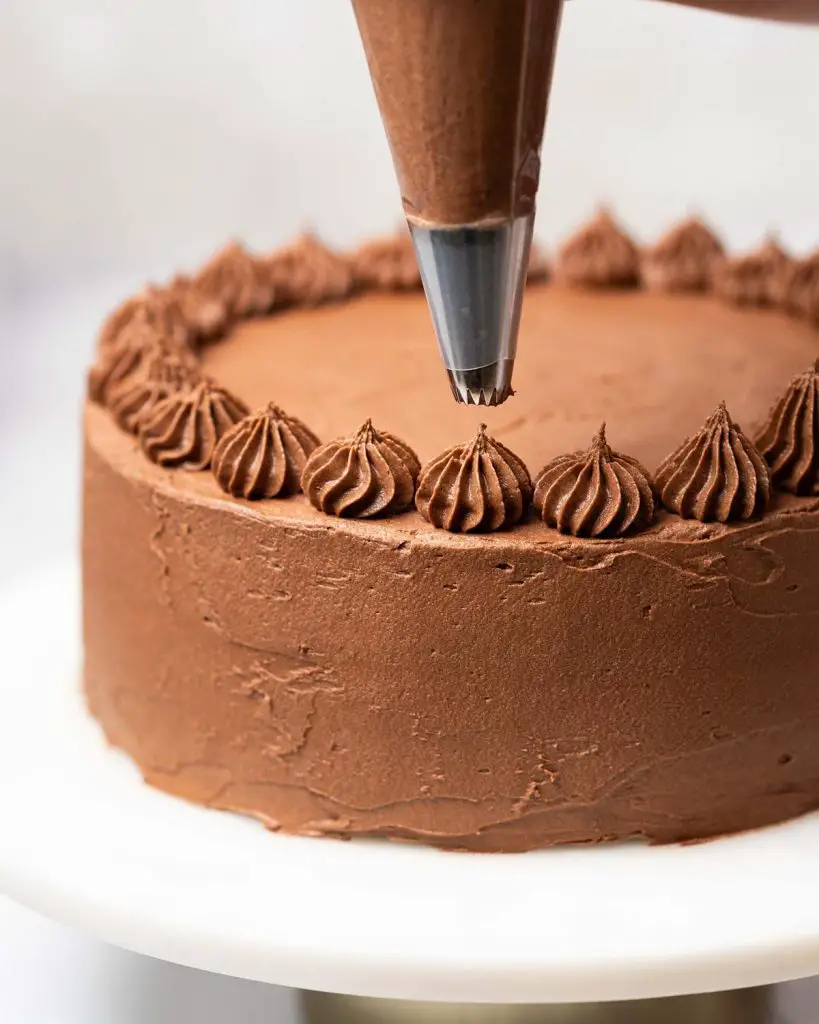
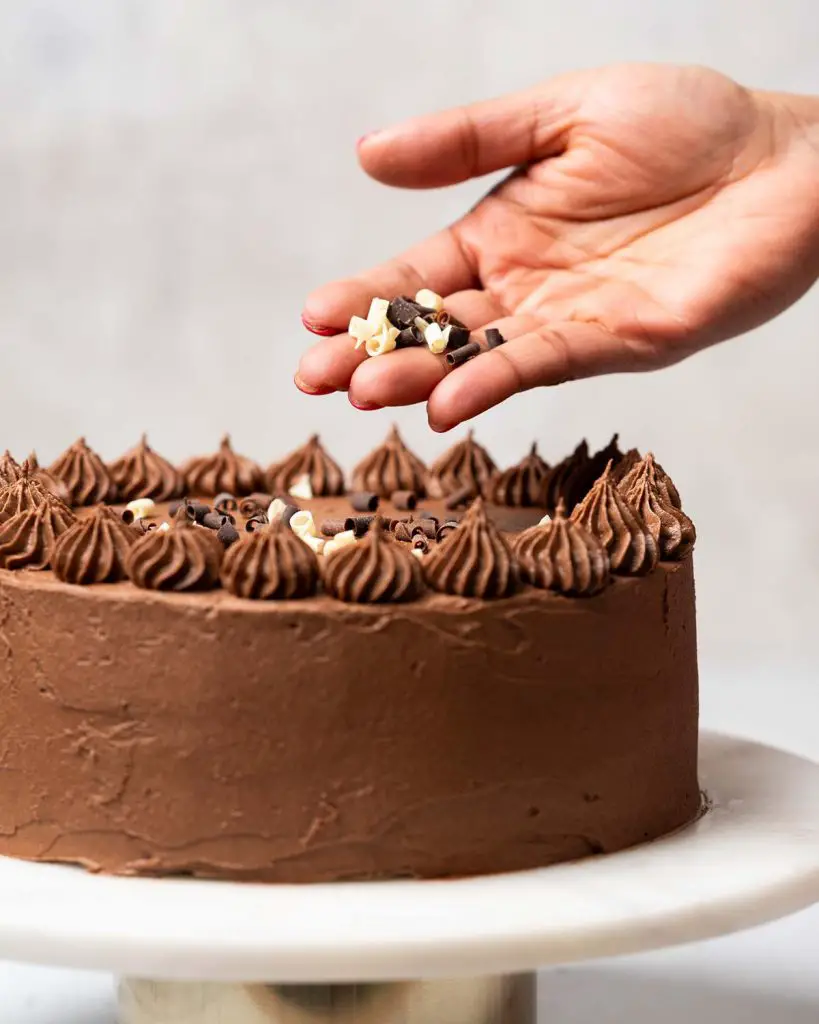
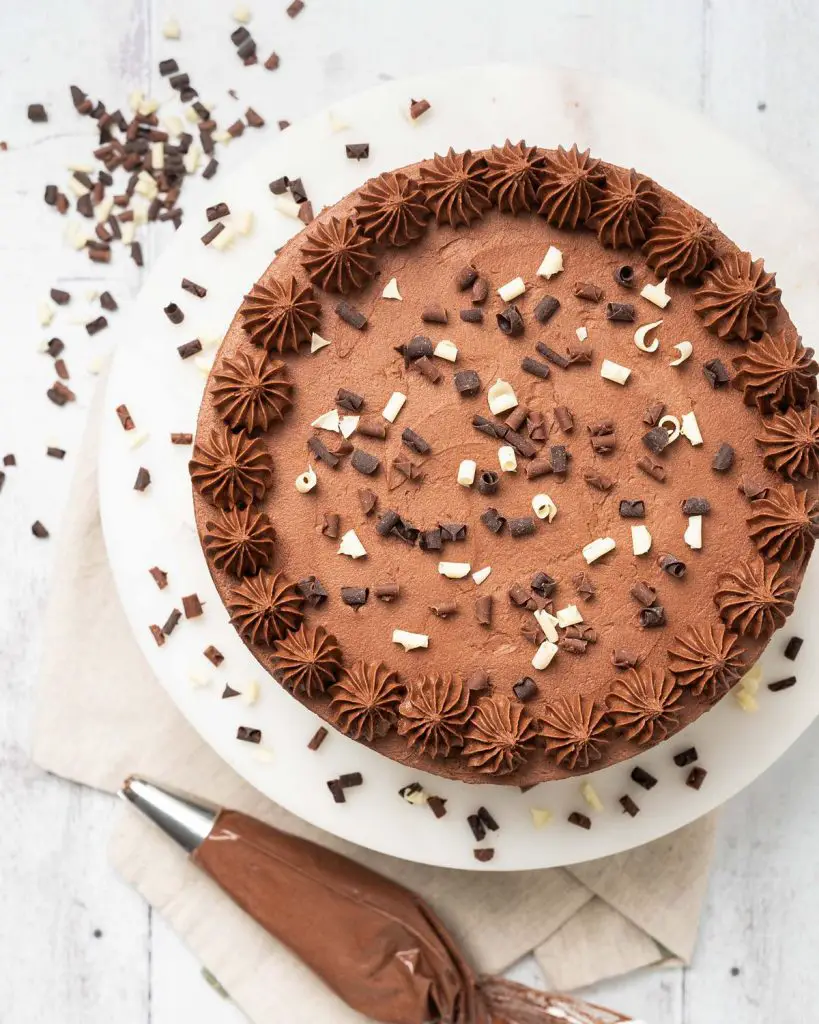
Step 3: Place the remaining buttercream into a piping bag fitted with a star shaped nozzle. Pipe a pattern all around the edge of the cake, then finish by scattering some sprinkles over the middle of the cake. Enjoy!
How do I line my cake tins?
Place the cake tin on some parchment paper and trace around the base of the tin. Cut out this shape and set aside. Melt some butter and use it to brush inside the base of the cake tin. Place the cut out circle of parchment paper on the buttered base and use the brush to flatten and ease it into the corners. Brush a little more butter over the parchment circle and up the sides of the cake tin. The tins are now ready to be used.
How can I tell when my cakes are baked?
You will know when the chocolate eggless cakes are done as they will be firm to touch and will have shrunk away from the sides of the pan slightly. Additionally, a toothpick inserted into the middle of the cake will come out clean or with one or two crumbs only.
How long does this eggless chocolate cake last and how do I store it?
This cake is best eaten within 2-3 days of being made to be enjoyed at its best. Store it in an airtight container to keep it at its best, away from direct sunlight.
How to freeze a cake
If you wish to make this cake ahead of time and freeze it, you can do this no problem. I would recommend not freezing the assembled cake, but the individual cake layers instead. Then, when you are ready, you can defrost the cake layers, make the chocolate frosting, and decorate the cake.
To freeze the cake layers, first make sure they are completely cool. Wrap each layer of cake tightly and securely in cling film, then a layer of tin foil and another tight layer of cling film. You do not want any moisture getting to the cakes, or they will turn out a soggy mess, hence thoroughness. Stack the cakes on top of each other, and place the stack on a flat surface in the freezer.
How to defrost the frozen cake layers
When you are ready to defrost and decorate the eggless sponge cake, simply remove the layers from the freezer and unwrap them. Place each cake in a single layer on a cooling rack, brushing off any remaining ice crystals, and leave to come to room temperature. The cakes are ready to be decorated once defrosted.
Can I make this cake gluten and dairy free too?
Yes, you can make this gluten free by substituting the plain (all purpose) flour for a gluten free flour blend. The yogurt, milk and butter can all be substituted too for suitable dairy free alternatives. By substituting dairy products in this bake, you would be making this a vegan chocolate cake.
Additional tips for making this eggless chocolate cake recipe
- Make sure you have prepared all tools and ingredients before you start mixing the cake batter. So, grease and line the cake tins, preheat the oven and get the ingredients out ready to use.
- I find with this eggless version that baking one large cake and slicing can lead to a much denser cake. I would definitely recommend baking the cake in two separate layers to help avoid this problem.
- Do line the tins before baking the cakes in them. This will lead to far less stress releasing the cakes than if they were not lined, where you may end up with cake stuck to the tin.
- Use milk, yogurt and butter at room temperature. This helps them blend better with the other ingredients, making for better cakes and icing.
- When the cakes come out of the oven, leave them for a few minutes in the tin to cool a little before turning them out onto a cooling rack to cool completely. Removing them as soon as they are out of the oven risks them breaking as they come out of the tin. No one wants that!
- Ensure the cakes are cool before levelling them or you risk them breaking more easily.
- Make sure the cakes are completely cool as well before filling and decorating them. If you decorate when the cakes are still warm, the icing is more likely to melt and you will have a really runny, sweet chocolatey mess!
Troubleshooting
If you have any questions about this chocolate cake recipe without egg, please comment below and I will do my best to help. And do remember: if you make this eggless chocolate cake, please do consider leaving a rating and review below. It would mean so much to me, and I know many others really will appreciate it too. You could even post a picture on Instagram and tag me when you share it with the world. You already know I would love to see!
More recipes from my blog for you to enjoy
Eggless red velvet cake: You will love this rich and moist eggless red velvet cake recipe. It has three layers of beautiful decadent red velvet sponge with a smooth and totally irresistible cream cheese icing. This is one showstopper of a cake you will not want to miss!
Eggless chocolate chip cookies: my eggless chocolate chips cookies are chunky, chewy and a total treat! Add that they’re super easy to bake and can be made ahead of time, and surely you have an all round winner!
Rose pistachio and cardamom loaf cake (eggless): this cake is inspired by the stunning smells and flavours of India. Earthy pistachio, fragrant cardamom, and floral rose come together in this eggless bake to create an incredible stunning cake that is truly out of this world.
And that is all there is to it! This eggless chocolate cake is all yours to be enjoyed!
Happy baking my friends! x
Recommended equipment I used *
| Cake tins | Digital kitchen scales |
| Measuring spoons | Stand mixer |
| Handheld electric mixer | Sieve |
| Spatula | Jug |
| Mixing bowl | Piping bag |
| Nozzle | Offset spatula |
Eggless Chocolate Cake
Ingredients
For the cake
- 230 g (1 ½ cups + 2 tbsp) plain (all purpose) flour
- 50 g (¼ cup + 3 tbsp) cocoa powder
- 260 g (1 ¼ cups + 1 tbsp) caster sugar
- 1.25 tsp baking powder
- 0.75 tsp bicarbonate of soda (baking soda)
- 0.5 tsp salt
- 90 ml (¼ cup + 2 tbsp) oil
- 140 g (½ cup + 2 tbsp) yogurt
- 140 ml (½ cup + 1 tbsp) milk
- 1 tsp vanilla
- 190 ml (¾ cup + 1 tbsp) hot water
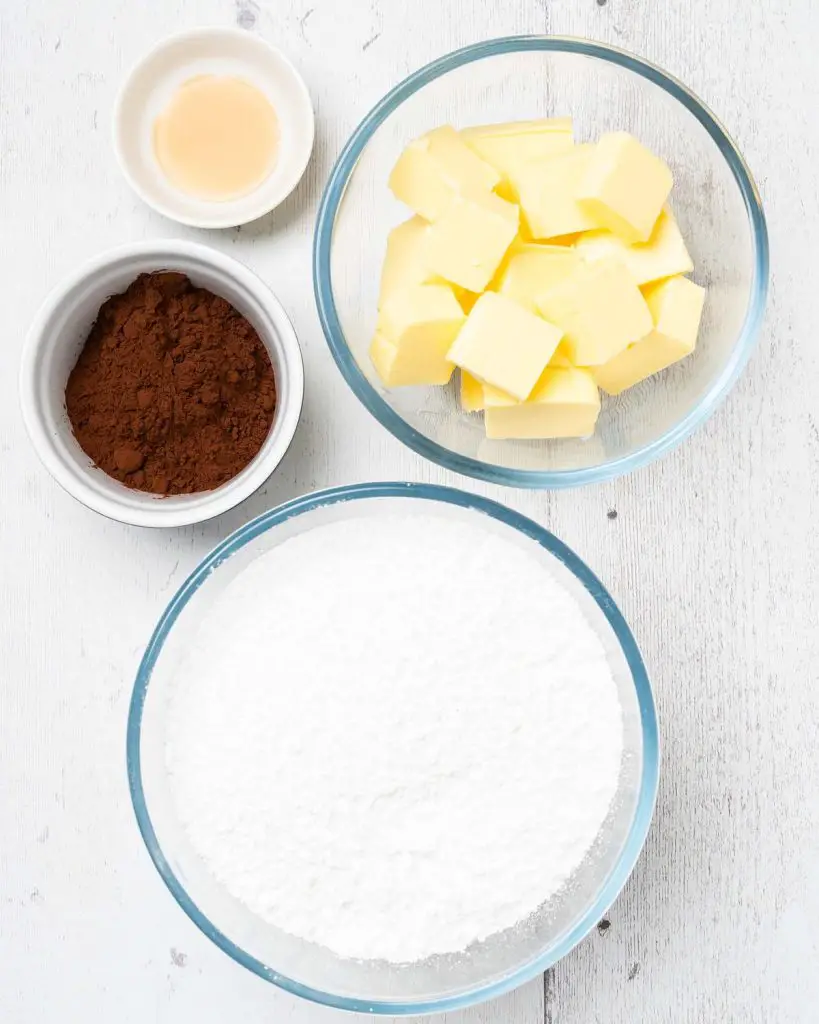
For the buttercream and decoration
- 250 g (1 cup + 2 tbsp) unsalted butter
- 400 g (2 ¾ cups + 3 tbsp) icing (powdered) sugar
- 40 g (¼ cup + 2 tbsp) cocoa powder
- 1 tsp vanilla
- 2-4 tbsp milk, as required
- sprinkles, to decorate
Instructions
Making the cake
- Preheat the oven to 180C/350F. Grease and line two 8" cake tins, then set these aside whilst making the cake.
- In a large mixing bowl, sieve together the flour, cocoa powder, caster sugar, baking powder, bicarbonate of soda and salt. Give it a quick whisk, then set this bowl aside.
- Separately (I like to use a large jug, but another bowl will be perfect too), mix together the oil, yogurt, milk and vanilla until totally combined.
- Tip the wet mix into the bowl with the dry ingredients and beat it all together. The mixture will be quite thick. This is perfect, just make sure it is all mixed through at this stage.
- With the mixer running on a low setting, drizzle the hot water in and mix it all in until the cake mixture is silky smooth and shiny. It will be fairly runny in consistency.
- Divide the mixture between the two tins and bake in the hot oven for 25-30 minutes until the cakes have shrunk from the sides slightly and are springy to touch. A wooden skewer inserted into the cakes will come out clean or with a couple of moist crumbs. Leave to cool for five minutes in the tins, then turn out onto a cooling rack to cool completely.
For the chocolate buttercream
- Beat the butter with an electric mixer until pale and creamy. This will take about 4-5 minutes.
- Add in half the icing sugar and beat in slowly until incorporated and smooth.
- Tip in the cocoa powder and vanilla and mix. Make sure to scrape down the sides to ensure everything is evenly combined.
- Add in the second half of the icing sugar and mix in slowly to prevent a sugar cloud. Mix in a few teaspoons of milk to form a smooth spreadable frosting if required, then beat until lighter and fluffy.
- Using a spatula or the paddle attachment, mix the buttercream on a low setting to smooth out any air bubbles and make the buttercream smooth and easily spreadable. This step is optional, but will give you a nicer finish to your cake.
Assembling the cake
- Level the cakes, if required. These off cuts are yours to enjoy as perks of the chef, or can be made into cake pops if you wish too!
- Place a little splodge of buttercream on a cake plate or stand, then place the first cake over it, pressing down gently. This bit of buttercream will help the cake not slide around on the plate. Place a couple of generous dollops of buttercream over the cake, spreading into an even layer. Top with the second cake, then use most of the remaining buttercream to cover the top and sides of the whole cake.
- Place the remaining buttercream into a piping bag fitted with a star shaped nozzle. Pipe a pattern all around the edge of the cake, then finish by scattering some sprinkles over the middle of the cake. Enjoy!
Wow, this recipe looks absolutely delicious! I can’t wait to try it out this weekend.