

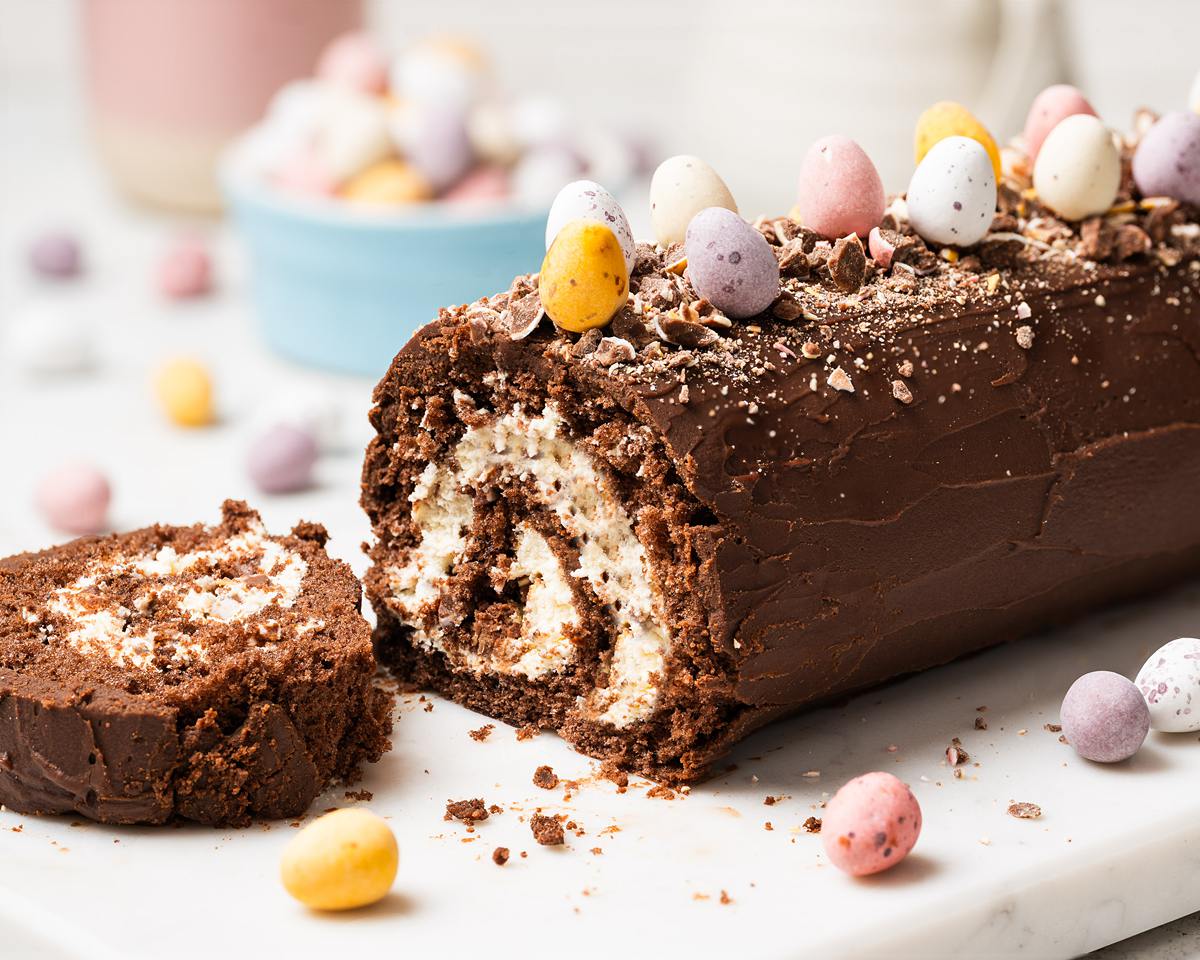
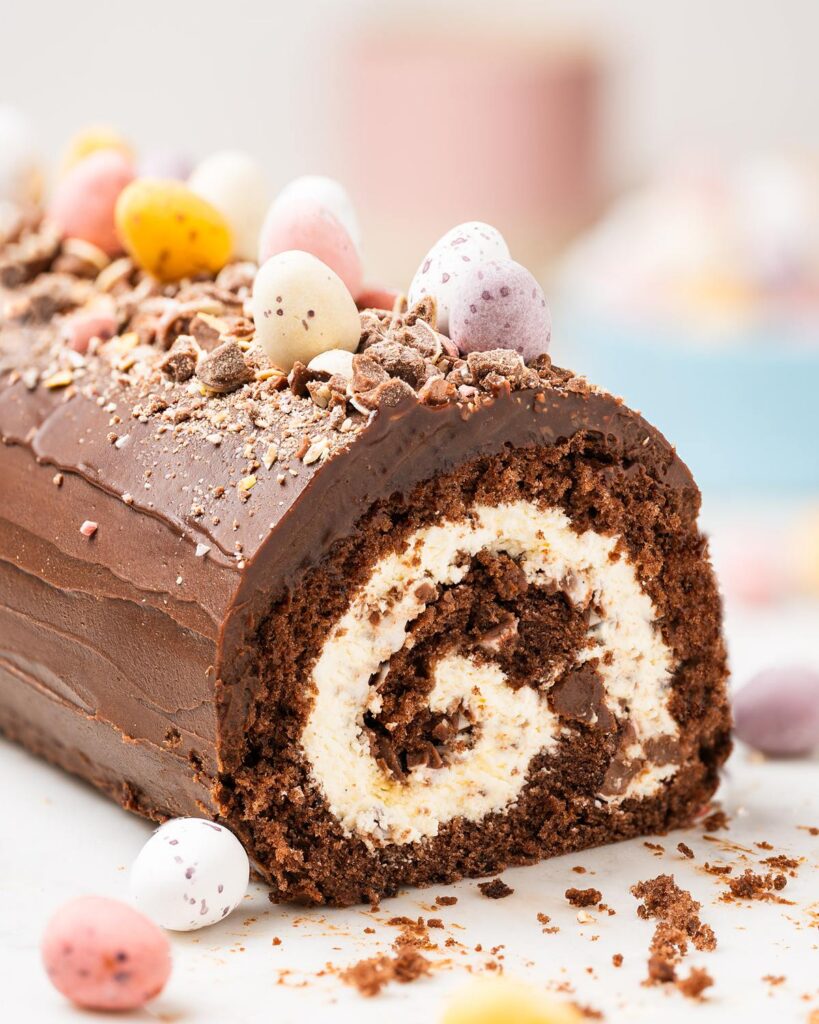
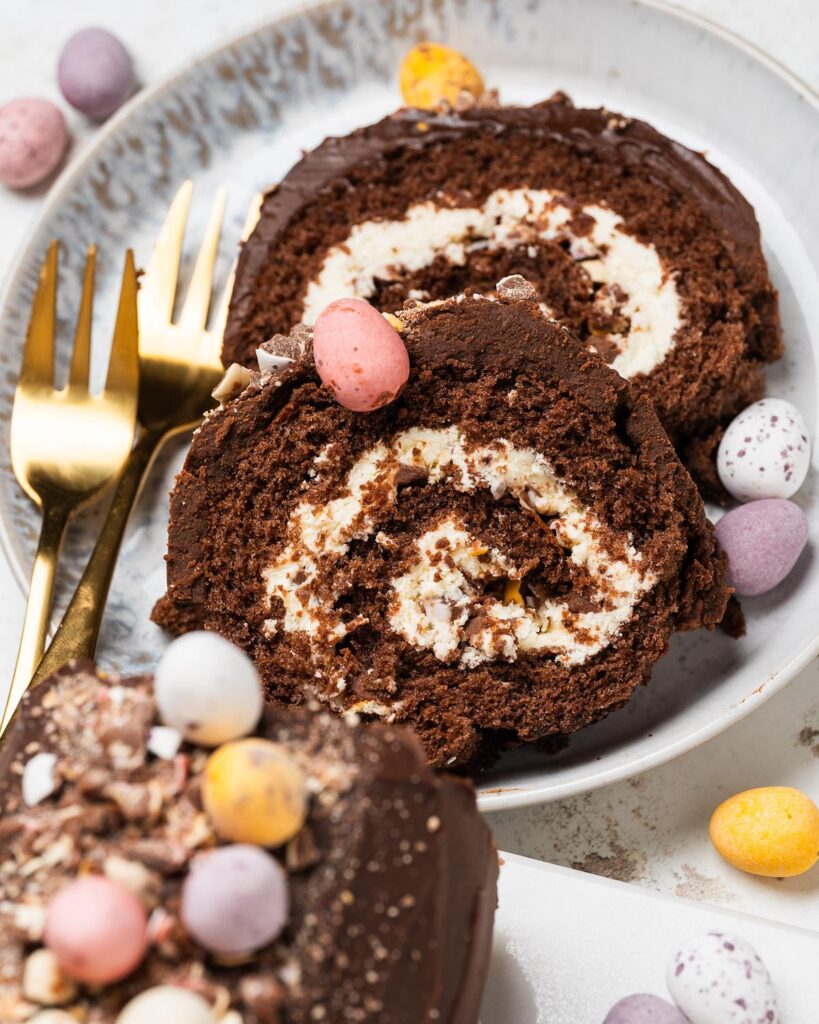
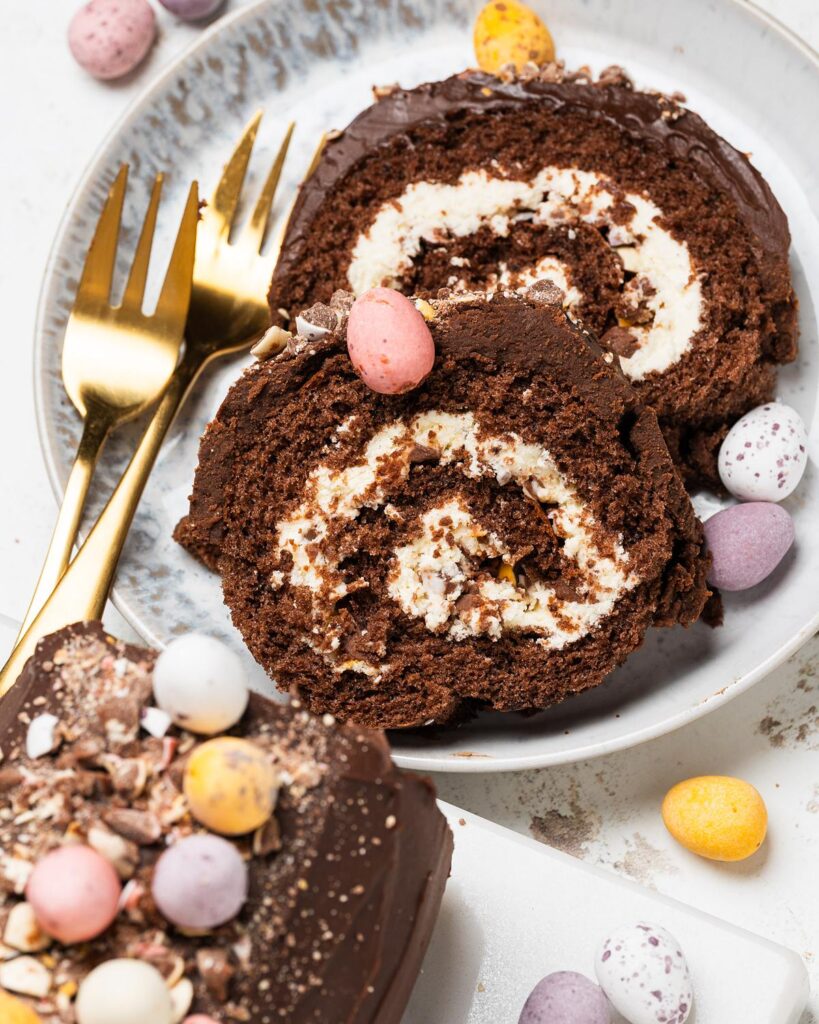
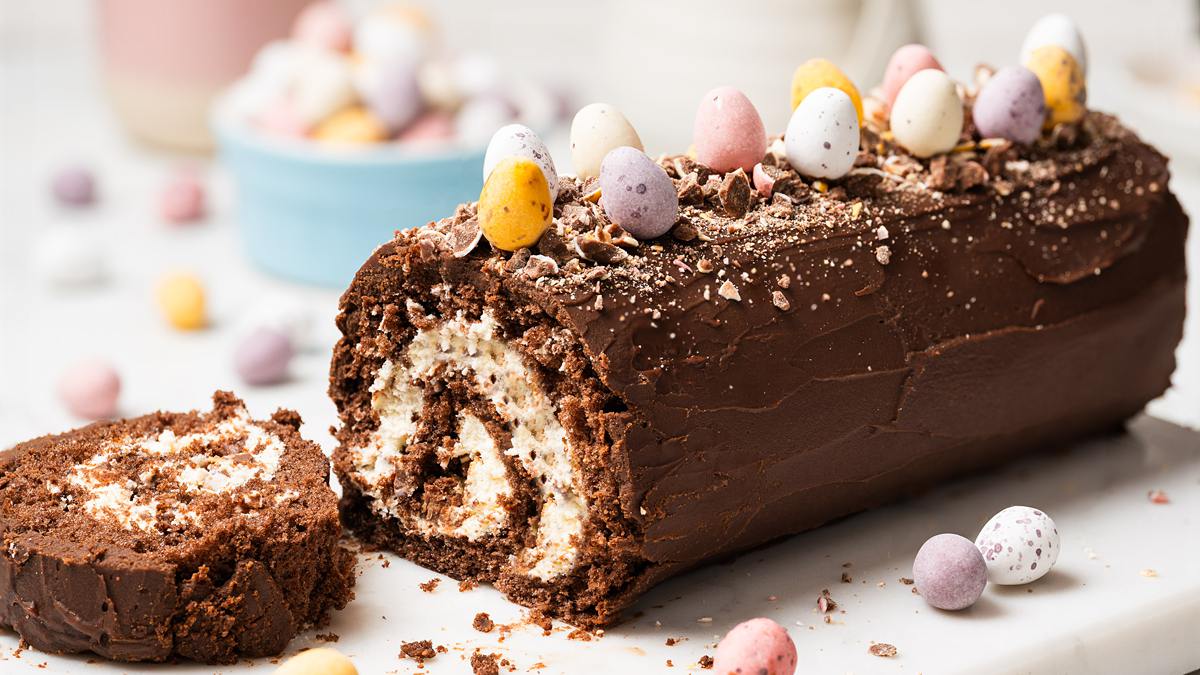
If I had to name one Easter showstopper that always makes people’s jaws drop, it has to be my mini egg swiss roll cake. A light, tender chocolate sponge, wrapped around billowy chantilly cream and sprinkled with chopped mini eggs, all encased in the most gloriously rich chocolate ganache and crowned with yet more mini eggs on top. Whether you are looking for an impressive Easter centrepiece or simply an excellent excuse to buy more mini eggs (as if you needed one!), this is the bake for you!

Why you’ll love this Mini Egg Swiss Roll Cake
- It is SO much easier than it looks. A swiss roll sounds fancy and a little intimidating, but I promise it is one of the most straightforward cakes you will ever make. Once you know the trick to rolling it without cracking, you will be doing it on repeat!
- Absolutely dreamy flavours. Light chocolate sponge, lightly sweetened chantilly cream paired with those iconic crispy-shelled mini eggs all covered in deep, glossy chocolate ganache. Every single bite has something wonderful going on.
- A guaranteed Easter crowd-pleaser. Bring this to the table for your Easter celebrations and watch everyone’s eyes go wide. It looks incredibly impressive without you having to spend hours in the kitchen. I call that a win-win!
- Mini eggs in every single bite. Both entwined through the cream filling AND scattered generously over the top. Let’s not do things by halves here!
- Make ahead friendly. You can make the whole cake a day ahead of serving it, just take out of the fridge half hour before serving. Perfect for stress-free Easter entertaining.
Ingredients for Mini Egg Swiss Roll Cake
- Eggs: form the core structure of this bake, whipped up to velvety heaven! Don’t be scared by this method baking, it always results in a wonderfully light and airy cakes, perfect for this Easter swiss roll.
- Caster sugar: gradually added to and whisked with the eggs until thick and pale to give the sponge its structure without weighing it down.
- Salt: enhances all the flavours. You will not taste it, I promise!
- Plain flour: use plain (all purpose) flour to make this roll cake.
- Cocoa powder: a good quality cocoa makes all the difference here. It gives a lovely deep chocolate flavour without the swiss roll recipe becoming dense or heavy.
- Baking powder: just a touch, for a little extra lift.
- Milk: part of the liquids in the cake, to ensure the best consistency.
- Oil: I use oil instead of melted butter when making this roll cake as oil helps keep the cake moist and flexible once baked and rolled.
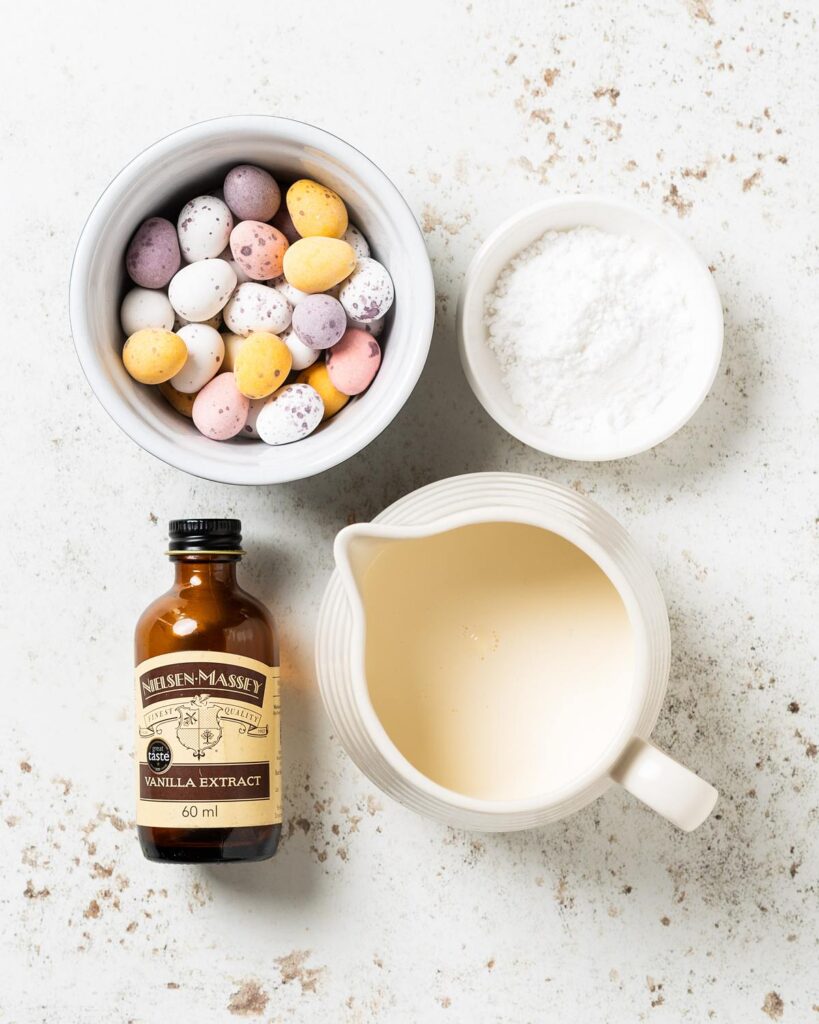
- Vanilla: a little for a subtle additional layer of flavour. Used in the cake as well as for beautiful flavour in the Chantilly cream filling.
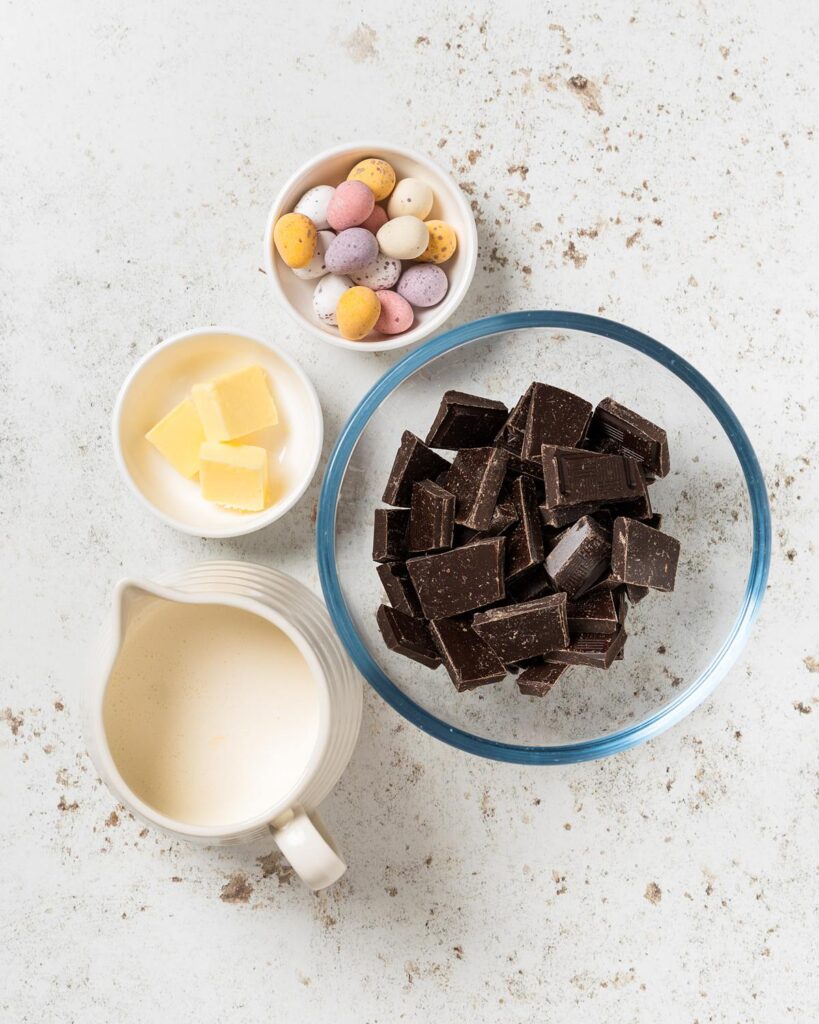
- Double cream: the base of any Chantilly cream. Make sure to use it straight from the fridge before you whip it, as this will help it whip up more easily. Also used in the ganache.
- Icing (powdered) sugar: sweetens the cream just enough without overpowering the flavour.
- Dark chocolate: used to make the ganache topping for the Easter swiss roll.
- Butter: adding a little butter to the ganache gives it an extra gorgeous shine and a smoother, more luxurious texture.
- Mini eggs: roughly chopped and folded through the cream, plus extra to decorate the top. This is non-negotiable in this mini egg swiss roll.
Equipment needed to make mini egg swiss roll
- Swiss roll tin*: to make the chocolate roll cake in. My tin for this dessert measures 13”x9”. The right size tin is really important here as if it is too small, your sponge will be too thick and prone to cracking when you roll it.
- Baking parchment: to line the tin. You will also need a large sheet to roll the sponge in while it is still warm.
- Digital kitchen scales*: I provide all my measurements in cups too, however I would encourage all bakers to weigh out ingredients when baking. A set of digital kitchen scales is so useful and totally an essential baking tool for me.
- Measuring spoons*: a set of measuring spoons is essential for any baker. This is because these are more accurate than using everyday teaspoons and tablespoons, which can vary greatly in size.
- Sieve: for sifting the flour and cocoa together to keep the sponge as light as possible.
- Electric hand mixer/stand mixer*: used to whisk the eggs and sugar to that all-important thick, pale ribbon stage. This is what gives the sponge its lightness, so do not rush it! I use a hand mixer to whisk up the Chantilly cream for the filling, but this could be done with a hand whisk or in a stand mixer too.
- Spatula*: to scrape the bowl down, fold the dry ingredients into the whipped up eggs and generally aid getting every bit of each mixture exactly where you want it to be!
- Offset spatula*: for spreading the Chantilly cream filling evenly over the sponge before rolling it up.
- Small mixing bowl* used to make the chocolate ganache topping, so I would recommend a microwave safe one here.
How to make mini egg swiss roll
This gorgeous cake comes together in a few stages. First bake the lightest chocolate sponge, rolling it up whilst still warm (this is the key to no cracks!) and leave to cool. Once cooled, the cake is filled and rolled again before being covered in a scrumptious chocolate ganache and decorated with gorgeous mini eggs! Yum!

For the cake
Step 1: Preheat the oven to 180C/350F. Line a 13”x9” swiss roll tin with parchment paper. Set aside.
Step 2: Into a small bowl, sift together the flour, cocoa, baking powder and salt. Set aside.
Step 3: Whisk together the milk, oil and vanilla in a small jug until completely combined. Set aside.

Step 4: Place the eggs into the bowl of a stand mixer. Using the whisk attachment, beat on medium-low for 3 minutes until frothy and doubled in volume. With the mixer running, spoon in the sugar 1 tbsp at a time until it has all been added. The mixture should be thick and pale, and the whisk when lifted should leave a “ribbon” trail.
Step 5: With the mixer on low, pour in the liquid mix, ensuring it is fully combined. The mixture should still be pale and thick.
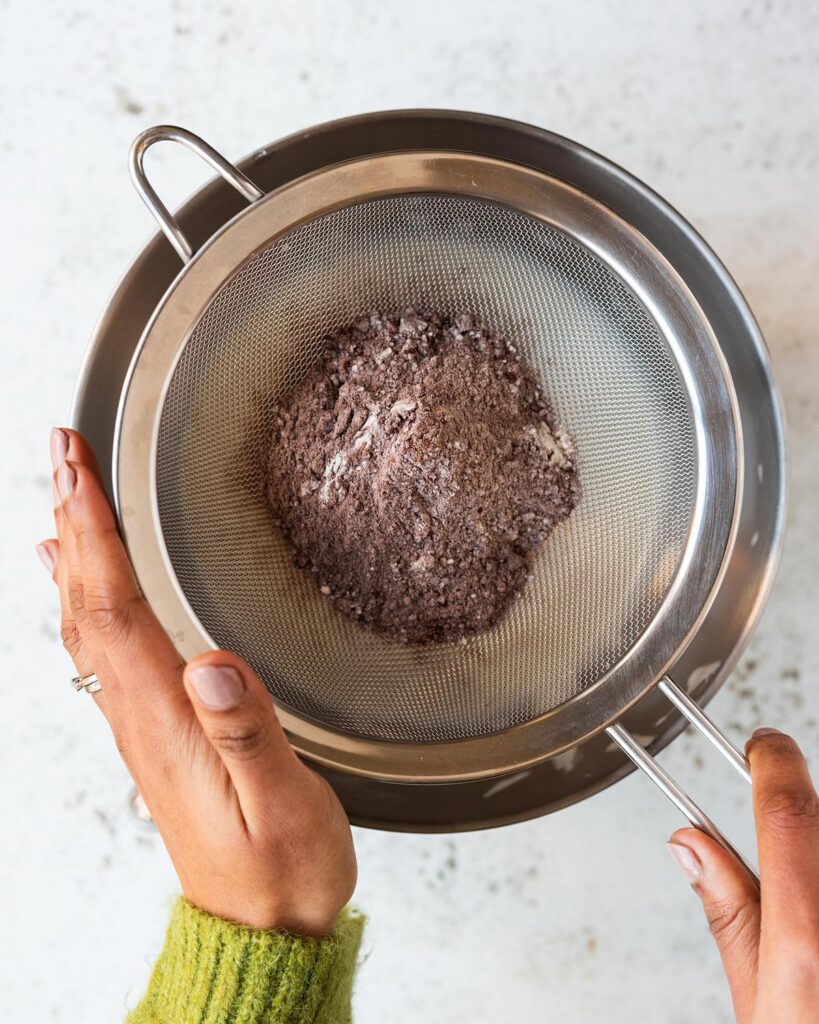
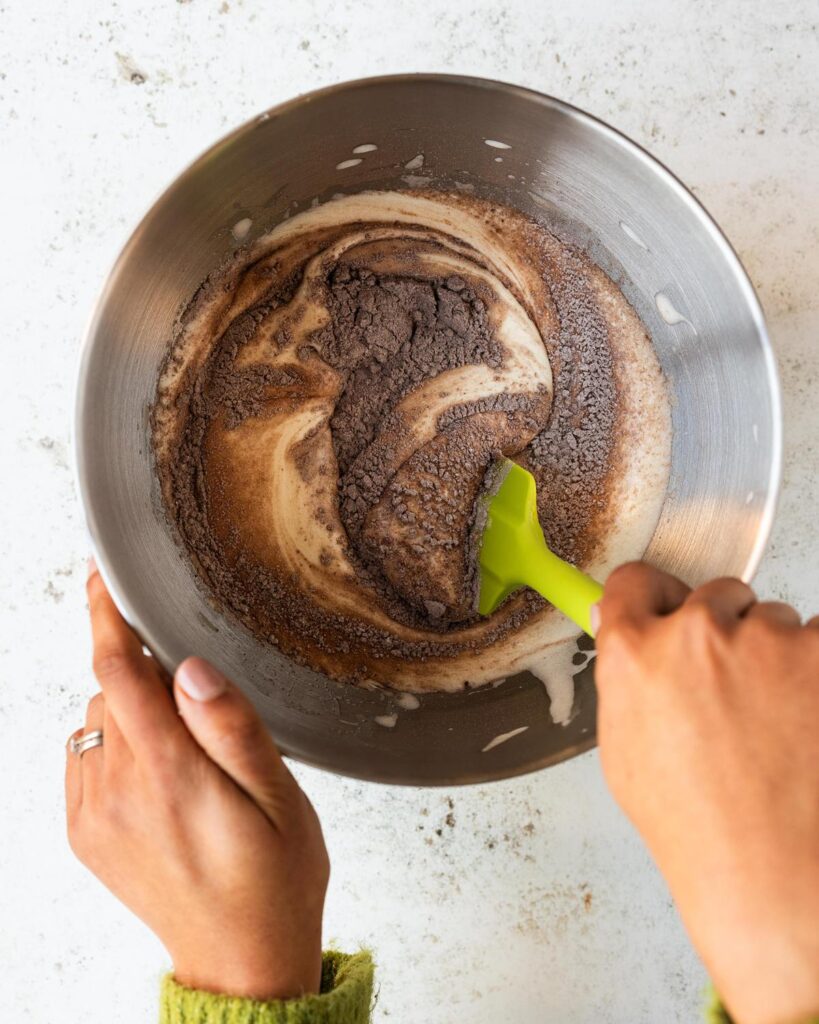
Step 6: Sift the dry ingredients into the egg mixture again, then whisk to half combine before folding really gently to fully combine.
Step 7: Gently tip the mixture into the prepared tin and spread out into an even layer using an offset spatula. Bake the cake in the preheated oven for 7-10 minutes until it springs back lightly when pressed really gently and a toothpick comes out clean.

Step 8: While the cake is baking, place a sheet of parchment paper larger than the size of the tin on your worktop.
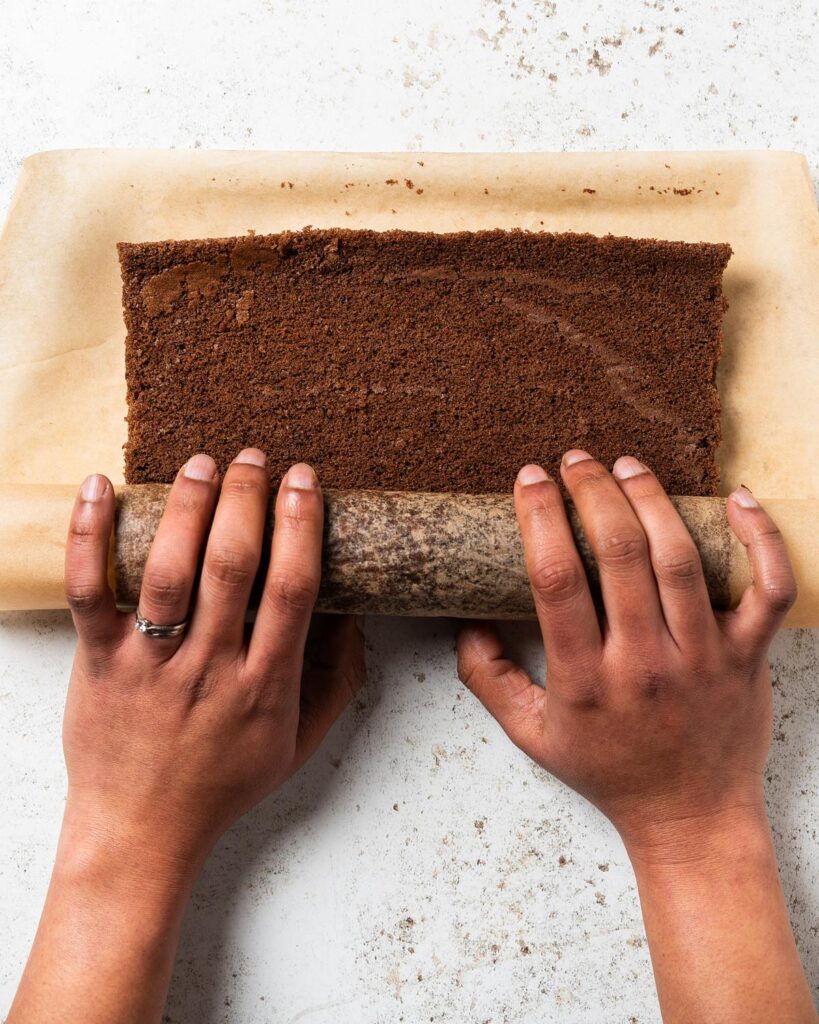
Step 9: As soon as the cake is out of the oven, dust the top with cocoa powder. Flip carefully onto the prepared parchment paper. Peel off the parchment that the cake baked with before dusting this side lightly too. Roll the cake up tightly starting from one of the shorter sides and leave to cool completely.
For the chantilly cream and filling
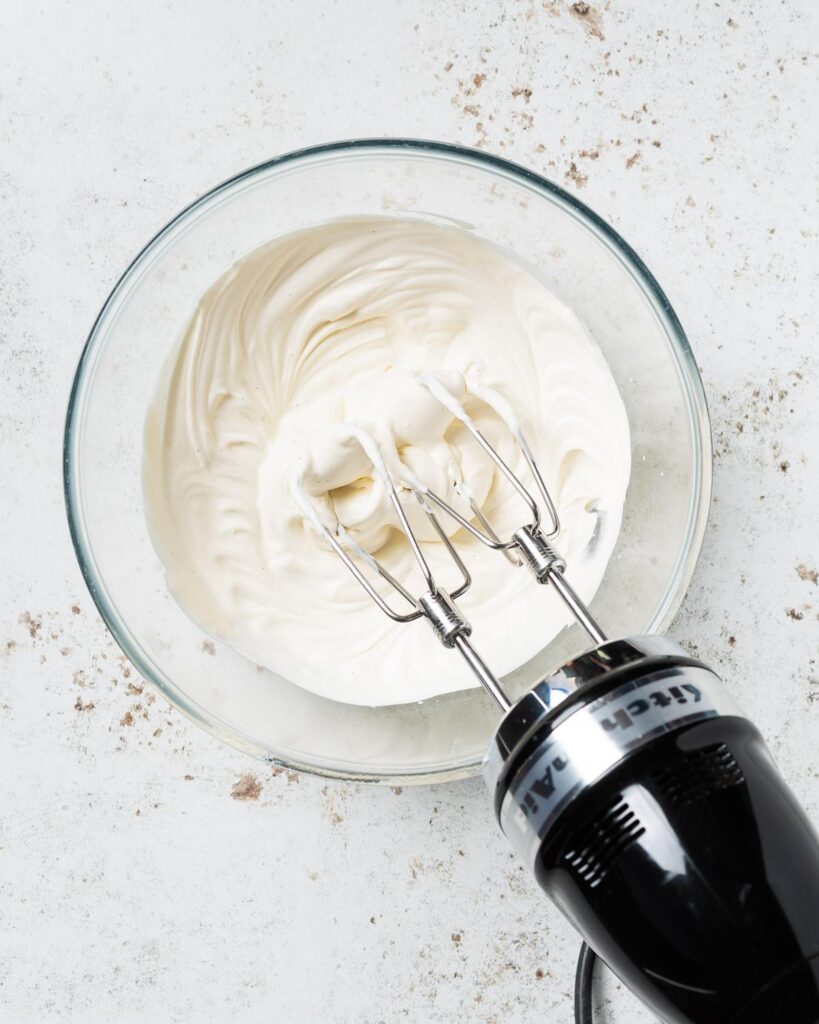
Step 1: Place the double (heavy) cream in a large bowl. Sift in the icing (powdered) sugar and spoon in the vanilla. Beat with a handheld electric mixer (or go with a whisk for a good workout!) until the cream is soft and billowy but not stiff. This is your Chantilly cream, it really is that simple but sounds super fancy!
Step 2: Carefully unroll the cake, leaving it on the parchment it was rolled up in. Gently spoon the cream over the unrolled cake, spreading in an even layer almost but not quite to the edges. Don’t worry about the edges as some of the cream will be pushed outwards as you re-roll the cake.
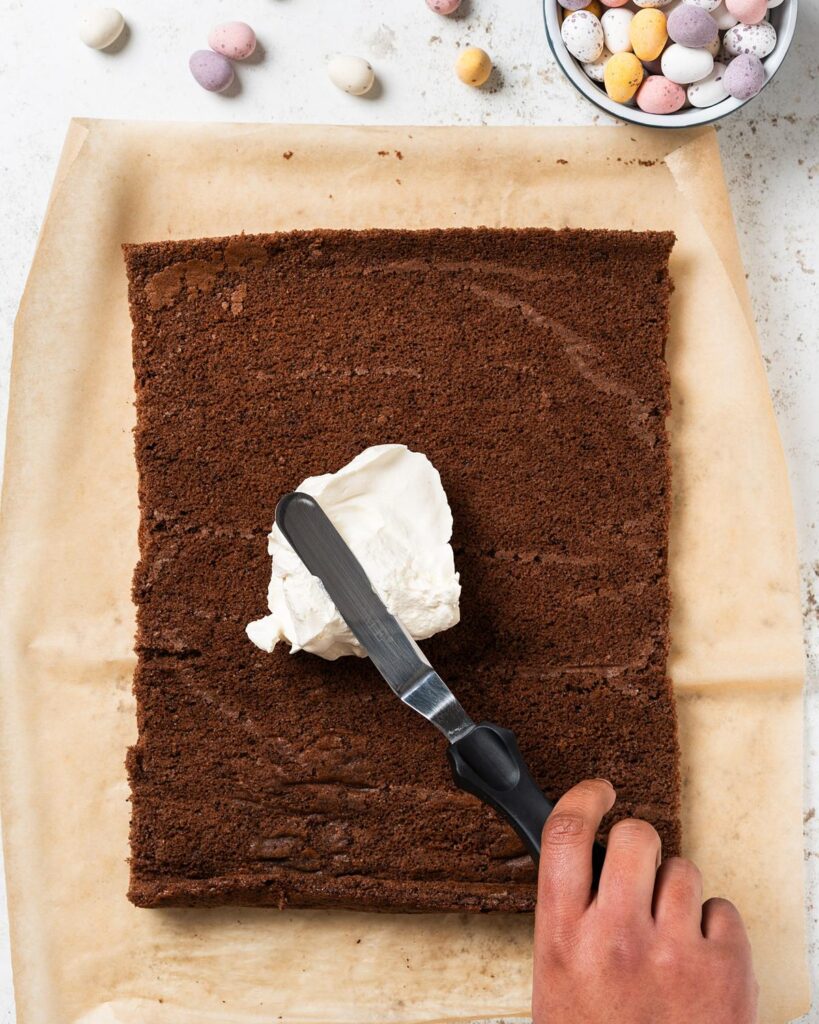
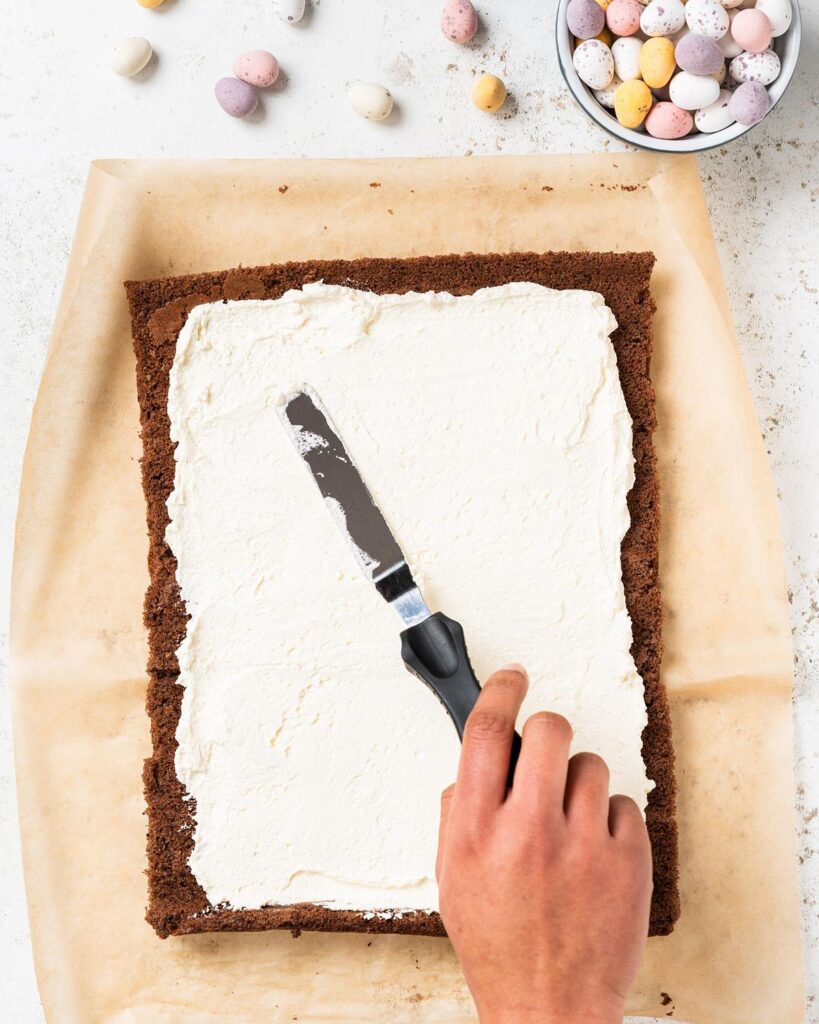
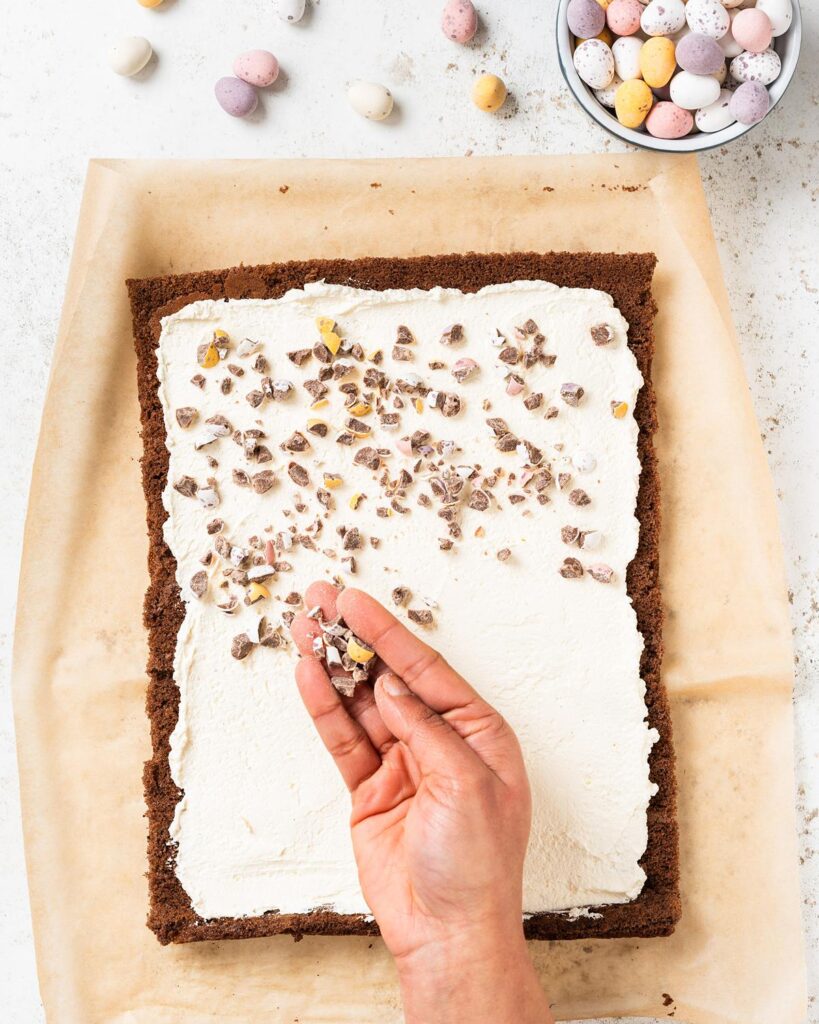
Step 3: Sprinkle the crushed mini eggs all over the cream in an even layer. Roll the cake back up again, keeping the roll tight as you go and ensuring the paper remains on the outside of the cake this time. Pop the cake in the fridge to chill whilst you make the ganache.
For the chocolate ganache and decoration
Step 1: Place the chocolate and double (heavy) cream in a heatproof bowl. Microwave in short bursts, stirring in between, until the chocolate and cream are completely melted and combined. Stir in the butter until melted. Your ganache will still be on the runny side, so leave to cool and firm up before using.
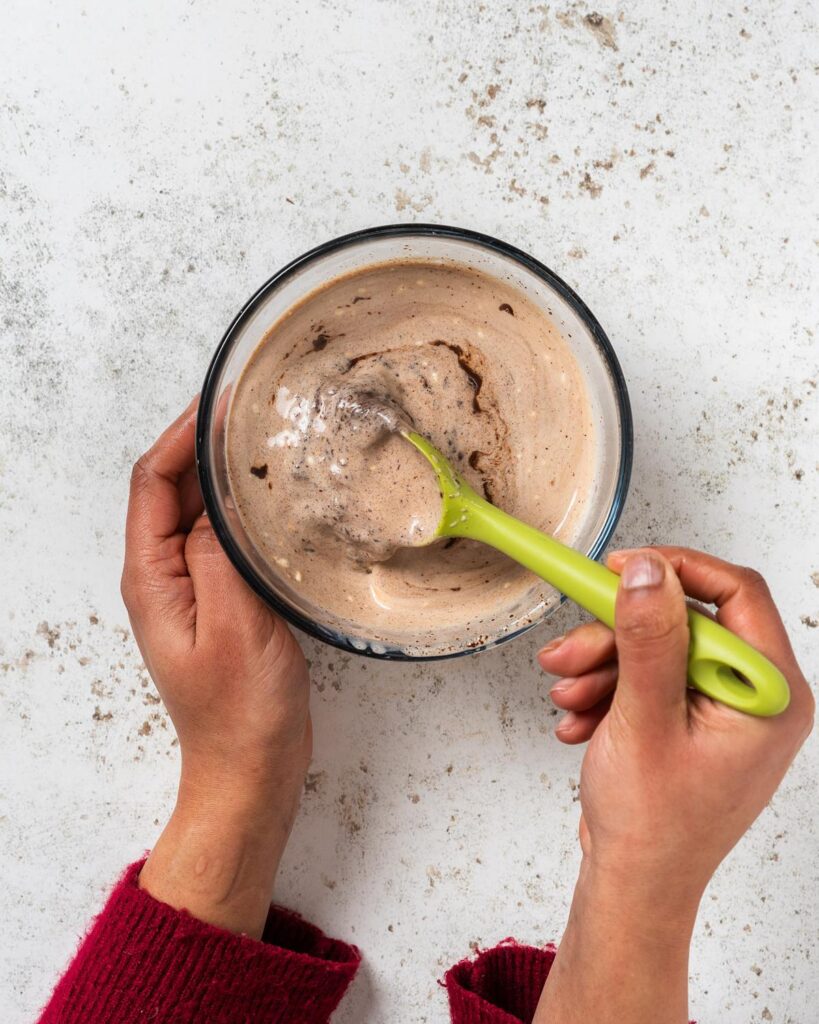
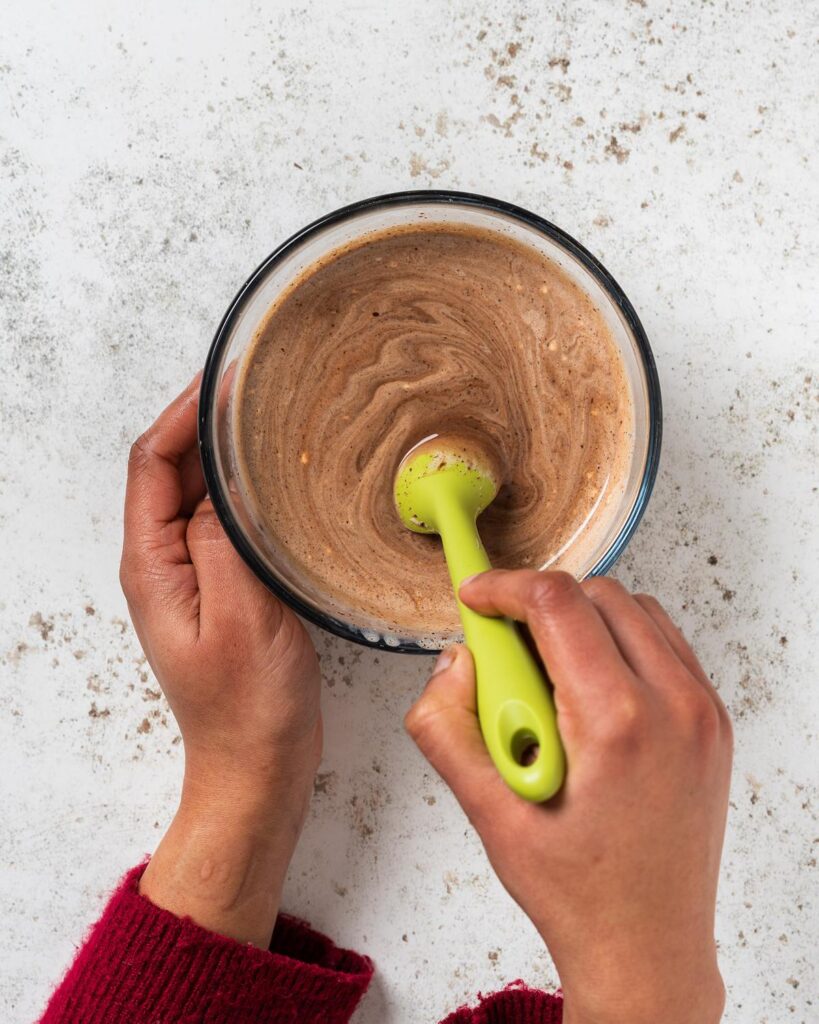
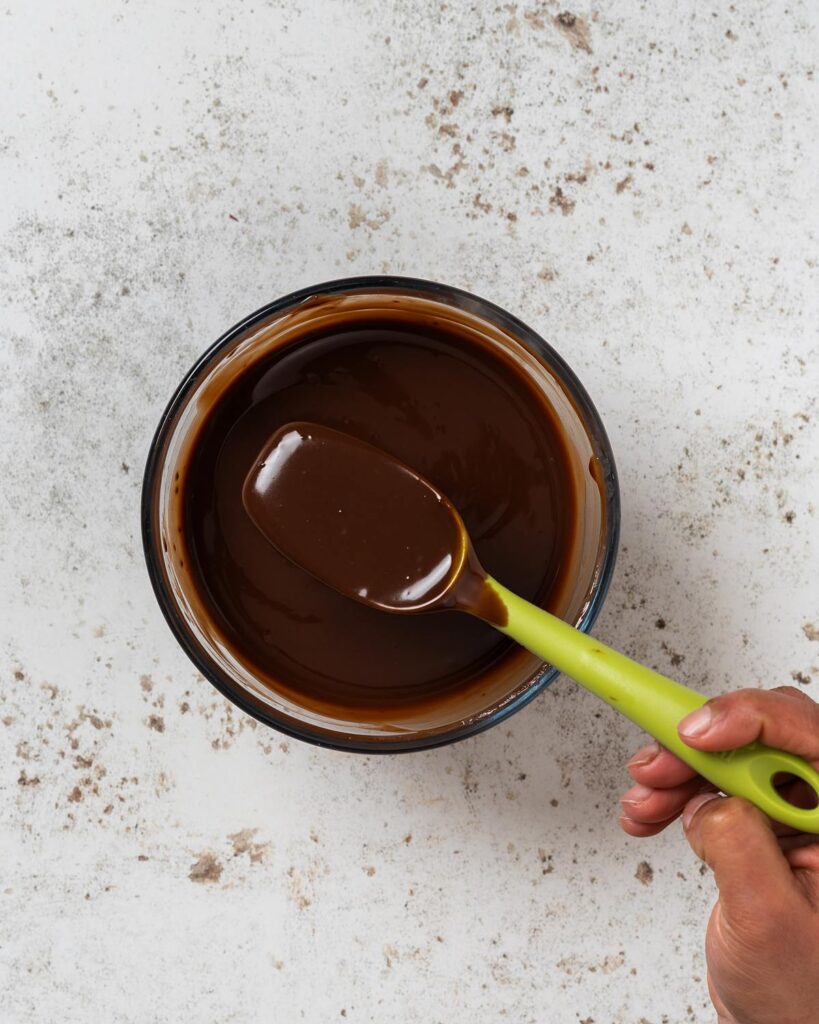
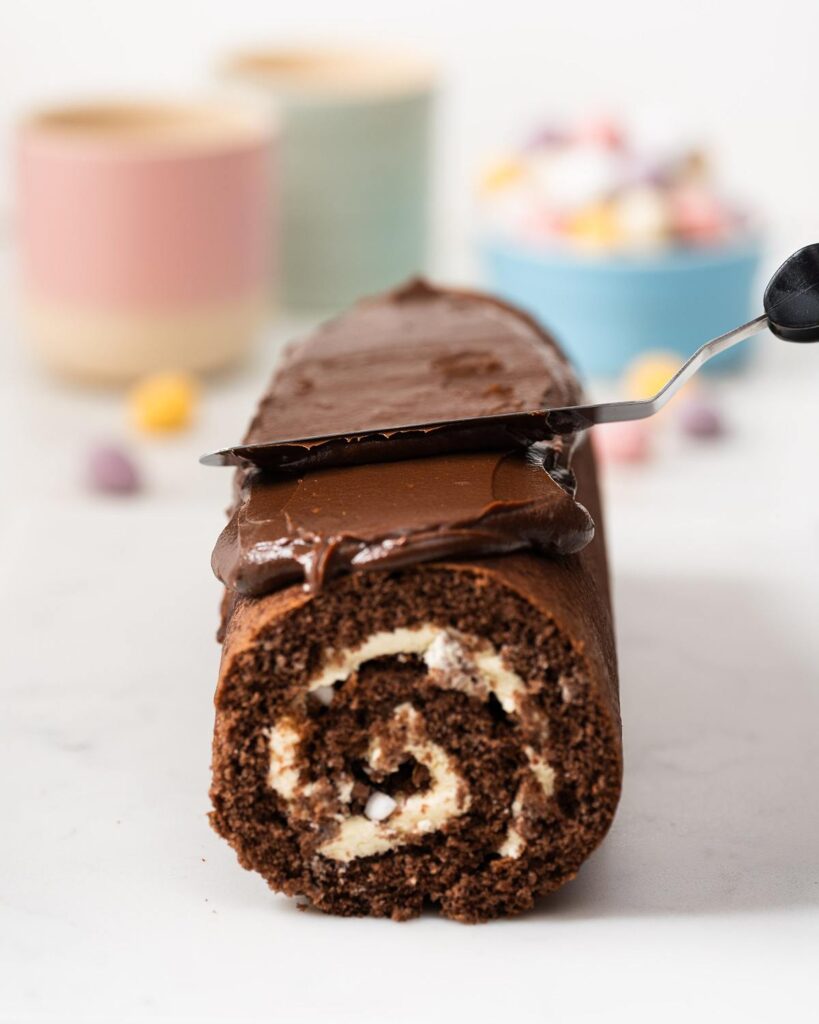
Step 2: When the ganache is ready to be spread, remove the cake from the fridge and place on your serving plate or board. Spread the ganache in an even layer all over the cake, leaving the spiral ends visible.
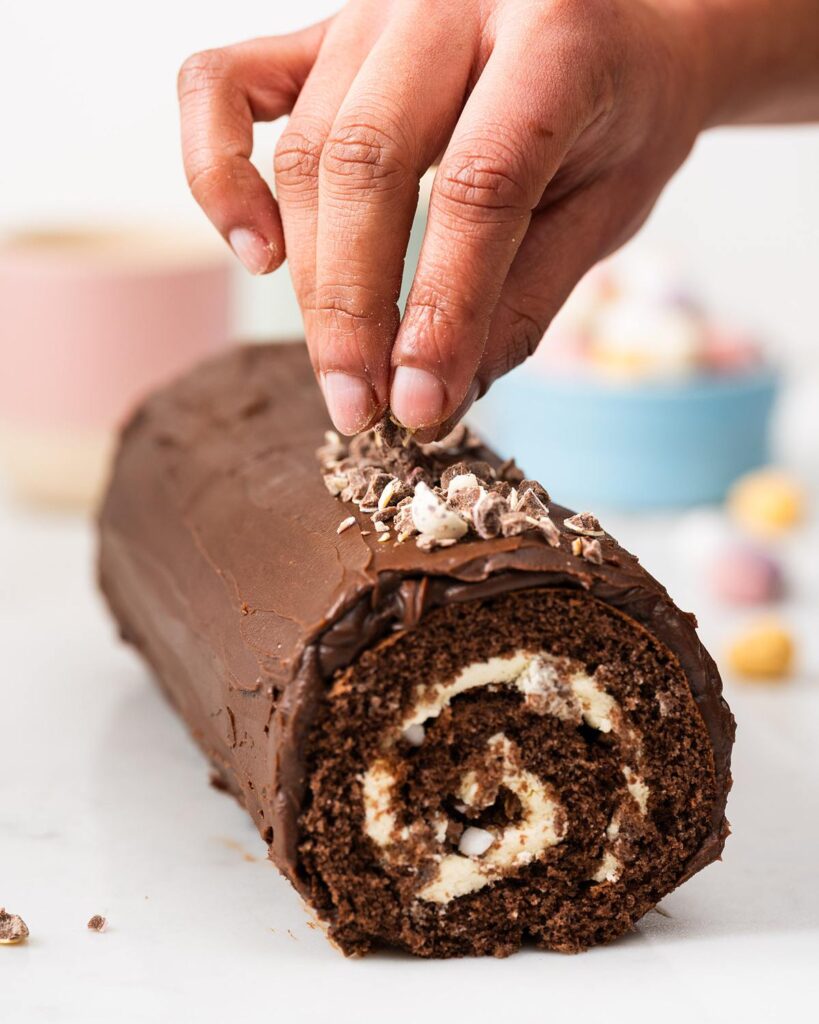
Step 3: Finish the cake by decorating the top with some crushed and some whole mini eggs. Slice, serve and enjoy!

Mini egg swiss roll FAQs
I will try to answer as many questions as I can below. However, if you have anything I have not covered, please do drop me a comment below, I am always happy to help!
How do I line my tin?
To line the tin, simply cut a piece of parchment paper about two inches larger in length and width than the baking tin. Lay the tin on the parchment and cut slits into each corner, then fold the flaps to create sharp lines. Lightly brush the tin with melted butter (to help the paper stick better), then press the paper in, smoothing out any air bubbles and creases. Brush the paper lined tin again with a little melted butter to secure the paper evenly into the tin.
How do I know when my chocolate swiss roll is done?
You can tell the swiss roll cake is done when it is puffed and lightly firm to the touch on top, but still soft enough to hold a shallow impression when gently poked. This takes around 7-10 minutes of baking time, depending on your oven.
What is the best way to crush the mini eggs?
It’s actually quite fun and rather therapeutic: simply place the mini eggs you want to crush into a large sealable freezer bag and bash with a rolling pin! You can see which ones need going over again, and crush as much or little as you wish.
How do you get the perfect swiss roll?
There are a few reasons why this cake recipe will have cracked and not be quite perfect. Here are the most common:
- The eggs weren’t whisked up enough. Whisking the eggs up to ribbon stage gives air pockets in the cake once baked, allowing a little more flexibility and bend in the cake to prevent cracks when rolling.
- Harsh folding of the dry ingredients. Linked with the previous point, this one means a lot of the carefully included air in the mixture is pushed out. The result is a denser cake which will not roll as easily, causing the cake to crack.
- Overbaking. You need to be watching this cake during baking like a hawk! Just one minute longer baking means the cake will be too dry and so lose the flexibility required for it to curl into the beautiful spiral we want.
- Rolling once the cake has cooled. The cake must be rolled as soon as possible once it is out of the oven. If it is left to cool completely, it will firm up and be more likely to crack as you try to roll it.
Remember though, even if your cake does crack during any stage of rolling or re-rolling, it will be covered in the ganache, so any cracks will be covered up. Additionally, it will taste delicious even if it doesn’t look perfect!
Help! My ganache is too runny!
Ganache is more a thick pourable consistency when you first make it. This is perfect! If you want to speedy up the firming process, simply pop it in the fridge for 10–15 minutes and allow it to cool further. This will thicken it up before you are ready to spread it over the mini egg cake roll.
Can I make this in advance?
Yes, absolutely! In fact the best mini egg swiss roll cake actually benefits from a little time in the fridge after filling and decorating. You can make the whole thing up to a day in advance, making it a brilliant bake for easy entertaining! Keep it covered in the fridge and scatter the decorative mini eggs on top when removed from the fridge half hour before serving time to keep them looking their best.
How long will this mini egg swiss roll cake last? And how do I store it?
This beautiful Easter swiss roll will keep for 2-3 days once made. It should be stored in an air tight container in the fridge due to the whipped cream filling. Remove from the fridge about a half hour before serving to bring the cake to room temperature.
Tips for the perfect Easter mini egg swiss roll
- Take time to read through the recipe so you are familiar with what steps come next. This is especially important to guarantee best results for roll cakes. I have included as much detail as I can to ensure you have success every time.
- Make sure the eggs reach the ribbon stage before moving on. This is a really important visual aid to ensure the eggs have been whipped up enough to hold their structure and allow the airiness required for the cake to roll successfully.
- When adding the dry ingredients for the cake, use the whisk attachment but do not mix until fully combined. Instead, whisk until about halfway combined, then finish off mixing by hand. This gives an even mix without beating out all the air incorporated earlier.
- Spread the roll cake fillings evenly over the cake, making sure to leave a border all around the edges uncovered. When you re-roll the cake, a little of the filling gets pushed to the edges and will fill up the space. This means less filling oozing out the sides and more deliciousness for you to enjoy in the cake instead!
- Once filled and re-rolled, wrap the cake tightly in the parchment paper and pop in the fridge. I do this whilst making and preparing the whipped ganache topping. Chilling the cake before covering means the cake will be firmer and hold its shape better, making it easier to work with for next steps
- Make sure the ganache has cooled sufficiently before spreading or it will just run off the sides of the cake.
- Top with decorative mini eggs soon before serving to prevent them discolouring in the fridge. I do this when I remove the cake from the fridge to bring to room temperature, about 30 minutes before serving.
Share the social love!
Did you make this mini egg swiss roll cake? I would absolutely love to see it! Tag me on Instagram @movers_bakers or leave a comment and rating below. Happy baking and happy Easter!
What are the best recipes for Easter?
Looking for more Easter themed recipes? Check out some of my other recipes below I think you’ll love!

Baked Easter nest donuts: A light and fluffy vanilla donut, speckled vanilla glaze, chocolate nest and adorable mini eggs. These Easter donuts are a pure delight!
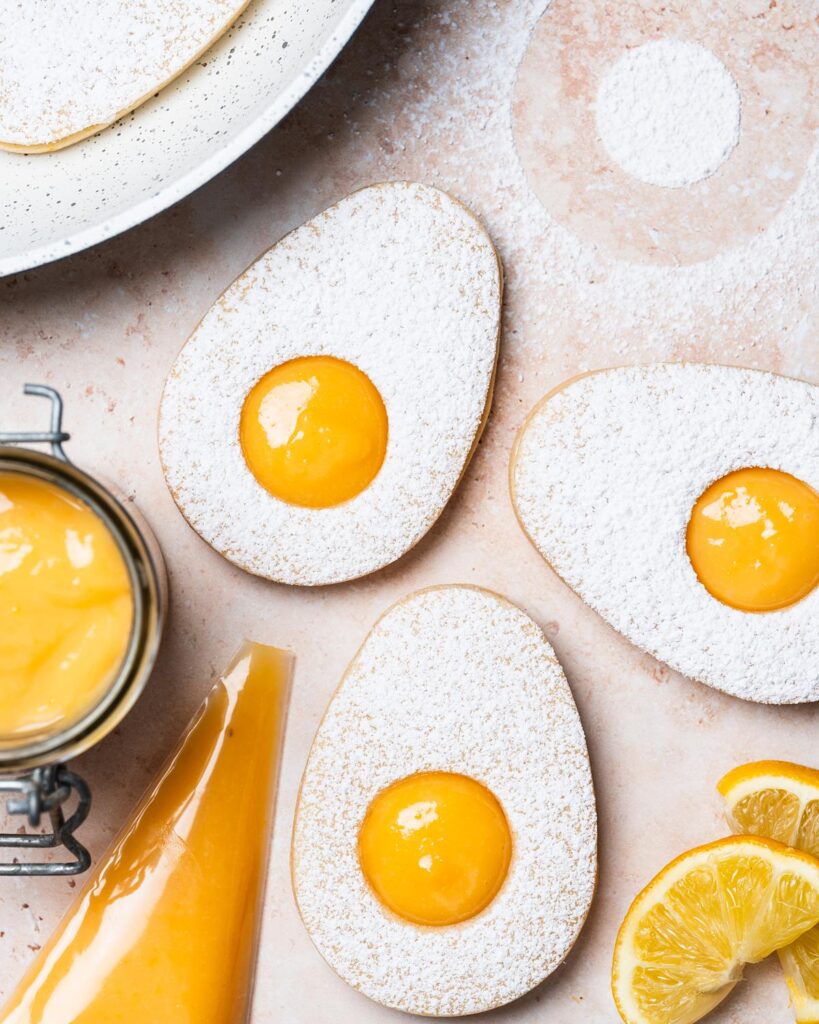
Easter egg lemon curd cookies: buttery sugar lemon-flavoured cookies sandwiched with zesty lemon curd and dusted with icing sugar. The perfect adorable springtime bake!
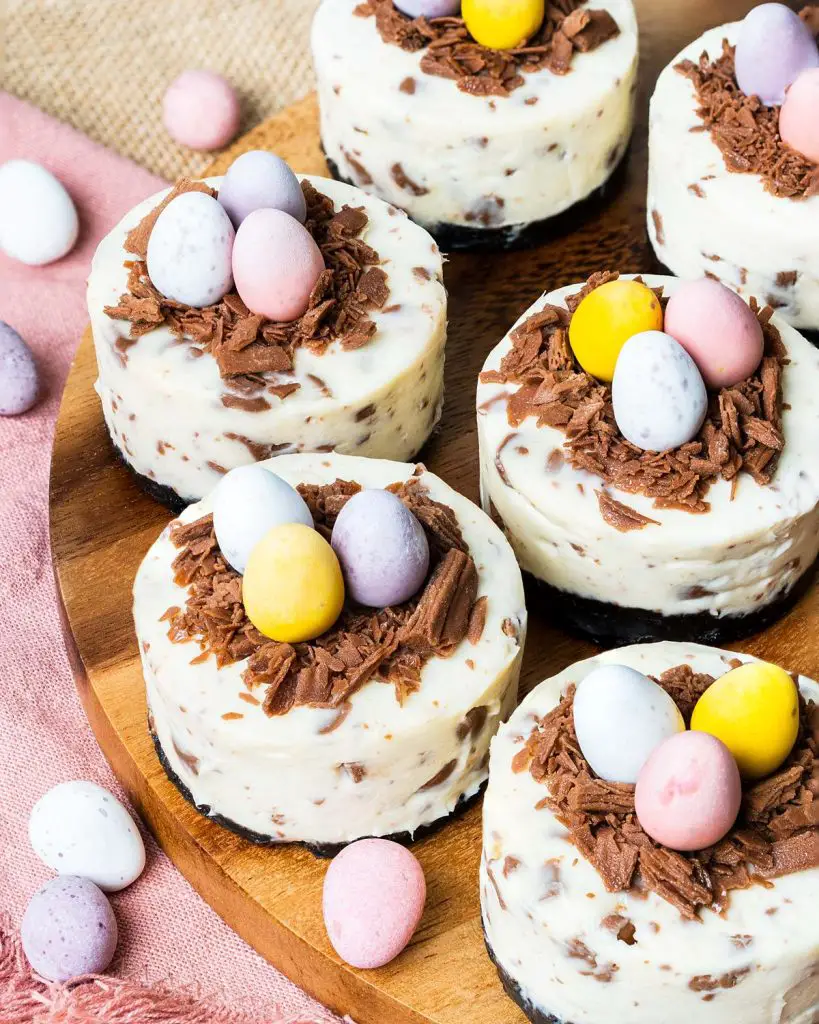
Mini egg cheesecakes: These cute individual mini egg cheesecakes make for excellent single serve desserts! They are so simple to make, perfect for stress free entertaining and are just too adorable to resist!
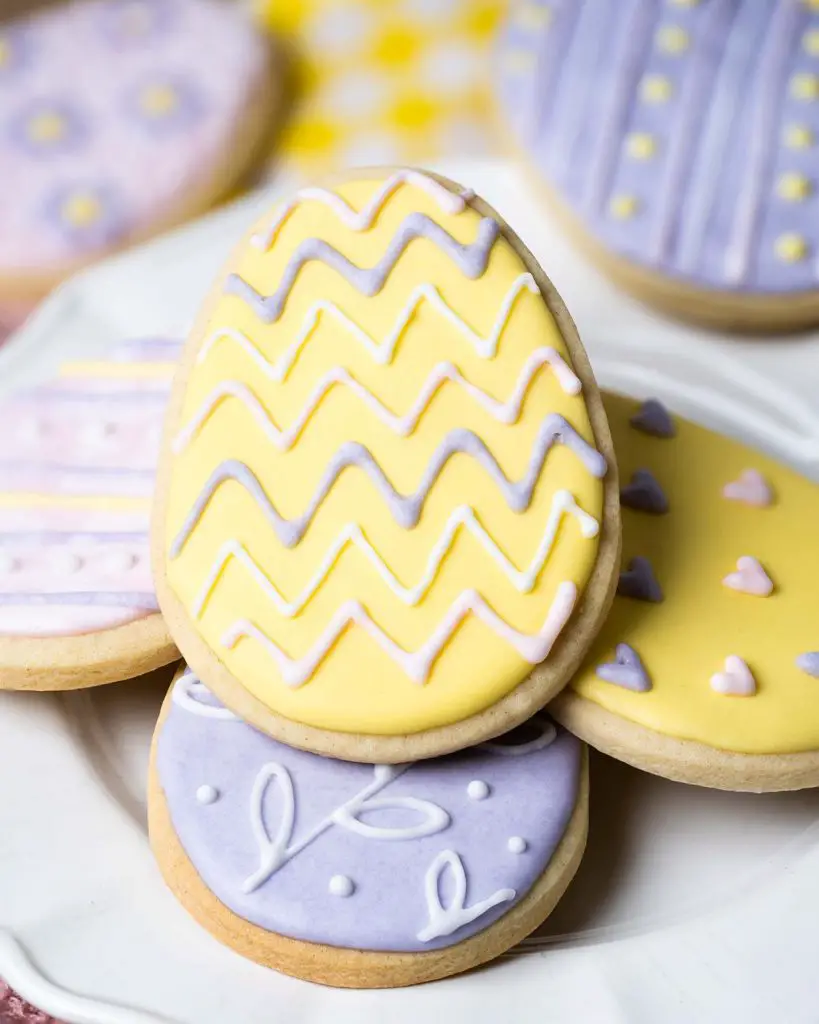
Easter sugar cookies with royal icing: My sweet little Easter sugar cookies are so simple to make and utterly delicious to eat! Time to get creative with plenty of Easter cookies decorating ideas!
Thank you so much for joining me for this one, friends! I truly hope these Easter mini egg swiss roll cake brings much joy and happy squeals to your Easter table too. I hope you will absolutely love everything about this beautiful cake. As always, happy baking! x
Recommended equipment I used *
| Swiss roll tin | Digital kitchen scales |
| Measuring spoons | Electric hand mixer |
| Small mixing bowl | Stand mixer |
| Spatula | Offset spatula |
Mini Egg Swiss Roll
Ingredients
For the cake
- 60 g (¼ cup + 3 tbsp) plain (all purpose) flour
- 10 g (1 tbsp + 1 tsp) cocoa powder
- 0.5 tsp baking powder
- 0.25 tsp salt
- 1 tbsp milk
- 1.5 tbsp oil
- 1 tsp vanilla
- 2 large eggs
- 70 g (¼ cup + 2 tbsp) caster sugar
For the Chantilly cream and filling
- 200 ml (¾ cup + 1 tbsp) double (heavy) cream
- 1.5 tbsp icing (powdered) sugar
- 1 tsp vanilla
- 100 g (½ cup) mini eggs, crushed
For the chocolate ganache and decoration
- 90 g (½ cup + 3 tbsp) dark chocolate
- 110 ml (¼ cup + 3 tbsp) double (heavy) cream
- 15 g (1 tbsp) unsalted butter
- 50 g (¼ cup) mini eggs, some crushed, some whole
Equipment
- 1 Swiss roll tin
- 1 Digital kitchen scales
- 1 Measuring spoons
- 1 Small mixing bowl
- 1 Jug
- 1 Stand mixer
- 1 Electric hand mixer
- 1 Spatula
- 1 Offset spatula
Instructions
For the cake
- Preheat the oven to 180C/350F. Line a 13”x9” swiss roll tin with parchment paper. Set aside.
- Into a small bowl, sift together the flour, cocoa, baking powder and salt. Set aside.60 g (¼ cup + 3 tbsp) plain (all purpose) flour, 10 g (1 tbsp + 1 tsp) cocoa powder, 0.5 tsp baking powder, 0.25 tsp salt
- Whisk together the milk, oil and vanilla in a small jug until completely combined. Set aside.1 tbsp milk, 1.5 tbsp oil, 1 tsp vanilla
- Place the eggs into the bowl of a stand mixer. Using the whisk attachment, beat on medium-low for 3 minutes until frothy and doubled in volume. With the mixer running, spoon in the sugar 1 tbsp at a time until it has all been added. The mixture should be thick and pale, and the whisk when lifted should leave a "ribbon" trail.2 large eggs, 70 g (¼ cup + 2 tbsp) caster sugar
- With the mixer on low, pour in the liquid mix, ensuring it is fully combined. The mixture should still be pale and thick.
- Sift the dry ingredients into the egg mixture again, then whisk to half combine before folding really gently to fully combine.
- Gently tip the mixture into the prepared tin and spread out into an even layer using an offset spatula. Bake the cake in the preheated oven for 7-10 minutes until it springs back lightly when pressed really gently and a toothpick comes out clean.
- While the cake is baking, place a sheet of parchment paper larger than the size of the tin on your worktop.
- As soon as the cake is out of the oven, dust the top with cocoa powder. Flip carefully onto the prepared parchment paper. Peel off the parchment that the cake baked with before dusting this side lightly too. Roll the cake up tightly starting from one of the shorter sides and leave to cool completely.
For the Chantilly cream and filling
- Place the double (heavy) cream in a large bowl. Sift in the icing (powdered) sugar and spoon in the vanilla. Beat with a handheld electric mixer (or go with a whisk for a good workout!) until the cream is soft and billowy but not stiff. This is your Chantilly cream, it really is that simple but sounds super fancy!200 ml (¾ cup + 1 tbsp) double (heavy) cream, 1.5 tbsp icing (powdered) sugar, 1 tsp vanilla
- Carefully unroll the cake, leaving it on the parchment it was rolled up in. Gently spoon the cream over the unrolled cake, spreading in an even layer almost but not quite to the edges. Don't worry about the edges as some of the cream will be pushed outwards as you re-roll the cake.
- Sprinkle the crushed mini eggs all over the cream in an even layer. Roll the cake back up again, keeping the roll tight as you go and ensuring the paper remains on the outside of the cake this time. Pop the cake in the fridge to chill whilst you make the ganache.100 g (½ cup) mini eggs, crushed
For the chocolate ganache and decoration
- Place the chocolate and double (heavy) cream in a heatproof bowl. Microwave in short bursts, stirring in between, until the chocolate and cream are completely melted and combined. Stir in the butter until melted. Your ganache will still be on the runny side, so leave to cool and firm up before using.90 g (½ cup + 3 tbsp) dark chocolate, 110 ml (¼ cup + 3 tbsp) double (heavy) cream, 15 g (1 tbsp) unsalted butter
- When the ganache is ready to be spread, remove the cake from the fridge and place on your serving plate or board. Spread the ganache in an even layer all over the cake, leaving the spiral ends visible.
- Finish the cake by decorating the top with some crushed and some whole mini eggs. Slice, serve and enjoy!50 g (¼ cup) mini eggs, some crushed, some whole
Notes
- Take time to read through the recipe so you are familiar with what steps come next. This is especially important to guarantee best results for roll cakes. I have included as much detail as I can to ensure you have success every time.
- Make sure the eggs reach the ribbon stage before moving on. This is a really important visual aid to ensure the eggs have been whipped up enough to hold their structure and allow the airiness required for the cake to roll successfully.
- When adding the dry ingredients for the cake, use the whisk attachment but do not mix until fully combined. Instead, whisk until about halfway combined, then finish off mixing by hand. This gives an even mix without beating out all the air incorporated earlier.
- Spread the roll cake fillings evenly over the cake, making sure to leave a border all around the edges uncovered. When you re-roll the cake, a little of the filling gets pushed to the edges and will fill up the space. This means less filling oozing out the sides and more deliciousness for you to enjoy in the cake instead!
- Once filled and re-rolled, wrap the cake tightly in the parchment paper and pop in the fridge. I do this whilst making and preparing the whipped ganache topping. Chilling the cake before covering means the cake will be firmer and hold its shape better, making it easier to work with for next steps
- Make sure the ganache has cooled sufficiently before spreading or it will just run off the sides of the cake.
- Top with decorative mini eggs soon before serving to prevent them discolouring in the fridge. I do this when I remove the cake from the fridge to bring to room temperature, about 30 minutes before serving.