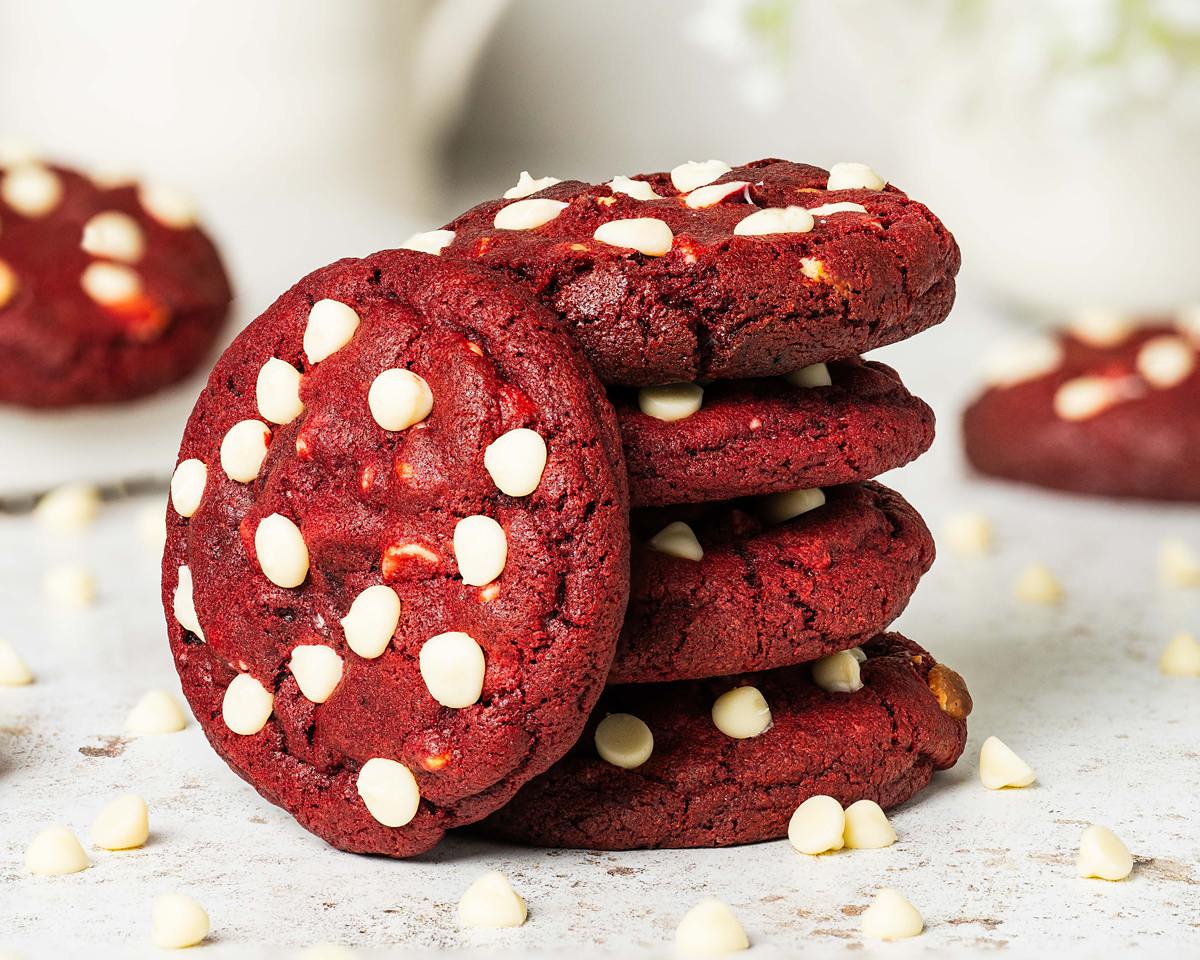
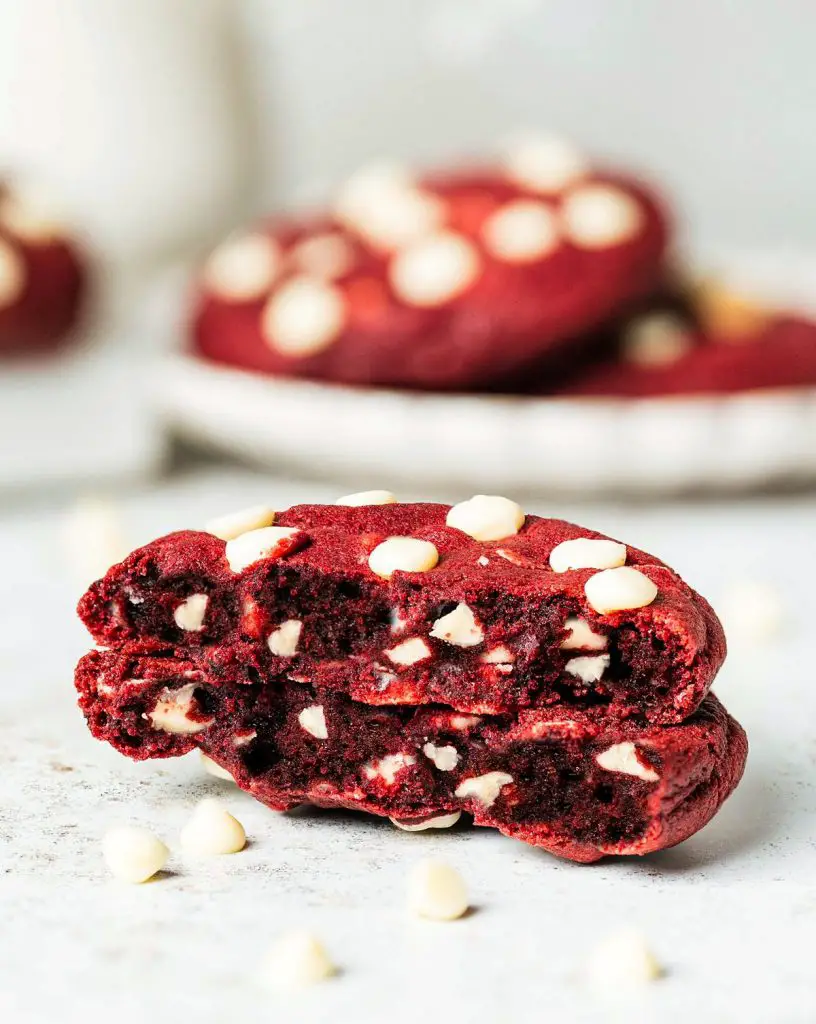
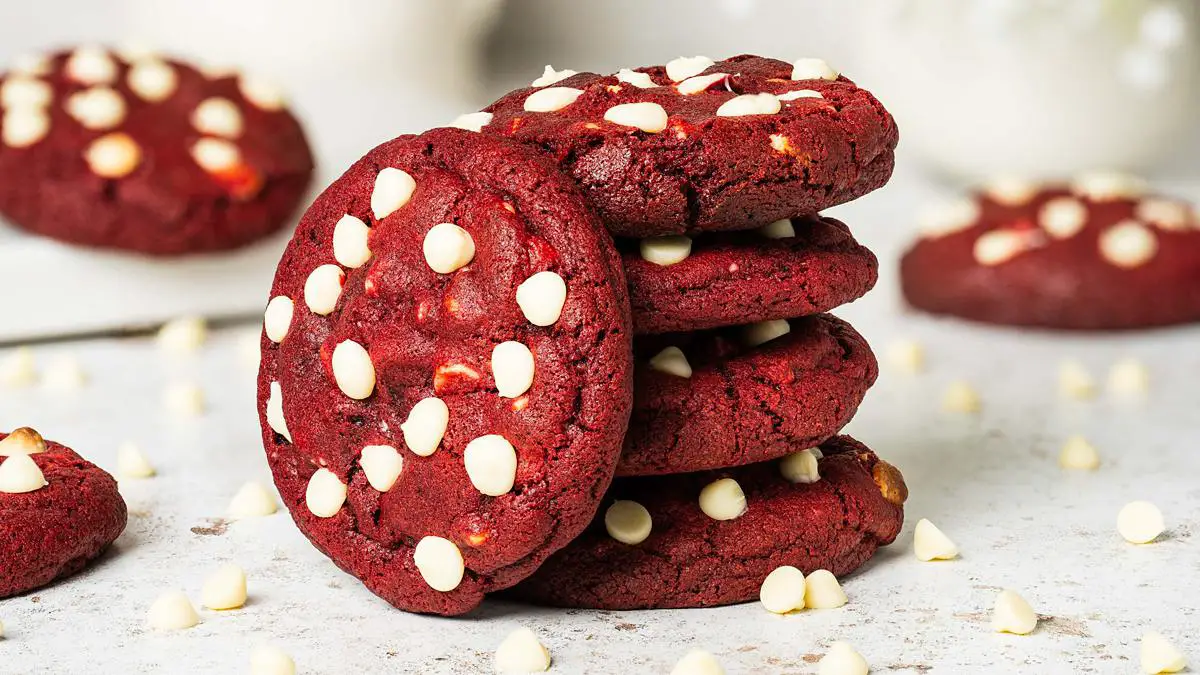
Red velvet cookies might just be my new favourite! These cookies are soft and chewy, with a gorgeously delicate crust and a delicious chocolate and vanilla flavour. Throw in a good measure of white chocolate chips for an utterly heavenly cookie everyone adores!
Here’s why you’ll love these red velvet cookies
- Chewy AND crispy. This homemade red velvet cookies recipe makes the perfect easy cookie bake! They have beautiful crisp edges and a wonderfully chewy middle and are packed with flavour, texture and all the joy of homemade cookies!
- Everyday ingredients. Using easily found ingredients, most of which you probably already have at home, these beauties really can be whipped up in a flash!
- Homely baking. Cookies have always been something that reminds me of home baking, something made by mum or grandma. These red velvet cookies always sit firmly in the “scratch that baking AND sweet tooth itch” category of bakes for me.
- Make ahead for convenience. Because these cookies need to be chilled before baking, they are also perfect to be made way ahead of time and frozen until you are ready to bake them! This means stress free baking AND delicious cookies. Win-win!
Red velvet cookie ingredients
- Unsalted butter: I like to use unsalted butter so I can control how much salt is in the red velvet cookies. For best results, use butter at room temperature.
- Brown sugar: for sweetness, but also chewiness, in the cookies.
- Caster sugar: for sweetness, and a little crisp, in the bake.
- Vanilla: for delicious flavour.
- Egg: helps with the binding and structure of the chocolate chip cookies red velvet.
- Red food colour: used to give the signature red colour to the bake. Always use gel food colour for best results.
- Flour: I use plain/all purpose flour to make these soft baked cookies. I prefer adding raising agents separately, as I do with salt, so I can control the rise of each of my bakes.
- Cocoa powder: because red velvet cookies have both chocolate and vanilla flavours.
- Cornflour/cornstarch: gives the cookies that beautiful softness in texture we all love!
- Baking powder/bicarbonate of soda: the leavening agents in this bake, to give the red velvet white chocolate chip cookies enough lightness so they bake into chewy delights!
- Salt: enhances the flavours in the bake. You will not taste it, I promise!
- Chocolate: you can absolutely use chopped chocolate instead of chocolate chips. Chopped chocolate will result in gooey pools of chocolate, making these red velvet cake cookies extra special and decadent!
Recommended tools for the best red velvet cookies
- Baking tray*: to bake the easy red velvet cookies on. I would recommend having at least couple of baking trays so you can bake multiple trays of cookies at a time.
- Digital kitchen scales*: I always recommend using digital kitchen scales to weigh ingredients out over using a volume based measuring system, as cups. Weighing out the ingredients is much more accurate than measuring by volume, and will ensure better results in the cookies, so I would definitely take the plunge if you have not already.
- Measuring spoons*: for measuring smaller quantities such as tablespoons (tbsp) and teaspoons (tsp), a set of dedicated measuring spoons is a must! These are far more accurate than everyday eating spoons, and are really easy to get hold of too.
- Mixing bowl*: to mix all the ingredients together to make the best chocolate chip red velvet cookies.
- Handheld electric mixer*: investing in a good electric mixer is a brilliant help with all baking, and will make baking these red velvet white chip cookies a total breeze!
- Sieve*: to remove lumps from the dry ingredients, ensuring everything gets mixed together evenly.
- Spatula*: to help with mixing ingredients and scraping the mixing bowl down.
How to make red velvet cookies
Cookies are one of my favourite bakes, mainly because they actually come together so quickly and easily! The hardest part is waiting for them to chill and then set after baking. Once you get the hang of this method, cookie making will be effortless!

Step 1: Line a baking tray with parchment paper and set it aside.
Step 2: In the bowl of a stand mixer or a large mixing bowl, cream together the butter and sugars until smooth and slightly paler in colour. Add in the vanilla, egg and food colouring and mix through.


Step 3: Sift in the flour, cocoa, cornflour, baking powder and bicarb, along with the salt. Mix until everything is well incorporated. The mixture will be quite stiff. Perfect!
Step 4: Tip in about 170g (¾ cup + 3 tbsp) of the chocolate chips, reserving the remaining handful for the top of the cookies. Gently push into the cookie dough until evenly distributed.


Step 5: Using a large cookie scoop or a couple of tablespoons, divide the dough into 6-7 balls. Each ball will weigh about 80-100g (mine weigh in about 85g each). Roll between your hands to smooth out, then place on the prepared baking sheet, studding with leftover chocolate chips. Pop the baking sheet with the cookie dough balls in the freezer for about 30 minutes to chill.
Step 6: About 10 minutes before you want to bake, preheat the oven to 180C/350F and line another baking sheet with parchment paper. Place cookie dough balls on the tray, being sure to leave plenty of room for them to spread. Bake for 13-15 minutes until the cracks have found their way to the middle of the cookie, then remove from the oven. Put the tray on a cooling rack and leave the cookies on the tray to cool for AT LEAST 30 minutes before moving them. The warmth of the tray will continue to cook them, so this is an important step. Enjoy!

Why should I use cornflour (cornstarch) in my cookies?
Cornflour, or cornstarch, gives the cookies a soft and tender consistency that just flour or a mix of sugars alone cannot achieve. It also helps keep the cookies chunky when baked. You can swap it out for the same amount of flour if you wish, but you will love the result of it in the cookies so I would definitely recommend including it!
How do I make my red velvet cookies chewy?
I have found I prefer a mix of white and brown sugar in my cookies. The white sugar adds to the crispy outside of the cookies. However, it is the brown sugar makes for a wonderfully chewy cookie. The reason for this is the molasses in brown sugar. Molasses helps retain more moisture in the cookies, making them thicker, softer and deliciously chewier! The combination of this mix of sugars along with the cornflour (see above!) will make for the best cookies you will ever have!
Can I use oil instead of butter in my cookies?
Oil and butter are unfortunately not interchangeable particularly in my cookie recipes. This is because oil is liquid at room temperature when compared to butter. The result is they will spread more when baking, even after chilling, so it just is not possible to get the same final results.
What if my cookie dough is too soft?
If the cookie dough feels too soft, chill the dough for 10-15 minutes before separating into balls. Please keep in mind if you did not use block butter when making the cookies, they will remain soft and not firm up. I always use block butter, not oil or the kind that is spreadable from a tub, in my cookies. Using butter should result in the cookies really firming up, especially if chilled or frozen, and holding their shape beautifully when baked.

Why are my cookies not spreading?
If the cookies are not spreading very much, it could be for several reasons. Perhaps there was too much of the dry ingredients mixed in, making the dough too firm so it does not spread when baked. Always ensure correct measuring of ingredients. An additional tip would be to flatten the cookies a little before baking, which gets them started before they even hit the oven.
Help my cookies are spreading too much!
The cookies are probably spreading too much because the liquid content is too high in them. This means too much butter, or possibly even if you used a buttery spread (which has a lower melting point, so will start melting and spreading sooner than butter).
How to tell if red velvet cookies are done
You know the cookies are done if their edges are slightly firmer and crisper and the little cracks on top have just found their way to the middle of the cookie. Remove them from the oven, but do not move them from the baking tray. They will continue to bake in the residual heat from within the cookie and the tray. Leaving them on the tray to cool and firm up is really important for beautiful chewy cookies.
How to get perfectly round cookies
Always shape cookie dough into balls when preparing them, before chilling and baking. Once baked, to correct any misshapen cookies, simply do the “cookie scootch”! Quite simply, as soon as the cookies are out of the oven, use an upturned glass or round cutter to encompass each cookie and gently swirl around the edges. This will smooth off the edges of each one, making them more rounded again. As an added bonus, it brings the cookies back together a little more, resulting in chunkier cookies, which always look more decadent!

Why are my chocolate cookies cakey?
There are several reasons why these red velvet chocolate chips cookies might have turned out cakey. The most likely is that there was too much leavening agent or incorrectly measured flour in the cookie mixture.
Why are my red velvet cookies brown?
Red velvet cookies will sometimes bake up more brown than red if you have not used enough food colouring for the colour to come through after baking. I find a gel colour is far better than a liquid for intensity of colour in the bake. I detail my preferred food colouring in the tools table below.
How long will this easy cookies recipe keep?
These soft baked cookies never last long when I make them! Having said that, they are at their best if devoured within three days from baking to enjoy them at their best.
How to store red velvet cookies
These incredible homemade red velvet chocolate chip cookies keep best when stored in an airtight container away from direct sunlight, ideally in a cool space.
Can red velvet cookies be frozen?
Yes! I would recommend freezing these red velvet and white chocolate chip cookies once you have made and divided them into balls before baking. Freeze them in balls on a tray until completely firm, then place in a freezer safe container in the freezer until required. They are baked straight from frozen, so freshly made cookies are as easy as 1-2-3!
Tips for making the ultimate red velvet cookies
- Ensure the butter used is at room temperature. For no other reason than it will make it soooo much easier to beat it together with the sugars at the start of this recipe!
- This red velvet cookies recipe easy can certainly be made by hand too, if you do not have an electric mixer. Just make sure the butter is nice and soft and cream it together with the sugars as best you can.
- Should you wish to flatten the cookie dough balls, do so (but only slightly) once scooped and rolled but before chilling. This will make it easier than trying to do it once the cookies balls have been chilled and firmed up. However, I find they bake up beautifully with absolutely no need to flatten them, so this step is not really necessary at all.
- When placing the cookie balls on the tray ready to bake, make sure to leave at least 5″ between each of the cookie balls. You want to allow for 2″-2.5″ spreading room all around them for when they bake as they spread a lot!
- For perfectly round baked cookies, do the cookie scoot! Quite simply, as soon as the cookies are out of the oven, use an upturned glass or round cutter to encompass each cookie and gently swirl around the edges. This will smooth off the edges of each one, making them more rounded again.
Troubleshooting
If you have any other questions about this red velvet cookies recipe, please leave me a comment below, I will do my best to help you. And if you do make this recipe for red velvet cookies, please do leave me a rating and review below. I would so appreciate your feedback and it is incredibly helpful for others looking for a recipe too. Additionally, you could also post a picture on Instagram and tag me when you share it with the world. Please do, you know I would love to see it!

More recipes for you to enjoy
If you are a fan of all things cookie please do have a look at my other recipes below!
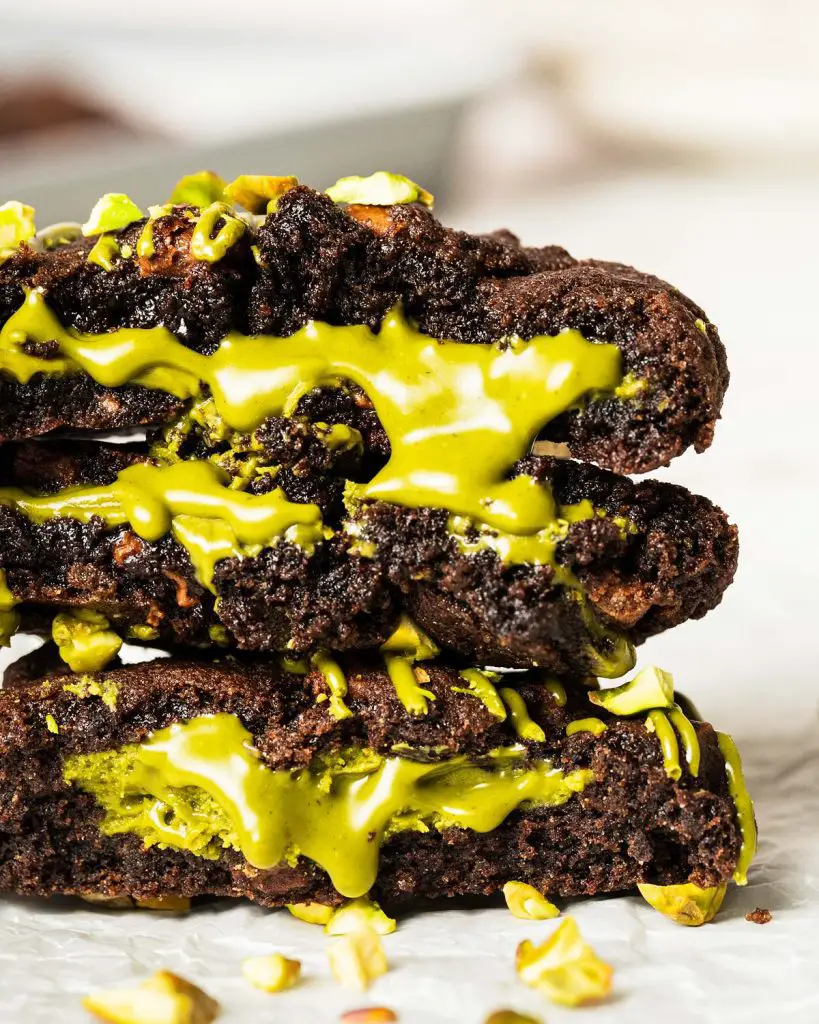
Pistachio chocolate chip cookies: Viral Dubai chocolate fans, these are for you! My chewy and gooey pistachio chocolate chip cookies are absolute pistachio chocolate heaven!
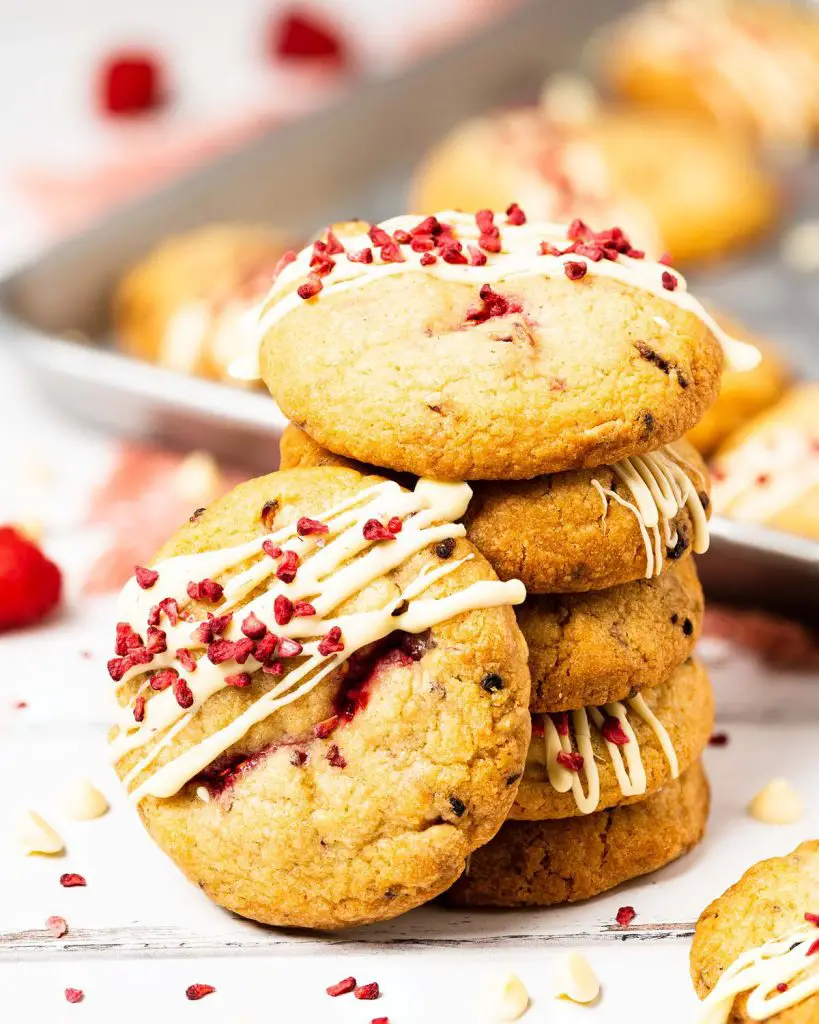
Raspberry and white chocolate cookies: My chewy raspberry and white chocolate cookies are packed with plenty of white choc and raspberries. A real treat of a cookie!
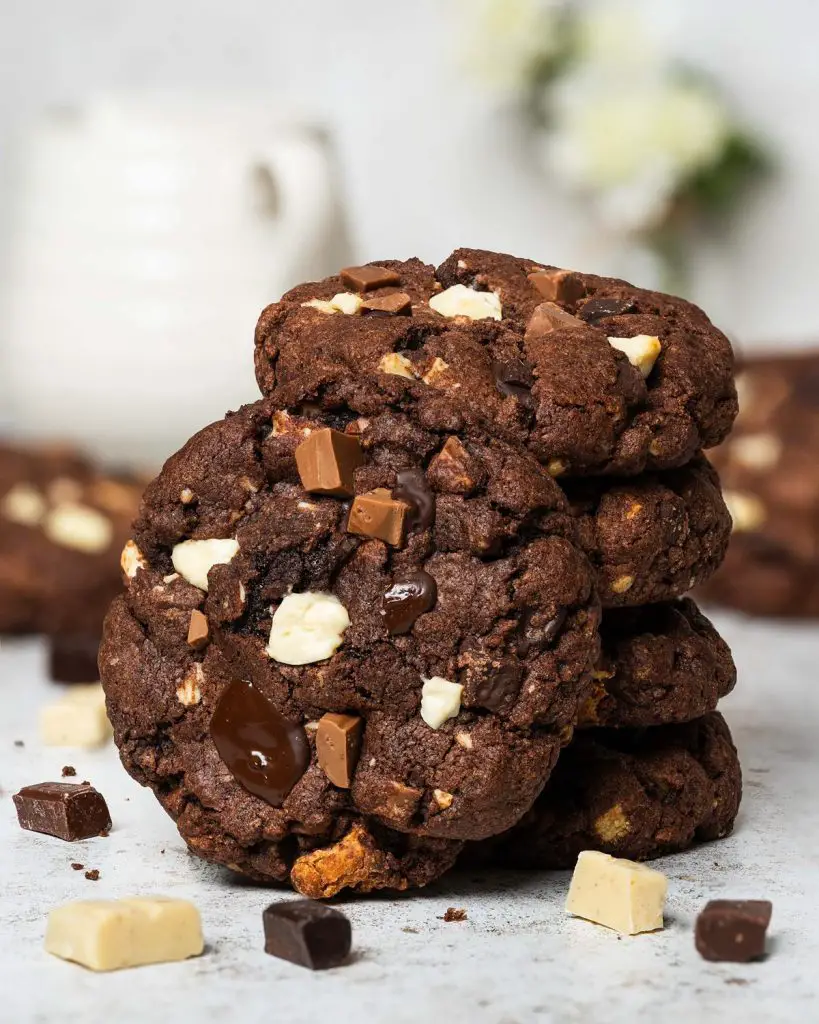
The ULTIMATE triple chocolate cookies: Deep rich chunky and chewy chocolate cookies cram-packed full of oodles of white, milk, and dark chocolate chunks. Pure, unadulterated, indulgent chocolate heaven. You are welcome!
Thanks for joining me today, friends! As always, happy baking! x
Recommended equipment I used *
| Baking tray | Digital kitchen scales |
| Measuring spoons | Mixing bowl |
| Handheld electric mixer | Sieve |
| Spatula | Red food colour |
Red Velvet Cookies
6-7
servings15
minutes15
minutes30
minutes1
hourBeautiful and decadent, you will love these delicious chewy red velvet cookies!
Keep the screen of your device on
Ingredients
115 g (½ cup) unsalted butter, at room temp
100 g (½ cup) soft light brown sugar
50 g (¼ cup) caster sugar
1 tsp vanilla extract
1 large egg, at room temp
0.5 tsp red food colouring
180 g (1 cup + 2 tbsp) plain (all purpose) flour
15 g (2 tbsp) cocoa powder
2 tsp cornflour (cornstarch)
0.5 tsp baking powder
0.5 tsp bicarbonate of soda (baking soda)
0.5 tsp salt
200 g (1 cup + 2 tbsp) white chocolate chips
Directions
- Line a baking tray with parchment paper and set it aside.
- In the bowl of a stand mixer or a large mixing bowl, cream together the butter and sugars until smooth and slightly paler in colour. Add in the vanilla, egg and food colouring and mix through.
- Sift in the flour, cocoa, cornflour, baking powder and bicarb, along with the salt. Mix until everything is well incorporated. The mixture will be quite stiff. Perfect!
- Tip in about 170g (¾ cup + 3 tbsp) of the chocolate chips, reserving the remaining handful for the top of the cookies. Gently push into the cookie dough until evenly distributed.
- Using a large cookie scoop or a couple of tablespoons, divide the dough into 6-7 balls. Each ball will weigh about 80-100g (mine weigh in about 85g each). Roll between your hands to smooth out, then place on the prepared baking sheet, studding with leftover chocolate chips. Pop the baking sheet with the cookie dough balls in the freezer for about 30 minutes to chill.
- About 10 minutes before you want to bake, preheat the oven to 180C/350F and line another baking sheet with parchment paper. Place cookie dough balls on the tray, being sure to leave plenty of room for them to spread. Bake for 13-15 minutes until the cracks have found their way to the middle of the cookie, then remove from the oven. Put the tray on a cooling rack and leave the cookies on the tray to cool for AT LEAST 30 minutes before moving them. The warmth of the tray will continue to cook them, so this is an important step. Enjoy!
Recipe Video
Notes
- Ensure the butter used is at room temperature. For no other reason than it will make it soooo much easier to beat it together with the sugars at the start of this recipe!
- This red velvet cookies recipe easy can certainly be made by hand too, if you do not have an electric mixer. Just make sure the butter is nice and soft and cream it together with the sugars as best you can.
- Should you wish to flatten the cookie dough balls, do so (but only slightly) once scooped and rolled but before chilling. This will make it easier than trying to do it once the cookies balls have been chilled and firmed up. However, I find they bake up beautifully with absolutely no need to flatten them, so this step is not really necessary at all.
- When placing the cookie balls on the tray ready to bake, make sure to leave at least 5″ between each of the cookie balls. You want to allow for 2″-2.5″ spreading room all around them for when they bake as they spread a lot!
- For perfectly round baked cookies, do the cookie scoot! Quite simply, as soon as the cookies are out of the oven, use an upturned glass or round cutter to encompass each cookie and gently swirl around the edges. This will smooth off the edges of each one, making them more rounded again.
Wonderful mam
Always u r just rocking in ur own style
Lots of love to you mam
gonna try it !!