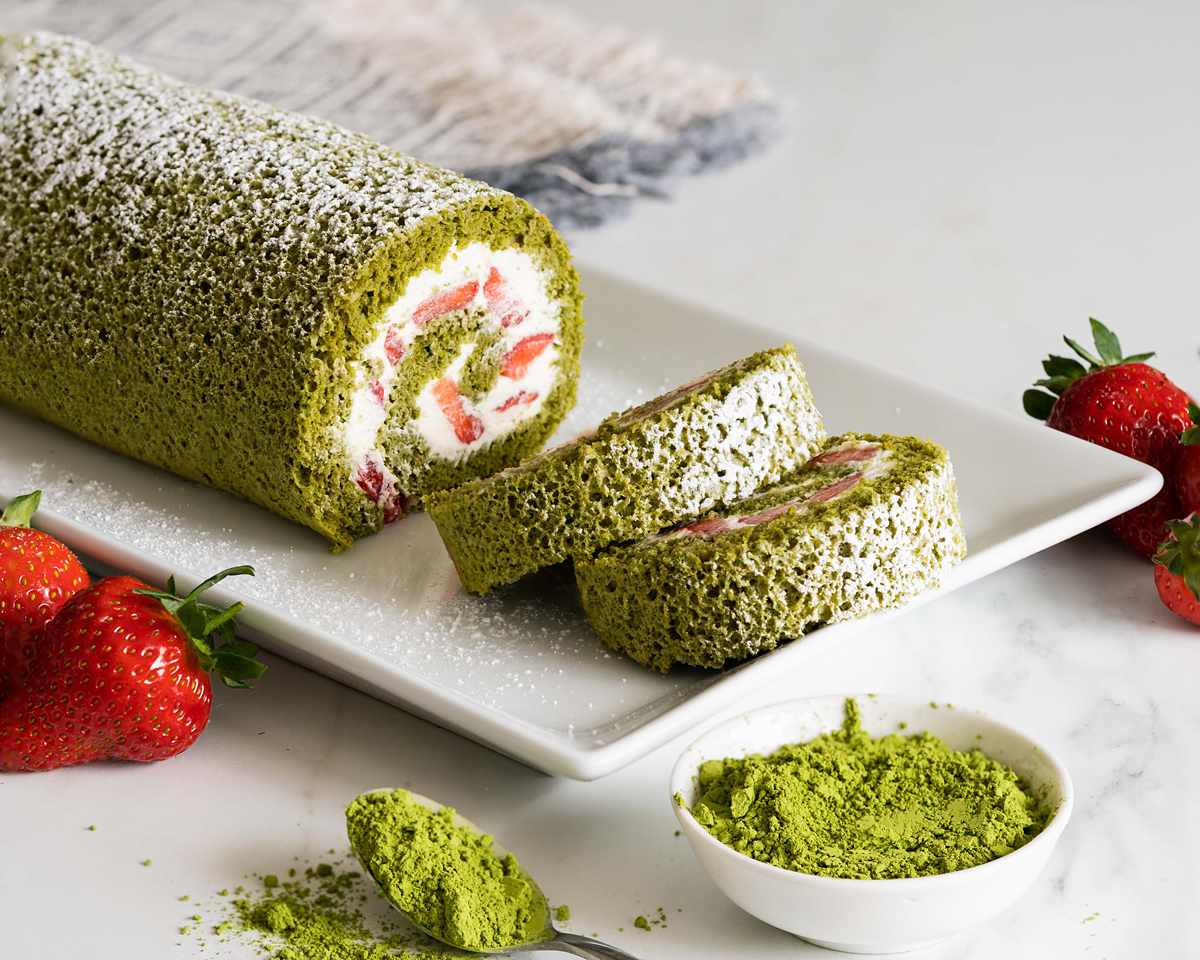
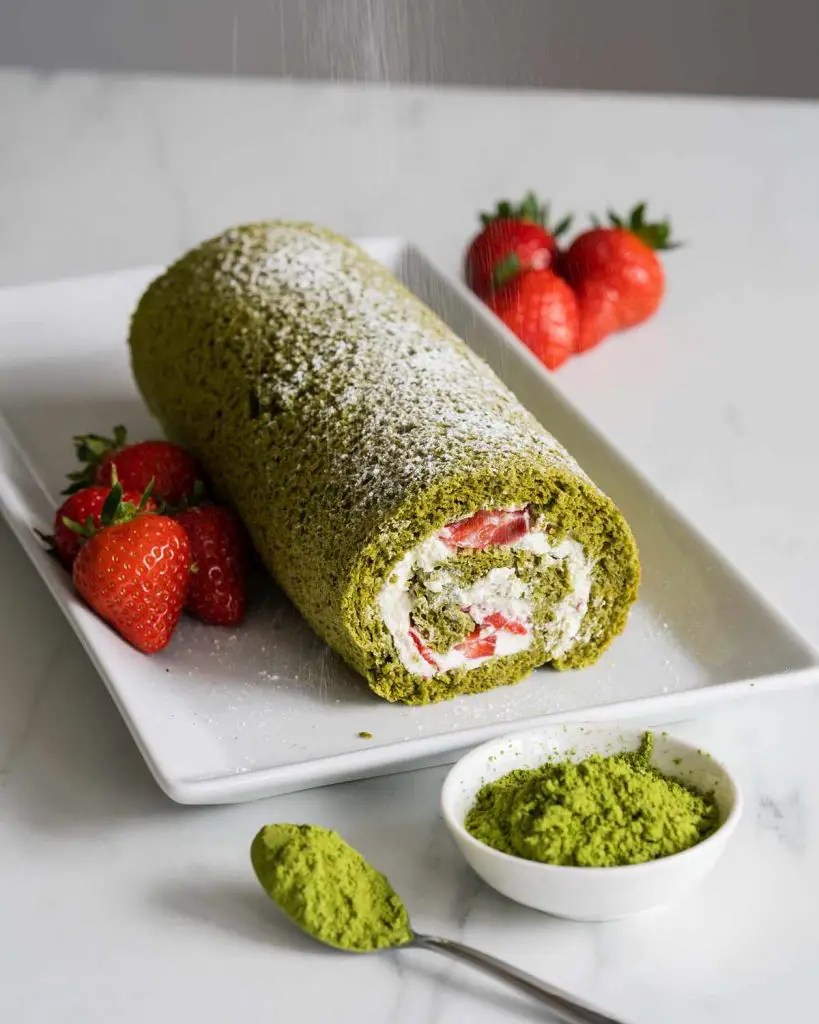
My matcha roll cake is lighter than air, so soft and fluffy, and filled with delicious strawberries and softly whipped lightly sweetened cream. This one is total matcha AND strawberries and cream heaven, or as I like to say, a “matcha made in heaven”! 😆

Bit of a sweet tooth!
I’ll admit, I have a major sweet tooth. I know I know, it’s hardly a surprise, I’m sure! I love cakes, cookies, and anything rich and creamy, especially things like chocolate fudge cake and tiramisu.
However, I’ve been trying to find bakes and desserts that aren’t too sweet to enjoy too. Having recently discovered matcha, and loving the fresh earthy and grassy flavour of it as a tea, naturally I had to incorporate it into my baking too!
Pretty little roll
Roll cakes (or swiss roll cakes) were, once upon a time, one of the cake bakes that scared me the most. From overbaking to cracking whilst rolling to just not holding once filled and rerolled. Shows like the Great British Bake Off showed many amazing bakers trying and failing, so it must be hard to get right. Right?
Well, I had to start somewhere! So I tried and failed many times. But I learned some tricks along the way, which I’m sharing with you today so your roll will work out every time. You’re welcome 😊
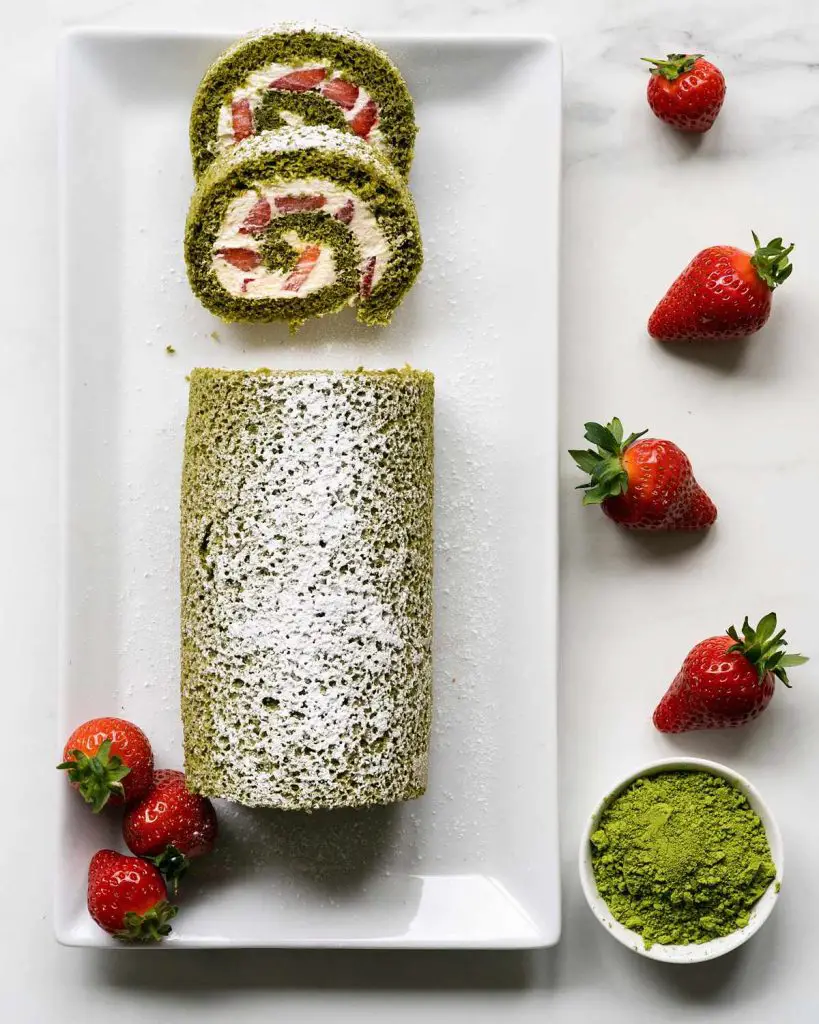
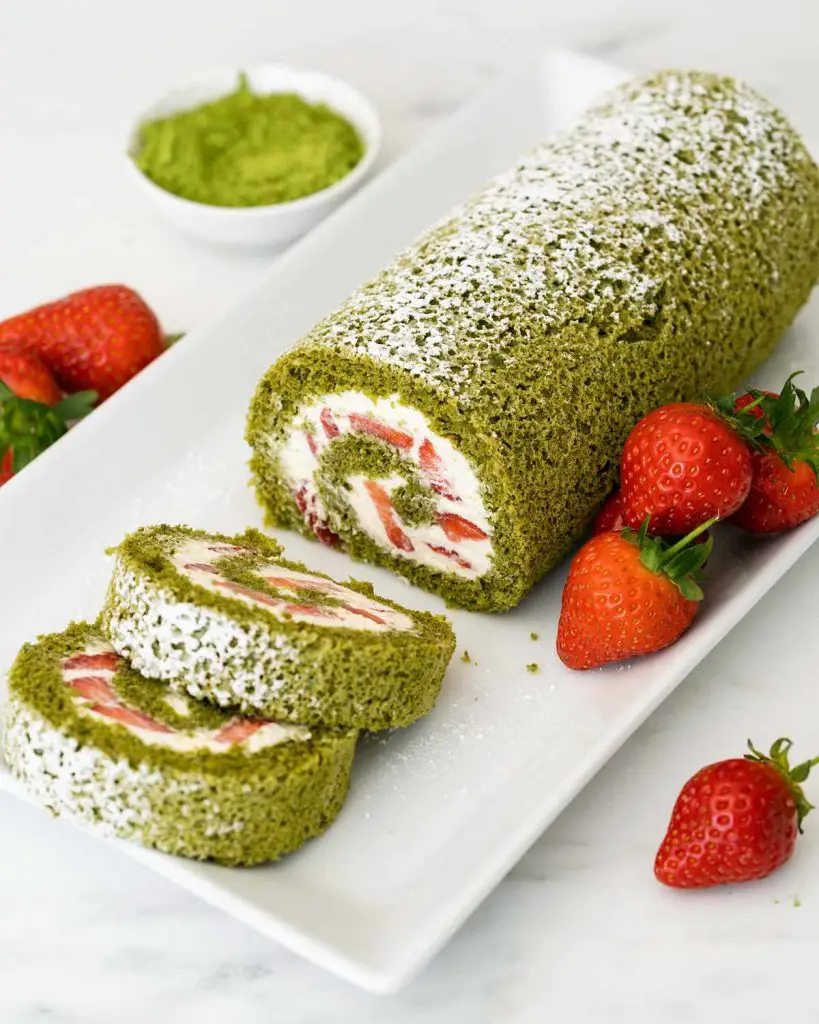
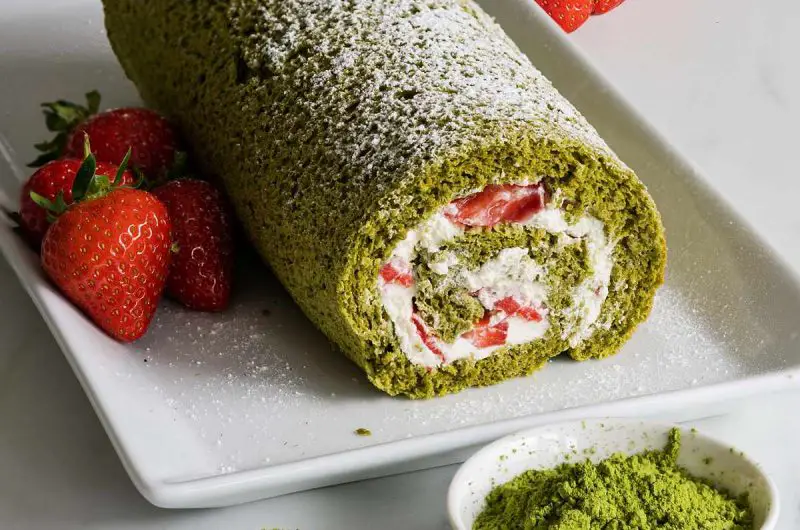
Despite my worries when baking a roll cake, I have to admit a roll cake is pretty special. The swirl, the filling… It’s just such a delicate classic bake, I can’t help falling in love with it every time! I mean, come on, isn’t it just so pretty??
Making it my own
I wanted the beauty of the matcha to sing through in this cake. This meant keeping the filling simple of course, but I did want to combine the Japanese influence with a British one in making this cake. And what could be more British than strawberries and cream?
And so, with that thought, I put the two of them together, and I present to you today my beautiful matcha roll cake! Pretty proud of this one, to be honest, plus still a little in love with it! 😍

Now, before I share this recipe with you, I know you’ll be thinking how this cake takes a little more effort to make. Not to mention the mess involved for using lots of different bowls and whisks and space. But I PROMISE you it really isn’t as hard as it looks! Just follow my step-by-step instructions and you’ll create your own little work of matcha art too! Besides, it is so worth the effort!
Hope you will fall in love this light, refreshing and elegant cake just as I have.
Happy baking, my friends! x
Recommended equipment and ingredients I used *
| Swiss roll tin | Fine mesh sieve |
| Matcha powder | Electric hand whisk |
Matcha Roll Cake
9
servings1
hour10
minutes1
hour10
minutesLighter-than-air matcha cake filled and perfectly balanced with strawberries and cream.
Keep the screen of your device on
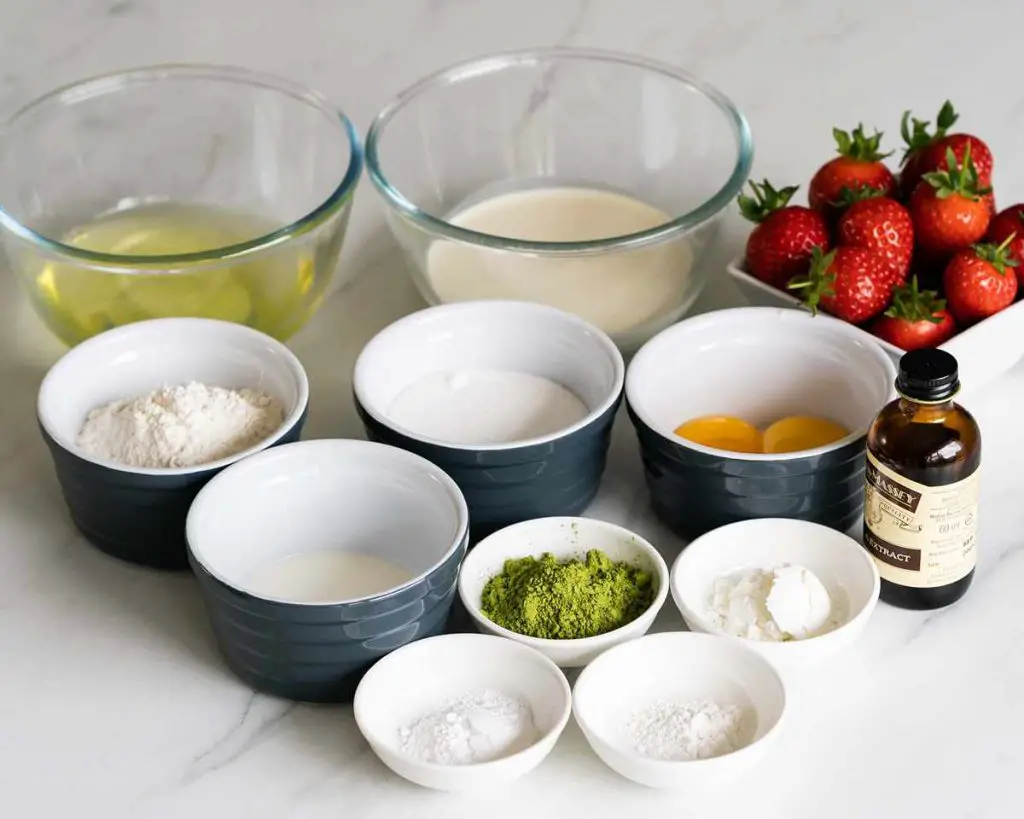
Ingredients
3 large eggs, separated. Keep whites cold.
65 g (¼ cup + 2 tbsp) plain (all purpose) flour
1 tbsp cornflour (cornstarch)
0.5 tsp baking powder
10 g (about 1½ tbsp) matcha powder
80 g (¼ cup + 2 tbsp) caster sugar
1.5 tbsp milk, heated until warm to touch
150 ml (½ cup + 2 tbsp) double cream
0.25 tsp vanilla extract
0.5 tbsp icing (powdered) sugar, plus extra for dusting
5-6 fresh strawberries, chopped
Directions
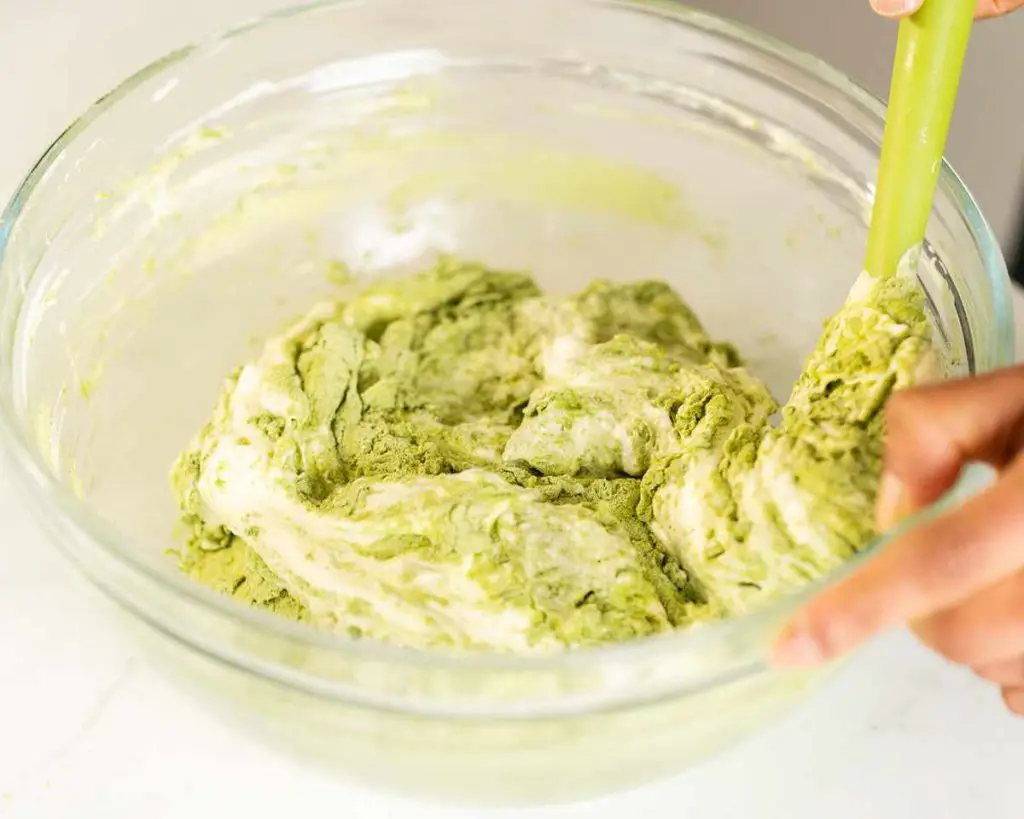
- Lay out a piece of parchment paper on your work surface. Sift together your flour, cornflour, baking powder and matcha powder using a fine sieve, then tip your dry mixture into a bowl. Repeat this sifting process at least twice more, leaving your sifted dry mix on the parchment after the final sift, then set aside.
- Preheat your oven to 190C/375F. Line a swiss roll tin with parchment paper and set aside.
- In a separate large bowl, add egg yolks and half the caster sugar. Whisk until the mixture has doubled in volume, is a pale yellow colour, and ribbons when the whisk is lifted. In another large bowl, beat your cold egg whites until foamy. Add the remaining sugar in 2-3 goes and beat until your egg white mixture has formed stiff peaks and is beautifully glossy.
- Very gently, so as not to lose all that air you’ve beaten in, mix ⅓ of the egg whites into the yolk mixture. Fold in the remaining whites very gently until combined. Tip in the dry ingredients off the parchment paper then gently fold again until just combined. Pour in the warm milk and fold in, again being really gentle to keep as much air in your mix as possible.
- Pour your cake mixture into your lined tin and gently spread out evenly. Tap the pan on your worktop a couple of times to remove any air bubbles, then bake for 10-12 minutes until just done and a toothpick comes out clean. While your cake is baking, lay out a clean piece of parchment ready for when the cake comes out of the oven plus another one to roll your cake in.
- When your cake is out, drop the pan on the table (this helps prevent shrinkage), then flip onto the parchment on your table. Carefully peel off the baking paper and admire the beautiful colour of your cake before laying the spare fresh parchment over this side and flipping again. You should now have the browner side of your cake facing up. Placing your cake, with the parchment underneath, on your worktop, slice a diagonal ¼” off one short end, then use this to roll up the cake with the parchment within the roll. Place your rolled up cake on a wire rack, cover with a tea towel and leave to cool completely (about half hour or so).
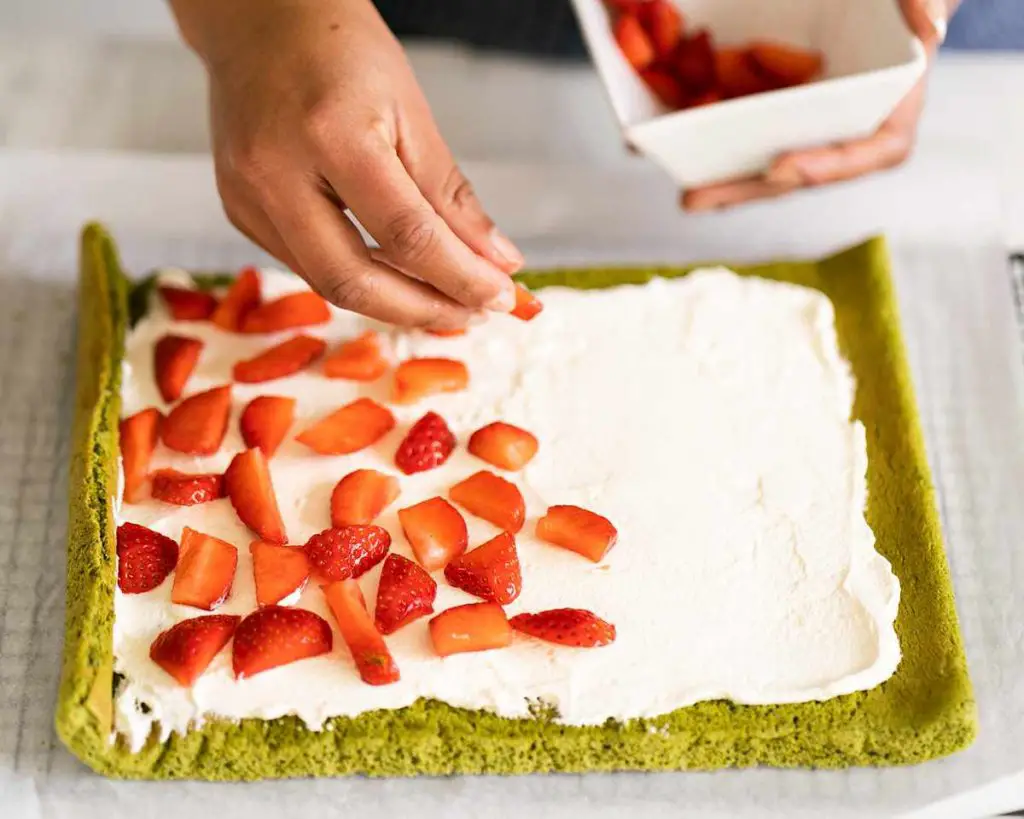
- To make the filling, whip your double cream with the vanilla and sugar (I make it less sweet, but add more sugar if you prefer it a little sweeter) to soft peaks. When your cake is cool, carefully unroll it, then spread the whipped cream over it to about ½-1″ from the edges. Scatter your chopped strawberries over the cream, then roll up again firmly so you have a lovely swirl in the middle. Cut the edges off (just to make it look nicer and neater!), then sprinkle with some icing sugar and enjoy!
Recipe Video
Notes
- Sifting your dry ingredients several times like in this recipe will give you plenty of air in your mix, making it easier to combine your ingredients but also keeping it all light and airy so your cake remains so too.
- It is really important to make sure all the different elements of the cake get all the air in, as this will keep your cake light and fluffy.
- Keeping egg whites cold (including the beaters if you can) will help keep it stable so your cake will hold structure better.
- Be careful not to overbake your cake or it won’t roll properly and will just crack instead. My cake baked for 10 minutes, but adjust timings to suit your oven.