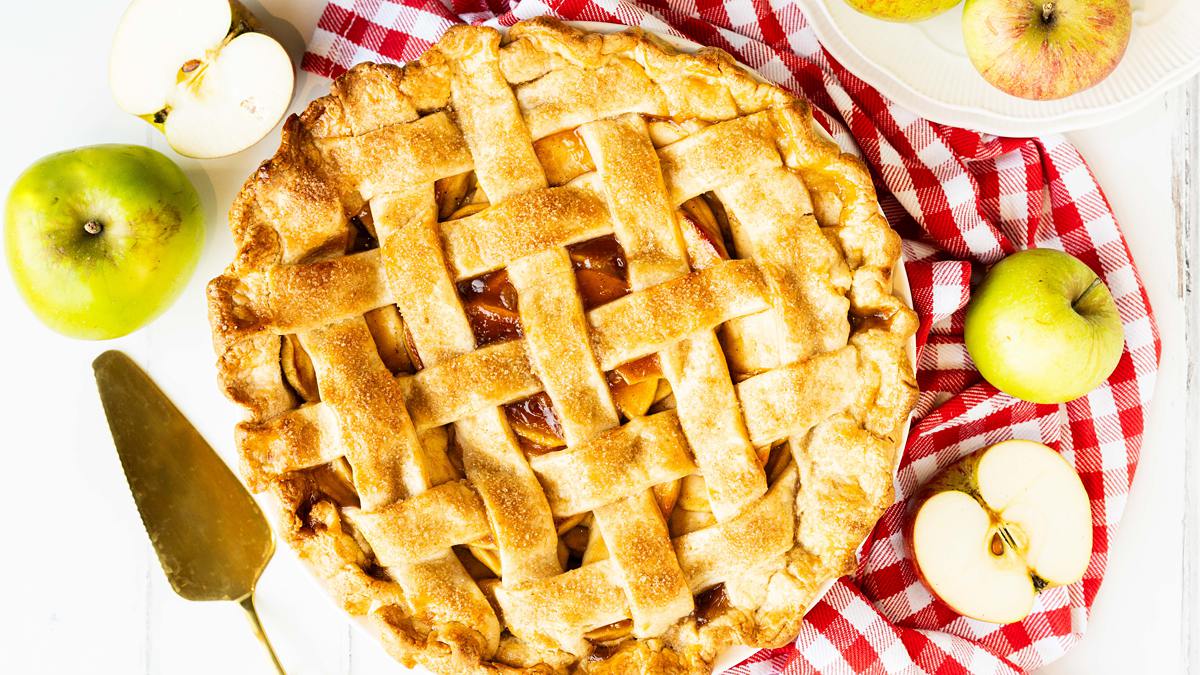
My PERFECT Easy Apple Pie Recipe
A classic apple pie recipe, perfect for any occasion!
Ingredients
For the pastry
- 375 g (2½ cups + 3 tbsp) plain (all-purpose) flour
- 90 g (½ cup + 3 tbsp) icing (powdered) sugar
- 180 g (¾ cup + 1 tbsp) unsalted butter, cold and cubed
- 3 large eggs, yolks only
- 3-5 tbsp ice (ie very very cold!) water
For the filling
- 1.5 kg (5-6 large) apples
- 225 g (1 cup + 3 tbsp) brown sugar
- 2 tsp cinnamon
- 0.5 tsp cardamom
- 0.5 tsp nutmeg
- 0.75 tsp salt
- 3 tbsp cornflour (cornstarch)
- 15 g (1 tbsp) unsalted butter
To finish
- 1 egg, beaten
- 3-4 tbsp demerara sugar (optional)
Instructions
Make the pastry
- In a food processor, blitz the flour and sugar. Add in the cold butter and pulse until the mixture resembles fine breadcrumbs.
- Add in the egg yolks and blend again until just combined. Add in the ice water a little at a time until the pastry comes together in clumps.
- Tip the dough out onto a clean work surface and gather it together. Squeeze to bring it together, but try to avoid kneading and working it too much or the pastry will be tough. Divide the pastry dough into two parts of 2/3 and 1/3 of the pastry, then flatten into discs. Wrap each disc tightly in cling film then pop in the fridge to chill for at least 30 minutes whilst preparing the apples.
Prepare the apples
- Peel and core the apples, then slice them into thin slices. Place in a large bowl.
- Tip in the sugar, spices, cornflour (cornstarch) and salt before tossing everything together to completely coat the apples. Set aside to macerate for an hour.
Roll/cut the pastry, line the pie dish
- Once the pastry dough has chilled, roll out the larger chilled pastry disc into a circle about 3" wider than the base of the pie dish.
- Drape it carefully over the rolling pin and lift it into the tin, easing the pastry into the crevices. Do not stretch the pastry to make it fit.
- After lining the tin with pastry, gently fold the overhang of pastry over the lip of the pie dish, allowing it to drape over and down the side. Put to the side, but keep nearby and pull out the bowl with the filling.
The apple filling
- Using a slotted spoon, carefully remove the apples from the bowl, allowing the juices to drip off. Arrange the slices in the pastry shell in as flat and even a layer as you can, allowing some of the fruit to mound slightly in the middle of the pie.
- Once all the slices have been arranged in the pastry, transfer all the remaining liquid and spices into a small saucepan. Cook the juice down, stirring to keep it smooth, until it is syrupy, glossy and thickened, about 5 minutes. Stir in the butter until melted and gorgeously shiny. Pour this liquid evenly over the apple slices.
Create the lattice top
- Remove the smaller disc of pastry from the fridge and roll out to a circle about the same thickness of the base pastry. Using a pizza cutter or sharp knife, cut the pastry into 1" thick strips.
- Carefully lay five strips of pastry vertically on top of the apples, spacing them apart evenly to cover the top of the filling (image 1 below).
- Gently fold over the first, third and fifth strips of pastry, then lay a new strip of pastry across the middle of the pie (image 2). Return the folded over pastry strips to their original positions.
- Lift and fold over the second and fourth pastry strips, then place another strip of pastry horizontally across the other vertical strips before folding the strips back over. Repeat this process until you have ten strips of pastry in total, five vertical and five horizontal, forming a lattice on top of the pie (image 3).
- Fold the edges of the pastry under to create a smooth rounded edge (image 1). Crimp the edge by pushing the pastry in between two fingers of the opposite hand. This gives a pretty edge, but also seals the pastry, creating a lovely lip around the edge.
Time to bake
- Preheat the oven to 190C/375F.
- Lightly brush all the visible pastry with a lightly beaten egg. Sprinkle as generously as you wish with demerara sugar, if using.
- Take a long strip of foil and fold it lengthways twice to create a long narrow strip of foil. Use this strip to create a guard or shield for the crimped edge of the pie during initial baking, to stop it over browning and burning.
- Place the pie in the preheated oven and bake for 55-65 minutes. Check on the pie around 30 minutes and periodically after for the rest of baking, covering with a foil tent if required to prevent the pastry from burning. Remove the foil as required to aid the browning of the pastry. The pie is done when the filling is bubbling through and the apples can easily be pierced with a skewer.
- Once removed from the oven, allow your apple pie to cool completely. Place it in the fridge for a few hours or overnight to allow it to firm up completely. When ready to serve, you can either reheat in the oven at 180C/350F for 10 minutes or in the microwave. Or enjoy simply at room temperature. Enjoy!
Notes
Nutrition
Calories: 439kcal