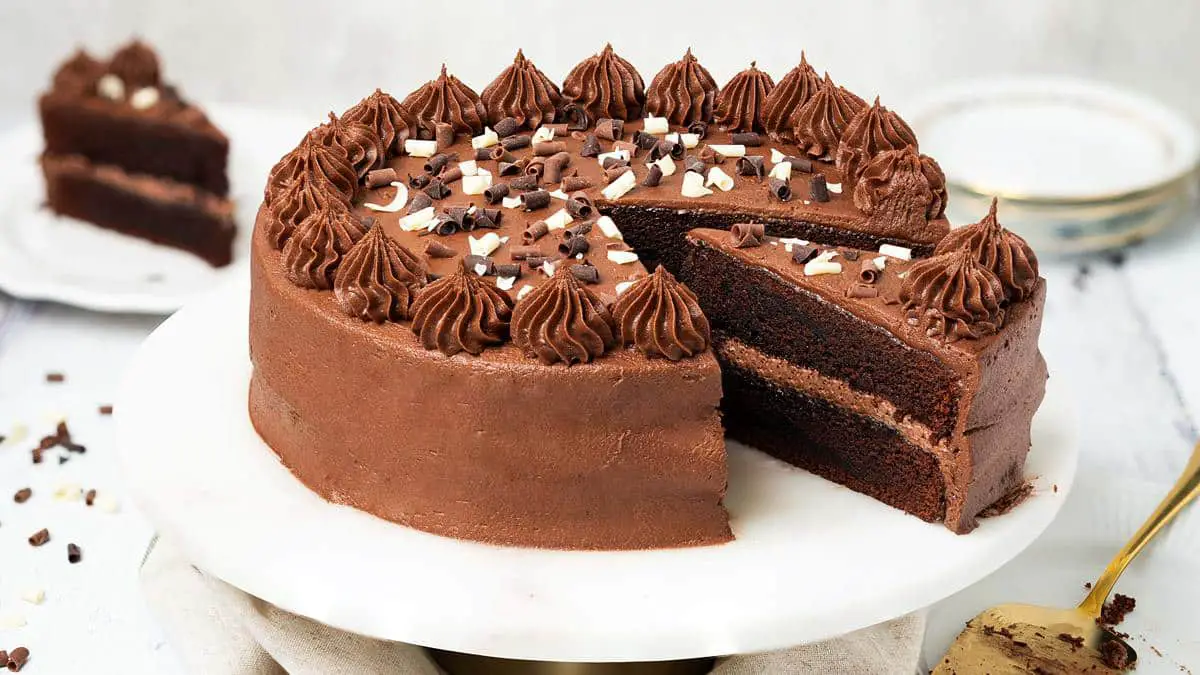
Eggless Chocolate Cake
Discover the best eggless chocolate cake you’ll ever bake! This moist and rich egg-free recipe is finished with a silky chocolate buttercream frosting. This easy two-layer showstopper is perfect for birthdays, Diwali, or any occasion where you need a decadent vegetarian-friendly dessert that doesn't compromise on flavour.
Ingredients
For the cake
- 230 g (1 ½ cups + 2 tbsp) plain (all purpose) flour
- 50 g (¼ cup + 3 tbsp) cocoa powder
- 260 g (1 ¼ cups + 1 tbsp) caster sugar
- 1.25 tsp baking powder
- 0.75 tsp bicarbonate of soda (baking soda)
- 0.5 tsp salt
- 90 ml (¼ cup + 2 tbsp) oil
- 140 g (½ cup + 2 tbsp) yogurt
- 140 ml (½ cup + 1 tbsp) milk
- 1 tsp vanilla
- 190 ml (¾ cup + 1 tbsp) hot water
For the buttercream and decoration
- 250 g (1 cup + 2 tbsp) unsalted butter
- 400 g (2 ¾ cups + 3 tbsp) icing (powdered) sugar
- 40 g (¼ cup + 2 tbsp) cocoa powder
- 1 tsp vanilla
- 2-4 tbsp milk, as required
- sprinkles, to decorate
Instructions
Making the cake
- Preheat the oven to 180C/350F. Grease and line two 8" cake tins, then set these aside whilst making the cake.
- In a large mixing bowl, sieve together the flour, cocoa powder, caster sugar, baking powder, bicarbonate of soda and salt. Give it a quick whisk, then set this bowl aside.
- Separately (I like to use a large jug, but another bowl will be perfect too), mix together the oil, yogurt, milk and vanilla until totally combined.
- Tip the wet mix into the bowl with the dry ingredients and beat it all together. The mixture will be quite thick. This is perfect, just make sure it is all mixed through at this stage.
- With the mixer running on a low setting, drizzle the hot water in and mix it all in until the cake mixture is silky smooth and shiny. It will be fairly runny in consistency.
- Divide the mixture between the two tins and bake in the hot oven for 25-30 minutes until the cakes have shrunk from the sides slightly and are springy to touch. A wooden skewer inserted into the cakes will come out clean or with a couple of moist crumbs. Leave to cool for five minutes in the tins, then turn out onto a cooling rack to cool completely.
For the chocolate buttercream
- Beat the butter with an electric mixer until pale and creamy. This will take about 4-5 minutes.
- Add in half the icing sugar and beat in slowly until incorporated and smooth.
- Tip in the cocoa powder and vanilla and mix. Make sure to scrape down the sides to ensure everything is evenly combined.
- Add in the second half of the icing sugar and mix in slowly to prevent a sugar cloud. Mix in a few teaspoons of milk to form a smooth spreadable frosting if required, then beat until lighter and fluffy.
- Using a spatula or the paddle attachment, mix the buttercream on a low setting to smooth out any air bubbles and make the buttercream smooth and easily spreadable. This step is optional, but will give you a nicer finish to your cake.
Assembling the cake
- Level the cakes, if required. These off cuts are yours to enjoy as perks of the chef, or can be made into cake pops if you wish too!
- Place a little splodge of buttercream on a cake plate or stand, then place the first cake over it, pressing down gently. This bit of buttercream will help the cake not slide around on the plate. Place a couple of generous dollops of buttercream over the cake, spreading into an even layer. Top with the second cake, then use most of the remaining buttercream to cover the top and sides of the whole cake.
- Place the remaining buttercream into a piping bag fitted with a star shaped nozzle. Pipe a pattern all around the edge of the cake, then finish by scattering some sprinkles over the middle of the cake. Enjoy!
Video
Notes
Nutrition
Calories: 403kcal