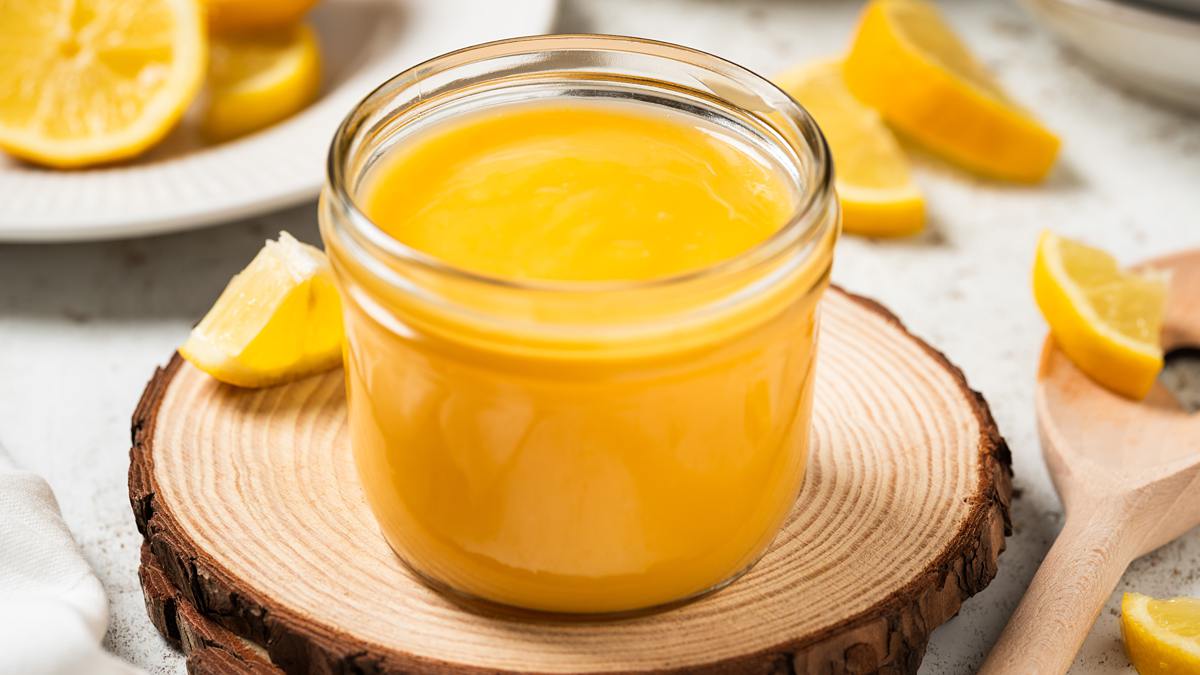
Zesty & Silky Smooth Homemade Lemon Curd
This is an incredibly easy, 4-ingredient lemon curd! Bright, tangy, and luxuriously creamy, this recipe uses the whole egg (no leftover egg whites to worry about!). Whether you’re filling a Victoria Sponge, topping morning waffles, or just eating it by the spoonful, this 15-minute recipe is sunshine in a jar.
Ingredients
- 2-3 lemons, zest and juice
- 50 g (3 tbsp+2 tsp) unsalted butter
- 80-100 g (¼ cup+2 tbsp - ¼ cup+3 tbsp) sugar (I use granulated)
- 2 large eggs
Instructions
- First sterilise the storage jar. Wash the jar well in soapy water and rinse clean. Then pop it in an oven preheated to 160C/320F for 10-15 minutes. Use immediately after sterilising.
- Whilst the jar is sterilising, make the curd. Place a small saucepan on the hob on medium heat. Fill with about an inch or two of water in the bottom and leave to come to simmer whilst preparing the curd. Zest the lemons directly into a large mixing bowl. This gets the oils into the bowl of the curd too, which means extra flavour! Squeeze the juice of the lemons into the same bowl, then tip in the butter and sugar.
- Place the bowl over the now simmering water, making sure the water in the pan does not touch the bottom of the bowl. Whisk the mixture whilst heating until the butter has melted and the sugar is completely dissolved. Remove from the heat and allow to cool slightly.
- Once the mixture has cooled slightly, add in the eggs and mix in. Return the bowl over the pan of simmering water and cook again, whisking constantly. The mixture will be runny at first, then will have a bit of white foamy streaks through it is whisked. Eventually the white streaks will disappear and the curd will thicken. This step usually takes me about 10 minutes.
- When the lemon curd is nearly ready, carefully remove the sterilised glass jar from the oven. Pour the lemon curd into the jar and put the lid on tightly. Leave to cool to room temperature before placing in the refrigerator to allow it to set completely. Enjoy!
Video
Notes
Nutrition
Calories: 71kcal