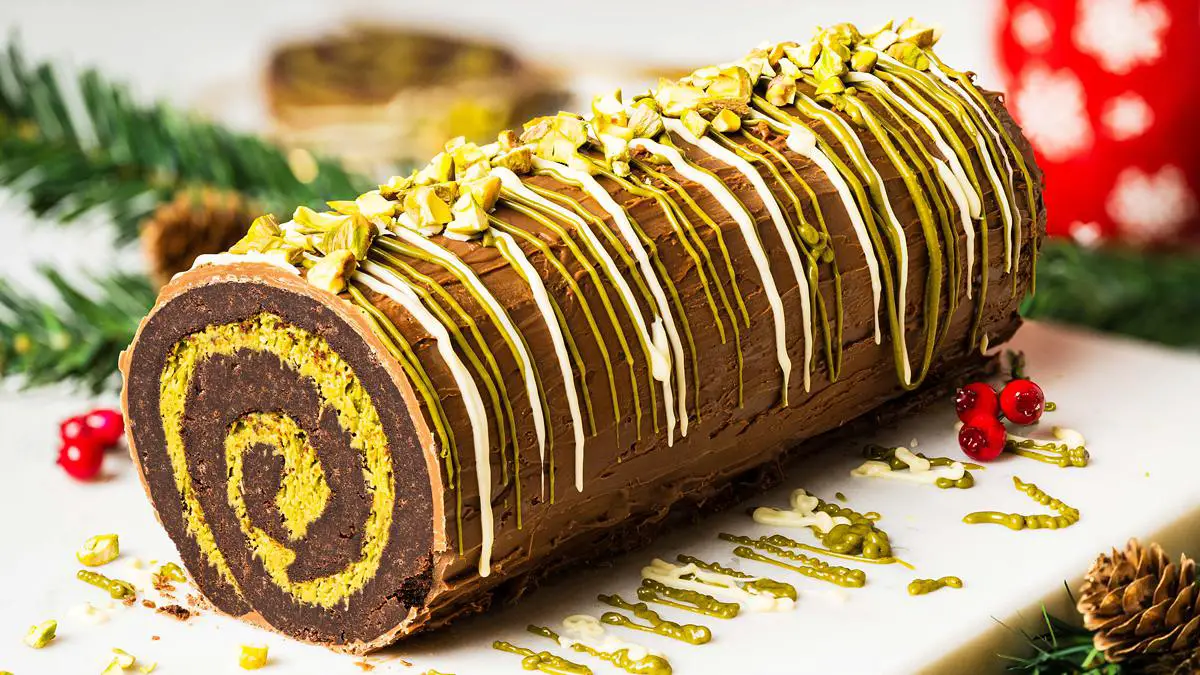
Dubai Chocolate Brownie Yule Log
This Dubai Chocolate Yule Log swaps out the dry sponge of old for a rich, "squidgy" brownie layer, swirled with the world-famous crunchy filling of toasted Kataifi pastry, creamy pistachio, and earthy tahini. Enrobed in a crisp milk chocolate shell and finished with elegant pistachio drizzles, it’s the ultimate decadent centrepiece for any festive feast.
Ingredients
For the brownie
- 165 g (¾ cup) unsalted butter
- 75 g (½ cup + 3 tbsp) cocoa
- 1 tsp vanilla
- 3 large eggs
- 330 g (1 ½ cups + 2 tbsp) caster sugar
- 110 g (¾ cup + 1 tbsp) plain (all purpose) flour
- 0.5 tsp salt
For the filling
- 25 g (1 tbsp + 2 tsp) unsalted butter
- 100 g (2 cups) kataifi pastry
- 270 g (¾ cup + 3 tbsp) pistachio cream
- 10 g (2 tsp) tahini
For the finishing and decoration
- 170 g (1 ¼ cups + 1 tbsp) milk chocolate
- 1 tbsp pistachio cream
- 15 g (2 tbsp) white chocolate
- chopped pistachios, to decorate
Instructions
For the brownie
- Line an 8" baking tin with parchment paper and set it aside. Preheat the oven to 180C/350F while you make the brownies
- Melt the butter in a small bowl. I do this in the microwave in short burst of 10-20 seconds, swirling or stirring in between. Add in the cocoa powder and vanilla and whisk together until silky smooth.
- In a separate larger bowl, whisk together the eggs and sugar until evenly combined. Slowly drizzle in the chocolate mixture, beating as you go so it is all evenly mixed together.
- Into the mixing bowl, tip in the flour and salt. Fold this into the chocolatey mixture until everything is completely mixed through.
- Pour the brownie batter into the prepared baking tin and ease it into the corners levelling the top. Bake in the preheated oven for 22-27 minutes the edges feel firm to touch and the middle has the tiniest wobble. It will take more or less time, depending on your oven, but you want them slightly underbaked. For me, my brownies are done around 24 minutes. Leave in the tin to cool for a few minutes before removing from the tin to continue with the recipe.
For the filling
- While the brownie is baking and cooling, make the filling. Gently melt the butter in a large pan over medium heat. Add in the kataifi and cook, stirring frequently, until it is crisp and evenly golden. This takes me about 10-15 minutes. Set aside to cool slightly.
- In a mixing bowl, combine the tahini and pistachio cream until smooth. Tip in the crispy kataifi and fold everything together until completely combined. Set aside.
- Line the swiss roll tin with cling film, making sure to leave plenty of overhang to wrap the roll in. Once the brownie is cool, break and crumble it into a soft squidgy mixture. Press this in an even layer into the swiss roll tin, trying to pinch together any cracks or gaps.
- Spread the pistachio filling in an even layer all over the brownie layer.
- Starting at one of the shorter ends and using the cling film to help, roll the brownie mixture into a tight roll. Once fully rolled up, use the extra cling film to hold the roll together. Place in the fridge to chill for at least 3-4 hours.
For the finishing and decoration
- Melt the milk chocolate and coconut oil together until melted. I do this in short 10 second bursts in the microwave, stirring in between. Once melted, spread a layer of melted chocolate on a piece of parchment, enough to cover the base of the yule log. Place the chilled log on the chocolate, then use the remaining chocolate to cover all the remaining sides of the yule log.
- Place the pistachio cream and white chocolate into separate bowls and heat gently in the microwave until melted and loose. Drizzle both over the log in any pattern you wish. Sprinkle with additional chopped pistachios to finish and leave to set, about an hour. Enjoy!
Video
Notes
Nutrition
Calories: 425kcal