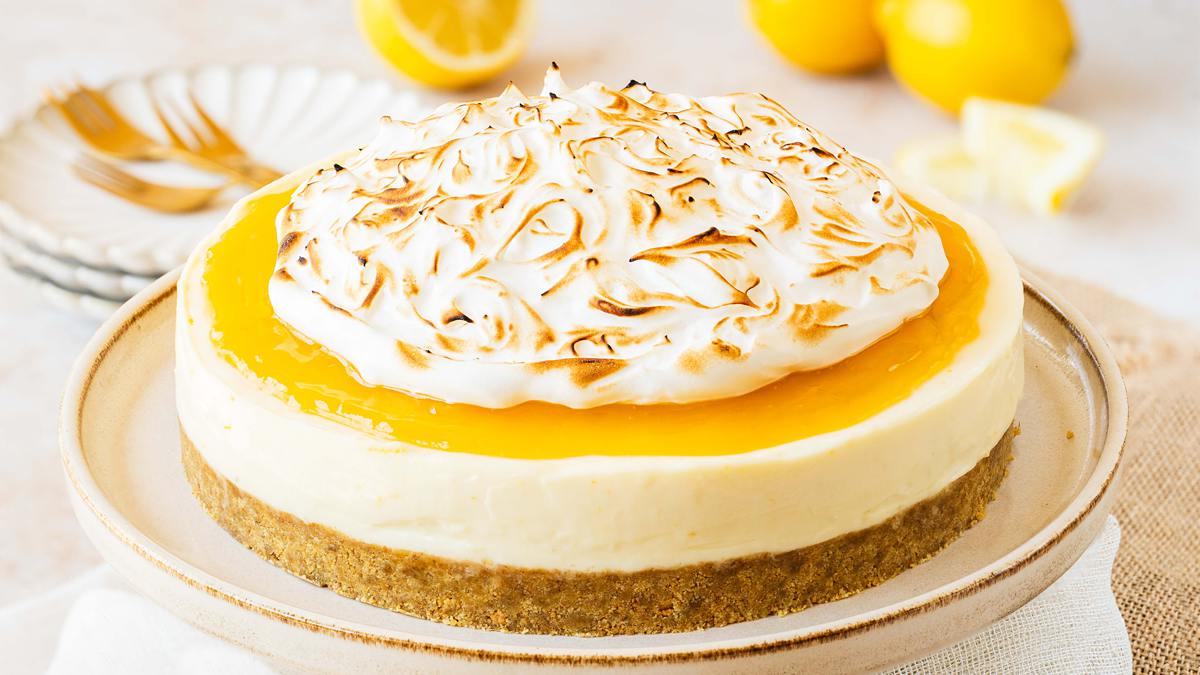
Lemon Meringue Cheesecake (No Bake)
My no-bake lemon meringue cheesecake is the ultimate summer showstopper. Featuring a buttery digestive biscuit base, a zesty condensed milk filling, and a swirl of toasted Swiss meringue, this easy cheesecake recipe delivers all the flavour of a classic lemon meringue pie with zero oven time.
Ingredients
For the biscuit base
- 220 g (2 cups) digestive biscuits
- 100 g (¼ cup + 3 tbsp) unsalted butter
For the cheesecake filling
- 450 g (2 cups) full fat cream cheese
- 397 g (14 oz) condensed milk
- 2 large lemons, zest and juice
- 150 ml (½ cup + 2 tbsp) double (heavy) cream)
For the topping
- 175 g (½ cup + 1 tbsp) lemon curd
- 2 large egg whites
- 80 g (¼ cup + 2 tbsp) caster sugar
- 0.25 tsp cream of tartar
- pinch salt
Instructions
For the biscuit base
- Place the biscuits into a food processor and blitz until the biscuits are completely crumbled. If you do not have a food processor, pop the biscuits into a sealable bag and bash them with a rolling pin until well crushed. Both work fine, one is definitely more therapeutic (!), but I prefer using a food processor purely for speed.
- Melt the butter, then mix through the crushed biscuits, scraping down the bowl to make sure everything is really well combined. Tip the mixture into an 8" springform tin and press down evenly to make a flat base. Pop the tin in the fridge to allow the base to chill until needed.
How to make the cheesecake filling
- In a large bowl, beat the cream cheese briefly to smooth out any lumps.
- Pour in all the condensed milk. Beat everything together until fully combined and smooth.
- Zest both lemons directly over the mixing bowl, then squeeze in the juice of both lemons. Beat the mixture until just combined and starting to thicken.
- In a separate bowl, whip up the cream until it reaches stiff peaks. Fold the whipped cream into the lemon mixture until fully mixed through. Spoon the cheesecake mixture over the chilled biscuit base then chill for at least 4 hours or overnight.
How to make the meringue topping
- Tip the egg whites, caster sugar and cream of tartar in a large heatproof bowl and whisk together briefly. Place this bowl over a small pan of simmering water to make a bain-marie, then heat the mixture whilst whisking continuously. Using a food thermometer, keep heating and whisking until the egg white mixture reaches 65C/150F. The mixture will be white and fluffy and feel smooth when a little is rubbed between your fingers (the sugar should have dissolved). This should take about 10 minutes.
- Remove the bowl from the heat, add in the salt and whisk until light and stiff peaks form when you lift the whisk. This should take about 7-8 minutes. The meringue is ready to be used!
Assembling the cheesecake
- Remove the cheesecake from the tin and place it on a serving plate or cake stand. Top with the lemon curd, spreading it out evenly almost to the edges of the cheesecake.
- Spoon or pipe the meringue over the top of the curd, but make sure not to entirely cover either cheesecake or curd with the meringue. Swirl or rough up the top to give the meringue some texture.
- Using a blow torch, lightly swirl around the top of the meringue until it toasts and browns all over. Be careful, it can catch and burn easily! Once the top has been evenly browned, it's ready to serve. Enjoy!
Notes
Nutrition
Calories: 392kcal