
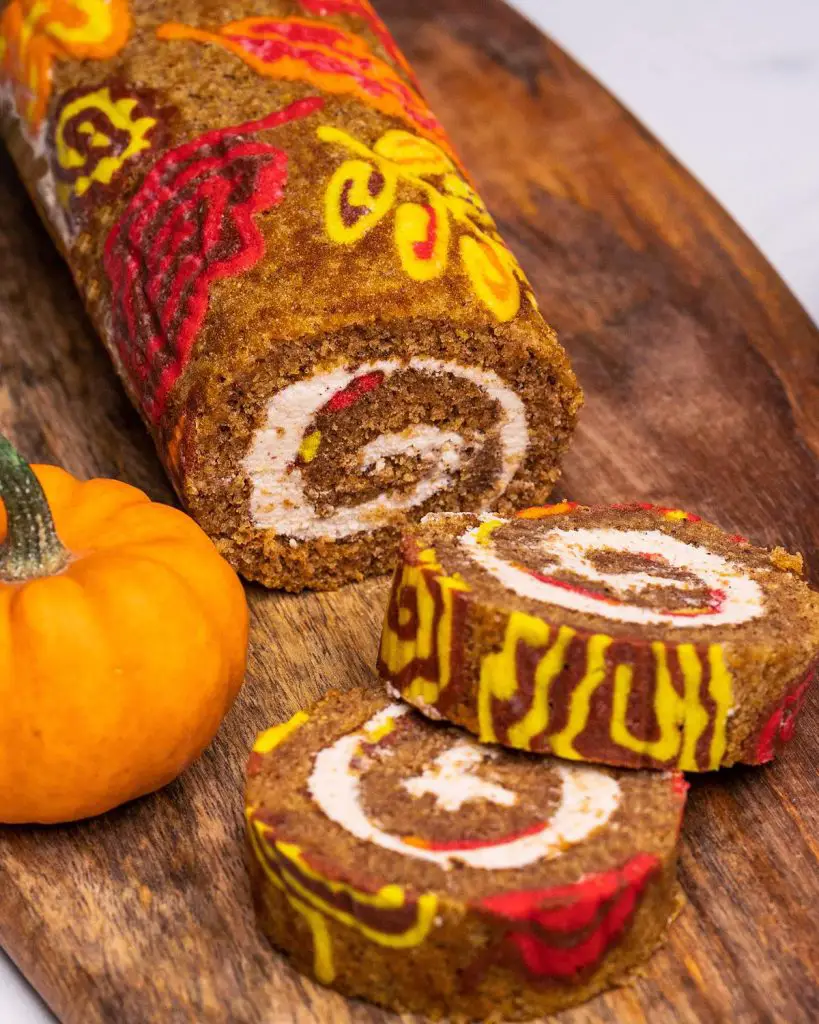
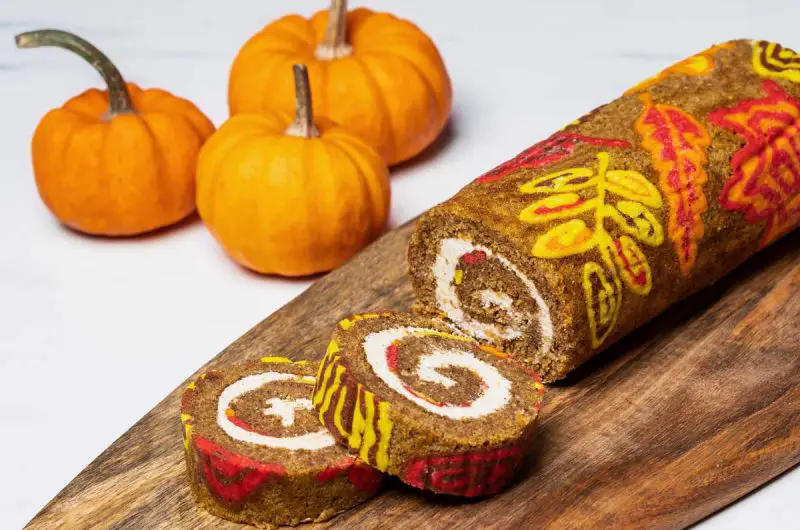
My autumn-themed pumpkin spice swiss roll cake is packed full of warming autumnal spices and a smooth tangy cream cheese filling. A perfect cosy weather treat!
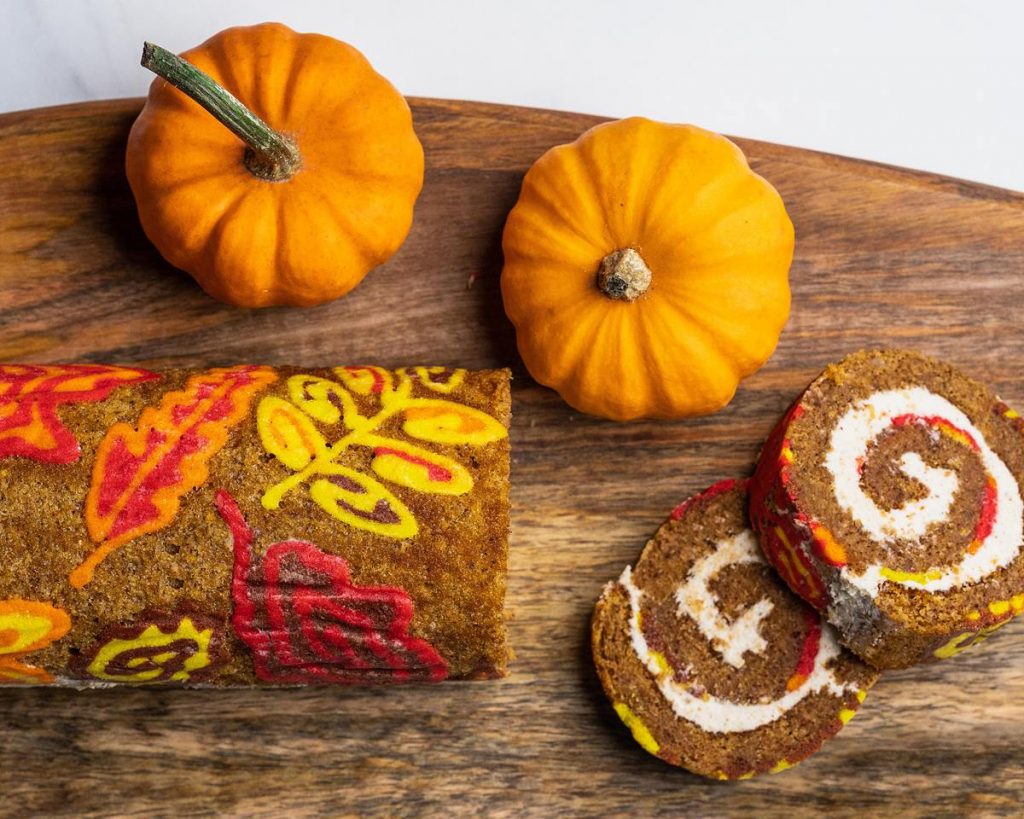
Autumnal decorations
Of course, you don’t have to do a pattern as I have. You can make a totally plain swiss roll, just omit the pattern part of my recipe 😊
However, if you’re like me and eat with your eyes first, then this is COMPLETELY worth the extra time and effort!
At any rate, this cake is delicious! Light and fluffy with a silky cream cheese icing that is just out of this world! This autumn pumpkin spice swiss roll cake will be gone before you know it!
Now don’t let a roll cake put you off. It’s really not as hard as it looks, and the results are more than worth it!
If you are craving the pumpkin spice flavours in something requiring a little less time and effort, then do check out my pumpkin spice cookies. Or even my Halloween cookies keeping the icing plain instead of coloured!
The most time-consuming part of this recipe is the pattern. But it’s just so beautiful, occasionally I love indulging in the beauty of decorated swiss roll cakes too!
This cake is normally one of my final autumnal bakes before we get to my favourite baking times of the year: CHRISTMAS! If you love Christmas as much as I do, I’m sure you’ll know my excitement!
Yeah yeah, I’m a big kid. I know! 😇
So anyways, this recipe is always a hit! Not only for the wow factor on presentation, but all those beautiful flavours too! Here in the UK we don’t mark Thanksgiving, but I know from many of my American and Canadian family and friends it’s a wonderful time to remember those we love.
So what better way than to make a showstopper like this little beauty??
Happy baking, happy autumn and Happy Thanksgiving friends! 🙂
Recommended equipment and ingredients I used *
| Swiss roll tin | Piping bags |
| Sieve | Electric hand whisk |
Autumn Pumpkin Spice Swiss Roll Cake
Course: DessertCuisine: AmericanDifficulty: Intermediate10-12
servings1
hour13
minutes1
hour15
minutesPumpkin spice roll cake made extra special!
Keep the screen of your device on
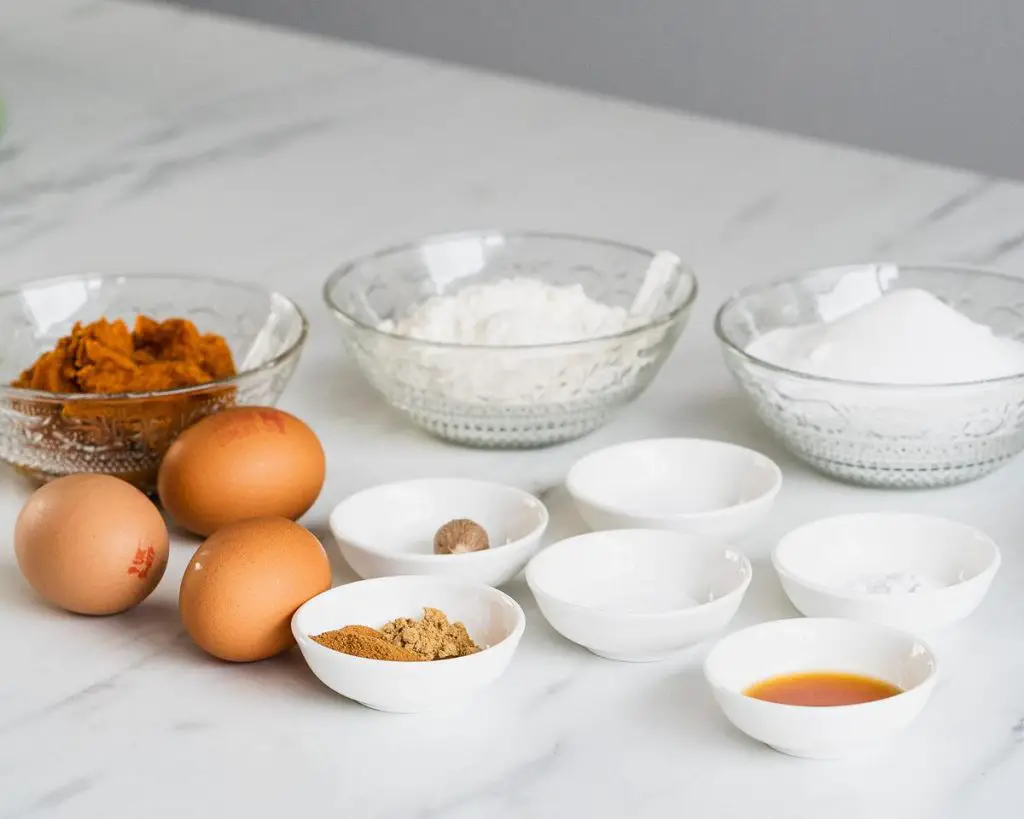
Ingredients
- For the pattern
40 g (3 tbsp) unsalted butter, softened
3 egg whites
60 g (½ cup) icing (powdered) sugar
100 g (½ cup + 2 tbsp) plain (all-purpose) flour
food colouring (see note below)
- For the cake
100 g (½ cup + 2 tbsp) plain (all-purpose) flour
¼ tsp salt
1.5-2 tsp cinnamon
0.5 tsp ground ginger
0.25 tsp ground cloves
0.125 tsp nutmeg
3 large eggs, at room temperature
200 g (1 cup) caster sugar
1 tsp vanilla extract
160 g (⅔ cup) pumpkin puree
0.5 tsp baking powder
0.5 tsp bicarbonate of soda (baking soda)
- For the cream cheese filling
100 g (¼ cup + 3 tbsp) unsalted butter, softened
120 g (½ cup) cream cheese, at room temperature
220-260 g (1½ cups-1¾ cups) icing sugar, sifted
1 tsp cinnamon
0.5 tsp ground ginger
0.25 tsp nutmeg
0.125 tsp ground cloves
Directions
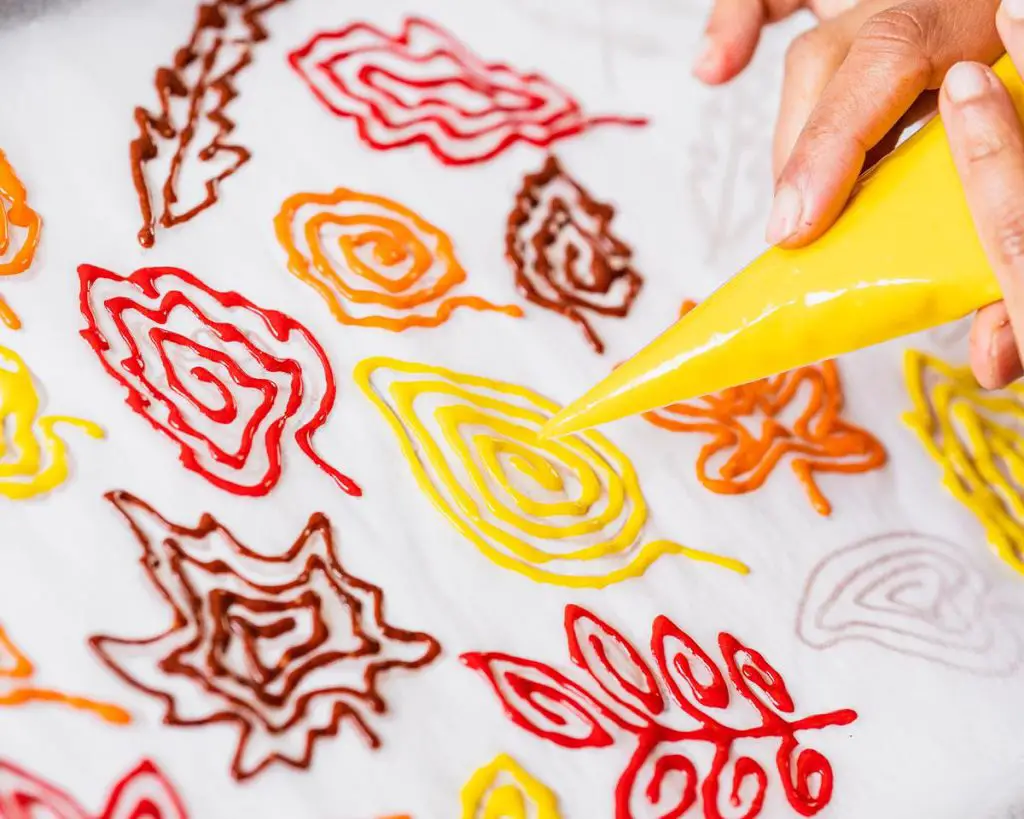
- First, for your pattern. Draw your pattern on a piece of paper to fit in the bottom of your swiss roll tin. Place a sheet of baking paper/parchment over the top of this so you can see the design through it. Spray with cooking spray, making sure up the sides have some spray on too, then wipe off excess with some kitchen paper. Set aside whilst you make your pattern batter.
- Soften your butter thoroughly, then add your other pattern ingredients. Mix until just combined, it will be the consistency of cake mixture. Split into as many colours as you want to use, and colour accordingly. Place your batter into separate piping bags either fitted with piping nozzles suited to writing (no. 2) or snip a tiny hole at the end of each bag. Pipe the outlines of your pattern, then freeze the sheet for 20 minutes. Once chilled, fill in your pattern and freeze again whilst you make your cake mixture. See my note below.
- To make the cake, first, preheat your oven to 180C/350F. Sift your dry ingredients and set aside. Place eggs and sugar in a large bowl and beat for a few minutes until paler in colour and slightly fluffy. Add in the vanilla and pumpkin puree and mix until just combined. Carefully add in your dry ingredients and fold together to combine. Remember to be gentle with this step so you don’t lose the air you’ve whipped into your eggs previously.
- Take your swiss roll tin out of the freezer, and gingerly pour over your cake mixture, easing it into the corners of your tin. Gently level the top, then bake for 13-15 minutes until lightly coloured and just springy to touch.
- While your cake is in the oven, lay out a clean tea towel on your work surface and dust with icing sugar. When your cake comes out of the oven, immediately turn it out onto a cooling rack, remove the baking paper from the bottom, then turn onto your prepared tea towel. Working quickly, roll your cake up in your tea towel into a tight roll, then leave to cool.
- Once your cake is cool, it’s time to make the icing! Soften your butter, then add in your cream cheese and beat together until well combined and fluffy, about one minute. Add in all the spices and 220g (1½ cups) icing sugar and mix to combine. Add in more icing sugar if needed to get to the desired consistency. Once completely mixed, turn your mixer onto high and beat for a couple of minutes until light and fluffy. This will make it easier to spread the icing over your cake!
- Unroll your cake, then spread out the icing evenly over it. Don’t worry about going right to the edge, you’ll be trimming the ends off before you serve it so it looks neater. Re-roll your cake tightly, then wrap your cake in cling film and chill for at least an hour before serving.
Recipe Video
Notes
- I always use gel food colouring, as it gives a more concentrated colour and doesn’t affect texture of mixtures. Here, I used sugarflair colours Melon (yellow), Tangerine (orange), Christmas Red (red) and Chocolate (brown).
- Remember your pattern needs to be done “backwards”. In other words, anything you want visible on the outside of the cake needs to be piped on first, and the filling in of the pattern done at the second piping stage. It’s important to do it in stages, or you’ll end up with a big blob of coloured mess for your pattern!
- Chilling your finished cake before serving is really important as it allows the icing to firm up. This means your slices will remain as beautiful round spirals and not flatten as you cut them!

Lucky enough to be given a taster. The spices are so warm and comforting and the filling helps to lighten the sponge even more.
I had a go but wasn’t brave enough to do the pattern so just did it plain. Like the fact the Instructions are so clear to follow. This didn’t last long in our house as everyone loved the spices
Plain or not, delighted to hear this was enjoyed by all! Such a cosy comforting bake, isn’t it? 😊